

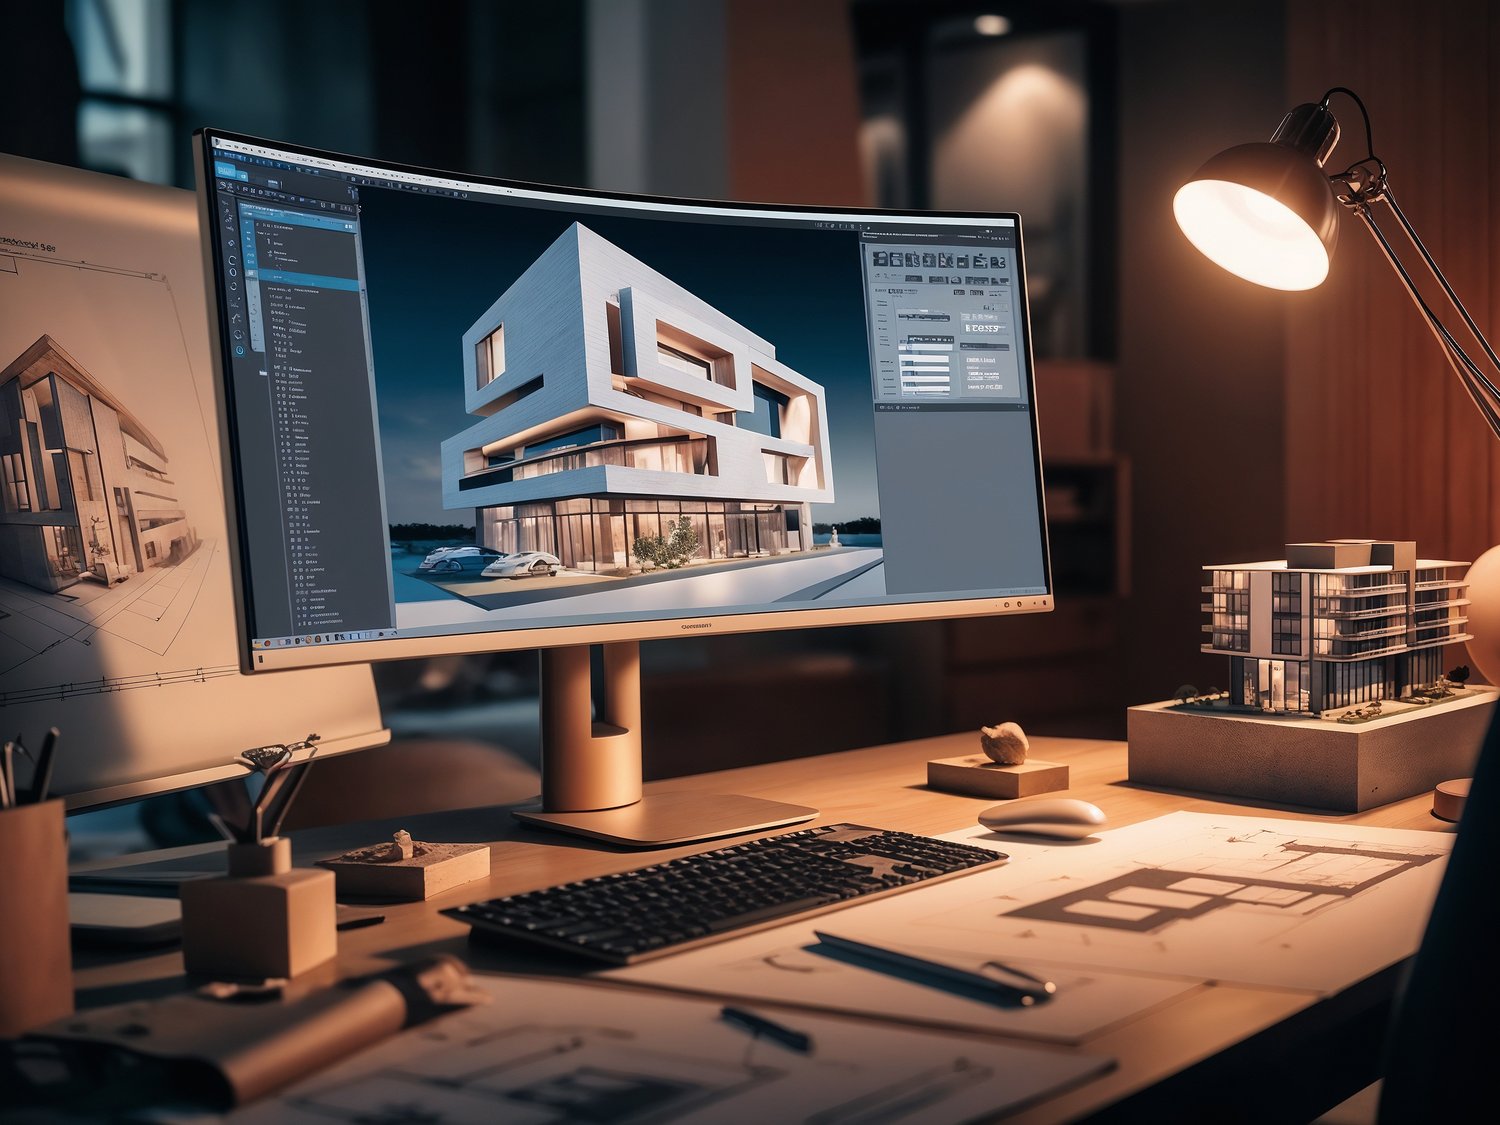
Creating stunning 3D visualizations is a skill that can significantly enhance your design presentations, whether you're an architect, interior designer, or 3D artist. This guide will walk you through the entire process, from selecting the right software to rendering your final scene, ensuring that you create visuals that are both realistic and compelling.
Step 1: Choose the Right Software
Before diving into 3D visualization, it's crucial to choose software that suits your needs and skill level. Here’s a closer look at some popular options:
- SketchUp:
- SketchUp is known for its intuitive interface, making it a great choice for beginners. It's particularly strong in architectural modeling, offering a variety of tools that allow you to create simple to complex designs quickly. SketchUp also supports various plugins, such as V-Ray for rendering, which can help enhance the realism of your visualizations.
- Autodesk 3ds Max:
- This is a professional-grade software that excels in detailed modeling and high-quality rendering. It's used extensively in the architecture, engineering, and entertainment industries. 3ds Max offers powerful features like advanced lighting, shading, and texturing tools, making it ideal for creating complex and highly detailed 3D scenes.
- Blender:
- Blender is an open-source (free) software that offers a full suite of tools for 3D modeling, animation, and rendering. While it has a steeper learning curve than SketchUp, it’s incredibly versatile and powerful, making it suitable for both beginners and professionals who want to explore a wide range of 3D creation possibilities.
- Lumion:
- Lumion is designed for quick, real-time rendering, allowing you to see the results of your work almost instantly. It's perfect for architects who want to create realistic visualizations without spending too much time on technical details. Lumion's library of materials and objects makes it easy to add context to your scenes.
Pro Tip: If you're just starting, SketchUp might be the best option due to its simplicity. However, if you're aiming for high-end visualizations with intricate details, investing time in learning 3ds Max or Blender could be more beneficial.
Step 2: Start with a Solid 3D Model
A well-crafted 3D model forms the foundation of any successful visualization. Here’s how to ensure your model is up to standard:
- Download High-Quality Models:
- If time is a constraint, consider downloading ready-made 3D models from reliable sources. These models are often crafted by professionals and are optimized for rendering. For instance, our Archimental 3D Models Store offers a wide variety of architectural models that can be easily integrated into your projects.
- Create Your Own Model:
- If you want complete control over the design, building your model from scratch might be the best route. This involves using your software’s modeling tools to create every aspect of the structure, from walls and windows to furniture and decor. Pay attention to the dimensions and proportions, as these will directly impact the realism of your visualization.
- Understanding 3D Modeling:
- In 3D modeling, objects are created by manipulating vertices (points), edges (lines), and faces (surfaces). These components are used to form polygons, which are the basic building blocks of any 3D model. The more polygons your model has, the more detailed it will be, but this also requires more processing power to render.
Pro Tip: A high-quality 3D model is detailed and well-proportioned. Ensure that all elements are accurately scaled to maintain realism in your final render.
Step 3: Apply Realistic Textures and Materials
Textures and materials give your 3D model its visual character by simulating real-world surfaces. Here’s how to do it right:
- Choosing Textures:
- Textures are 2D images applied to the surface of your 3D model to give it color, patterns, and other visual details. For example, if you're modeling a wooden table, you'd apply a wood texture that mimics the grain and color of real wood.
- Texture Resolution:
- The resolution of a texture refers to the number of pixels it contains. High-resolution textures provide more detail and look better up close, but they also require more memory to render. Aim for high-resolution textures, especially for elements that are close to the camera or are focal points in your scene.
- Material Properties:
- Beyond just applying a texture, you need to define how that material interacts with light. Most 3D software includes a material editor where you can adjust various properties:
- Diffuse: This is the base color of the material. It determines how much light is absorbed and reflected by the surface.
- Specular: Controls the shininess and reflective qualities of the material.
- Bump/Normal Maps: These add fine details to the surface by simulating small bumps and grooves, which catch light differently and add realism.
- UV Mapping:
- UV mapping is the process of projecting a 2D texture onto a 3D model. It’s like wrapping a flat piece of paper around a complex shape. Proper UV mapping ensures that your textures don’t appear stretched or distorted on your model. Most software has tools to help with this process, allowing you to adjust how the texture wraps around the surface.
Pro Tip: Experiment with different material settings to achieve the desired look. Small adjustments in reflectivity or bump mapping can significantly enhance the realism of your model.
Step 4: Set Up Lighting
Lighting can dramatically affect the mood and realism of your 3D visualization. Here’s how to approach it:
- Natural Lighting:
- Simulate sunlight to create realistic outdoor scenes or bright indoor environments. Most 3D software has a sun and sky system that allows you to position the sun according to the time of day and geographic location. Adjusting the angle, intensity, and color temperature of the sunlight can help you achieve the desired atmosphere.
- Understanding Color Temperature:
- Color temperature refers to the warmth or coolness of light, measured in Kelvin (K). For instance, a sunset might have a warm, orange hue (around 3,000K), while midday sun is cooler and more neutral (around 5,500K). Adjusting the color temperature helps convey the time of day and mood of the scene.
- Artificial Lighting:
- Use artificial lights like spotlights, point lights, and area lights to highlight specific areas of your model. This is particularly important for interior scenes, where you can control the placement, intensity, and color of the lights to create a specific ambiance.
- Types of Lights Explained:
- Spotlights: Emit light in a cone shape, great for focusing on specific elements like a painting or a piece of furniture.
- Point Lights: Emit light in all directions, similar to a light bulb.
- Area Lights: Emit light from a surface, creating soft shadows and even lighting, ideal for simulating large windows or softbox lighting.
- Global Illumination:
- This is a rendering technique that simulates how light bounces around a scene, creating more realistic lighting and shadows. It calculates indirect lighting, which is the light that has bounced off other surfaces in the scene, contributing to the overall brightness and color of the environment.
Pro Tip: Start with basic lighting and adjust gradually. Test different lighting setups to see how they affect your scene’s mood and realism. A well-lit scene can make even a simple model look impressive.
Step 5: Camera Setup and Composition
Just like in photography, how you position the camera can make a big difference in your 3D visualization. Here’s how to set up your camera:
- Choosing Camera Angles:
- The camera angle determines what parts of your model are in focus and how they’re presented to the viewer. Wide-angle shots are great for capturing large spaces, while close-up shots are ideal for highlighting intricate details.
- Understanding Field of View (FOV):
- The FOV controls how much of the scene is visible in the camera. A wider FOV shows more of the scene but can cause distortion at the edges. A narrower FOV focuses on specific details but shows less of the overall scene.
- Depth of Field (DoF):
- Depth of field refers to the range of distance within a scene that appears sharp. By adjusting the DoF, you can blur the background or foreground to draw attention to specific areas of your model. This technique adds a cinematic quality to your visualization.
- Composition Techniques:
- Composition refers to the arrangement of elements within the frame. The rule of thirds is a popular technique where you divide the frame into nine equal parts using two horizontal and two vertical lines. Placing key elements along these lines or at their intersections creates a balanced and aesthetically pleasing image.
- Other Composition Tips:
- Leading Lines: Use lines in your scene (like the edge of a table or the corner of a building) to lead the viewer’s eye towards the focal point.
- Framing: Use elements within the scene (like doorways or windows) to frame your subject, drawing attention to it.
Pro Tip: Experiment with multiple camera setups to capture different aspects of your model. Varying perspectives keep your audience engaged and give a more comprehensive view of your design.
Step 6: Fine-Tune the Final Render
Rendering is the process of generating a final image or animation from your 3D model. Here’s how to optimize your render for the best results:
- Adjust Render Settings:
- Most software offers a range of settings that control the quality of the render. These include resolution, anti-aliasing (which smooths out jagged edges), and sample rates (which determine the accuracy of lighting and shading calculations).
- Understanding Render Resolution:
- Resolution: Measured in pixels (e.g., 1920x1080), higher resolution renders are crisper and show more detail but take longer to process.
- Anti-Aliasing: This reduces the appearance of jagged edges on objects by blending the colors at the edges, creating a smoother transition.
- Samples: In rendering, samples determine the quality of the image. Higher sample rates produce better images but increase render times. For instance, increasing the number of light samples will reduce noise (graininess) in the final render.
- Test Renders:
- Before committing to a full render, perform low-resolution test renders. These help you identify any issues with lighting, textures, or composition without wasting time on a full-quality render. You can then make necessary adjustments before the final render.
- Post-Processing:
- After rendering, you might want to enhance your image further using post-processing software like Photoshop or Lightroom. Here, you can adjust brightness, contrast, color balance, and add effects like lens flares or depth of field. Post-processing allows you to fine-tune the mood and quality of your final image.
- Understanding Post-Processing:
- Brightness/Contrast: Adjusting these controls the overall lightness and darkness of the image and the difference between the darkest and lightest areas.
- Color Balance: This adjusts the overall color tones in your image, allowing you to make the scene warmer, cooler, or more neutral.
- Effects: Adding subtle effects, like vignetting (darkening the edges of the image) or bloom (glow around bright areas), can enhance the realism and aesthetic appeal of your visualization.
Pro Tip: Take your time with post-processing. Small tweaks can make a big difference in the final image, elevating it from good to outstanding.
By following these steps and understanding the concepts behind each one, you’ll be well on your way to creating 3D visualizations that truly stand out. Whether you’re showcasing an architectural project, an interior design, or a 3D product, mastering these techniques will help you convey your vision with clarity and impact.
Comments ()