
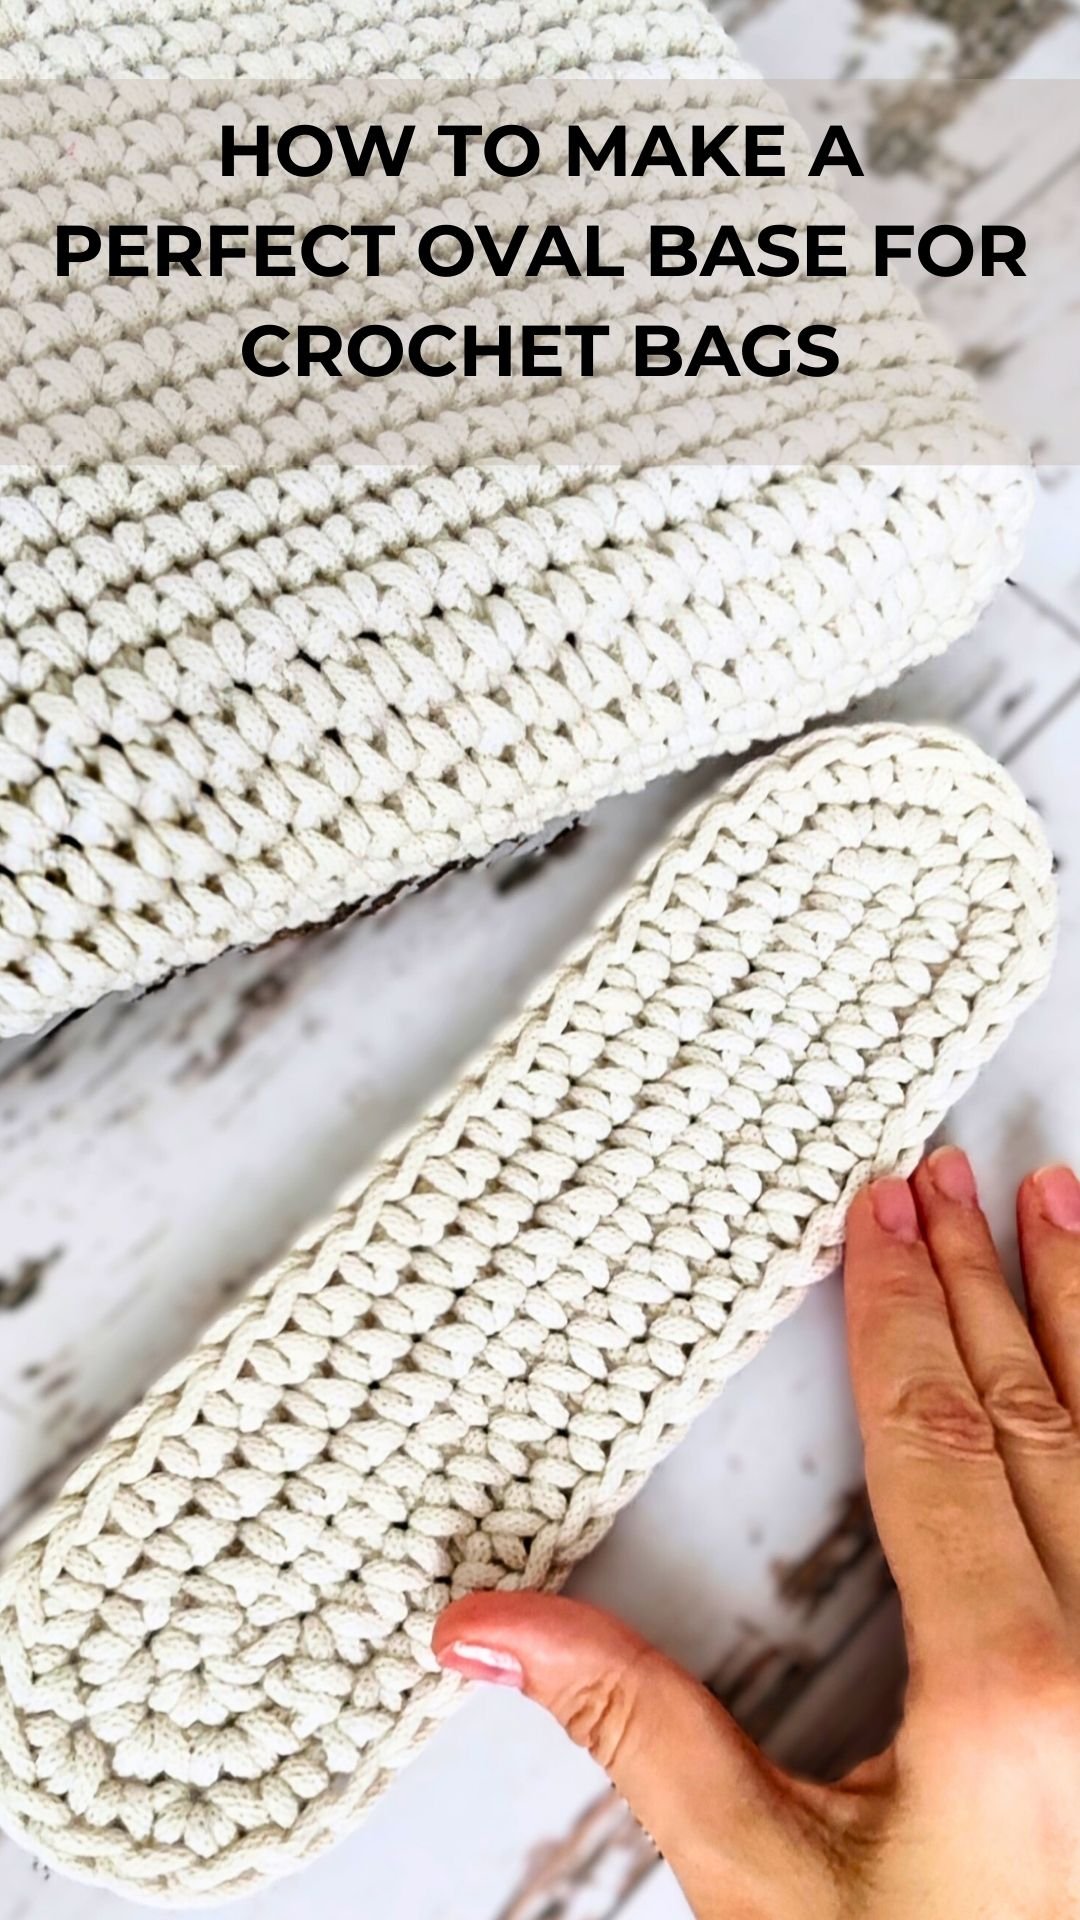
A Perfect Oval Bottom – The Foundation of Every Beautiful Crochet Bag
When we crochet a bag, everything begins with one thing: a strong, clean, perfectly shaped base.
If the foundation is stable, the whole bag will keep its shape beautifully - whether it's a tote, a crossbody, a market bag or a structured everyday handbag.
In my Oval Bottom for the Bag video tutorial, I show step-by-step how to create an evenly shaped oval base using cotton rope yarn. The technique is beginner-friendly, repetitive, and extremely satisfying to work with.
But one of the most common questions I receive is this:
“How can I make the oval 1 or 2 rounds bigger?”
Today’s blog post answers exactly this - and a little more.
Why the Oval Bottom Is So Special
The oval shape grows from two straight sides and two curved ends.
This construction allows the bag to stay:
- stable
- symmetrical
- and completely seamless
… even when you increase it by multiple rounds.
As long as you follow the logic of the increases, your base will always stay perfectly oval - never pointy, never boxy.
How to Make the Oval Bigger (1–2–3 Rounds or More)
This is the part that crochet beginners love, because it’s very simple once you understand the pattern behind it.
The Rule:
On every new round, you add +2 increases on each curved end of the oval.
Meaning: the straight sides always stay the same → only the ends grow.
What to Repeat:
At the curved ends, you follow a repeating logic:
- Rnd +1:
- (2 sc in same st, 1 sc, 1 sc) x3
- Next Rnd:
- (2 sc in same st, 1 sc, 1 sc, 1 sc) x3
- Next Rnd:
- (2 sc in same st, 1 sc, 1 sc, 1 sc, 1 sc) x3
And so on…
Each new round simply adds one more single crochet between the increases.
This creates a perfectly smooth, evenly growing oval no matter how big you want your bag to be.
Why This Method Works Every Time
Because the shape is built from:
- straight lines (no increases),
- and symmetrical curved areas (controlled increases).
As long as you keep the increases balanced - left side and right side - your oval will always remain stable and proportional.
It’s one of the most reliable base-building methods in crochet.
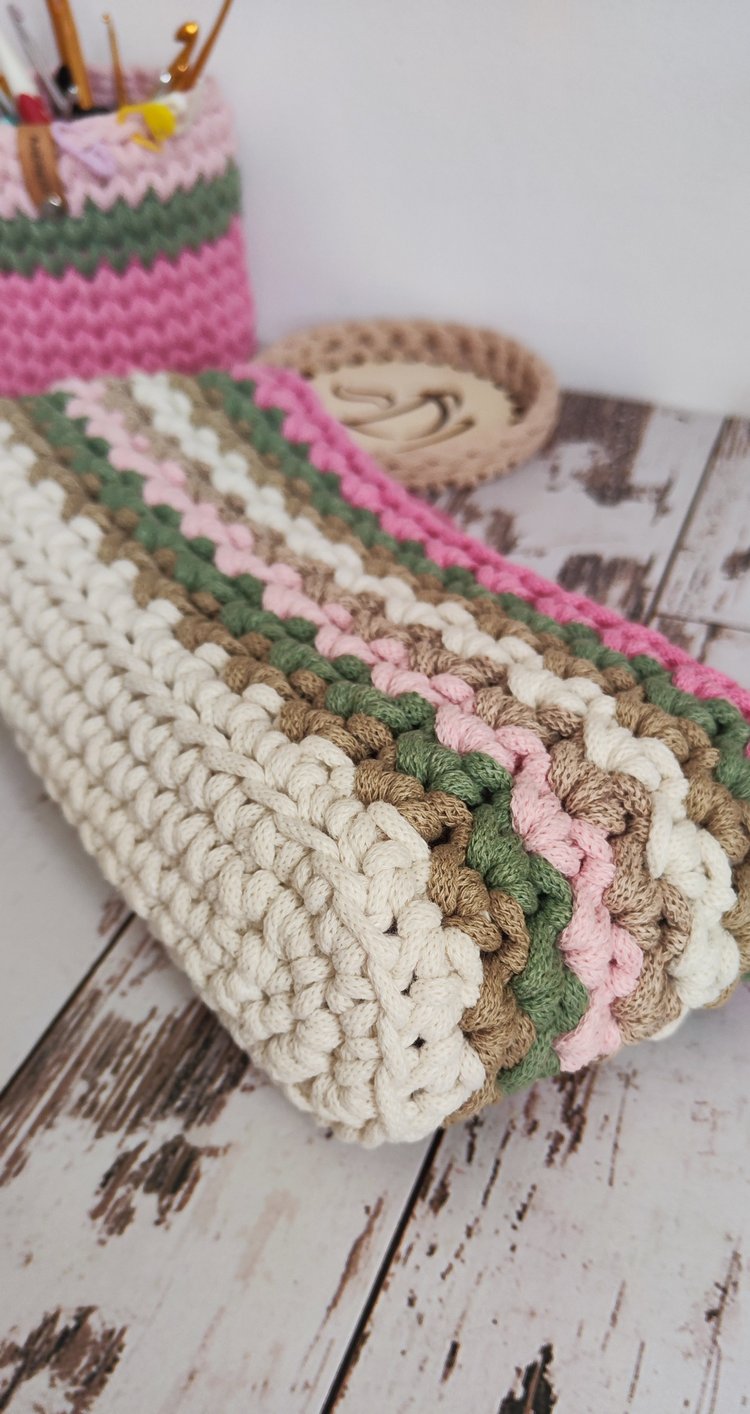
Recommended Yarn & Hook (What I Used in the Video)
The technique works with any yarn, but for the clean, structured look you see in my tutorial, I used:
- cotton rope yarn (mag nélküli 100% pamut)
- 5,5 mm hook
Rope yarn creates an extremely durable base - ideal for everyday bags.
Video Tutorial (Step by Step)

Want to Create a Bigger Bag? A Smaller One? A Longer One?
The beauty of this method is that it adapts instantly:
✔ Add 1-2 extra rounds → larger base
✔ Stop earlier → smaller bag or clutch
✔ Add more chains at the beginning → longer, more “egg-shaped” base
You’re always in control - the shape will follow.
If You Prefer a Ready-Made Pattern
Here are some of my structured bag designs that are built using oval bases:
- Dreamy Shopping Bag
- Rope Net Bag
- Soraya Tote & Crossbody
- Aurora Tote Bag
Each pattern includes:
- step-by-step instructions,
- chart,
- photos,
- and video support with English subtitles.
Final Thoughts
Crochet gives us freedom - and that includes the freedom to adjust any design to your own needs.
Once you understand the logic of the oval bottom, you can build any size bag confidently.
If you try a bigger base, feel free to comment under the video - I’m always happy to help or calculate the stitches for your yarn!
Happy crocheting,
Andrea 💗
Comments ()