
How to prepare, distribute, protect, and promote your music without a record label.
Releasing music independently is easier than ever. You don't need a record label to release a single, EP, or album. Independent artists can distribute their music to listeners around the world while maintaining control over their recordings and careers. But getting your music onto streaming services is only one part of releasing music professionally.
Before you upload anything, you need to make sure your audio, artwork, metadata, credits, ownership information, and royalty registrations are handled correctly. A mistake in any of these areas can create problems later, sometimes long after a song has been released.
This guide walks you through the process of distributing your music independently, from preparing your song to managing your release after it goes live.
What Is Music Distribution?
Music distribution is the process of delivering your finished music to digital music services so listeners can find and stream or purchase it.
The basic path looks like this:
Artist → Distributor → Digital Music Services → Listener
Your distributor acts as the connection between your music and platforms such as streaming services and digital stores. But distribution is not the same thing as promotion.
Distribution does not automatically:
- Build your audience
- Promote your release
- Guarantee playlist placement
- Generate streams
- Create a marketing campaign
Distribution makes your music available. Promotion gives people a reason to listen.
That distinction is important throughout your independent music career.
Before You Distribute Your Music
Before uploading a release, gather the information you'll need.
At minimum, you should have:
- Artist name
- Release title
- Track titles
- Featured artists
- Songwriters
- Producers
- Ownership percentages
- ISRCs
- Release identifiers
- Release date
- Artwork
- Final masters
- Lyrics, if applicable
- Copyright information
- Distributor information
- Registration information
The more organized you are before uploading, the fewer problems you'll have later.
Your music catalog is an asset. Treat it like one.
Step 1: Make Sure the Rights Are Clear
Before distributing a song, you need to know who owns what.
Depending on the recording, that could include:
- Songwriters
- Producers
- Featured artists
- Musicians
- Labels
- Publishers
- Sample owners
- Other contributors
If multiple people contributed to a song, document the agreed ownership splits.
Contributor Role Share
A simple split sheet can prevent major disagreements later. Make sure everyone involved agrees to the percentages in writing. Also pay attention to samples and interpolations. If your recording contains someone else's copyrighted material, you may need permission or clearance before releasing it. When you're unsure about ownership or licensing requirements, get professional legal advice rather than assuming you're covered.
Step 2: Understand the Master and the Composition
One of the most important concepts in music is understanding the difference between the master recording and the composition.
The Master
The master is the specific recording of the song.
For example, the finished recording you upload to a distributor is a master.
The Composition
The composition is the underlying song, the music and lyrics that make up the work. These are separate rights.
That means a single song can generate income through different channels connected to the recording and the underlying composition. Understanding this distinction becomes especially important when you're dealing with collaborators, publishers, licensing, and royalties.
Step 3: Prepare Your Final Master
Your distributor will require a final audio file that meets its technical specifications.
Before uploading, listen carefully to the final master.
Check for:
- Clipping or distortion
- Unwanted noise
- Abrupt cuts
- Incorrect fades
- Missing sections
- Wrong edits
- Incorrect versions
- Technical problems
- Mastering issues
Use a lossless file format that meets your distributor's current requirements. Do not assume that converting a low-quality file into a WAV automatically makes it a high-quality master.
If possible, keep your final masters organized separately from working files.
For example:
Song Title: Final Master.wav
Song Title: Instrumental.wav
Song Title: Clean.wav
Song Title: Explicit.wav
Clear file organization can save you a lot of confusion later.
Step 4: Prepare Your Artwork
Your artwork is part of your release identity.
Make sure your cover is:
- High quality
- Clear at small sizes
- Properly formatted
- Consistent with your artist identity
- Free of unauthorized images or logos
If you're using photography, artwork, fonts, logos, or other creative material created by someone else, make sure you have the appropriate rights or permissions.
Your cover may be viewed as a tiny thumbnail, so simplicity and readability matter. (Follow the upload policy set by your distributor)
Step 5: Get Your Metadata Right
Metadata is the information attached to your music.
It helps digital platforms, royalty systems, licensing services, and other databases understand what your music is and who contributed to it.
Important metadata can include:
- Artist name
- Track title
- Release title
- Featured artists
- Songwriters
- Producers
- Genre
- Release date
- Copyright information
- ISRC
- Version information
Consistency matters.
For example, don't release one song as:
Artist Name
and another as:
ArtistName
and another as:
Artist Name Official
unless there is a deliberate reason for the difference.
Small inconsistencies can create unnecessary confusion across platforms and databases. Think of your metadata as part of your music's digital identity.
Step 6: Understand ISRCs
An ISRC, or International Standard Recording Code, identifies a specific sound recording.
Your distributor may assign an ISRC when you release a new recording. If a recording has already been released and you are moving it to another distributor or re-releasing the same recording, you generally want to preserve the existing ISRC rather than automatically creating a new one.
Keep a record of your ISRCs. They are part of the long-term information associated with your recordings.
Step 7: Choose Your Distributor Carefully
Not every distributor works the same way.
When comparing distributors, look at:
Pricing
Some charge subscriptions. Others take a percentage of revenue. Some charge per release.
Understand what you're actually paying for.
Revenue
Check whether the distributor keeps a percentage of your earnings.
Reach
Look at which digital music services and stores the distributor delivers to.
Payment Terms
Understand:
- How you get paid
- Minimum payout thresholds
- Payment schedules
- Supported payment methods
- Any applicable fees
Catalog and Takedown Policies
This is easy to overlook. Before choosing a distributor, understand what happens if you leave.
Ask:
- Can you move your catalog?
- Can you retain your ISRCs?
- What happens to historical earnings?
- What happens if you stop paying a subscription?
- Does your music remain available?
Read the terms before committing your catalog to a service.
Step 8: Give Yourself Enough Time
One of the most common independent artist mistakes is uploading a release too close to the release date. Don't plan to upload your music the day before you want it to come out.
Give yourself time for:
- Metadata problems
- Artwork issues
- Artist profile problems
- Delivery delays
- Credit corrections
- Audio problems
- Distributor review
- Platform processing
Submitting your release several weeks ahead of time gives you room to fix problems.
Your release date should be the end of your preparation, not the beginning.
Step 9: Understand Songwriting and Publishing Rights
Distribution generally deals with getting your sound recording onto digital platforms.
That doesn't necessarily mean every royalty connected to the underlying song is automatically handled for you.
Depending on where you live and how your music is used, you may need to register your songwriting and publishing information with the appropriate organizations and services.
Publishing-related income can include areas such as:
- Performance royalties
- Mechanical royalties
- Sync licensing
- Other publishing income
The exact systems and organizations vary by country.
For example, in the United States, performance and mechanical royalties are handled through different systems.
The important point is simple:
Uploading your music is not the same thing as registering every right associated with your music.
Step 10: Submit Your Release
Once everything is ready, upload your release to your distributor.
You'll typically provide:
- Audio
- Artwork
- Artist information
- Track titles
- Release title
- Credits
- ISRC
- Release date
- Genre and metadata
- Copyright information
Review everything carefully → and then review it again.
A typo in a song title is easy to prevent before release and much more annoying to fix afterward.
Step 11: Check Your Release Before Release Day
Once your release has been delivered to the platforms, check it before the official release date whenever possible.
Look for:
- Correct artist name
- Correct release title
- Correct track titles
- Correct credits
- Correct artwork
- Correct versions
- Correct artist profile
- Correct release date
Don't assume everything is correct just because the distributor says the release was delivered. Check!
Step 12: Promote Your Music
Distribution makes your music available. Promotion helps people discover it.
Before release, you can create content around:
- Short clips
- Behind-the-scenes footage
- Artwork
- Song stories
- Studio sessions
- Performance videos
- Pre-save campaigns
On release day, make it easy for people to find the song and understand what you're asking them to listen to. After release, don't stop. Continue sharing the music, creating content, performing it, talking about the story behind it, and finding new ways to introduce it to listeners. A song doesn't become irrelevant simply because release day has passed.
Should You Release Singles Before an EP or Album?
There is no universal answer. But releasing singles before a larger project can give each song its own moment.
A simple strategy might look like:
Single → Single → Single → EP/Album
Previously released singles can also become part of a later EP or album, provided the release information and identifiers are handled correctly.
The best release schedule is one you can actually sustain. Don't build your entire strategy around trying to satisfy an algorithm. Build it around your music, your audience, and your ability to consistently create and communicate.
Do You Need to “Beat the Algorithm?”
No.
There isn't one universal algorithm controlling music discovery. Recommendation systems vary between platforms, and listener behavior can influence what gets recommended.
There is no guaranteed formula for going viral or getting playlisted.
Instead of obsessing over algorithm tricks, focus on things you can control:
- Make great music
- Release it professionally
- Build an audience
- Make your music easy to discover
- Create reasons for people to listen
- Give listeners reasons to come back
Algorithms change. A strong catalog and real listeners are much more valuable in the long run.
Common Music Distribution Mistakes
1. Uploading Too Late - Give yourself enough time to fix problems.
2. Using Inconsistent Artist Information - Keep your artist name and catalog information consistent.
3. Not Having Clear Ownership Splits - Get agreements in writing.
4. Forgetting About Publishing - Remember that the recording and underlying composition involve different rights.
5. Uploading the Wrong Audio - Double-check your final master and version.
6. Ignoring Metadata - Accurate information matters long after release day.
7. Assuming Distribution Equals Promotion - Getting your music online doesn't automatically bring listeners.
8. Not Keeping Records
Track your:
- ISRCs
- Ownership splits
- Credits
- Release dates
- Registrations
- Distributor information
9. Building Your Career Around One Platform - Platforms change. Your catalog and audience are bigger than any single service.
10. Changing Things Without Understanding the Consequences - Before changing distributors, metadata, artist information, or identifiers, understand what the change could affect.
Music Distribution Checklist
Music
- Final master approved
- Correct version
- Audio quality checked
Artwork
- Correct dimensions
- High-quality image
- Rights cleared
Rights
- Songwriters confirmed
- Ownership splits confirmed
- Producer agreements confirmed
- Samples cleared
- Featured artists cleared
Metadata
- Artist name checked
- Track titles checked
- Release title checked
- Credits checked
- Genre checked
- Copyright information checked
- ISRC recorded
Distribution
- Distributor selected
- Pricing understood
- Revenue terms understood
- Payment terms understood
- Takedown policies understood
- Release submitted early
Publishing
- Songwriting information registered
- Publishing information reviewed
- Appropriate royalty registrations completed
Promotion
- Release announcement prepared
- Content prepared
- Pre-release promotion planned
- Release-day plan prepared
- Post-release promotion planned
After Release
- Release checked on platforms
- Metadata verified
- Artist profile checked
- Catalog records updated
- Performance monitored
The Simple Version
If everything above feels like a lot, remember these ten steps:
- Finish your music.
- Make sure ownership is clear.
- Prepare your master and artwork.
- Organize your metadata and identifiers.
- Choose a distributor.
- Give yourself enough time.
- Upload and review everything carefully.
- Register your songwriting and publishing rights.
- Promote the release.
- Keep good records and monitor your catalog.
That's the foundation.
You don't need to know every detail of the music business before releasing your first song. But you should understand what you own, who needs to be credited, where your royalties come from, and what information needs to be accurate. Once you build a system around those things, releasing music becomes much easier. The goal isn't to spend your career thinking about metadata, royalty registrations, release forms, and distribution platforms.
The goal is to handle the business properly so you can spend more time doing what you actually want to do:
making music.
Thank you for reading! I hope this blog clarifies and inspires you to take the leap you’ve been meaning to.
Free Music Metadata Toolkit
Getting your music organized doesn't have to start with a complicated system.
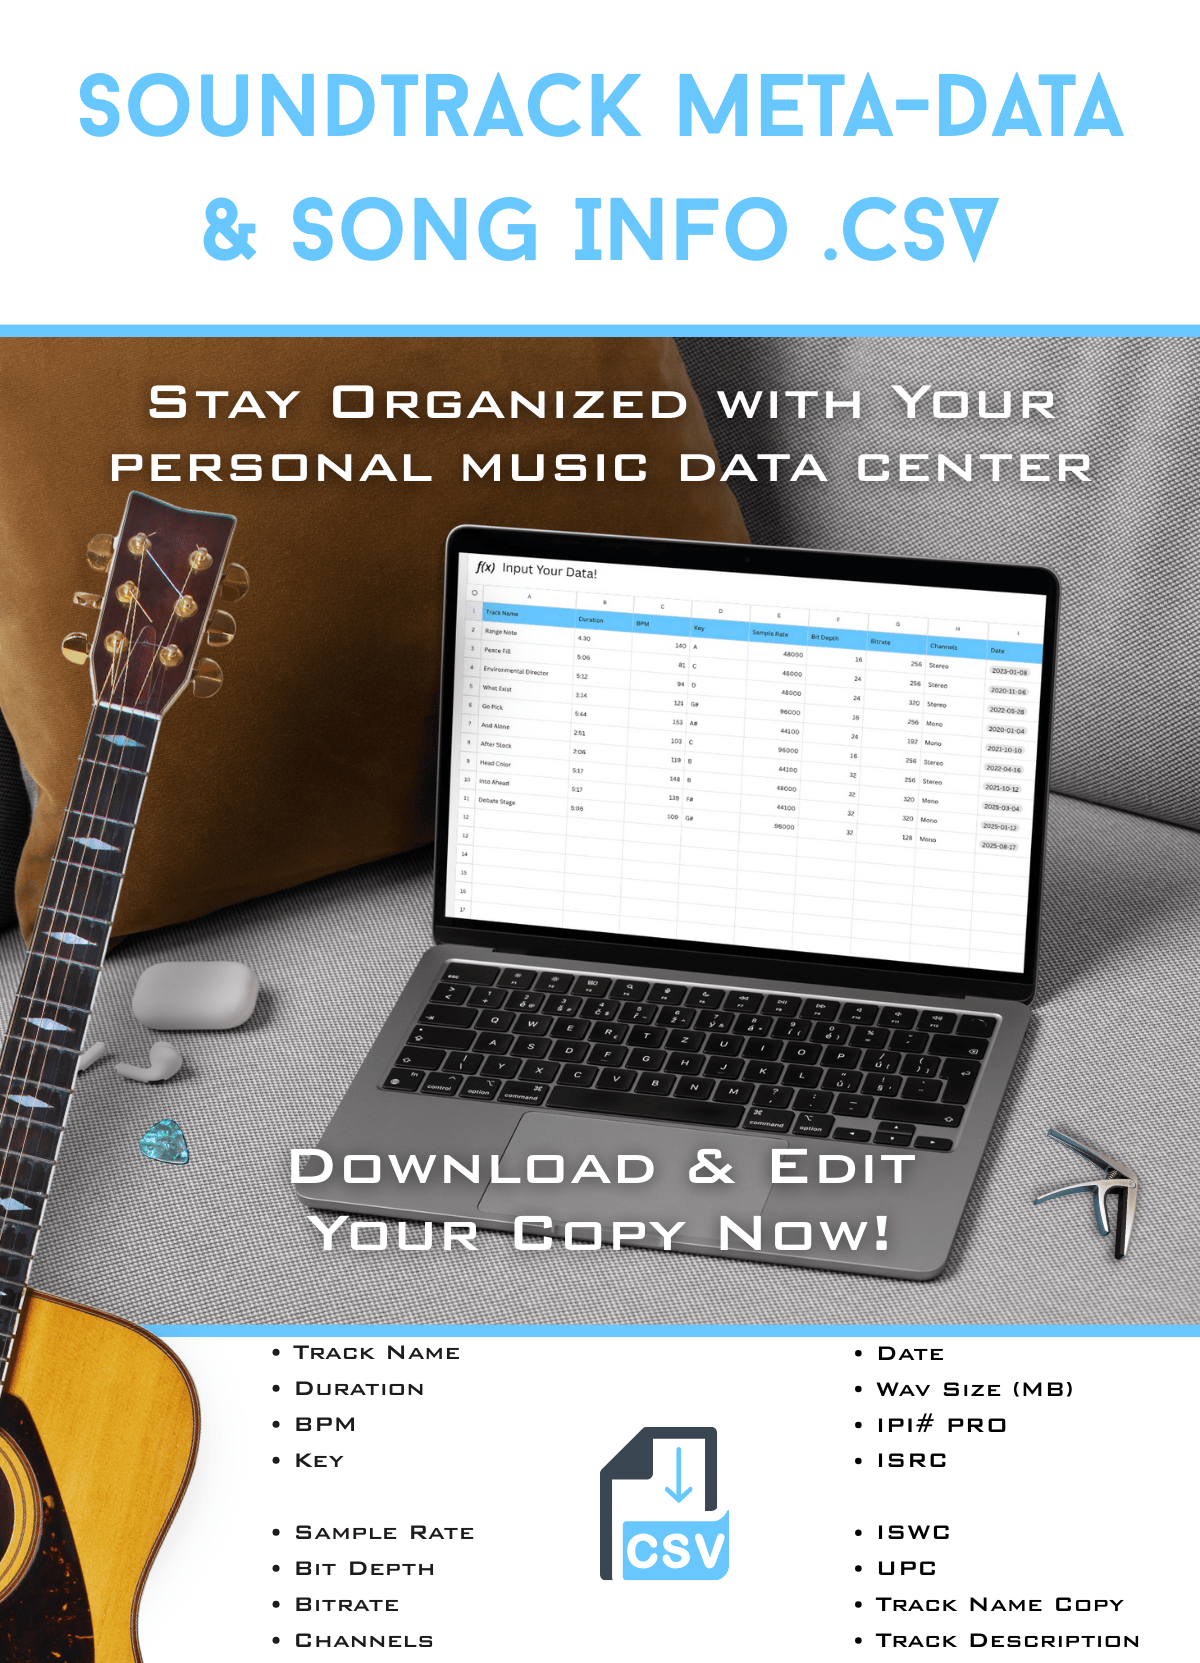
I've created a free Music Metadata Toolkit to help independent artists organize the essential information behind their recordings and keep their catalog records in one place.
The ready-to-use CSV template can be edited and customized to fit your workflow, whether you're preparing a new release or organizing an existing catalog.
Use the toolkit to track:
- Track titles and artist names
- BPM, key, and time signature
- ISRC and ISWC codes
- IPI numbers for contributors
- Sample rate, bit depth, and file format
- Track versions, including instrumental, clean, explicit, and edits
- Ownership splits and notes
Whether you have five songs or five hundred, having a centralized system makes it easier to prepare releases, manage licensing submissions, track your catalog, and avoid common metadata mistakes.
Download the Free Music Metadata Toolkit →
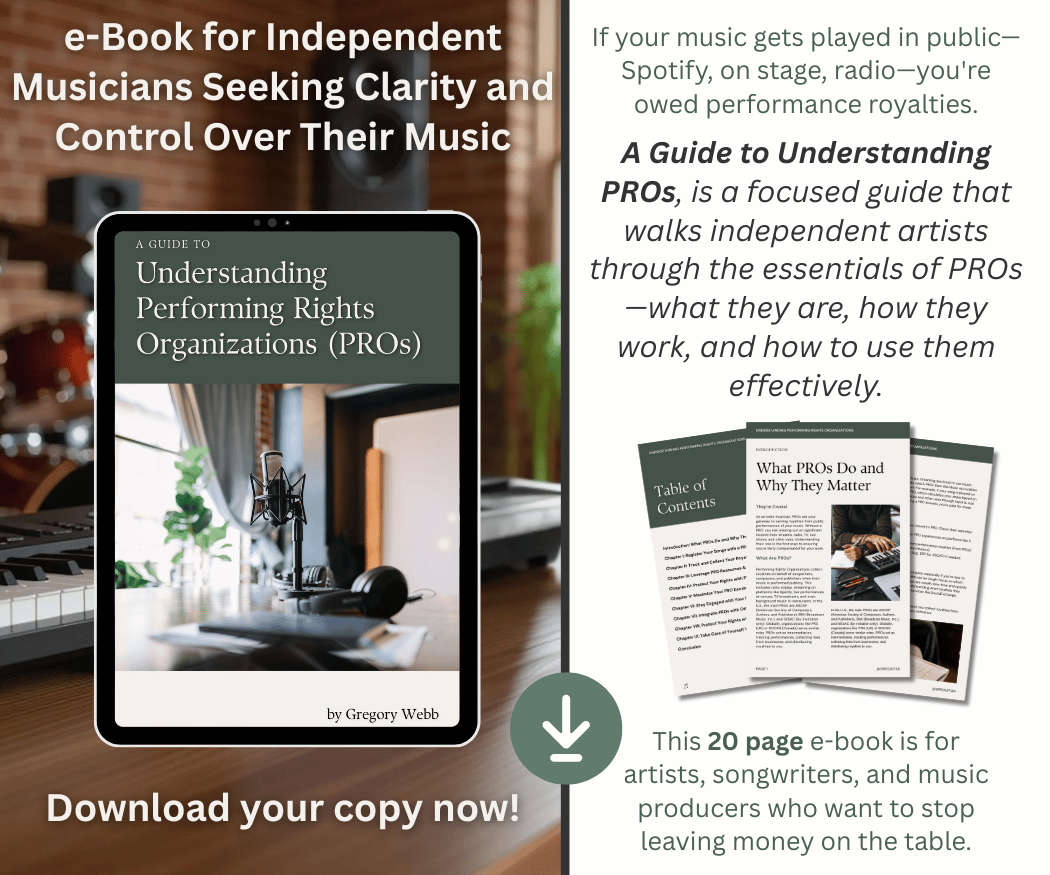
If your music gets played in public—Spotify, live, or on radio—you’re owed performance royalties. A Guide to Understanding PROs walks indie artists through the essentials: what they are, how they work, and how to use them effectively. This 20-page e-book is for musicians who want to stop leaving money on the table.