How to Clean a Cricut Mat: A Step-by-Step Guide
A clean Cricut mat is essential for keeping your cutting projects precise and hassle-free. Over time, your mat will accumulate bits of paper, vinyl, and other debris, which can reduce its effectiveness. In this blog post, we’ll walk you through the best ways to clean your Cricut mat so that it remains sticky and functional. Plus, we’ve included affiliate links to some of the best tools and products you’ll need from Amazon to make this process even easier!
Why Clean Your Cricut Mat?
Regularly cleaning your Cricut mat helps maintain its adhesive properties, ensuring that your materials stay in place during cutting. A dirty mat can lead to improper cuts or wasted material. Cleaning your mat regularly will extend its lifespan and help you get better results on your projects.
What You'll Need to Clean Your Cricut Mat
Before we get started, here are some tools and products you might need to effectively clean your Cricut mat. You can find all of these on Amazon:
- Plastic Scraper: Available on Amazon
- Lint Roller: Available on Amazon
- Mild Dish Soap: Available on Amazon
- Soft Bristle Brush: Available on Amazon
- Baby Wipes (Alcohol-Free): Available on Amazon
- Cricut Brayer Tool: Available on Amazon
How to Clean a Cricut Mat: 5 Easy Methods
Here are five methods for cleaning your Cricut mat, depending on the level of debris and wear.
1. Using a Scraper for Light Debris
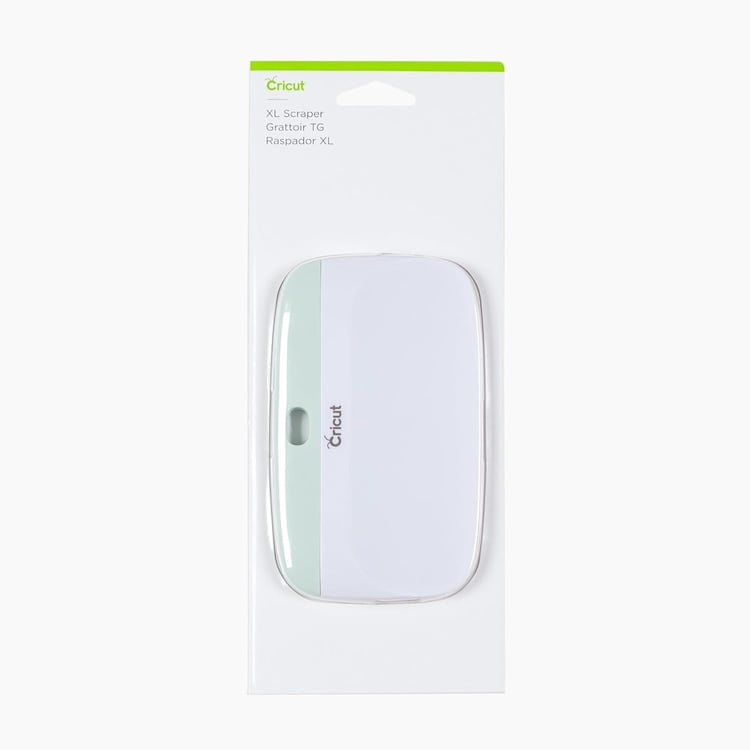
If your mat just has some light debris, such as bits of paper or vinyl, using a plastic scraper is the easiest way to clean it. Cricut’s official scraper tool works well for this, but any plastic scraper will do.
- Step 1: Gently scrape the mat to remove excess debris.
- Step 2: Wipe away the collected pieces with a soft cloth or brush.
Recommended Tool:
- Cricut Scraper Tool: Available on Amazon
2. Using a Lint Roller for Fuzz and Fibers

Lint rollers are great for picking up fuzz, fibers, and small pieces of debris stuck to your Cricut mat. This method is quick, simple, and won’t damage the mat’s adhesive surface.
- Step 1: Roll the lint roller across the mat’s surface to pick up loose debris.
- Step 2: Repeat until your mat looks clean.
Recommended Product:
- Scotch-Brite Lint Roller: Available on Amazon
3. Cleaning with Baby Wipes (Alcohol-Free)

If your Cricut mat is heavily used and needs a bit more attention, alcohol-free baby wipes are a gentle and effective option. Avoid using wipes with alcohol, as they can damage the adhesive.
- Step 1: Wipe the mat gently with an alcohol-free baby wipe, focusing on the areas where debris is most visible.
- Step 2: Let the mat air dry before using it again.
Recommended Product:
- Pampers Sensitive Baby Wipes: Available on Amazon
4. Washing with Dish Soap and Water
If your mat is extremely dirty and the previous methods aren't cutting it, you can wash it with mild dish soap and water. This method is best when your mat has lost a lot of its stickiness.
- Step 1: Fill a sink or basin with warm water and a small amount of dish soap.
- Step 2: Use a soft bristle brush to scrub the mat gently.
- Step 3: Rinse the mat thoroughly with water.
- Step 4: Let the mat air dry completely before using it again.
Recommended Product:
- Dawn Dish Soap: Available on Amazon
5. Using a Brayer Tool for Re-sticking

Once your mat is clean and dry, using a brayer tool can help redistribute the adhesive evenly across the surface. This can extend the life of your mat and improve its stickiness for your next project.
- Step 1: Run the brayer tool over the surface of the mat after cleaning.
- Step 2: Press lightly to ensure even pressure.
Recommended Tool:
- Cricut Brayer: Available on Amazon
How Often Should You Clean Your Cricut Mat?
How often you clean your Cricut mat depends on how frequently you use it and the types of materials you work with. As a general rule of thumb, it’s a good idea to give your mat a quick clean after every few uses, and a deeper clean every couple of weeks if you craft regularly.
Tips for Maintaining Your Cricut Mat
- Use the Right Materials: Avoid using materials that shed heavily or leave too much residue on your mat, such as felt or fabric, unless absolutely necessary.
- Use Transfer Tape Sparingly: If you're using vinyl, apply transfer tape lightly to avoid pulling too much adhesive off the mat.
- Cover the Mat: After cleaning and when not in use, cover your Cricut mat with the protective plastic sheet it came with to prevent dust and debris from settling on the adhesive surface.
When to Replace Your Cricut Mat
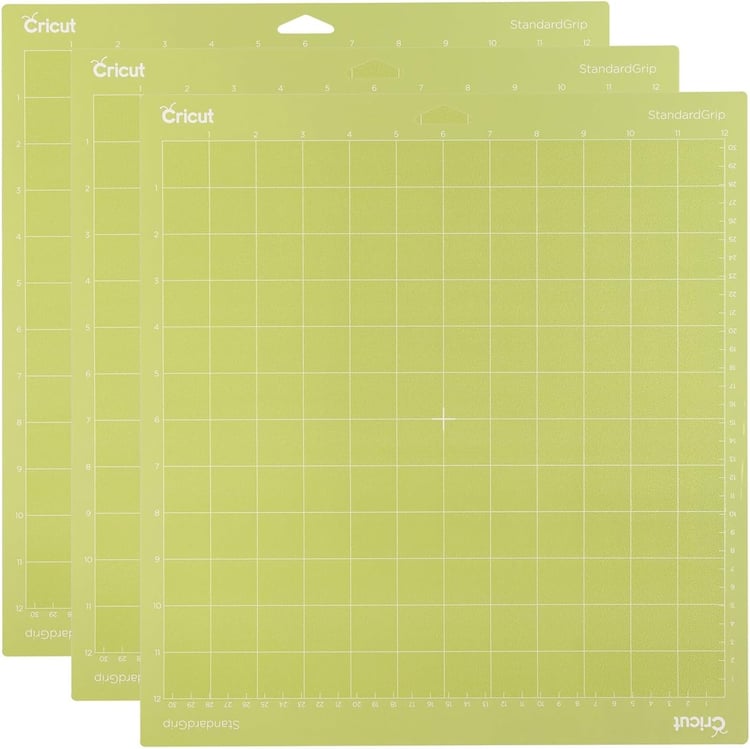
Even with regular cleaning and care, your Cricut mat won’t last forever. Over time, the adhesive will lose its stickiness, and no amount of cleaning will restore it. If you find that your materials are no longer sticking properly despite cleaning, it may be time to replace your mat.
Recommended Replacement Cricut Mats:
- Cricut Standard Grip Mat (Pack of 3): Available on Amazon
Final Thoughts on Cleaning Your Cricut Mat
Cleaning your Cricut mat is a simple and effective way to extend its life and ensure your crafting projects come out perfectly every time. With tools like scrapers, lint rollers, and alcohol-free baby wipes, keeping your mat in top shape is easy.
Need to stock up on cleaning supplies and replacement mats? Check out these Amazon affiliate links for all the essentials:
- Cricut Scraper Tool: Available on Amazon
- Scotch-Brite Lint Roller: Available on Amazon
- Pampers Sensitive Baby Wipes: Available on Amazon
- Dawn Dish Soap: Available on Amazon
- Cricut Brayer Tool: Available on Amazon
- Cricut Standard Grip Mat (Pack of 3): Available on Amazon
Note: This post contains Amazon affiliate links. If you make a purchase through these links, I may receive a small commission at no extra cost to you.
Happy crafting!


