

How to Use Cricut Iron-On Vinyl: A Beginner’s Guide
What is Iron-On Vinyl?
Iron-on vinyl, also known as heat-transfer vinyl (HTV), is a special type of vinyl material with a heat-activated adhesive. It’s a versatile crafting material that allows you to create personalized designs on various surfaces. Here’s what you need to know:
- Base Materials: You can use iron-on vinyl on a variety of base materials, including fabric, metal, paper, and even wood.
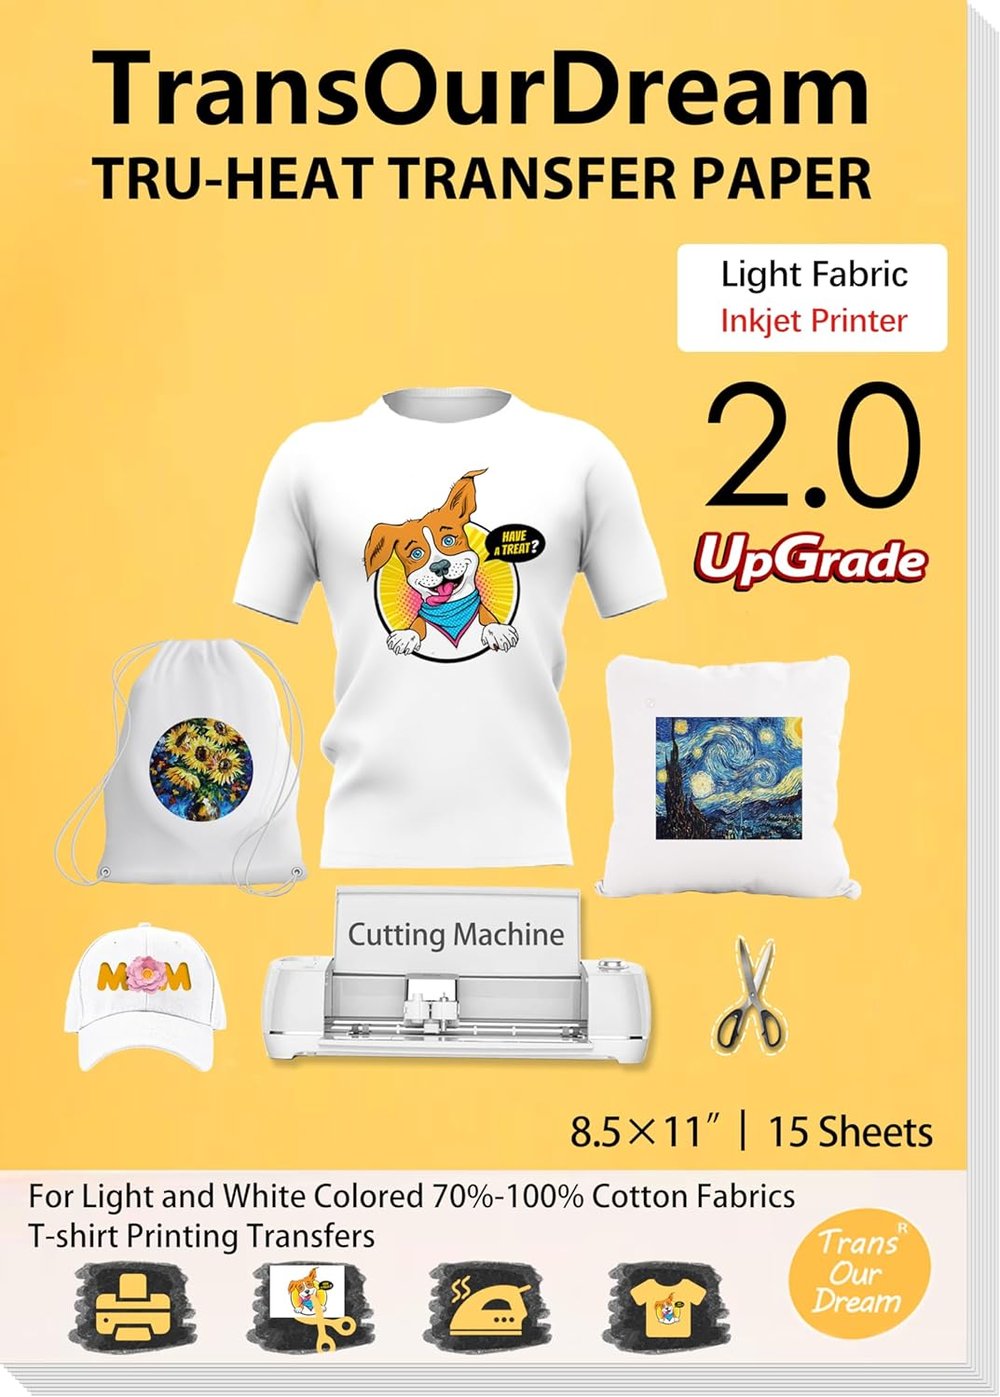
Fabric
Get them from Amazon Fabric
Metal

Get them from Amazon Metal
Paper
Get them from Amazon Paper
Wood
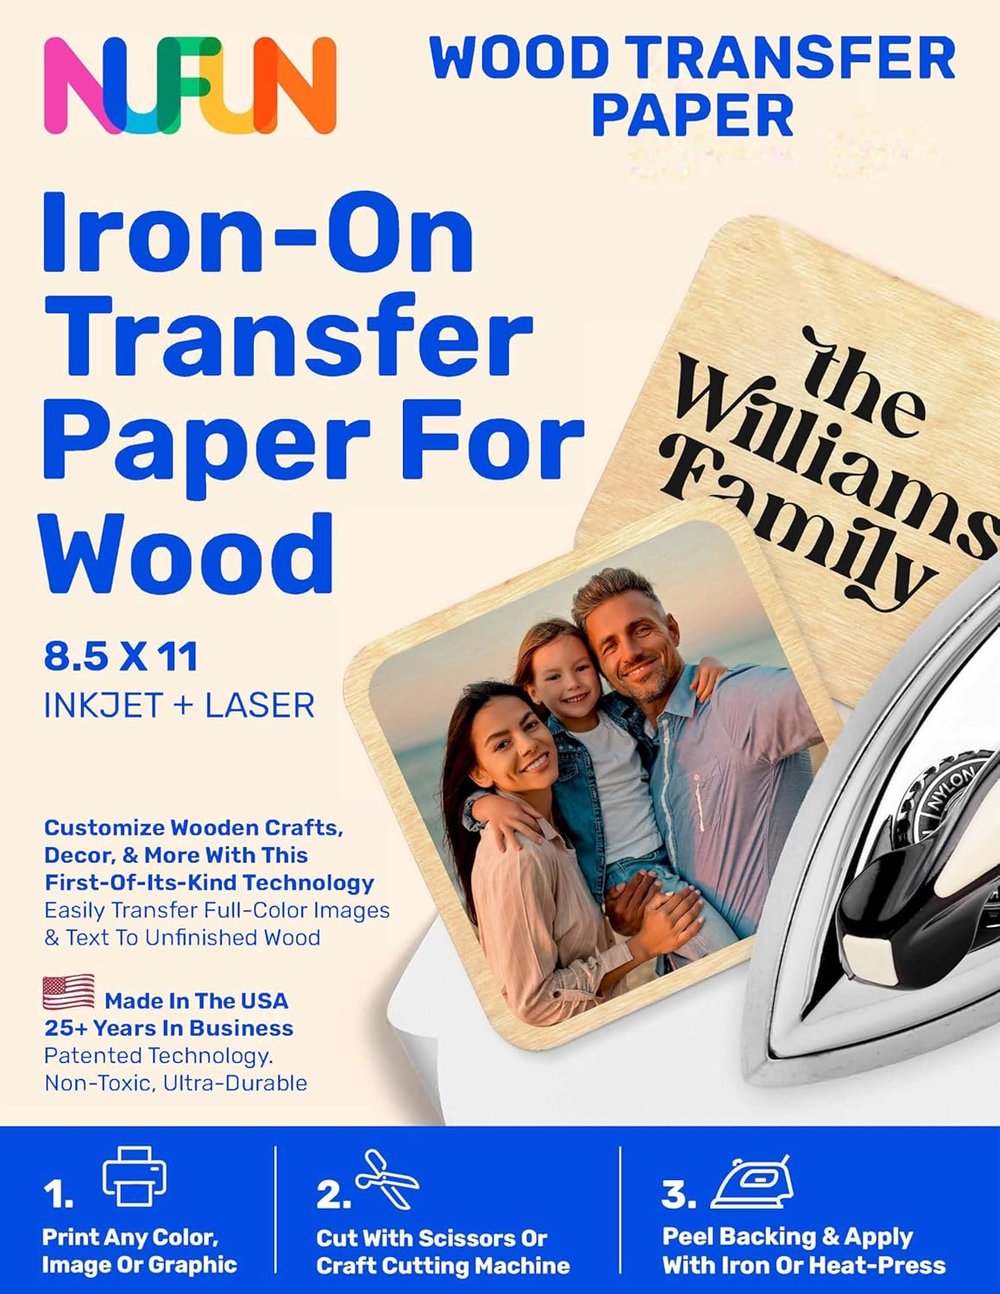
Get them from Amazon Wood
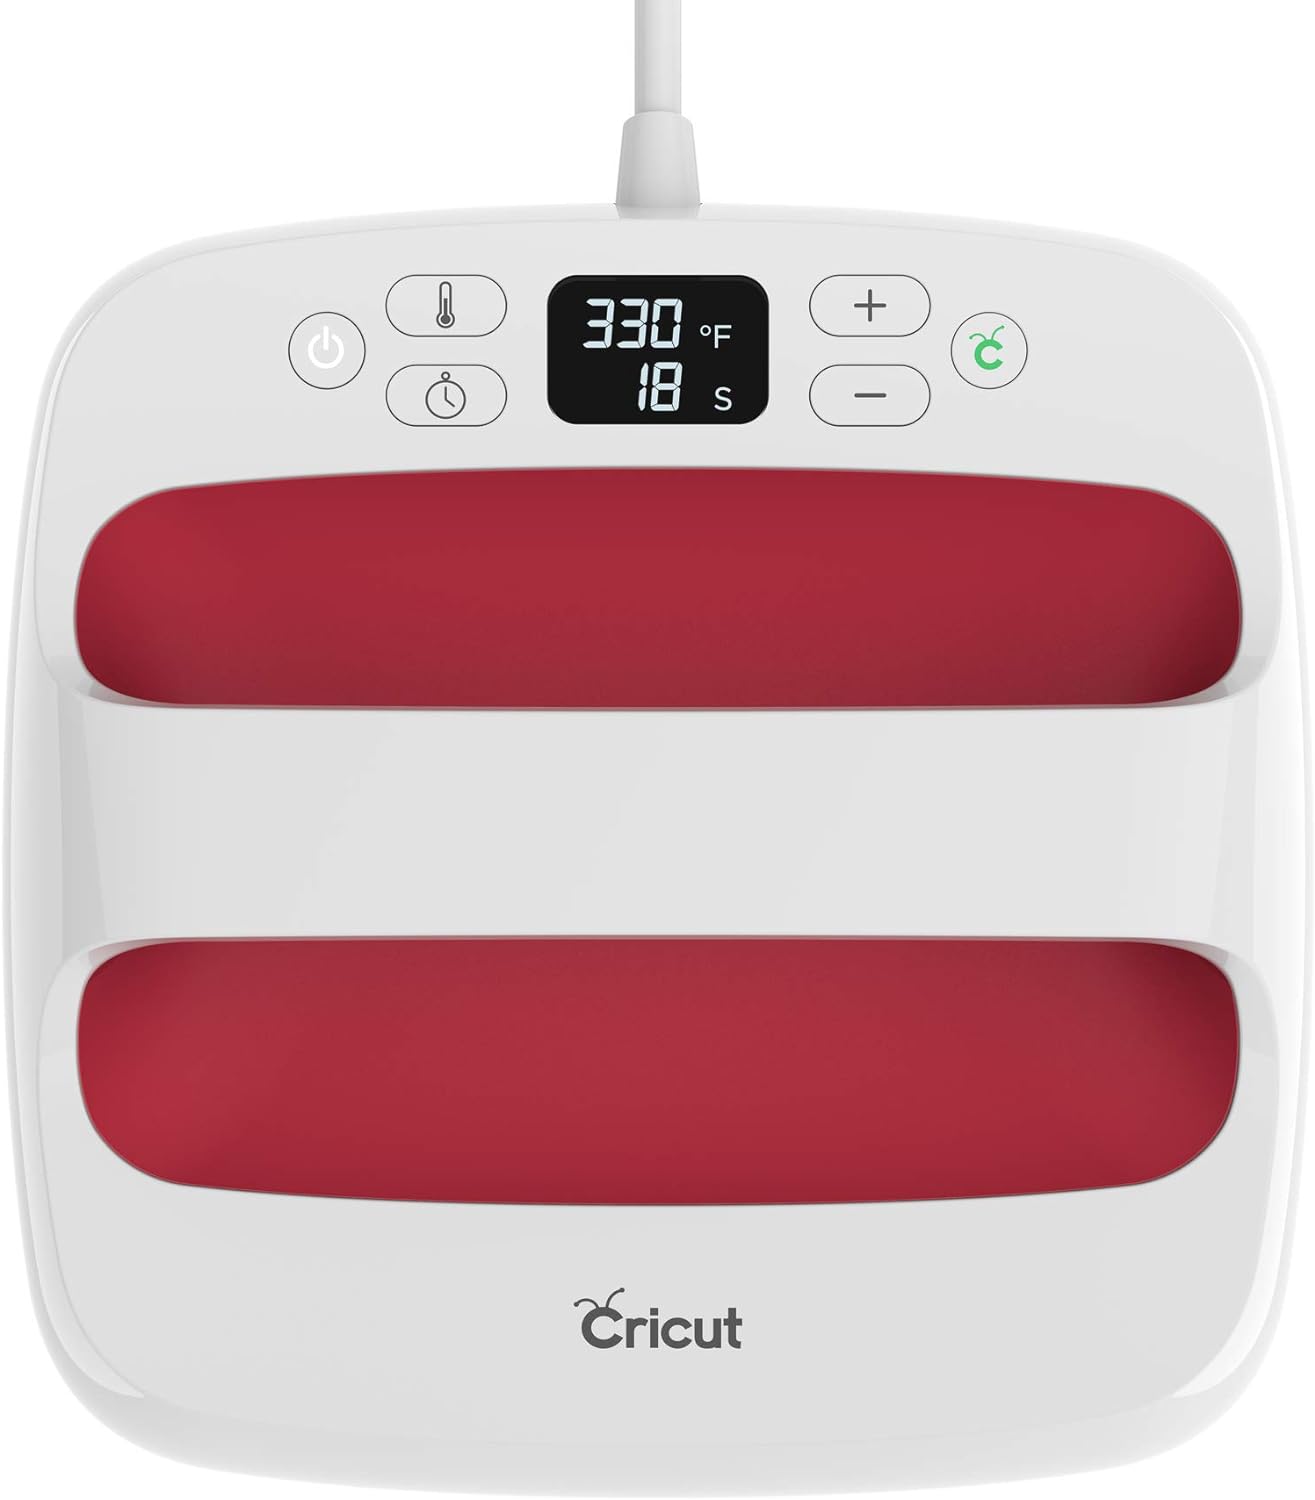
- Application Process: To apply iron-on vinyl, you’ll use a heat source such as a household iron or a Cricut EasyPress.
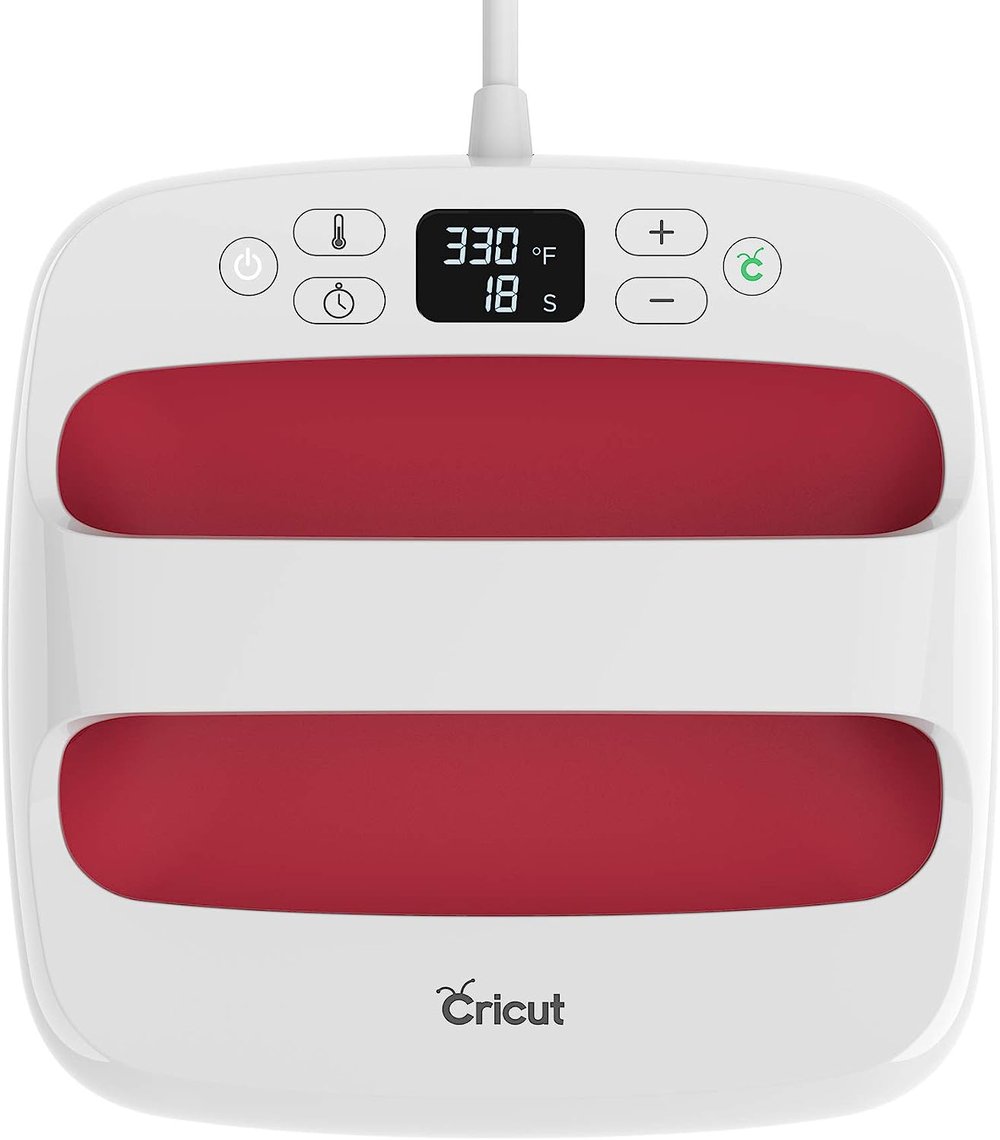
Get them from Amazon Cricut EasyPress.
Step-by-Step Guide for Using Cricut Iron-On Vinyl
Gather Your Materials
Before diving into your project, make sure you have the following:
- Cricut Maker: The Cricut Maker is perfect for working with iron-on vinyl.
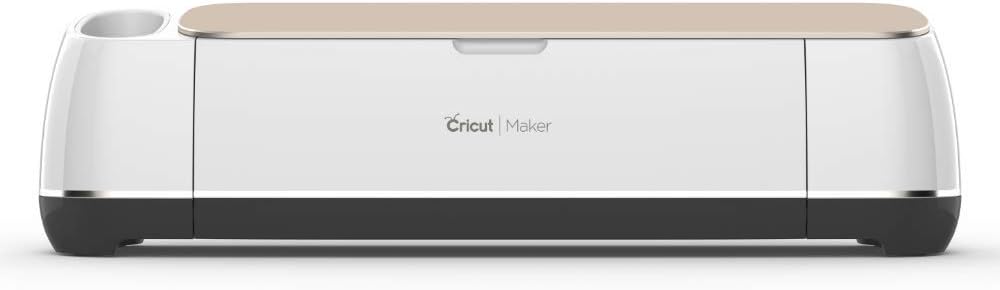
Get them from Amazon Cricut Maker
- Iron-On Vinyl Sheets or Rolls: Choose your favorite colors and patterns.
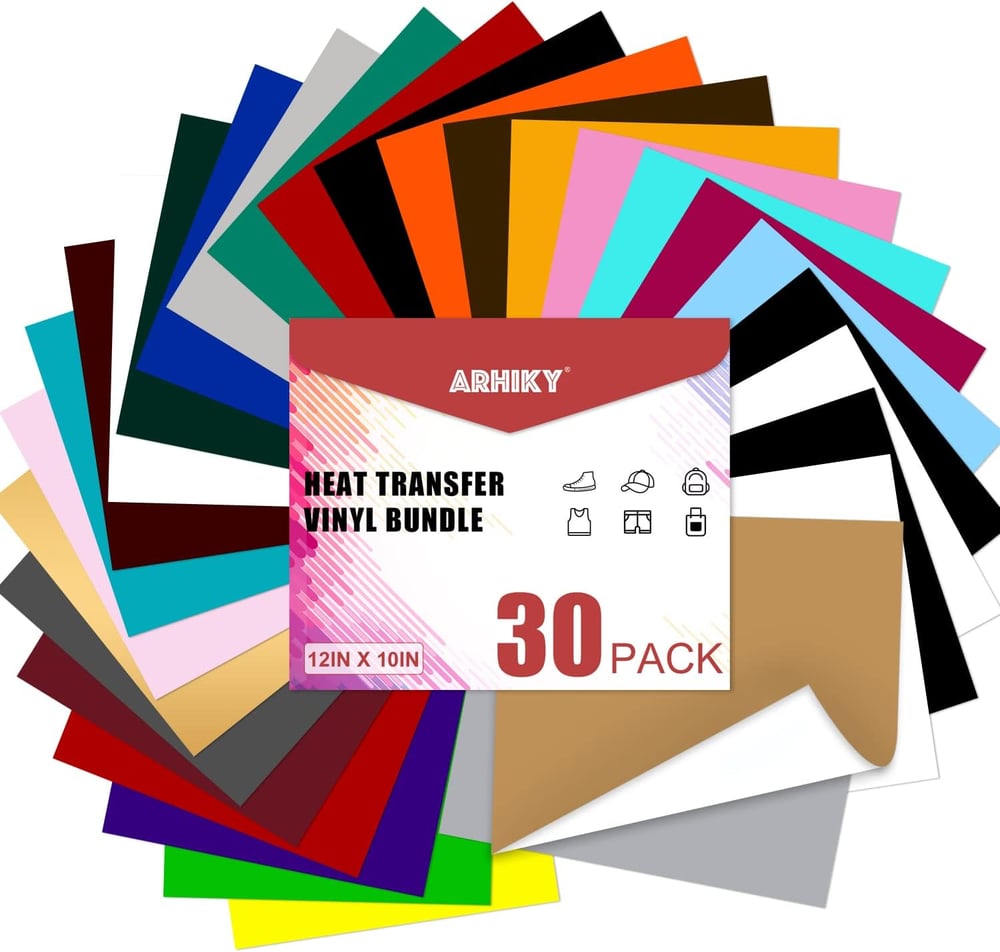
Get them from Amazon Iron-On Vinyl Sheets or Rolls
- Cutting Mat: Ensure it’s clean and sticky for precise cutting.
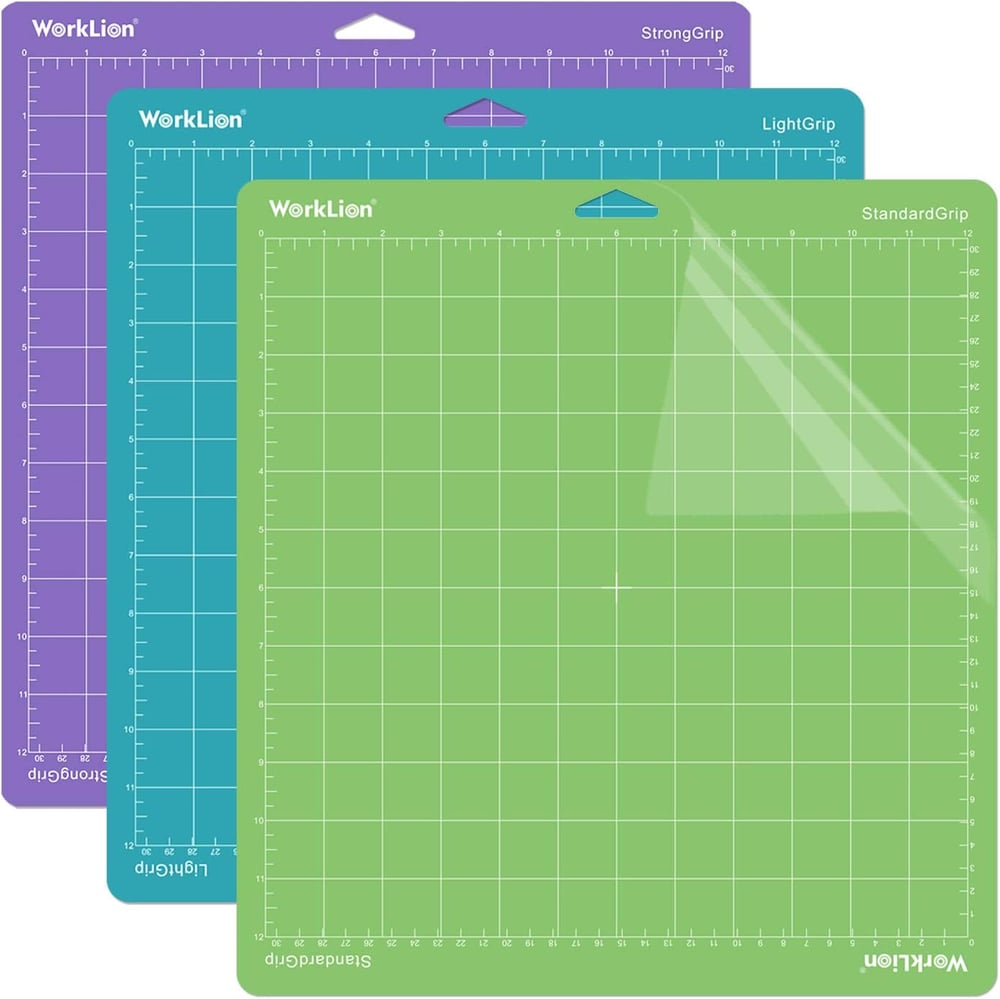
Get them from Amazon Cutting Mat
- Weeding Tools: These help remove excess vinyl.
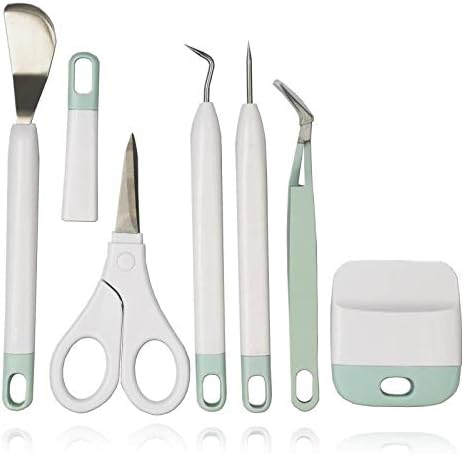
Get them from Amazon Weeding Tools
- Base Material: Whether it’s a T-shirt, tote bag, or pillowcase, select your canvas.
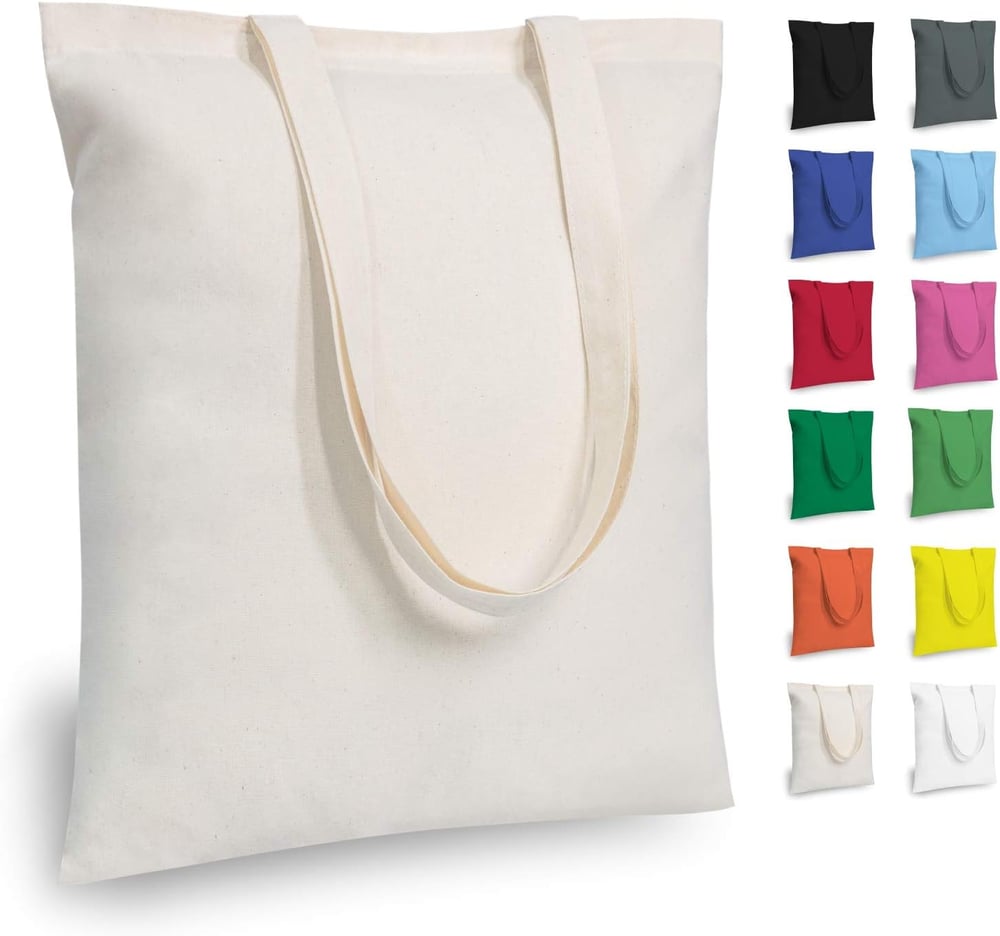
Get them from Amazon tote bag
Design Your Vinyl Decal
- Open Cricut Design Space.
- Create or upload your design. Remember to mirror the image horizontally (especially for text).
- Adjust the size and position as needed.
Cut and Weed
- Load your iron-on vinyl onto the cutting mat.
- Set the material type to Iron-On in Design Space.
- Let your Cricut Maker work its magic! It will precisely cut your design.
- After cutting, carefully weed (remove) the excess vinyl using weeding tools.
Prepare Your Base Material
- Preheat your base material (e.g., pre-wash the T-shirt).
- Position your weeded vinyl on the material to check placement.
Apply the Iron-On Vinyl
Choose your preferred method:

Get them from Amazon Household Iron
- Set your iron to the cotton setting (no steam).
- Place a cloth or parchment paper over the vinyl.
- Apply firm pressure for about 20-30 seconds.
- Peel off the clear plastic carrier sheet while it’s warm.

Get them from Amazon Cricut EasyPress
- Refer to Cricut’s recommended settings for temperature and time.
- Follow the same steps as with the iron.
Heat Press (if available):
- Set the heat press according to the vinyl manufacturer’s instructions.
- Apply pressure evenly.
Admire Your Creation!
Voilà! You’ve successfully applied iron-on vinyl to your base material. Whether it’s a custom T-shirt, a tote bag, or a baby onesie, your project is ready to shine.
Tips and Tricks for Perfect Results
- Practice Makes Perfect: Experiment on scrap fabric before tackling your main project.
- Layering: You can layer different colors of iron-on vinyl for more intricate designs.
- Wash Care: Turn your garment inside out when washing to preserve the vinyl.
Remember, iron-on vinyl opens up a world of creativity. Share your projects, inspire others, and earn commissions through your Amazon affiliate links! 🛒💡
Disclosure: This post contains affiliate links. If you make a purchase through these links, I may earn a small commission at no additional cost to you.
Happy crafting! 🌟✂️