

Engraving wood with a Cricut Maker is a fantastic way to create personalized and intricate designs. Whether you’re making custom signs, jewelry, or decorative pieces, the Cricut Maker’s engraving feature opens up a world of possibilities. Let’s dive into the process step by step:
How to Engrave Wood with a Cricut Maker
Supplies Needed:
Cricut Maker
Get them from Amazon Cricut Maker
Knife Blade
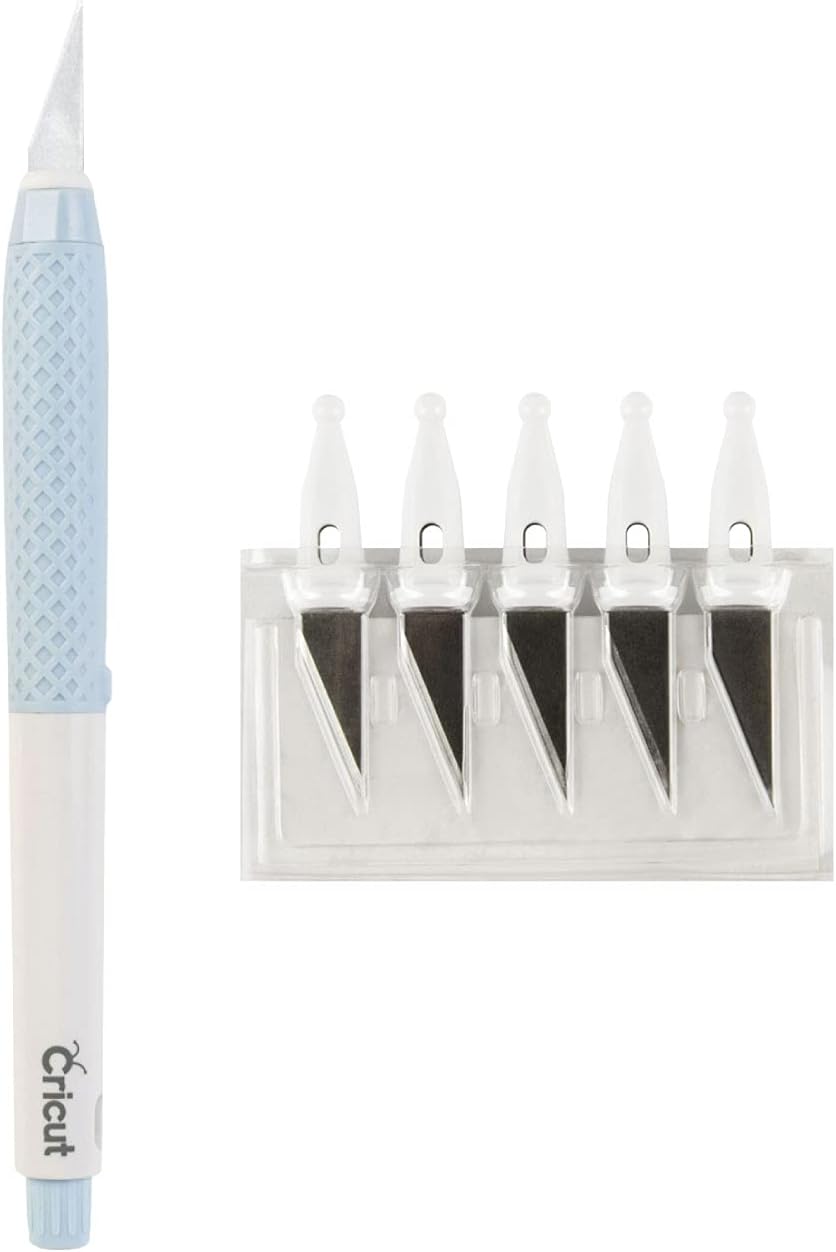
- Get them from Amazon Knife Blade
Engraving Tip with QuickSwap Housing
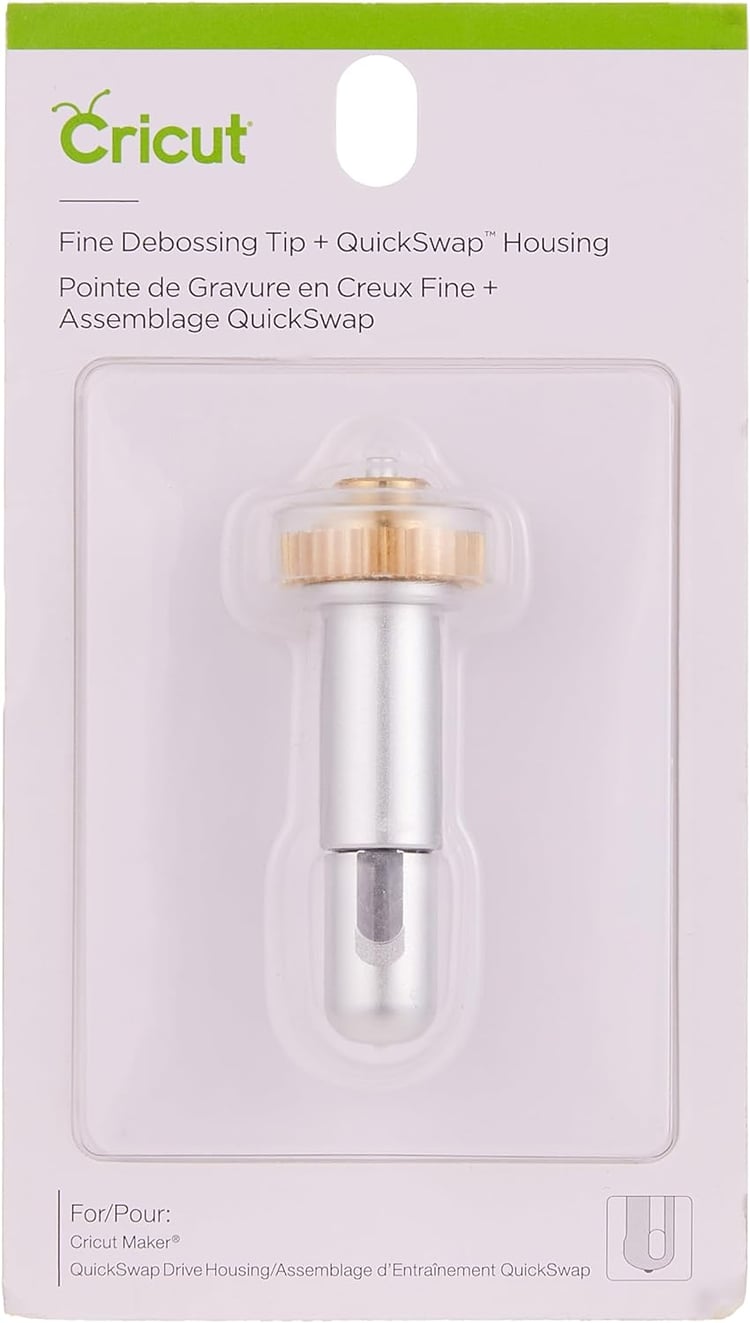
- Get them from Amazon Engraving Tip with QuickSwap Housing
Basswood (I recommend using basswood from Cricut or look for 1/16" basswood at your local craft store)
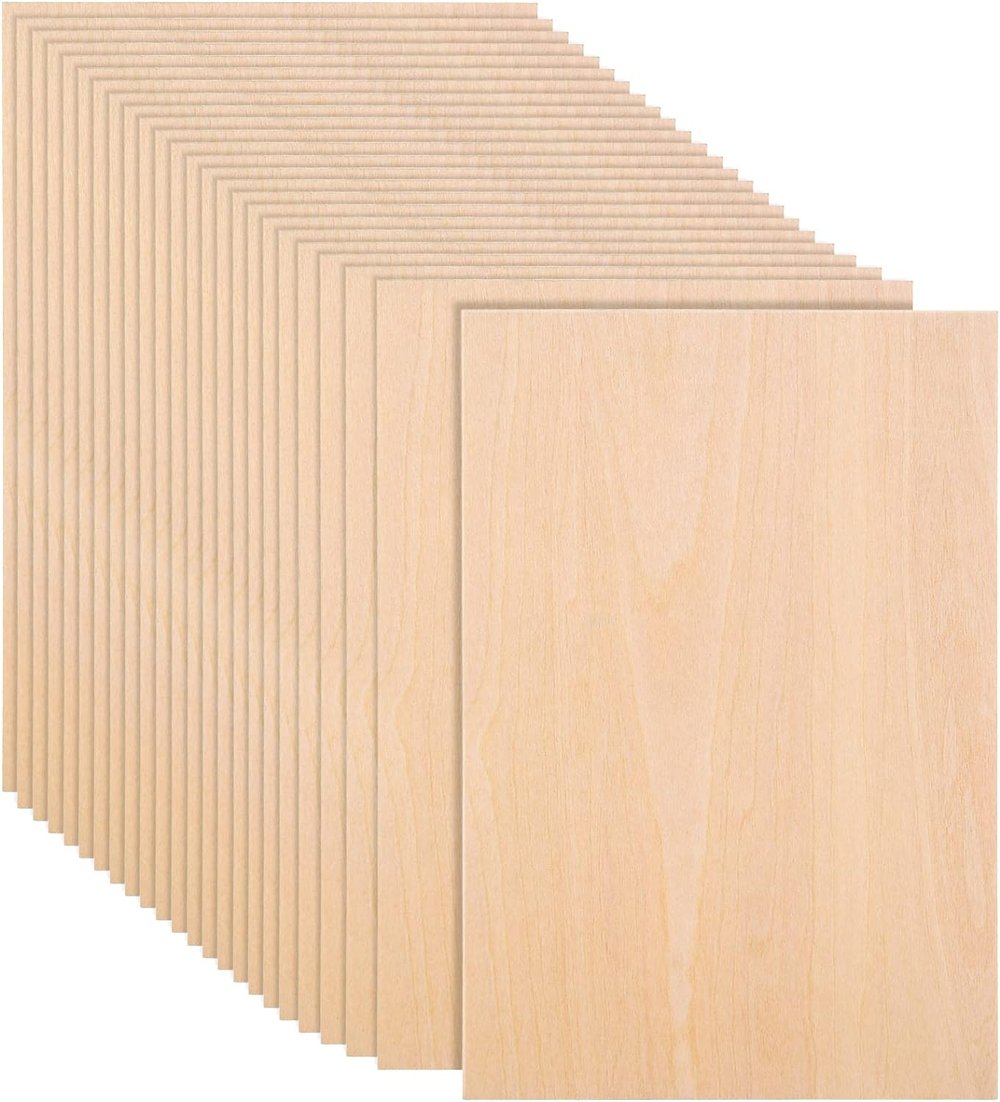
Get them from Amazon Basswood
StrongGrip Mat
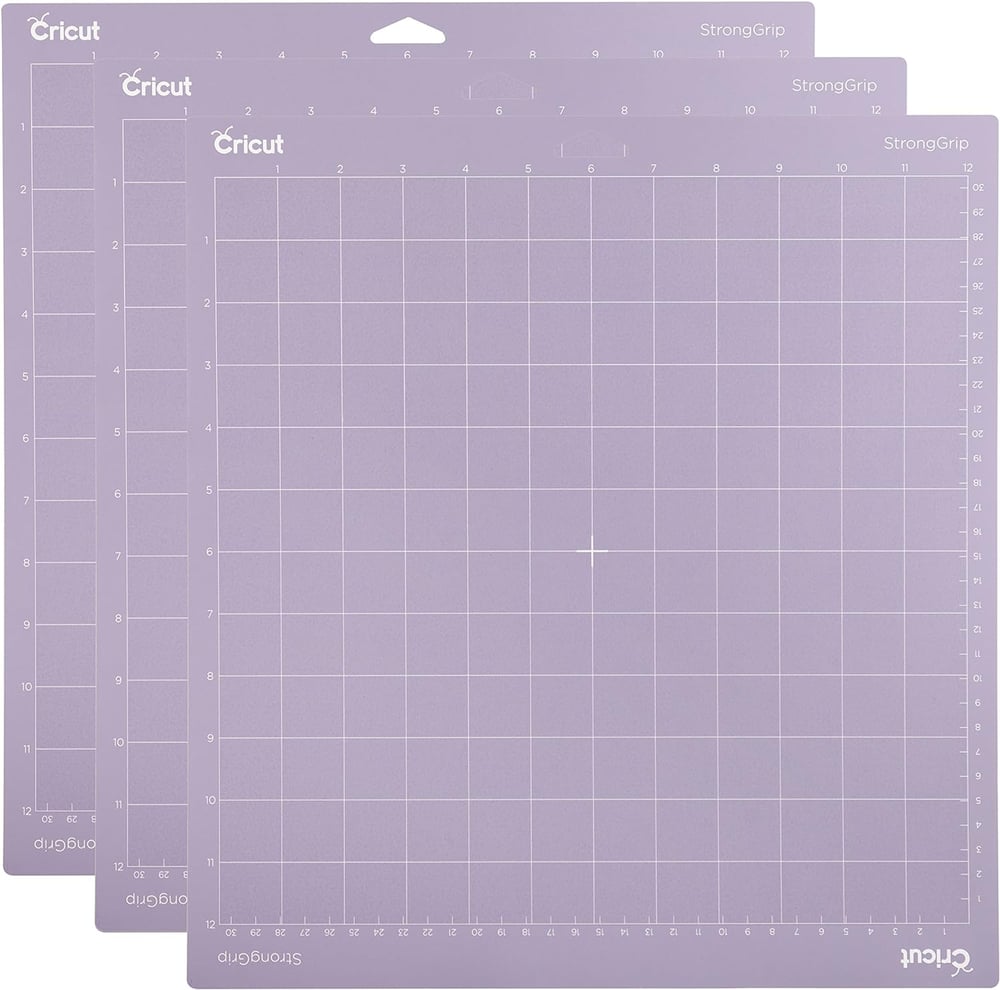
- Get them from Amazon StrongGrip Mat
Masking Tape
- Get them from Amazon Masking Tape
Brayer
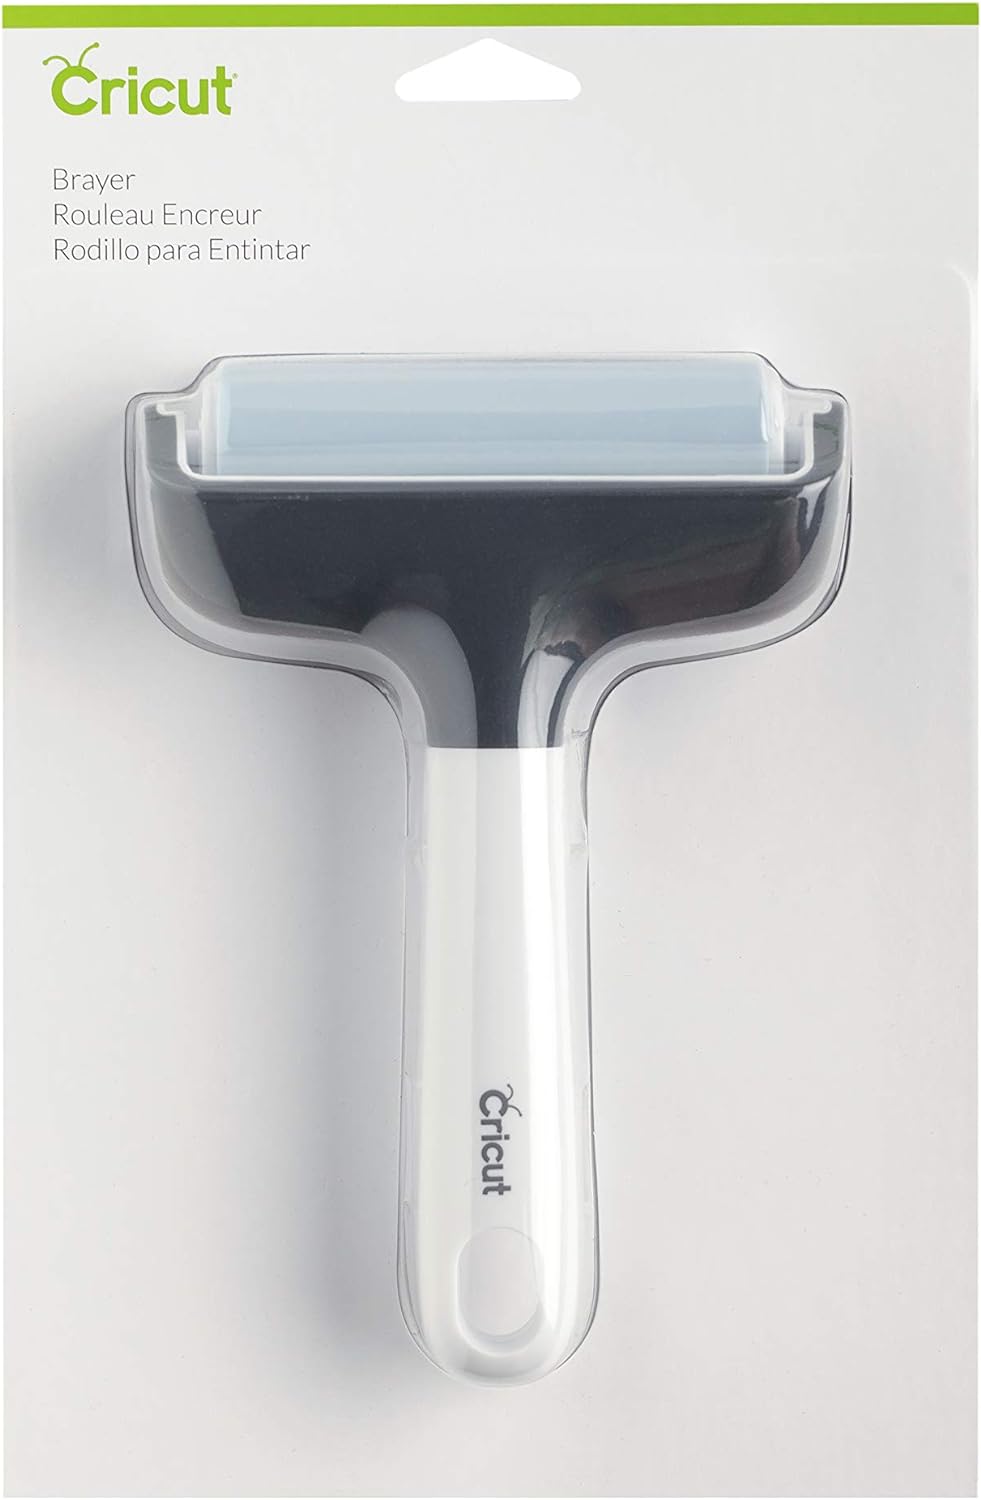
- Get them from Amazon Brayer
Wood Stain
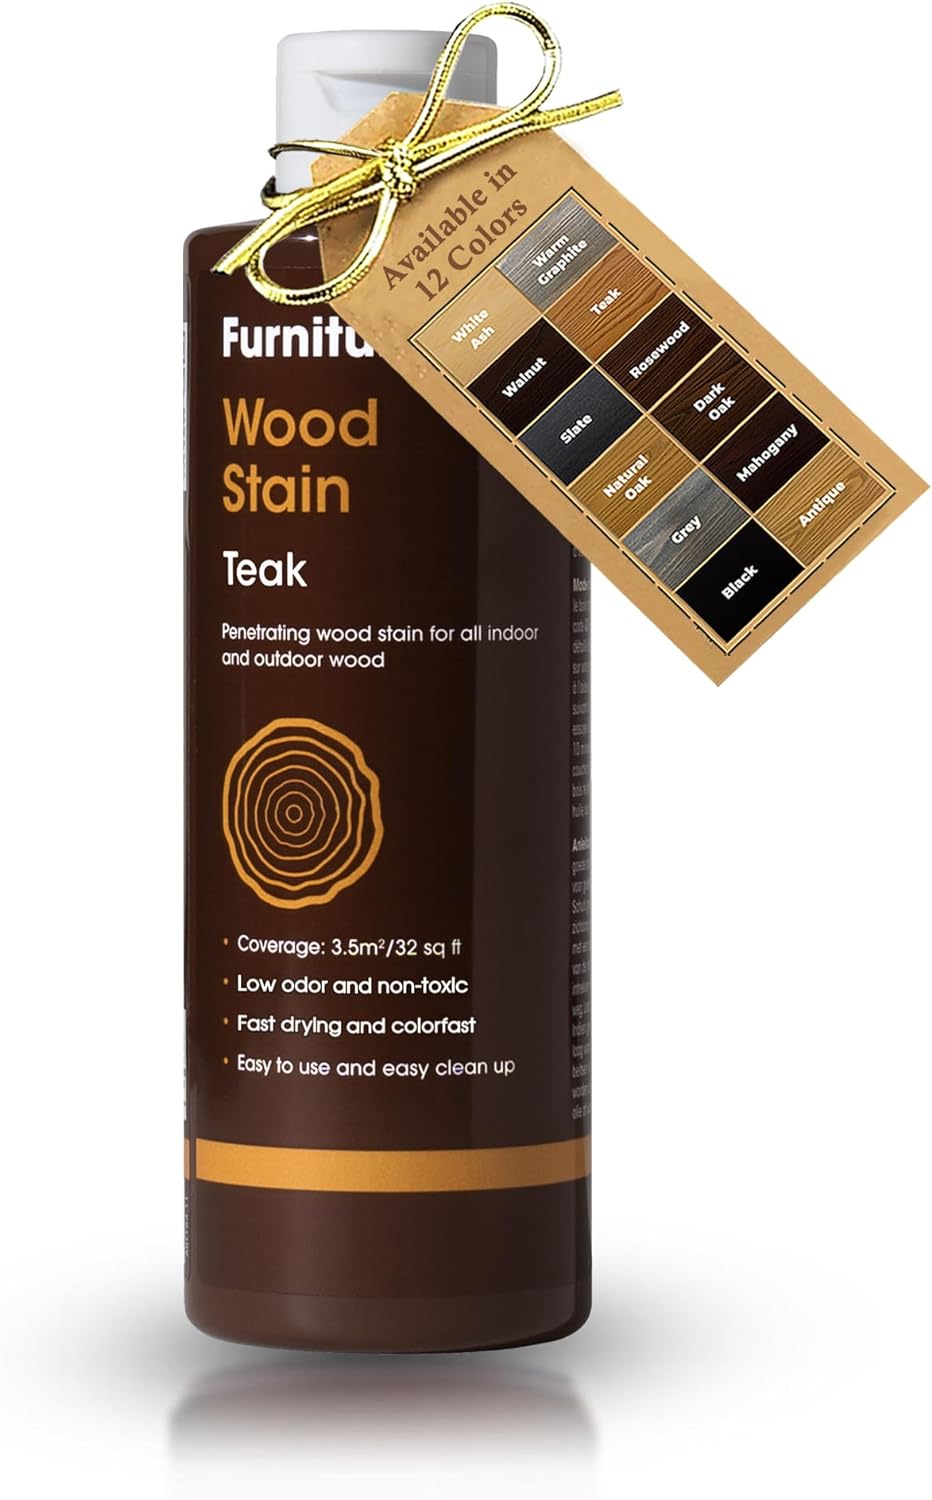
- Get them from Amazon Wood Stain
Jewelry Pliers
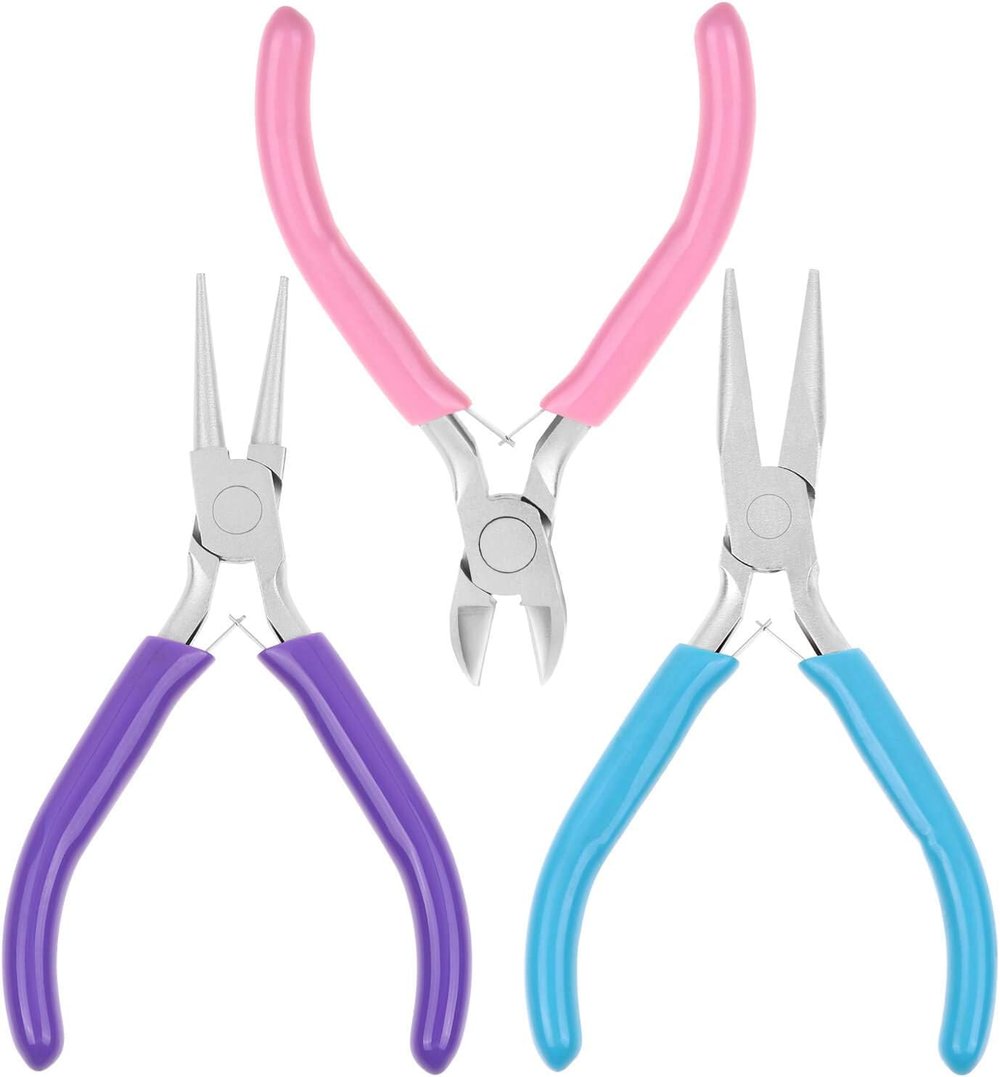
- Get them from Amazon Jewelry Pliers
Jewelry Findings
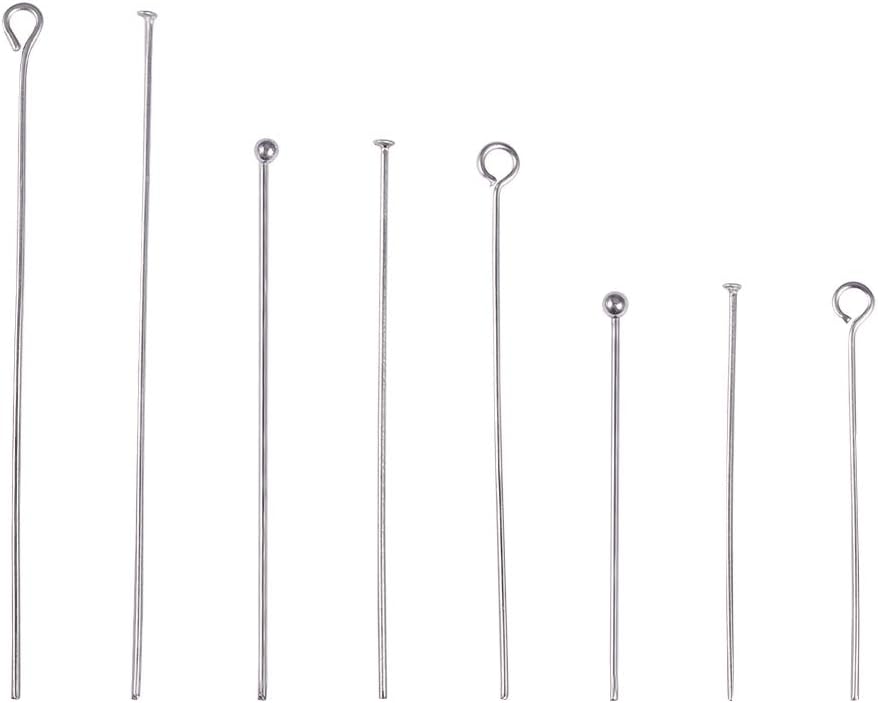
- Get them from Amazon Jewelry Findings
Sandpaper (light 150 grit)
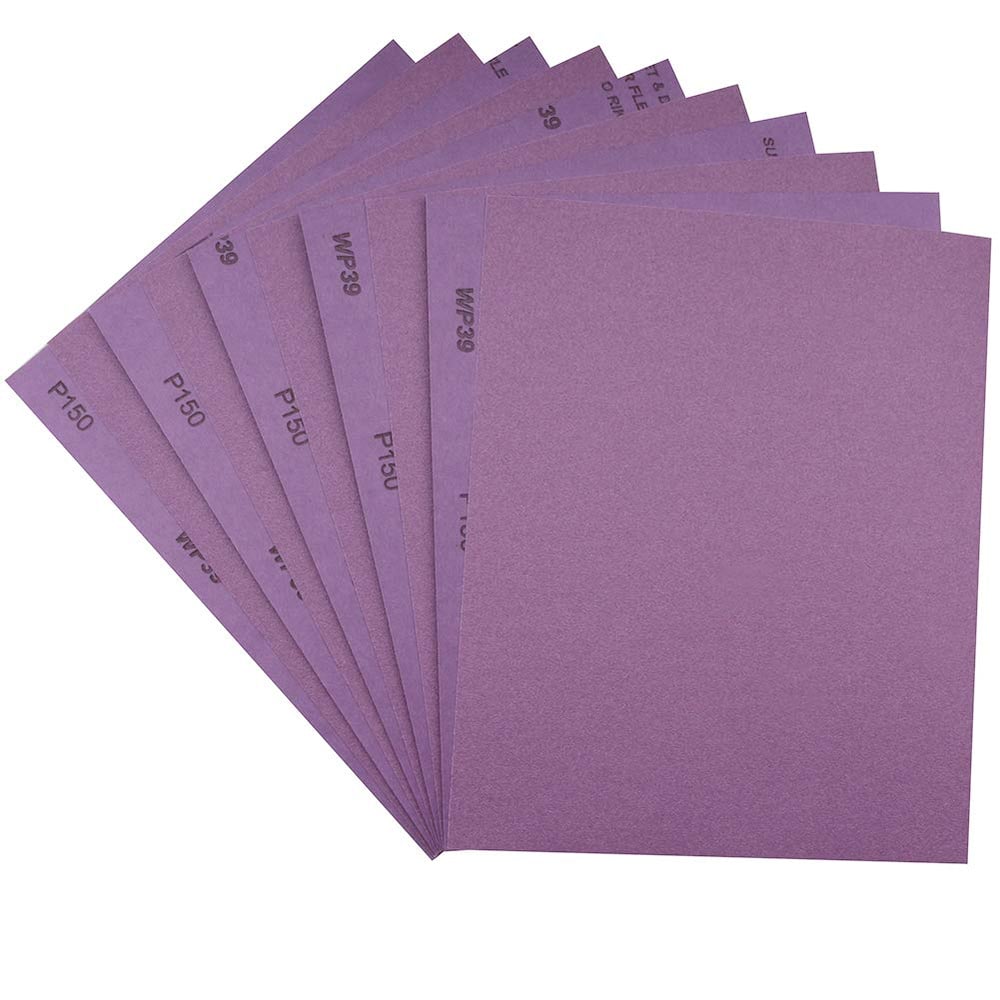
- Get them from Amazon Sandpaper (light 150 grit)
Hole Punch (I love my Crop-a-dile)
- Get them from Amazon Hole Punch (I love my Crop-a-dile)
Cut file for earrings
Steps:
Choose Your Design:
- In Cricut Design Space, add the shape or line that you want to engrave. Simple shapes work best for this method.
- Remember that the engraving option is available only for the Cricut Maker.
- If using a font, pick one with a writing style for optimal results.
Double Engrave for Depth:
- To create a deeper indention in the wood, add two of the engraved images directly on top of each other.
- The double engraving stands out more and gives a richer effect.
Prepare Your Wood:
- Place your Basswood on a StrongGrip mat and use a Brayer to secure it well.
- Tape down the wood along all edges to prevent movement during engraving.
Set Up Your Project in Design Space:
- Click “Make It” in Cricut Design Space.
- Adjust your shapes to fit the material size if needed. Note that wood won’t appear in the materials list as an engraving material.
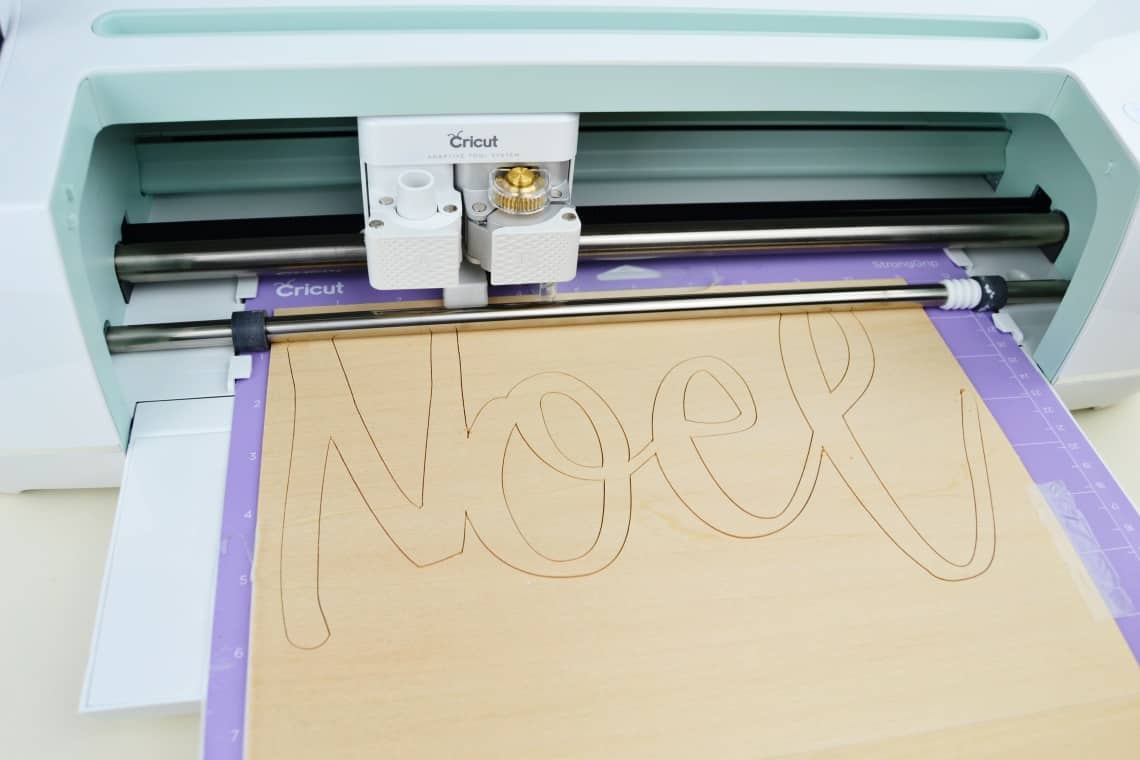
Engrave Your Design:
- Follow the prompts to load your engraving tip and start the process.
- The Cricut Maker will cut through the top layer of wood, creating your design.
- Once done, remove the tape and admire your engraved masterpiece!
Finishing Touches:
- Sand any rough edges with light 150-grit sandpaper.
- Apply wood stain to enhance the engraved design.
- Attach jewelry findings using pliers to create earrings or other accessories.
Tips and Tricks:
- Wood Selection: Basswood works best for engraving due to its strength.
- Contour Function: Use it to simplify more complicated designs.
- Double Engrave: Layering two passes creates a deeper effect.
Conclusion
Now you’re ready to explore the world of wood engraving with your Cricut Maker! Happy crafting! 🌲✨
Note: This post contains Amazon affiliate links. If you make a purchase through these links, I may receive a small commission at no extra cost to you.
Happy crafting! 🎨✂️