

How to Use Cricut Iron-On Vinyl: A Beginner’s Guide
CAREGY HTV Heat Transfer Vinyl
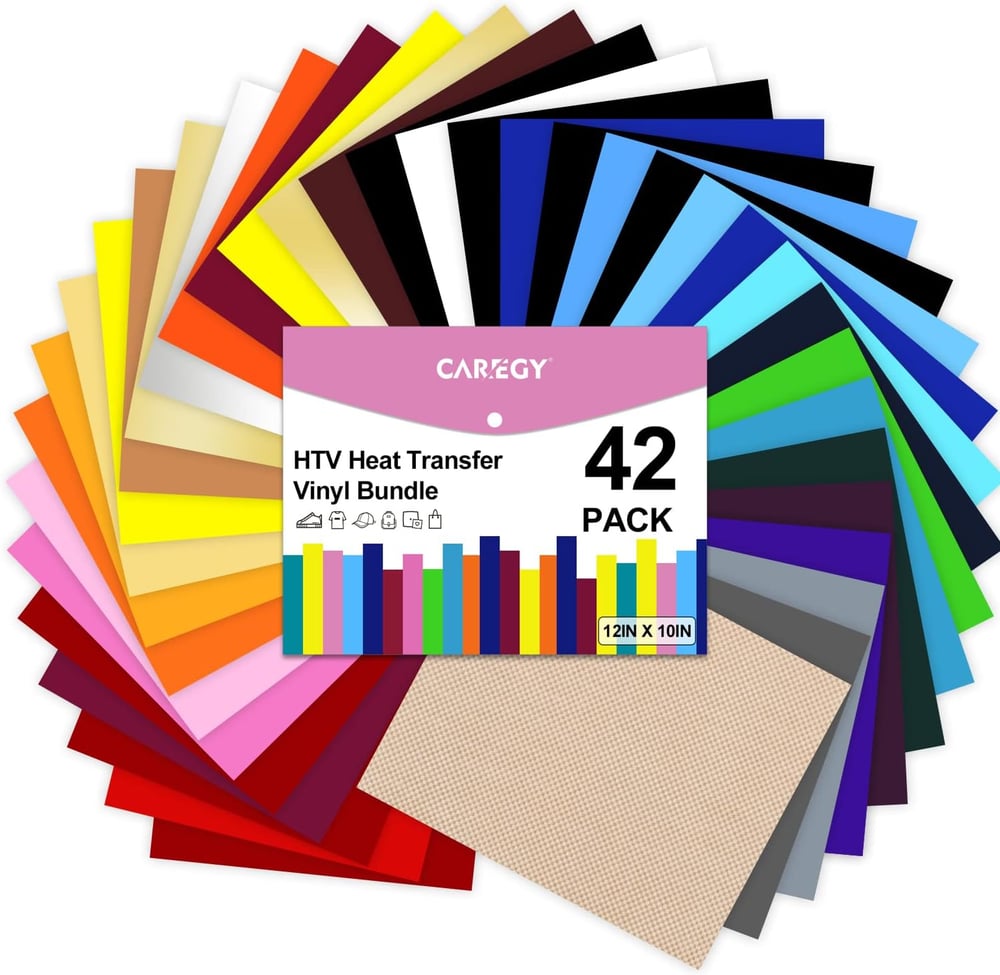
Get them from Amazon Heat Transfer Vinyl Bundle
Disclosure: This post may contain affiliate links. If you make a purchase through these links, I may earn a small commission at no extra cost to you.
Get them from Amazon Heat Transfer Vinyl Bundle
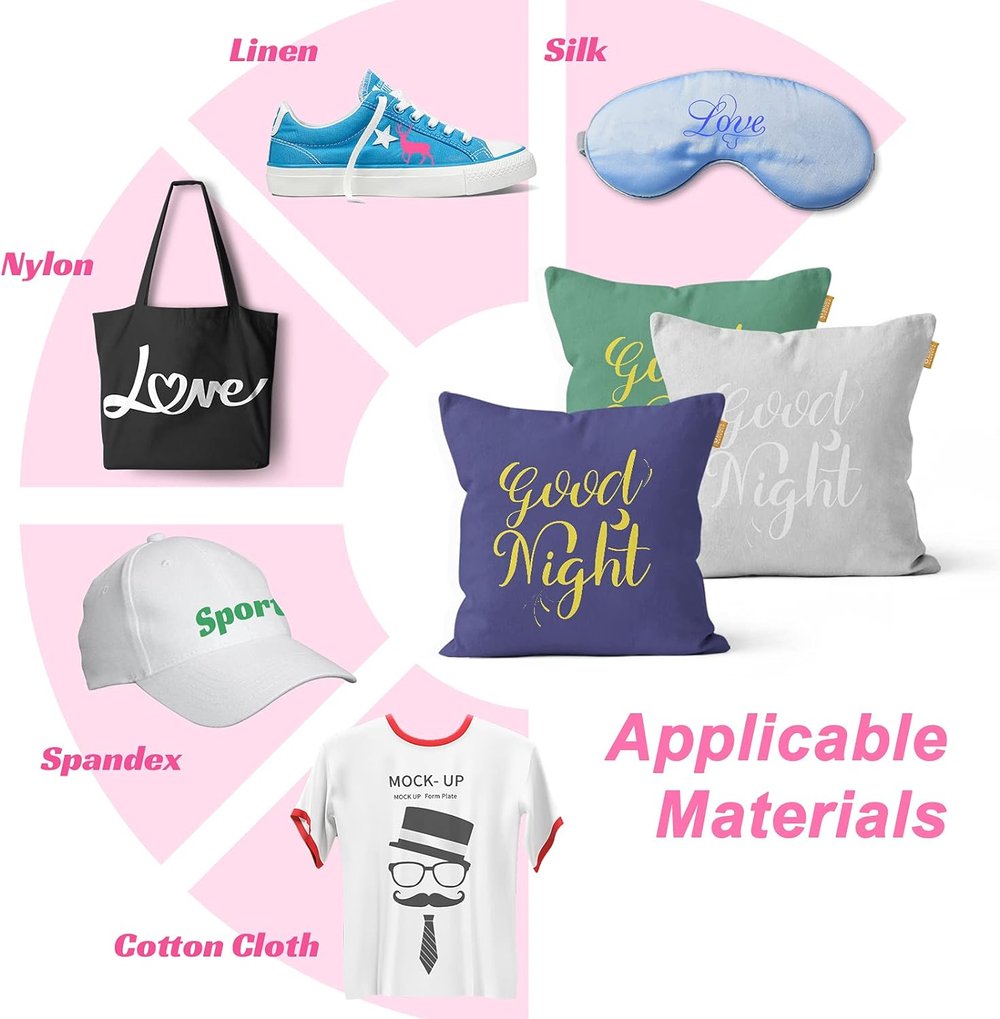
Have you ever wanted to create custom designs on fabric, shirts, hats, or tote bags? Cricut iron-on vinyl, also known as heat-transfer vinyl (HTV), is a fantastic material for achieving personalized and professional-looking projects. In this comprehensive beginner’s guide, I’ll walk you through the steps to cut and apply iron-on vinyl using your Cricut machine. Whether you’re a crafting novice or looking to expand your skills, this article is for you!
What is Iron-On Vinyl?

Get them from Amazon Heat Transfer Vinyl Bundle
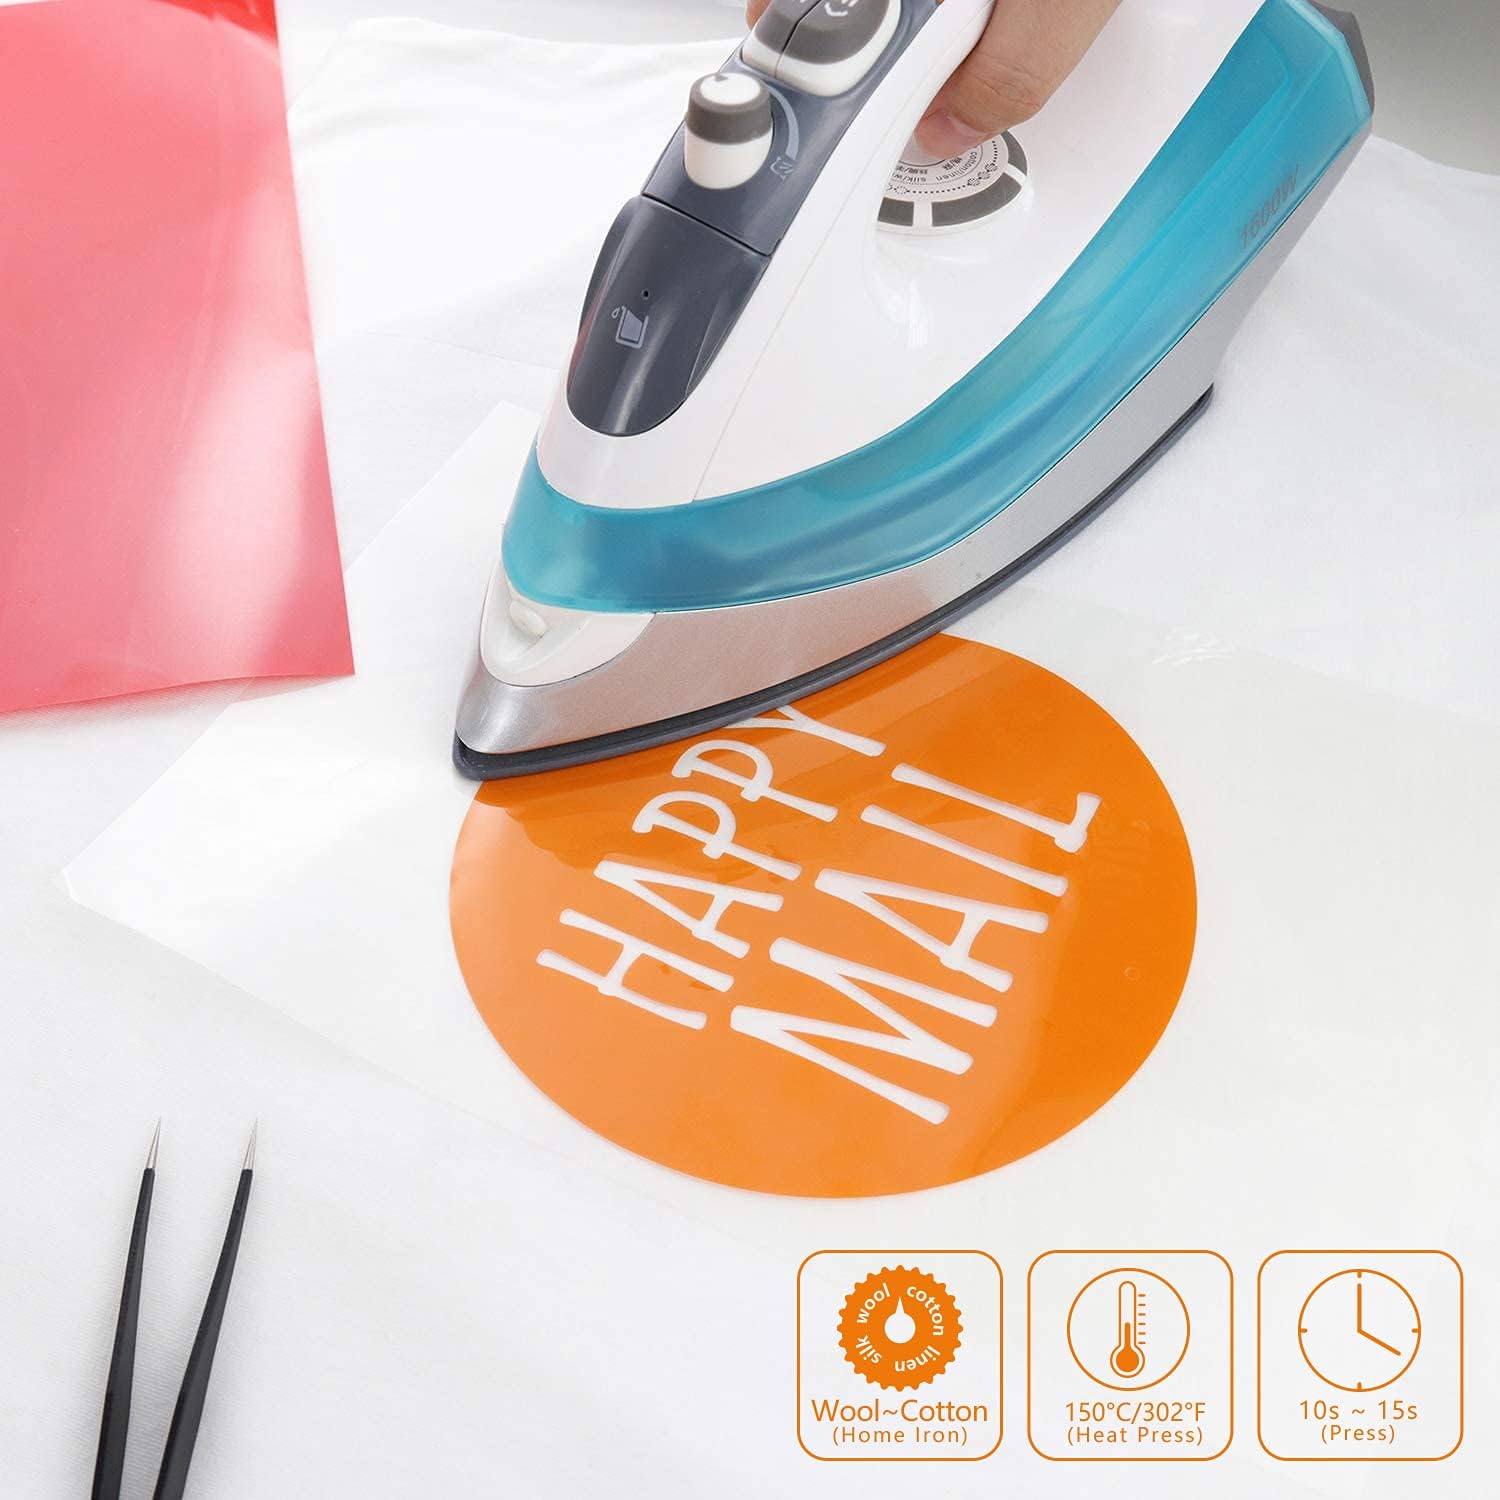
Iron-on vinyl is a special type of vinyl material with a heat-activated adhesive. It adheres to various base materials, including fabric, metal, paper, and wood. When you apply iron-on vinyl to your project, you’ll use a heat source like a household iron or a Cricut EasyPress. The vinyl comes in pre-cut sheets or rolls, and it consists of two layers: the colorful vinyl layer and a clear plastic backing (carrier sheet). Remember, there are two main types of vinyl—adhesive vinyl and iron-on vinyl—and this post focuses on iron-on vinyl.
Step-by-Step Guide
Get them from Amazon Heat Transfer Vinyl Bundle
1. Design Your Project

Find it in our Shop! Disney Trip 2024 SVG
+ For more Designs check out our main website page Payhip.com/Izzysdesignz +
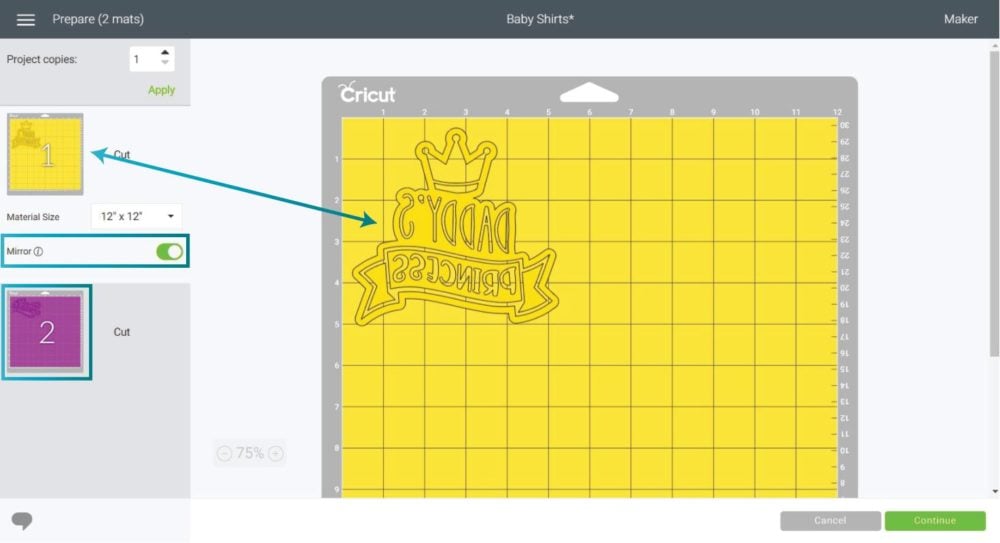
Open Cricut Design Space and create or choose your design. Remember to mirror the design horizontally before cutting.
Select the appropriate iron-on vinyl type based on your project (e.g., Everyday Iron-On, Glitter Iron-On, etc.).
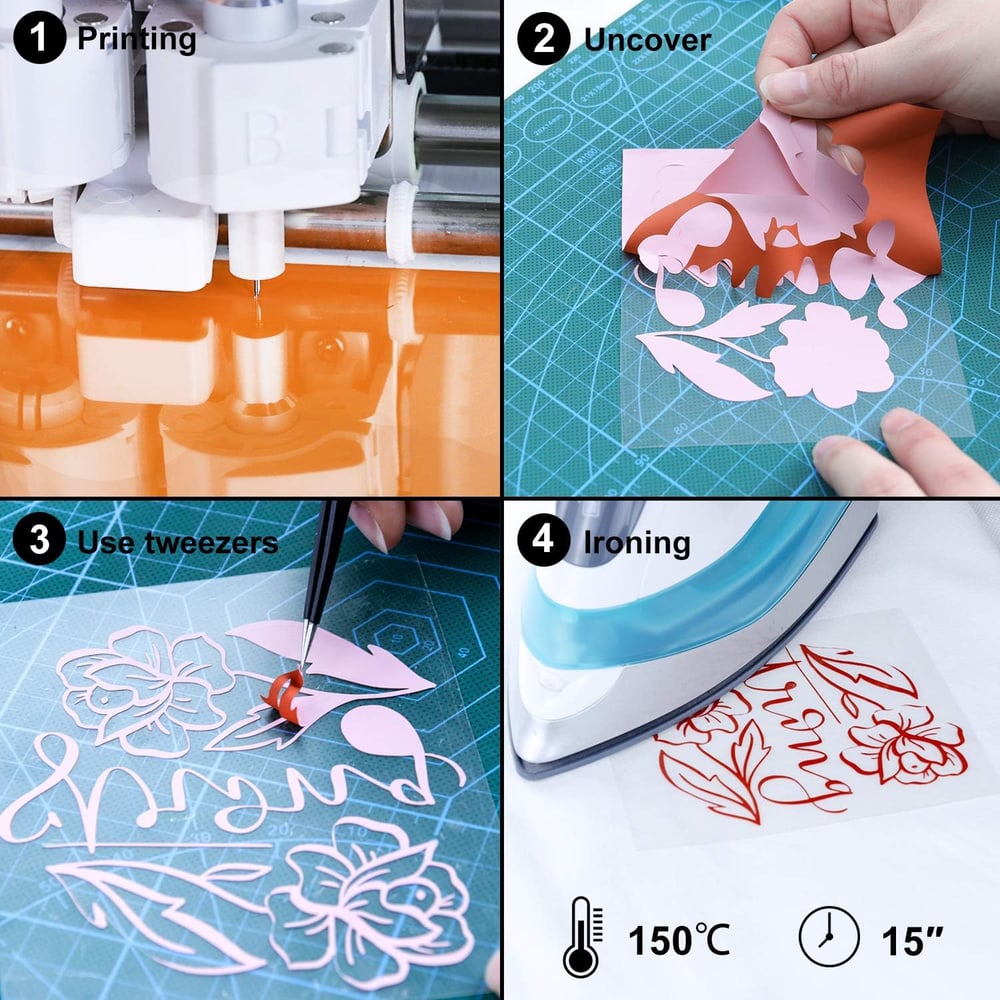
2. Cut and Weed
Load the iron-on vinyl onto your Cricut cutting mat with the shiny side down.
Cut your design using your Cricut machine.
HTV Heat Transfer Vinyl Bundle
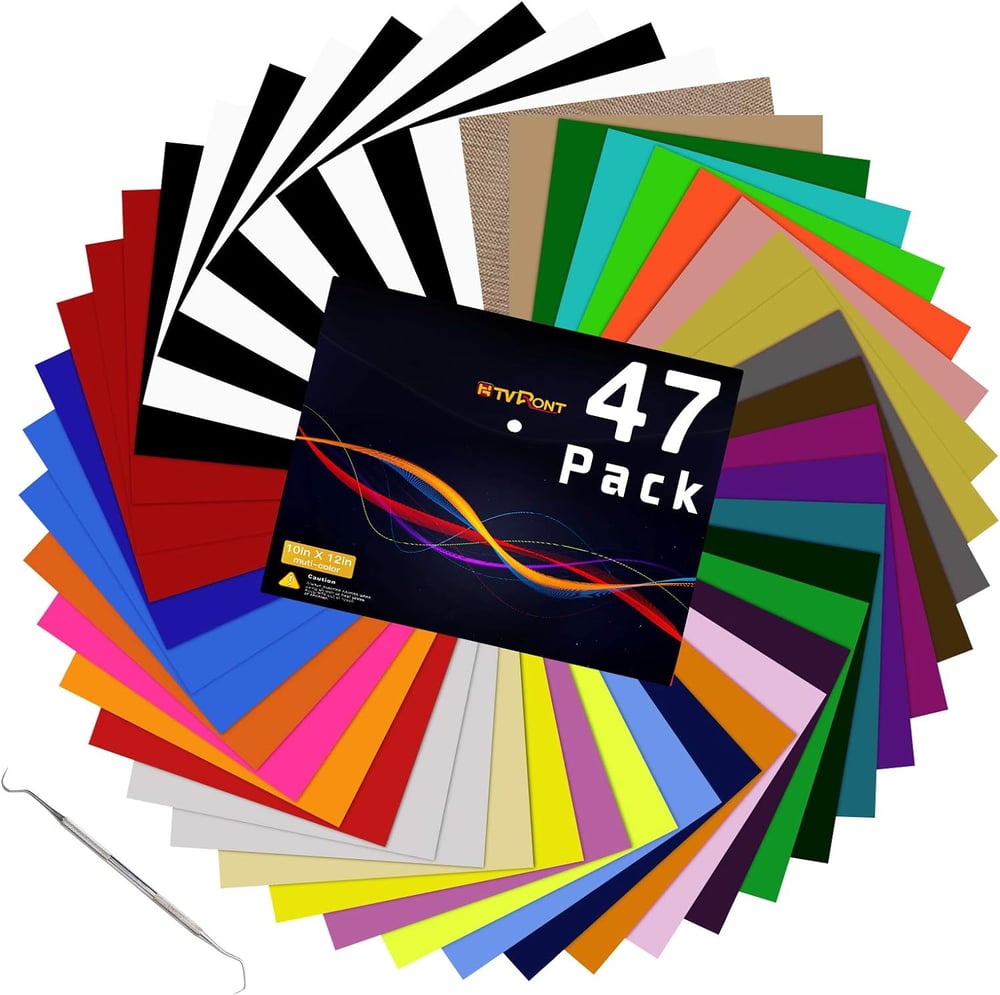
Get them from Amazon Heat Transfer Vinyl Bundle
Weed out the excess vinyl using a weeding tool.
Craft Vinyl Weeding Tools Set
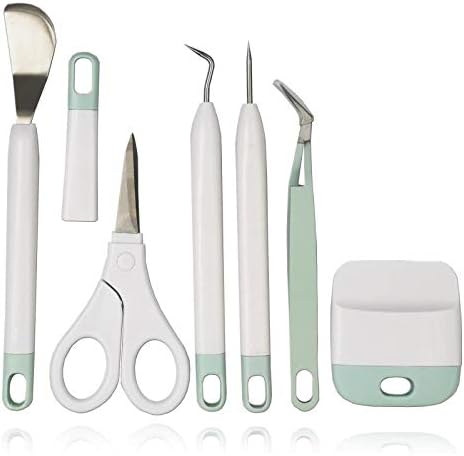
Get them from Amazon Weeding Tools Set
3. Prepare Your Base Material
Large Canvas Tote Bag with Zipper
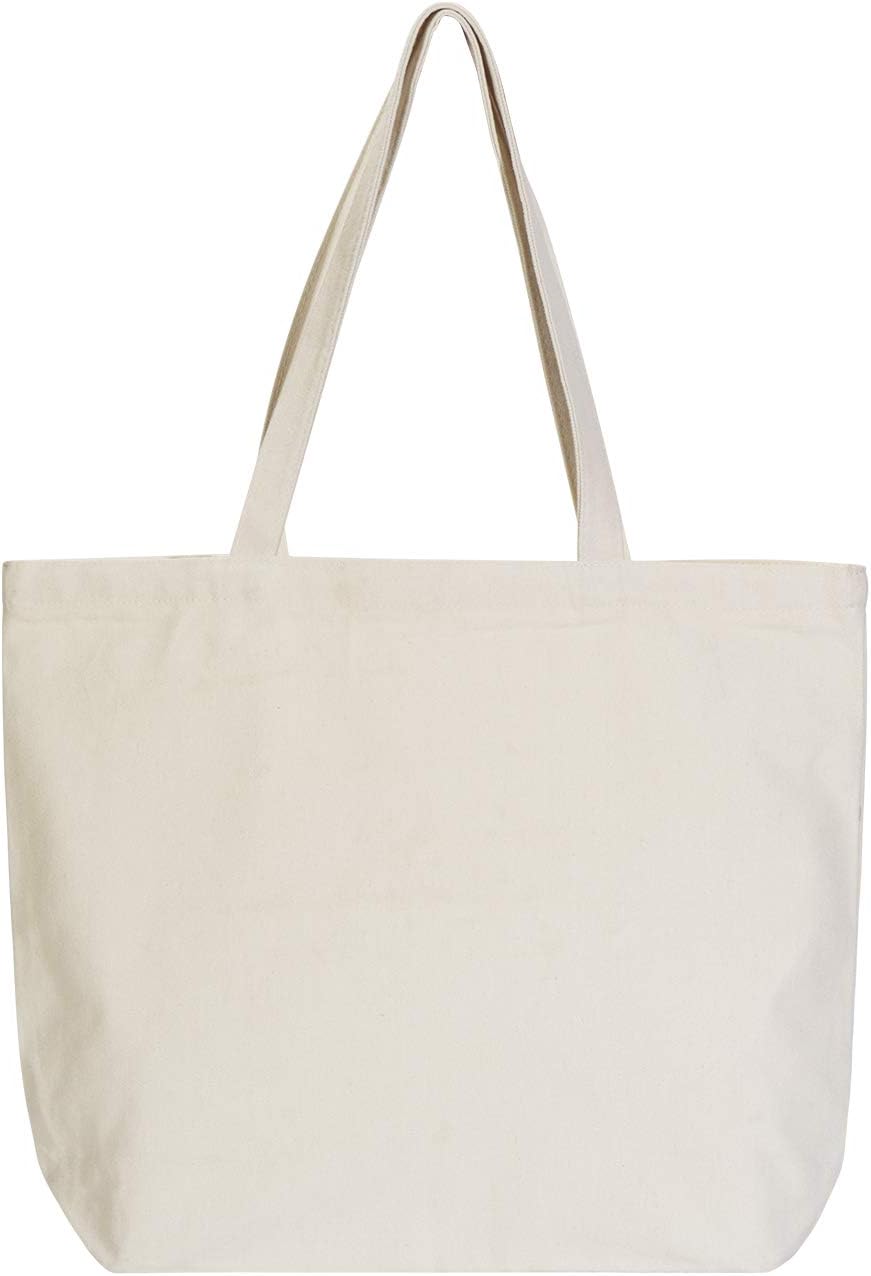
Get them from Amazon Canvas Tote Bag with Zipper
Preheat the area where you’ll apply the iron-on vinyl (e.g., fabric, tote bag, etc.).
Position your weeded design on the base material.
4. Apply Heat
Hamilton Beach Iron
Get them from Amazon Compact Iron
Use a household iron set to the Cotton/Linen setting (usually the highest temperature).
Press the iron-on vinyl onto the base material with medium pressure for 25-30 seconds.
Let it cool slightly, then peel off the clear plastic carrier sheet.
Tips and Tricks
Test First: Always conduct a test cut and application to determine the right temperature, time, and pressure for your specific vinyl and base material combination.
Mirror Your Design: Remember to mirror your design before cutting to ensure it appears correctly when ironed down.

Surface Preparation: Properly preheat the base material to ensure successful adhesion.
Conclusion
Now that you know the basics of using Cricut iron-on vinyl, you’re ready to create custom projects! Whether it’s a library-themed canvas tote bag or personalized T-shirts, iron-on vinyl opens up endless possibilities. Happy crafting!