


How to Make Custom Car Decals with Your Cricut Machine
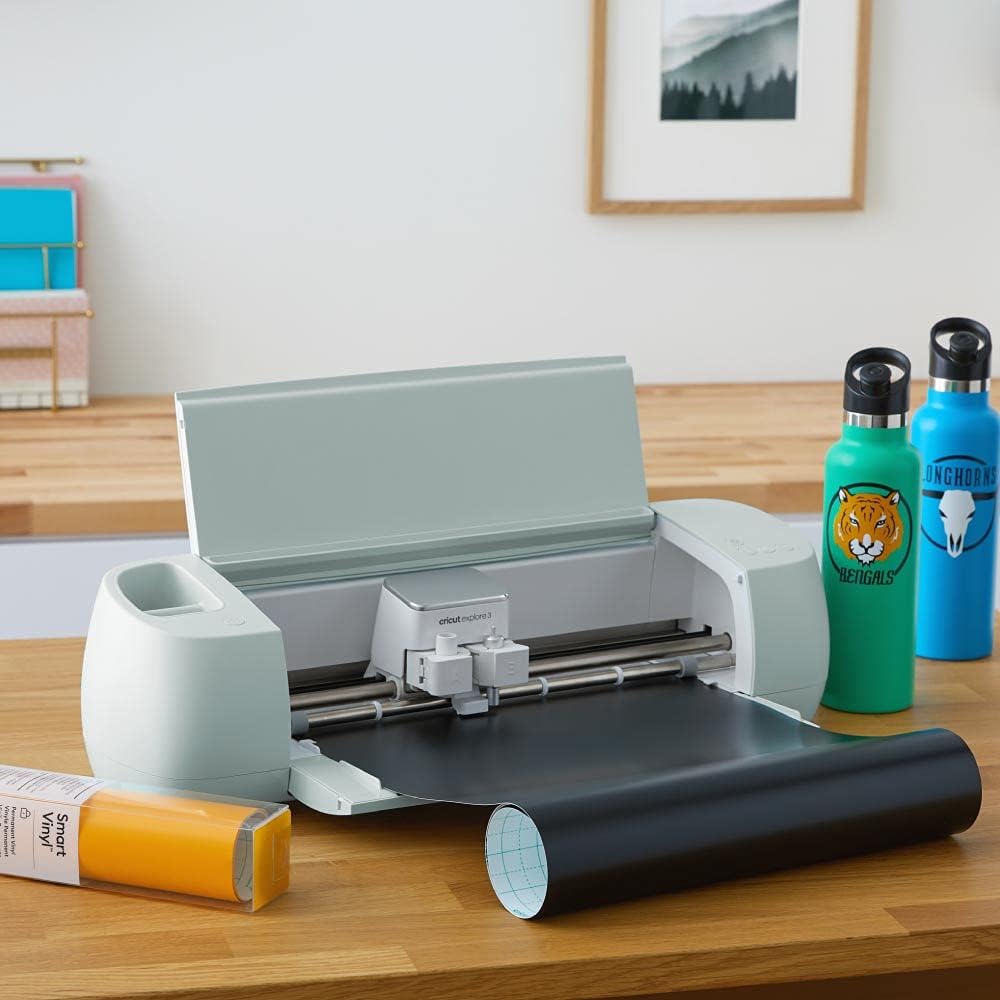
Car decals are a fantastic way to personalize your vehicle, show support for a cause, or simply express your creativity. With your Cricut machine, you can easily create custom car decals that stand out. In this step-by-step guide, I’ll walk you through the process of making your own car decals using vinyl. Let’s get started!
Materials Needed
Cricut Outdoor Premium (Permanent) Vinyl (or any permanent vinyl of your choice)

Get them from Amazon Cricut Outdoor Premium (Permanent) Vinyl
Cricut cutting machine (such as Cricut Maker, Cricut Explore, or Cricut Joy)

Get them from Amazon Cricut Maker
Get them from Amazon Cricut Explore

Get them from Amazon Cricut Joy
Green Cricut StandardGrip Machine Mat
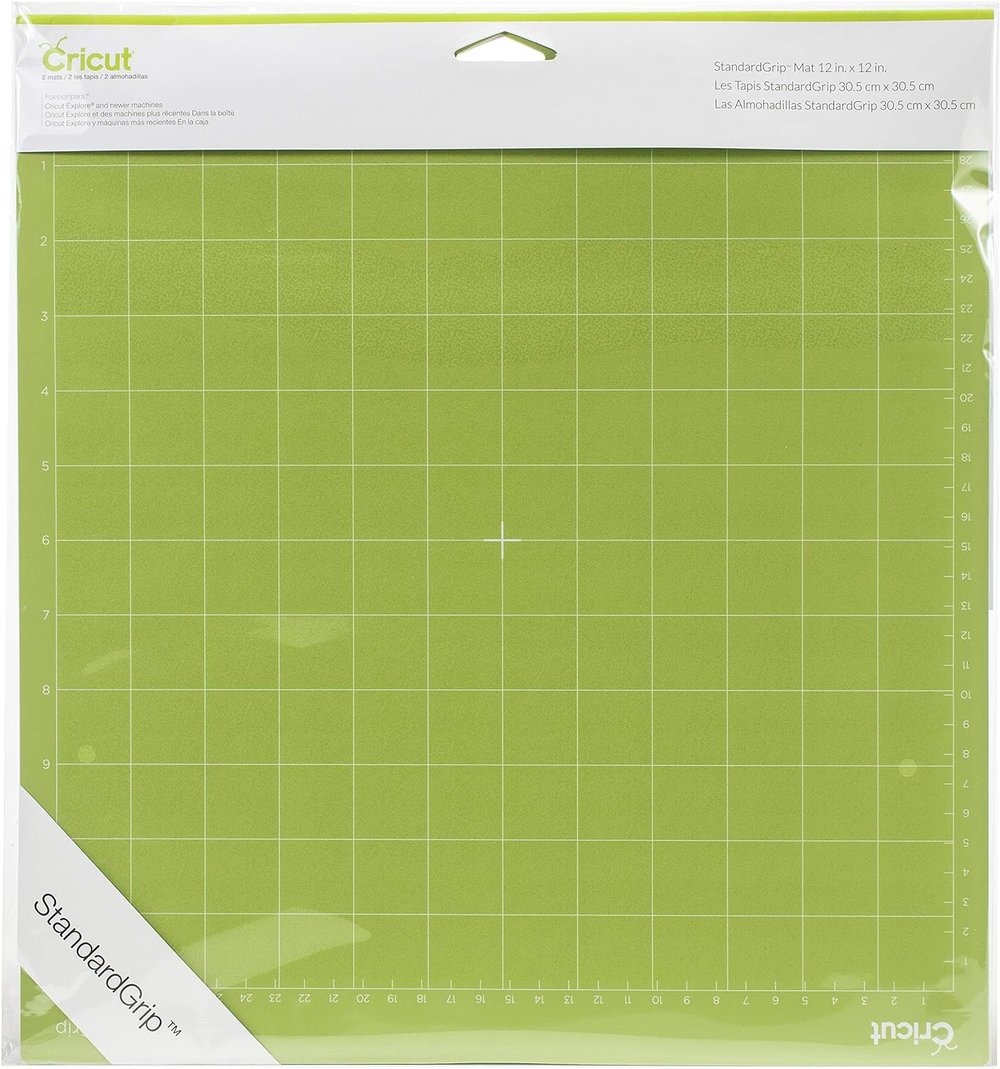
Get them from Amazon Green Cricut StandardGrip Machine Mat
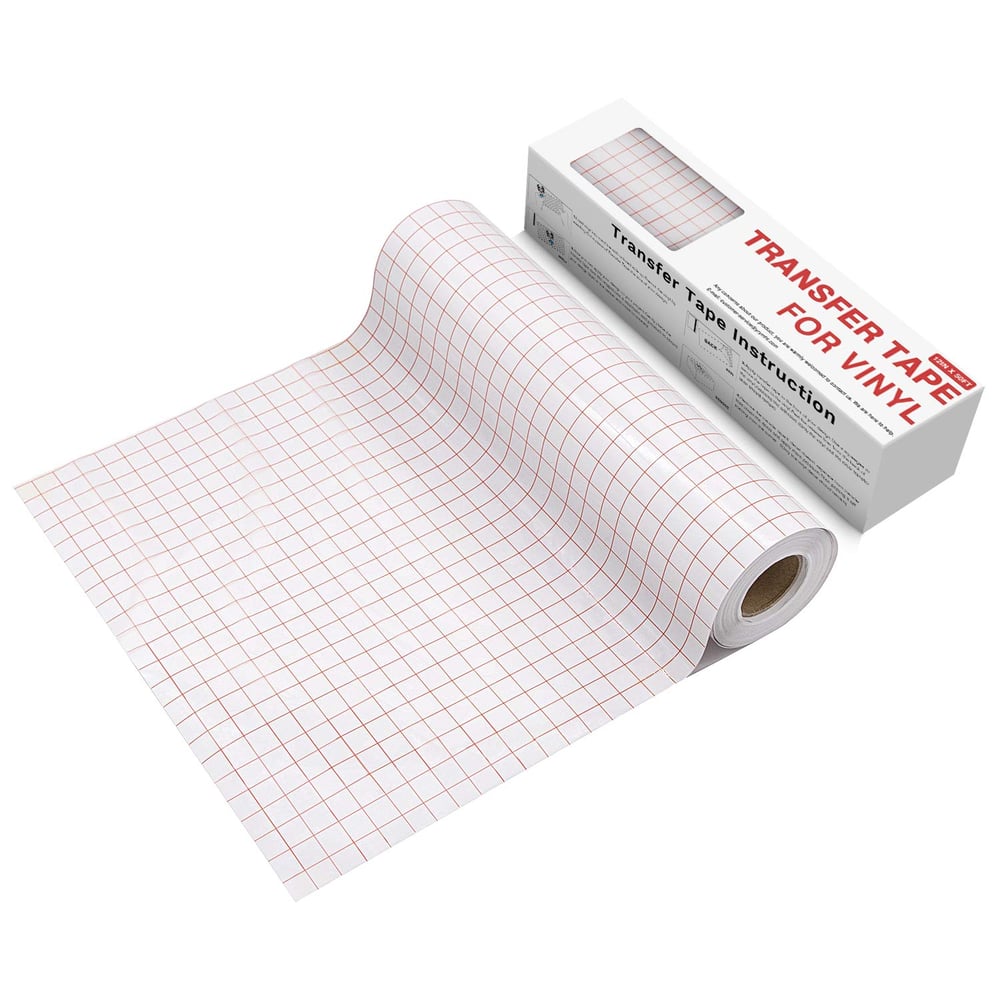
Get them from Amazon Standard Grip Transfer Tape
Step-by-Step Instructions
Design Your Decal
- Open Cricut Design Space and create your decal design. You can use text, shapes, or upload your own SVG files.
- Resize the design to fit your car window or desired location.
Cut the Vinyl
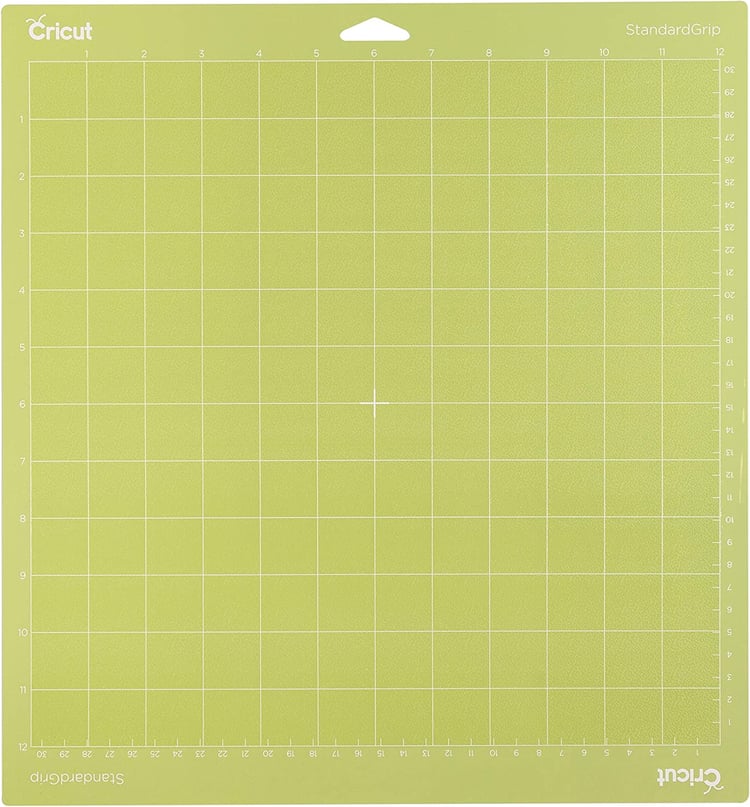
- Load your chosen vinyl onto the Cricut cutting mat .
- Use your Cricut machine to cut out the design. Follow the prompts in Design Space.
Weed the Vinyl
- Carefully remove the excess vinyl around your design using a weeding tool.
- Leave only the parts of the design you want to apply to your car.
Apply Transfer Tape

- Cut a piece of transfer tape slightly larger than your design.
- Place the transfer tape over your weeded vinyl design and press it down firmly.
Transfer to Your Car

- Clean the area of your car window where you want to apply the decal.
- Peel off the backing of the transfer tape, exposing the sticky side.
- Position the decal on your car window and press it down.

- Use a squeegee or scraper tool to smooth out any bubbles or wrinkles.
- Slowly peel off the transfer tape, leaving the vinyl decal on your car.
Tips and Tricks
- Choose the Right Vinyl: Use Cricut Outdoor Premium (Permanent) Vinyl for car decals. It’s weather-resistant and durable.
- Test First: Always do a test cut and application on a small piece of vinyl before creating your final decal.
- Clean Surface: Ensure the car window is clean and dry before applying the decal.
- Be Creative: Customize your decal with your favorite quotes, symbols, or designs.
- Check out: Use our website for Design Ideas IzzysDesigns
Note: This post contains Amazon affiliate links. If you make a purchase through these links, I may receive a small commission at no extra cost to you.
Happy crafting! 🎨✂️