

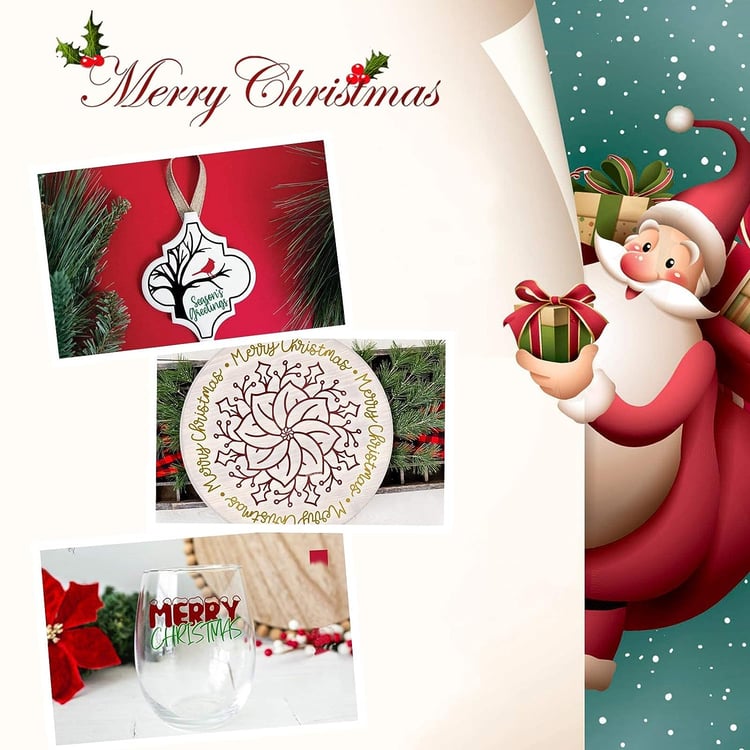
Mastering the Art of Vinyl Application: The Magic of Transfer Tape
Note: This article contains affiliate links from Amazon. As an Amazon Associate, we earn from qualifying purchases. Your support is greatly appreciated.
In the vibrant world of Cricut crafting, precise vinyl application is an art form. One of the secret weapons in a crafter's arsenal is transfer tape. This seemingly simple tool plays a magical role in ensuring your vinyl designs land on your projects flawlessly. Let's dive into the wonders of transfer tape and how it elevates your Cricut creations to professional perfection.
Precise Placement, Every Time:
Ever cut a delicate, intricate design and wondered how to keep every piece perfectly aligned during application? Transfer tape is the answer. It allows you to lift your entire design in one go, preserving the precise arrangement of every element.
Design Integrity, Ensured:
Imagine a design with multiple layers or tiny details. Transfer tape keeps all these elements together, safeguarding their integrity. No shifting, no misalignment—just a cohesive, well-structured masterpiece.
Effortless Application:
Transfer tape transforms the application process from daunting to delightful. It provides a controlled method for adhering your vinyl to the surface. Say goodbye to bubbles, wrinkles, or air pockets. With transfer tape, your designs glide smoothly onto their new homes.

How to Master Transfer Tape with Cricut:
Cut Your Design: Use your Cricut machine to cut your design from the adhesive vinyl. Leave the pieces on the backing paper after cutting.
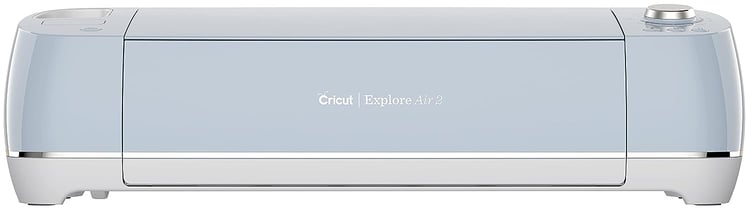
Get them from Amazon Cricut Explore Air 2
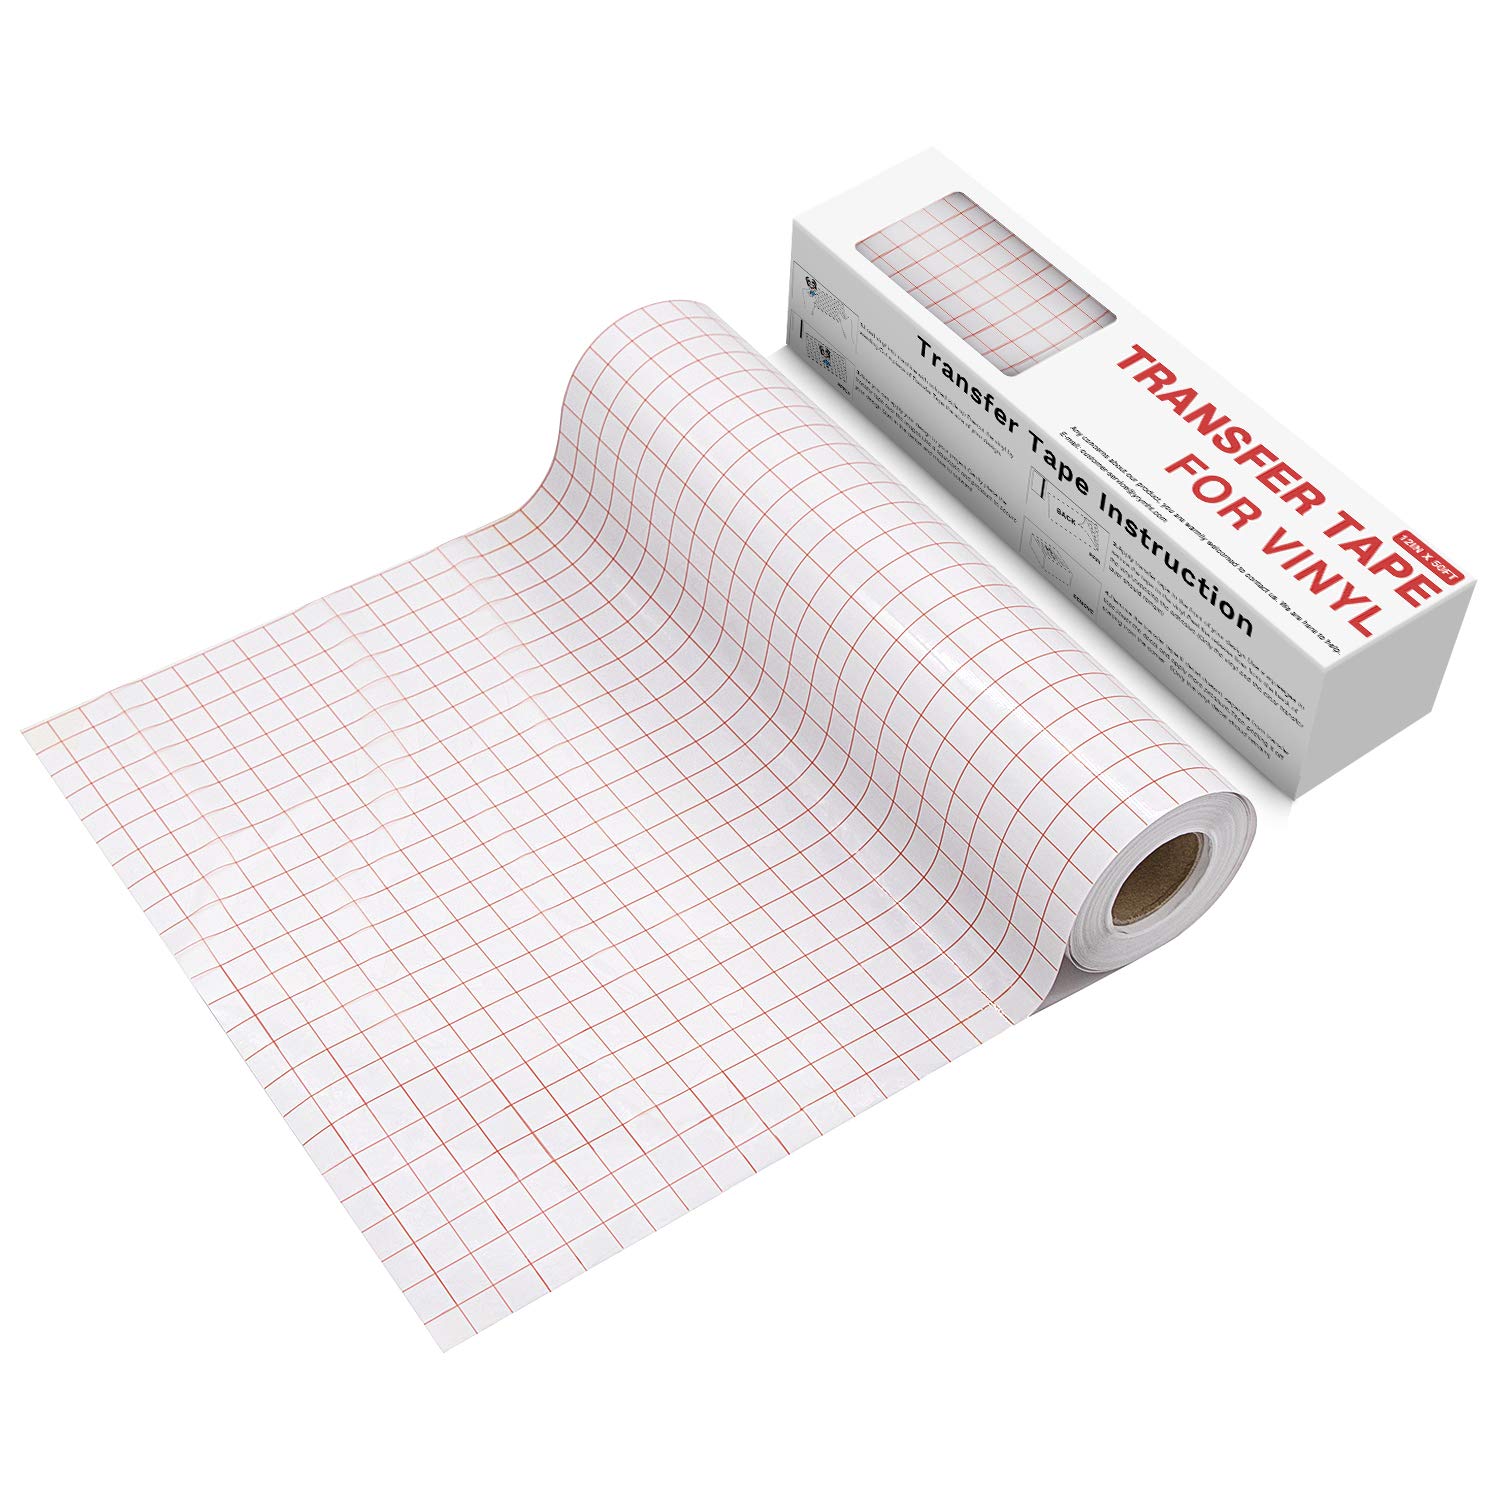
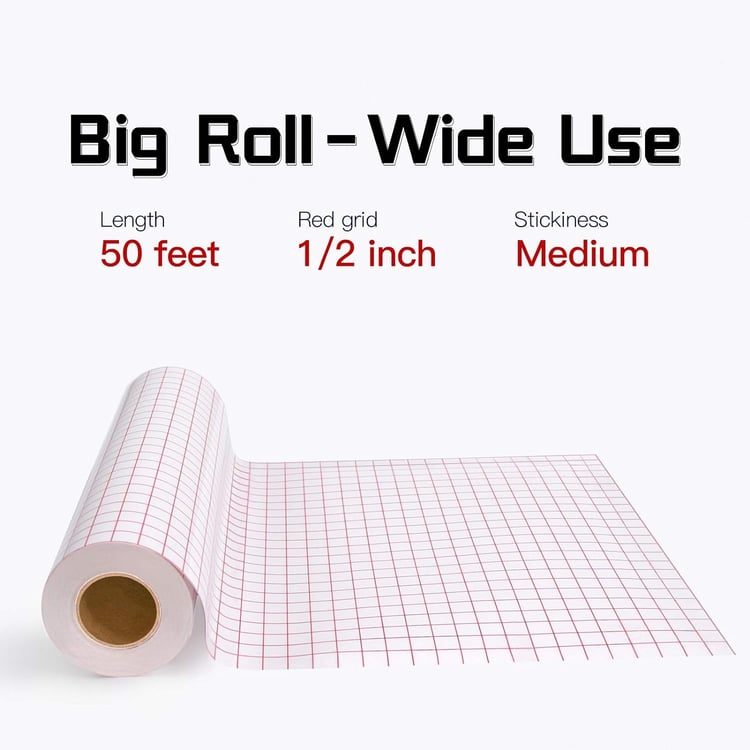
Prepare Transfer Tape: Cut a piece of transfer tape slightly larger than your design. Peel off the transfer tape's backing to expose the adhesive side.
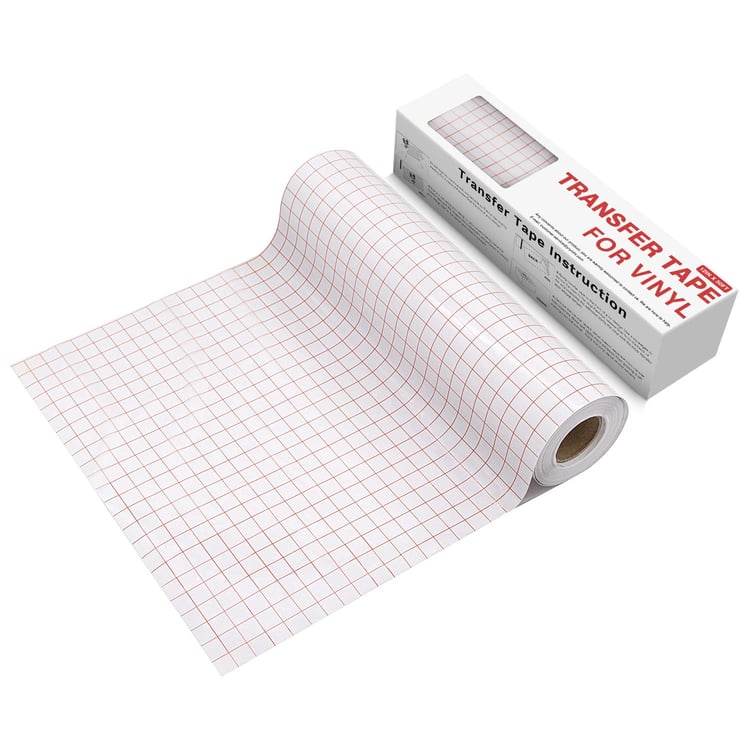
Get them from Amazon 12X50FT Clear Vinyl Tape
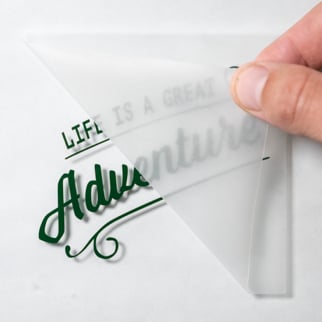
Apply Transfer Tape: Carefully place the sticky side of the transfer tape over your vinyl design. Use a scraper tool to firmly press down, ensuring the transfer tape adheres well to the vinyl.
Get them from Amazon 12X50FT Clear Vinyl Tape
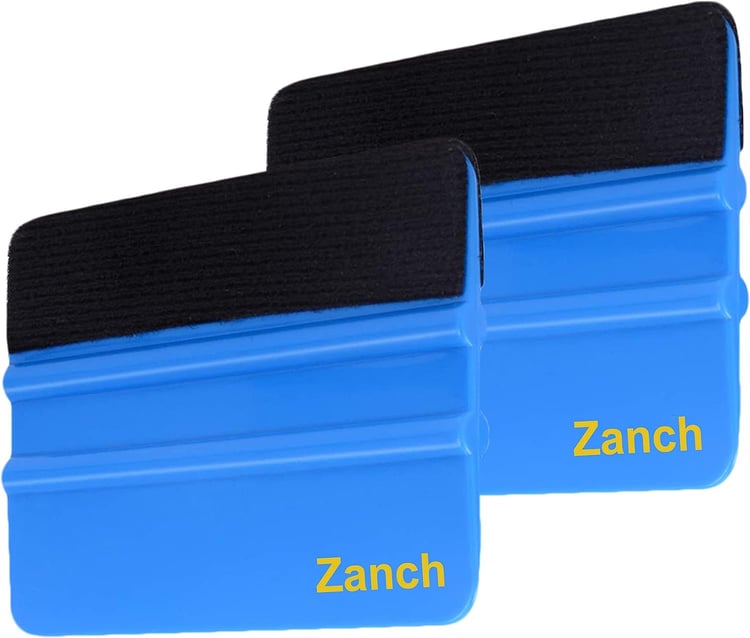
Get them from Amazon Scraper Tool 2PC
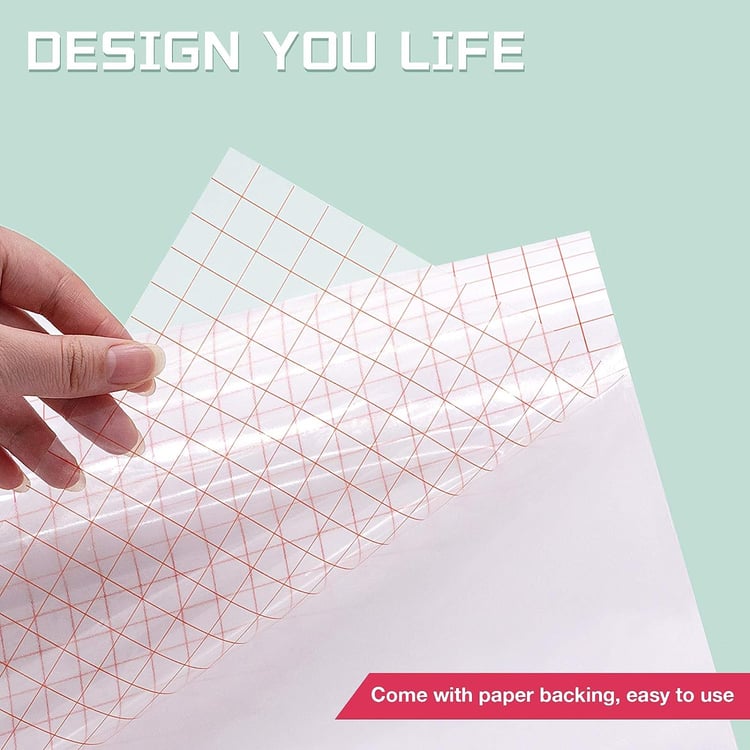
Peel Off Backing Paper: Gently peel off the backing paper, leaving your vinyl design attached to the transfer tape. Your design now resides on the sticky side of the transfer tape.
.
Get them from Amazon 12X50FT Clear Vinyl Tape
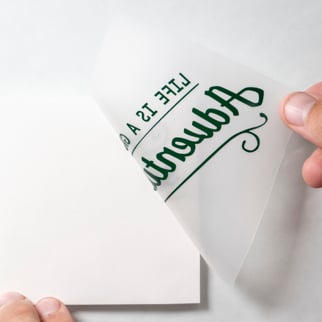
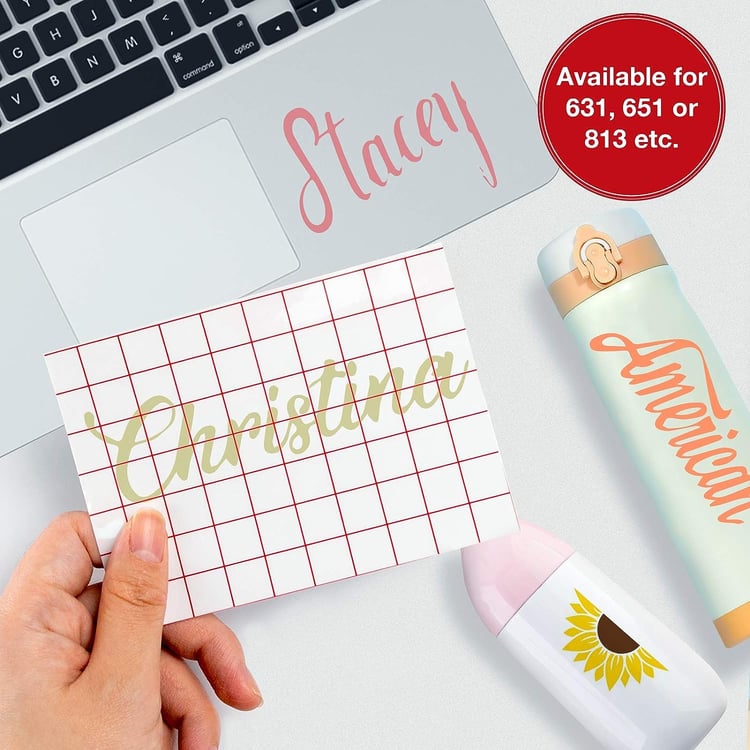
Apply the Design: Position the transfer tape with the vinyl design onto your desired surface. Again, use the scraper tool to press down firmly, transferring the design onto the surface.
Get them from Amazon 12X50FT Clear Vinyl Tape
Remove Transfer Tape: Slowly peel off the transfer tape at a sharp angle. This method ensures the vinyl design stays on the surface while the transfer tape gracefully exits the scene.
The result? A professionally applied vinyl design that exudes craftsmanship and precision.
Conclusion: Elevate Your Craft with Transfer Tape
As you embark on your next Cricut adventure, remember the magic that transfer tape brings to your projects. It's the key to flawless vinyl application, turning your creative visions into reality with finesse and accuracy.
Get them from Amazon 12X50FT Clear Vinyl Tape
Note: This article contains affiliate links. As an Amazon Associate, we earn from qualifying purchases. Your support is greatly appreciated, enabling us to continue bringing you valuable crafting insights.