

SVG Design ---> Ultimate DIY Project
Have you ever been browsing social media and seen a t-shirt with the perfect graphic design, or beautifully crafted wall art in someone's living room, and thought,
"Dang, I wish I could make something like that!"
Well, guess what- You can!
The secret behind many of today's most popular DIY projects lies in a simple but powerful tool:
An SVG File
These digital blueprints are your key to unlocking a world of creativity, transforming ordinary objects into personalized works of art.
This post will cover the process of creating projects using SVG (Scalable Vector Graphics) images. It will specifically focus on two popular DIY projects: wall art and custom t-shirts. This post will give you the confidence to start creating today, and all you need is a cutting machine (popular choices include Cricut and Silhouette), some basic supplies, and a spark of inspiration. Let's get started!
Getting Started with SVG Projects
Before we jump into creating, let's cover the essentials. Understanding the "what" and "why" will make the "how" much easier.
What is an SVG File?
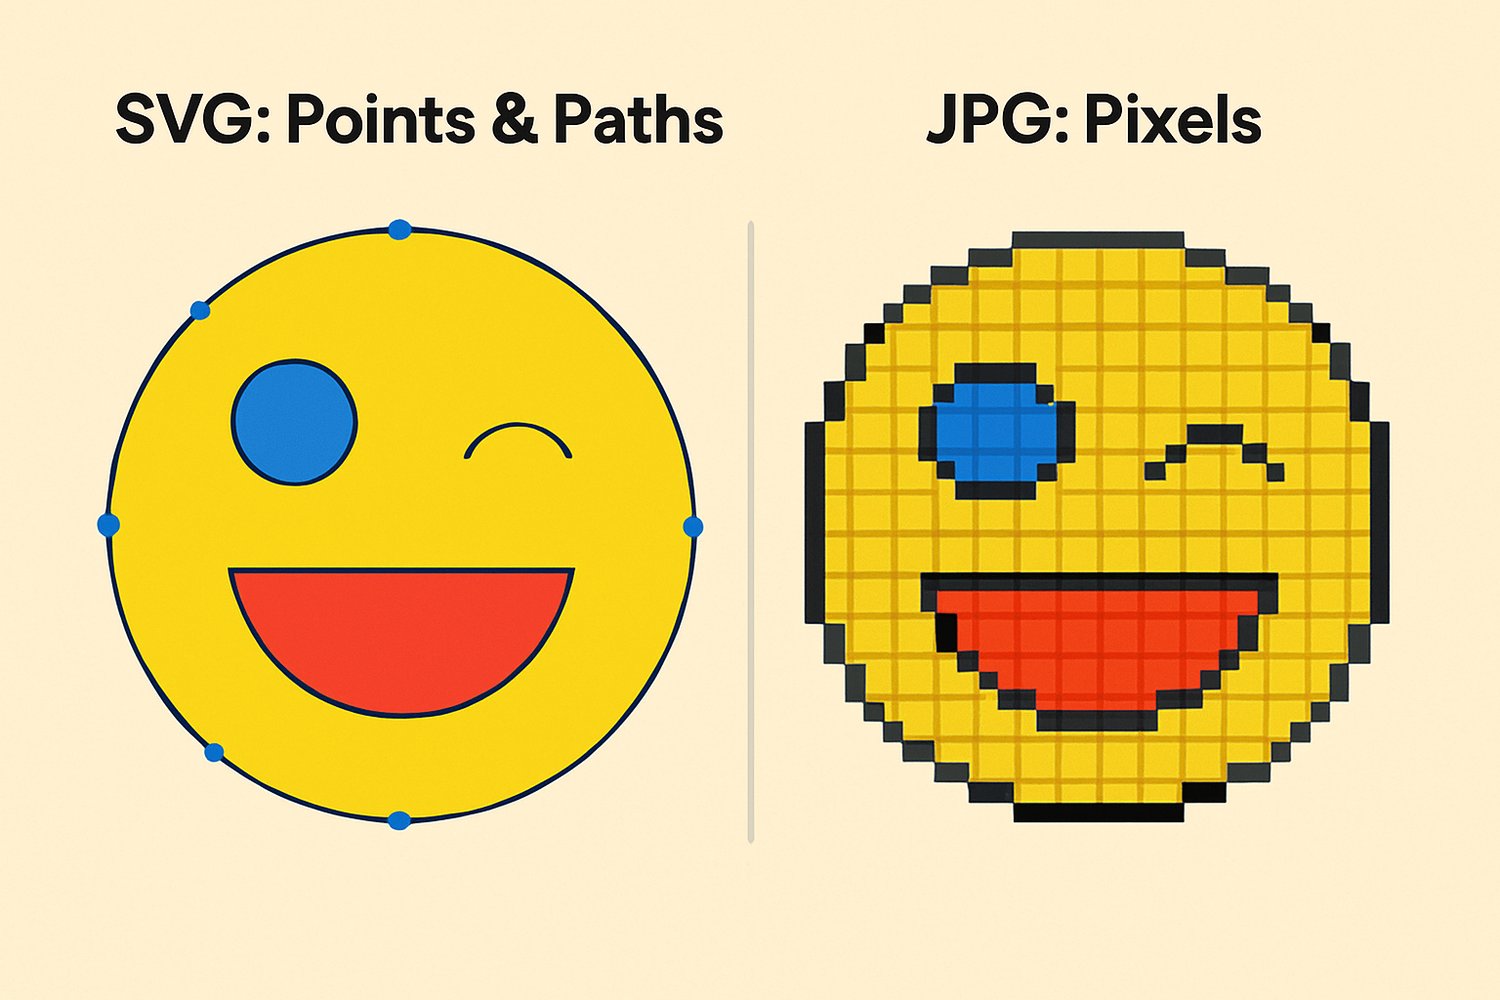
SVG stands for Scalable Vector Graphic. Unlike standard image files, JPGs or PNGs, which are made up of pixels, SVGs are made of mathematical paths and points.
Think of it like this:
A JPG is like a photograph. If you zoom in too far, it becomes blurry and pixelated. An SVG is like a blueprint. You can scale it up to the size of a billboard or shrink it down to the size of a postage stamp, and it will remain perfectly crisp and clear every single time.
Benefits of Using SVGs
- Scalability: As mentioned, you can resize an SVG to any dimension without compromising the image's quality. This is perfect for using the same design on a small pocket logo and a large back graphic.
- Customization: SVG files are easily customized. You can ungroup elements, change colors, and resize individual parts of the design within your cutting machine's software.
- Compatibility: SVGs are the universal language of cutting machines. They work seamlessly with all major design software and hardware.
Tools & Supplies Overview
Here’s a quick look at the core components of your new crafting toolkit:
- Cutting Machines: These are the workhorses of the SVG world. Popular brands include:
- Cricut (like the Maker or Explore series)
- Silhouette (like the Cameo).
- Brother (Like the ScanNCut SDX230Di)
- Siser (Like Juliet)
- Vinyl Types:
- Adhesive Vinyl: This is essentially a sticker used for hard surfaces such as signs, mugs, and decals.
- Heat Transfer Vinyl (HTV): Also known as iron-on vinyl, this type requires heat to adhere to surfaces, primarily fabrics like t-shirts, hoodies, and tote bags.
- Blanks: This term represents the undecorated item you want to customize. It could be anything: a blank canvas, a wooden plank, an acrylic circle, or in our next project, a t-shirt.
- Design Software: Every cutting machine comes with free software, such as Cricut Design Space or Silhouette Studio. This is where you will upload your SVG file and prepare it for cutting.
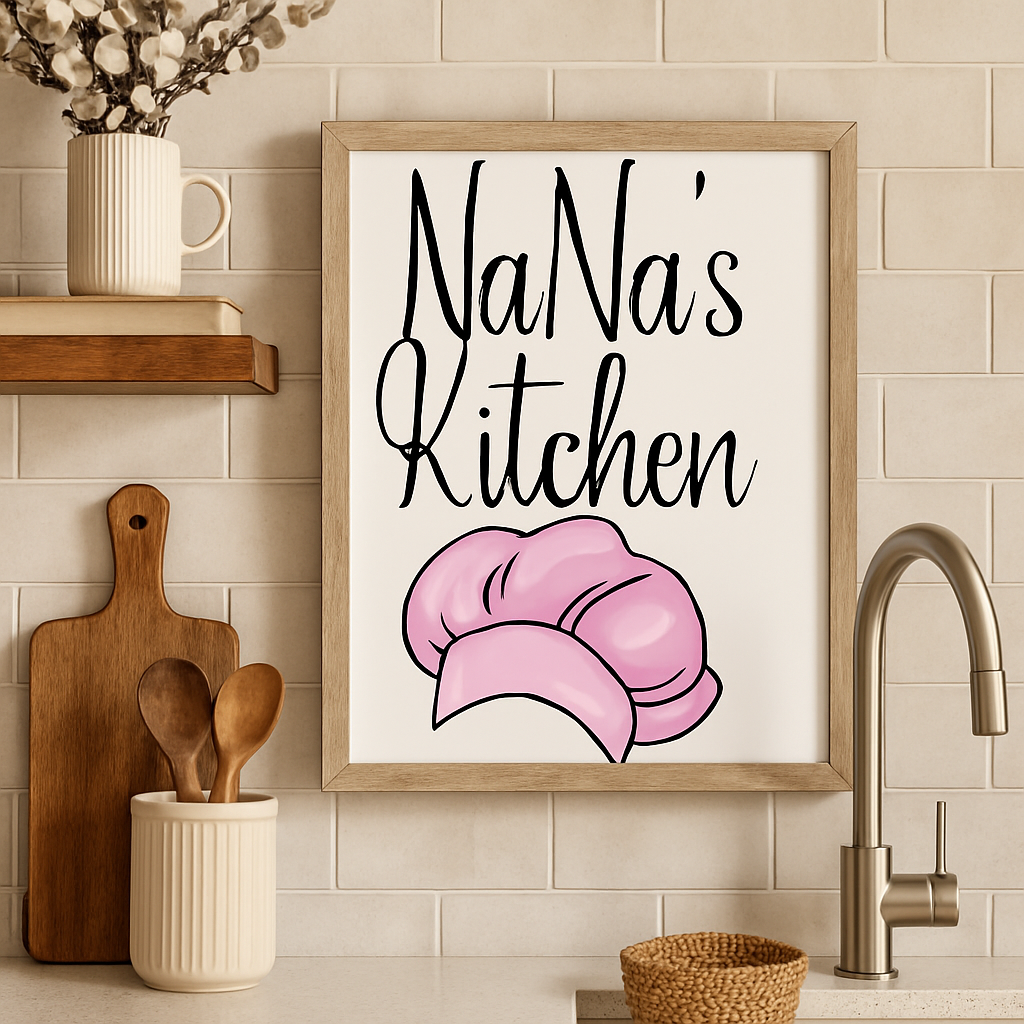
Wall Art with SVG Files
Ready for your first project? Let's create a beautiful piece of custom wall art using adhesive vinyl.
Necessary Supplies
- An inspiring SVG design file (like the bundles in this shop!)
- A blank surface (e.g., stretched canvas, painted wood sign, or a picture frame with glass)
- Adhesive Vinyl (Permanent or Removable)
- Transfer Tape
- Your cutting machine, mat, and weeding tools
- A scraper tool (a credit card works in a pinch)
Specific Steps
- Upload and Resize Your SVG: Open your design software (e.g., Cricut Design Space). Upload the SVG file. Measure the available space on your canvas or wood sign, then resize the design in the software to fit those dimensions perfectly. (our SVG image bundles will resize beautifully for any design!)
- Cut and Weed Your Vinyl: Place your adhesive vinyl (color-side up) onto your cutting mat and load it into your machine. Choose the appropriate material setting and let the machine work its magic! Once cut, use a weeding tool to carefully pick away the negative space ("weeding" is the process of removing all the excess vinyl that is not part of your design)
- Prepare Your Surface: Ensure your canvas, wood, or glass is clean and free of dust or oils. A quick wipe with a lint-free cloth is perfect.
- Apply the Vinyl: Cut a piece of transfer tape slightly larger than your design. Peel the backing off the transfer tape and carefully lay it over your weeded vinyl design. Use your scraper tool to burnish (rub firmly) the tape onto the vinyl. Now, slowly peel the vinyl's original backing away. Carefully position the tape over your surface, and once you’re happy with the placement, press it down, starting from the center and moving outwards.
- Finishing Touches: Slowly and carefully peel the transfer tape away, pulling it back at a 45-degree angle. If any part of the vinyl lifts, press the tape back down and burnish that spot again. Once the tape is removed, your design is complete!
Thats it! Your beautiful wall art is complete!
Custom T-Shirts Using SVG Designs
Now let's move on to one of the most popular SVG projects: making custom apparel!
Supplies Needed
- An awesome SVG design file (found here!)
- A blank T-shirt (cotton, polyester, or cotton/poly blends work best)
- Heat Transfer Vinyl (HTV)
- Your cutting machine, mat, and weeding tools
- A heat source: a Heat Press is best, but a Cricut EasyPress or a home iron will also work.
- A Teflon sheet or piece of parchment paper
Specific Steps
- Upload and Resize: Upload your SVG to your cutting software. Measure the area on the t-shirt where you want to place the design and resize the SVG accordingly.
- Cut and Weed the HTV: This is the most important step! Before you cut, you MUST MIRROR YOUR DESIGN in the software. Because you're cutting on the back of the vinyl, mirroring ensures it will be oriented correctly when you press it. Place the HTV on your mat with the shiny carrier sheet facing DOWN. Select the correct HTV setting and cut. Afterward, weed away the excess vinyl.
- Prepare Your T-shirt: Pre-heat your press or iron to the temperature recommended for your specific type of HTV. Lay the t-shirt on your pressing mat and briefly press the area for 5-10 seconds. This removes wrinkles and any moisture from the fabric, ensuring a better application.
- Apply the Design: Place your weeded HTV design on the shirt. The sticky, shiny carrier sheet will be facing up. You should be able to see your design correctly through the clear sheet. Cover the design with a Teflon sheet or parchment paper to protect the fabric. Press with firm pressure for the recommended time (usually 15-30 seconds).
- Finishing Touches and Care: Follow the instructions for your vinyl to know if it's a "hot peel" or "cool peel." This means you either remove the clear carrier sheet while it's still hot or after it has cooled down. Once the sheet is removed, your t-shirt is done! For best results, wait 24 hours before washing. Always wash inside out on a cool cycle and tumble dry on low.
Creative Ideas
- Matching Shirts: Create matching shirts for family vacations, bachelorette parties, or team events.
- Specialty Vinyl: Experiment with glitter, holographic, or flock (fuzzy) HTV to make your designs pop.
- Layering Colors: Create dynamic, multi-color designs by cutting each color separately and pressing them one layer at a time.
- Qoutes: Create apparel with an inspring or popular qoute to give your design originality.
Other Fun SVG Projects (Quick Ideas)
Once you've mastered wall art and t-shirts, the possibilities are endless! Here are a few quick ideas for your next design!
- Tote Bags and Hoodies: Use the same HTV skills you learned for t-shirts.
- Greeting Cards and Paper Crafts: Use cardstock and your machine's pen feature for intricate paper crafts.
- Tumblers, Coasters, and Ornaments: Perfect for personalizing with names or monograms using adhesive vinyl.
- Seasonal & Holiday Décor: Create custom banners, window clings, and decorations for every holiday.
Troubleshooting & Pro Tips
- Common Mistakes: The #1 beginner error is forgetting to Mirror your design when using Heat Transfer Vinyl (HTV). Also, ensure you place the HTV on the mat shiny-side down.
- Weeding Tricks: For intricate designs, try "reverse weeding." Warm the vinyl sheet slightly with your press for a few seconds to make weeding easier.
- Best Vinyl for Each Project:
- Walls (Indoor): Removable Adhesive Vinyl
- Mugs, Tumblers, Signs: Permanent Adhesive Vinyl
- Shirts, Totes, Fabrics: Heat Transfer Vinyl (HTV)
- Find Inspiration: Feeling stuck? Browse our SVG bundles for endless inspiration!
Final Thoughts?
You now know how to turn digital files into tangible, beautiful objects. The joy of crafting is in the making, so don't be afraid to experiment, make mistakes, and find your creative rhythm.
Ready to find your next project? Explore our curated SVG bundles for instant inspiration.
Thanks for reading and I hope this helped!