Drag & Adjust
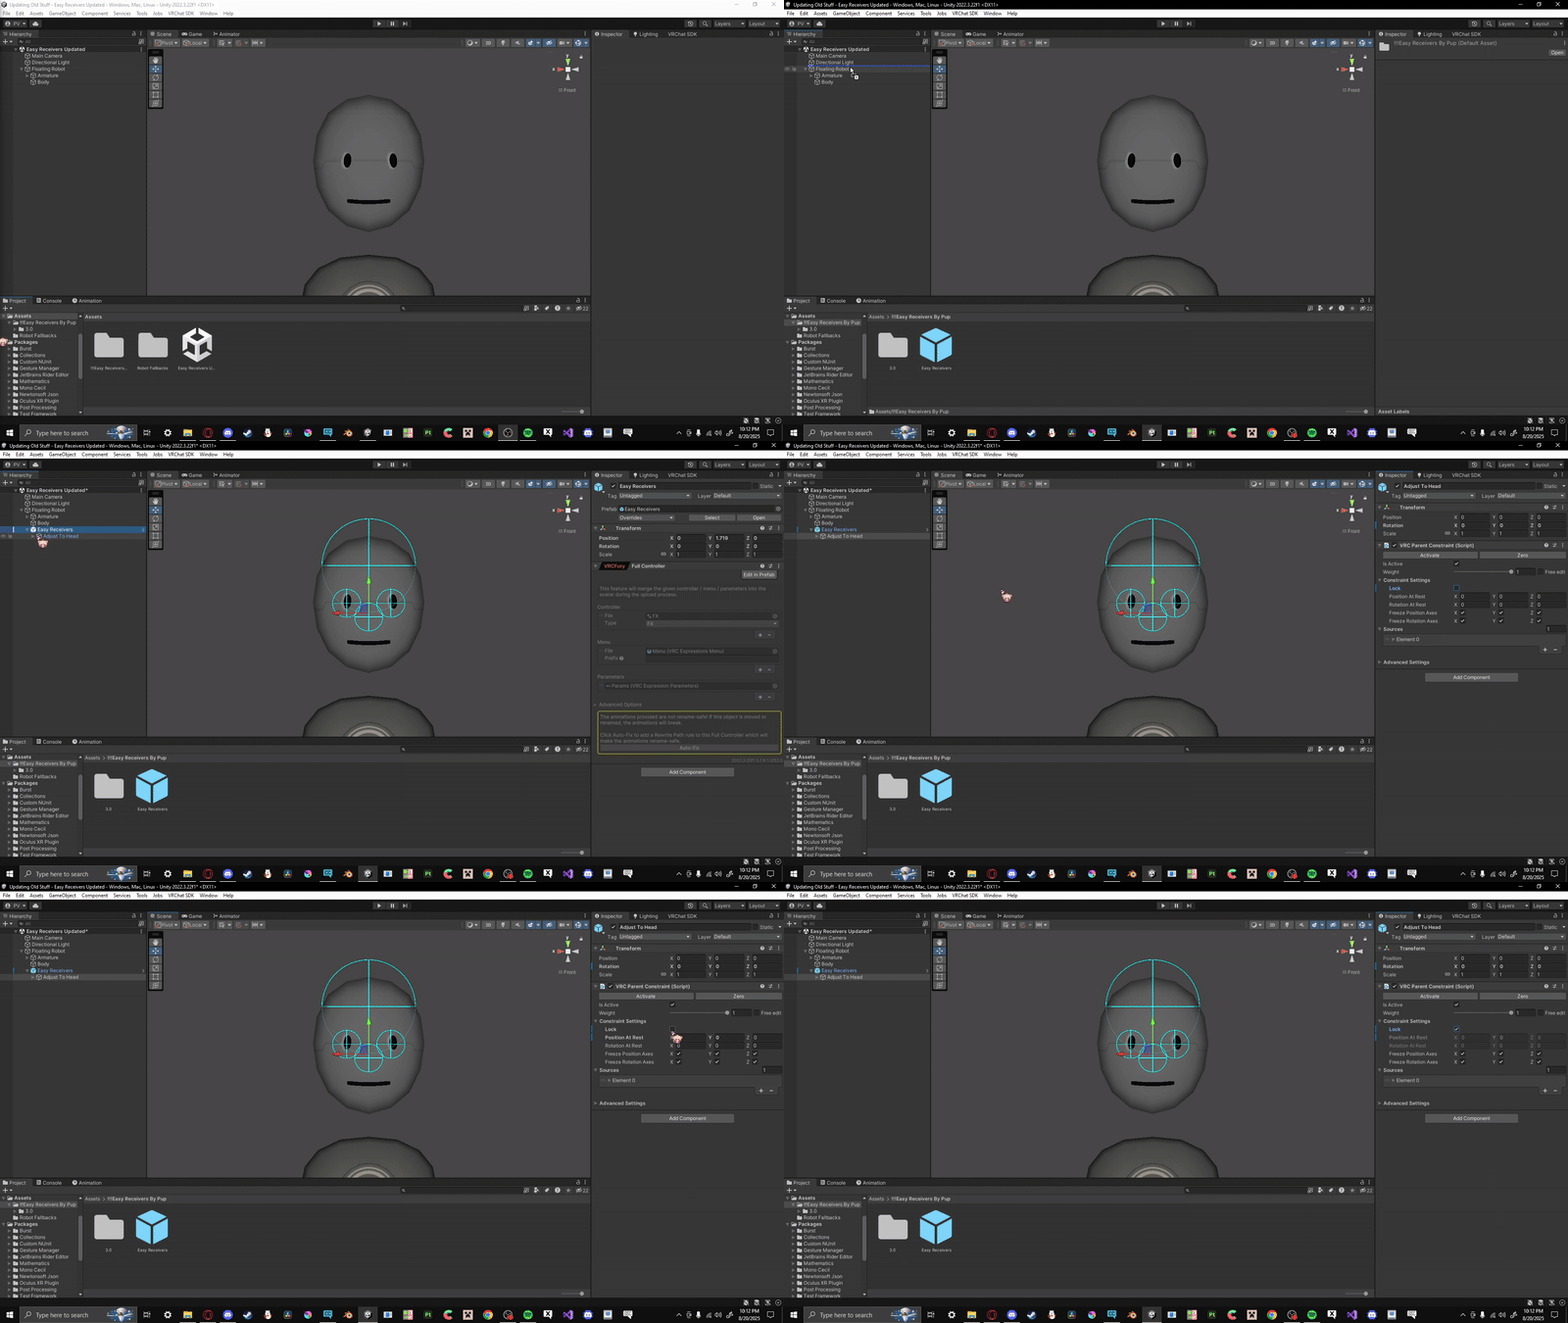
Once you've imported the Easy Receivers asset, open the Easy Receivers folder. Drag the Easy Receivers prefab onto your model in the scene hierarchy.
Next, navigate through the Easy Receivers dropdown menu to find the Parent Constraint on "Adjust To Head". Unlock the constraint and adjust its position vertically to align with your character's head. After you've positioned it correctly, relock the constraint.
Adjust Receivers
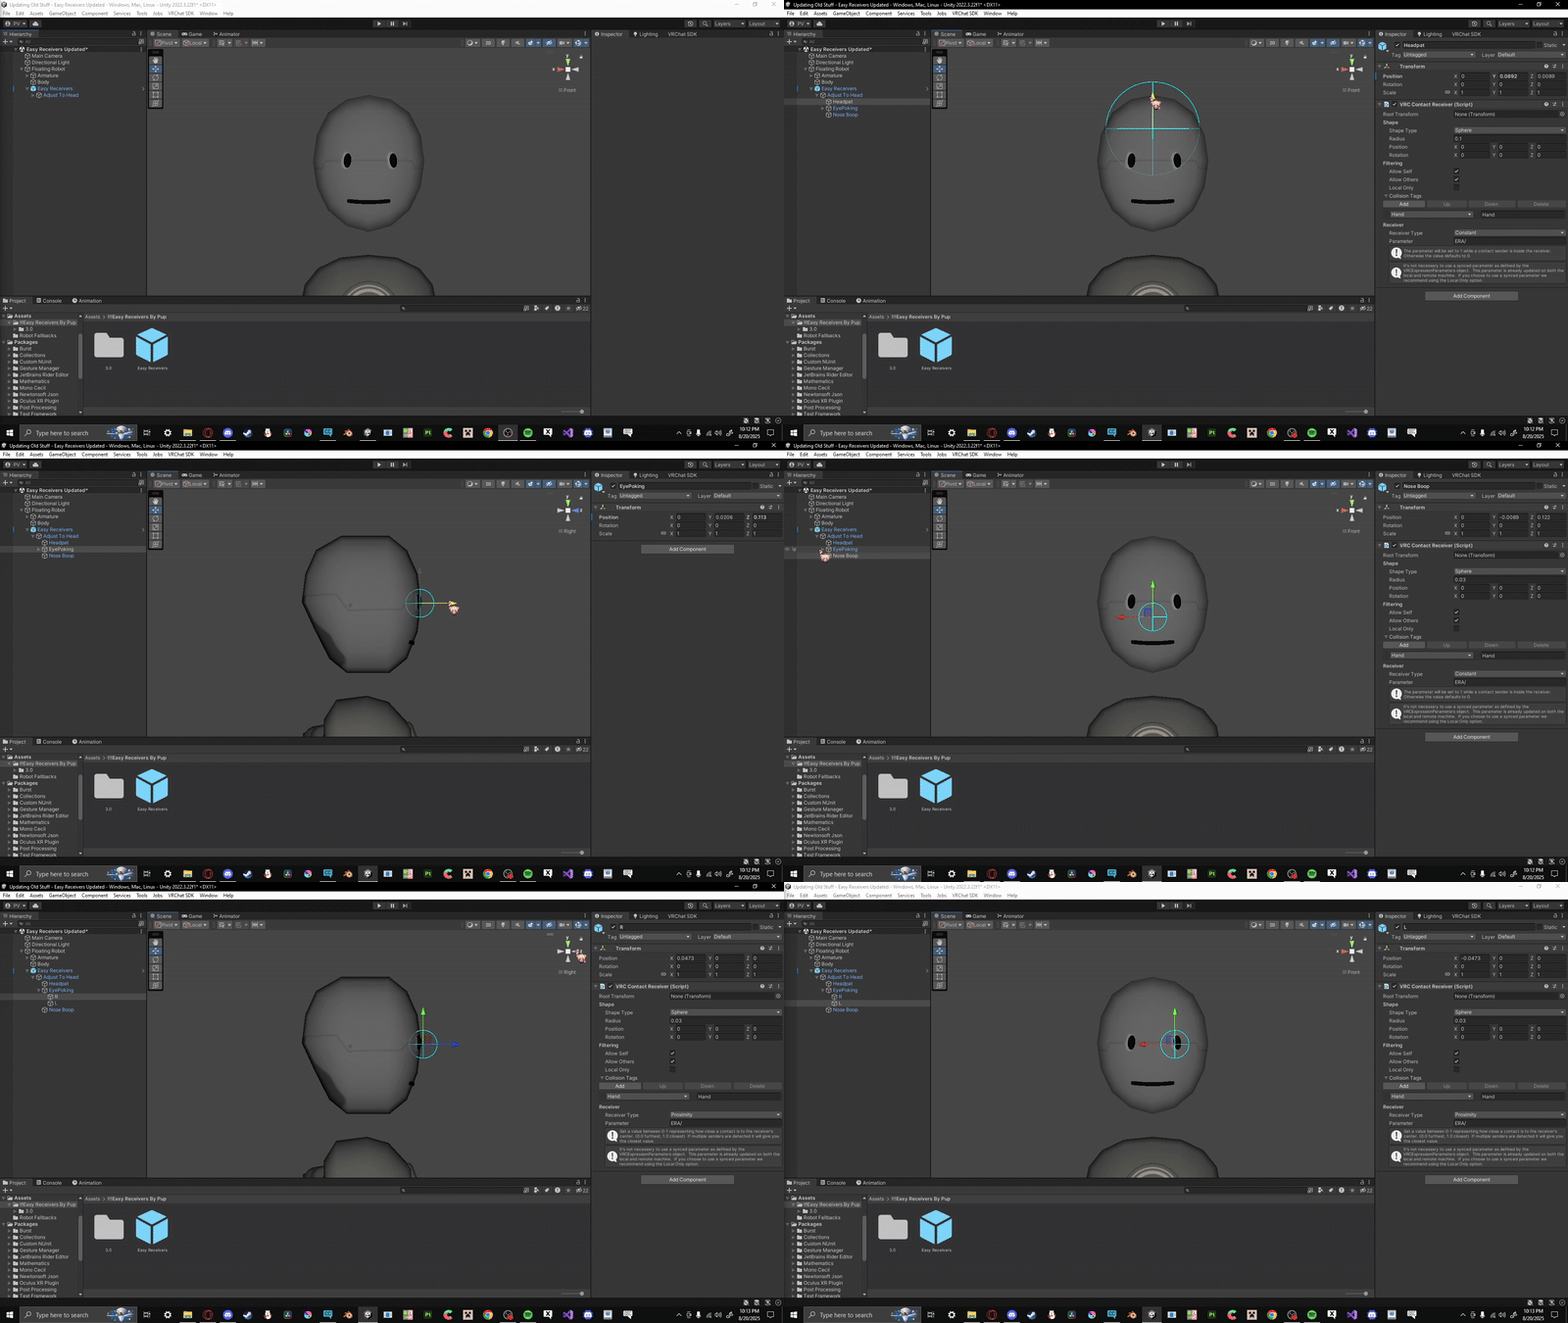
To fit the receivers to your model, you'll need to adjust their position. You can move each receiver up, down, forward, backward, left, and right to match your model's proportions.
When adjusting the eye receivers, make sure the circular part is positioned slightly in front of the eye rather than inside of it.
Creating Your Animation
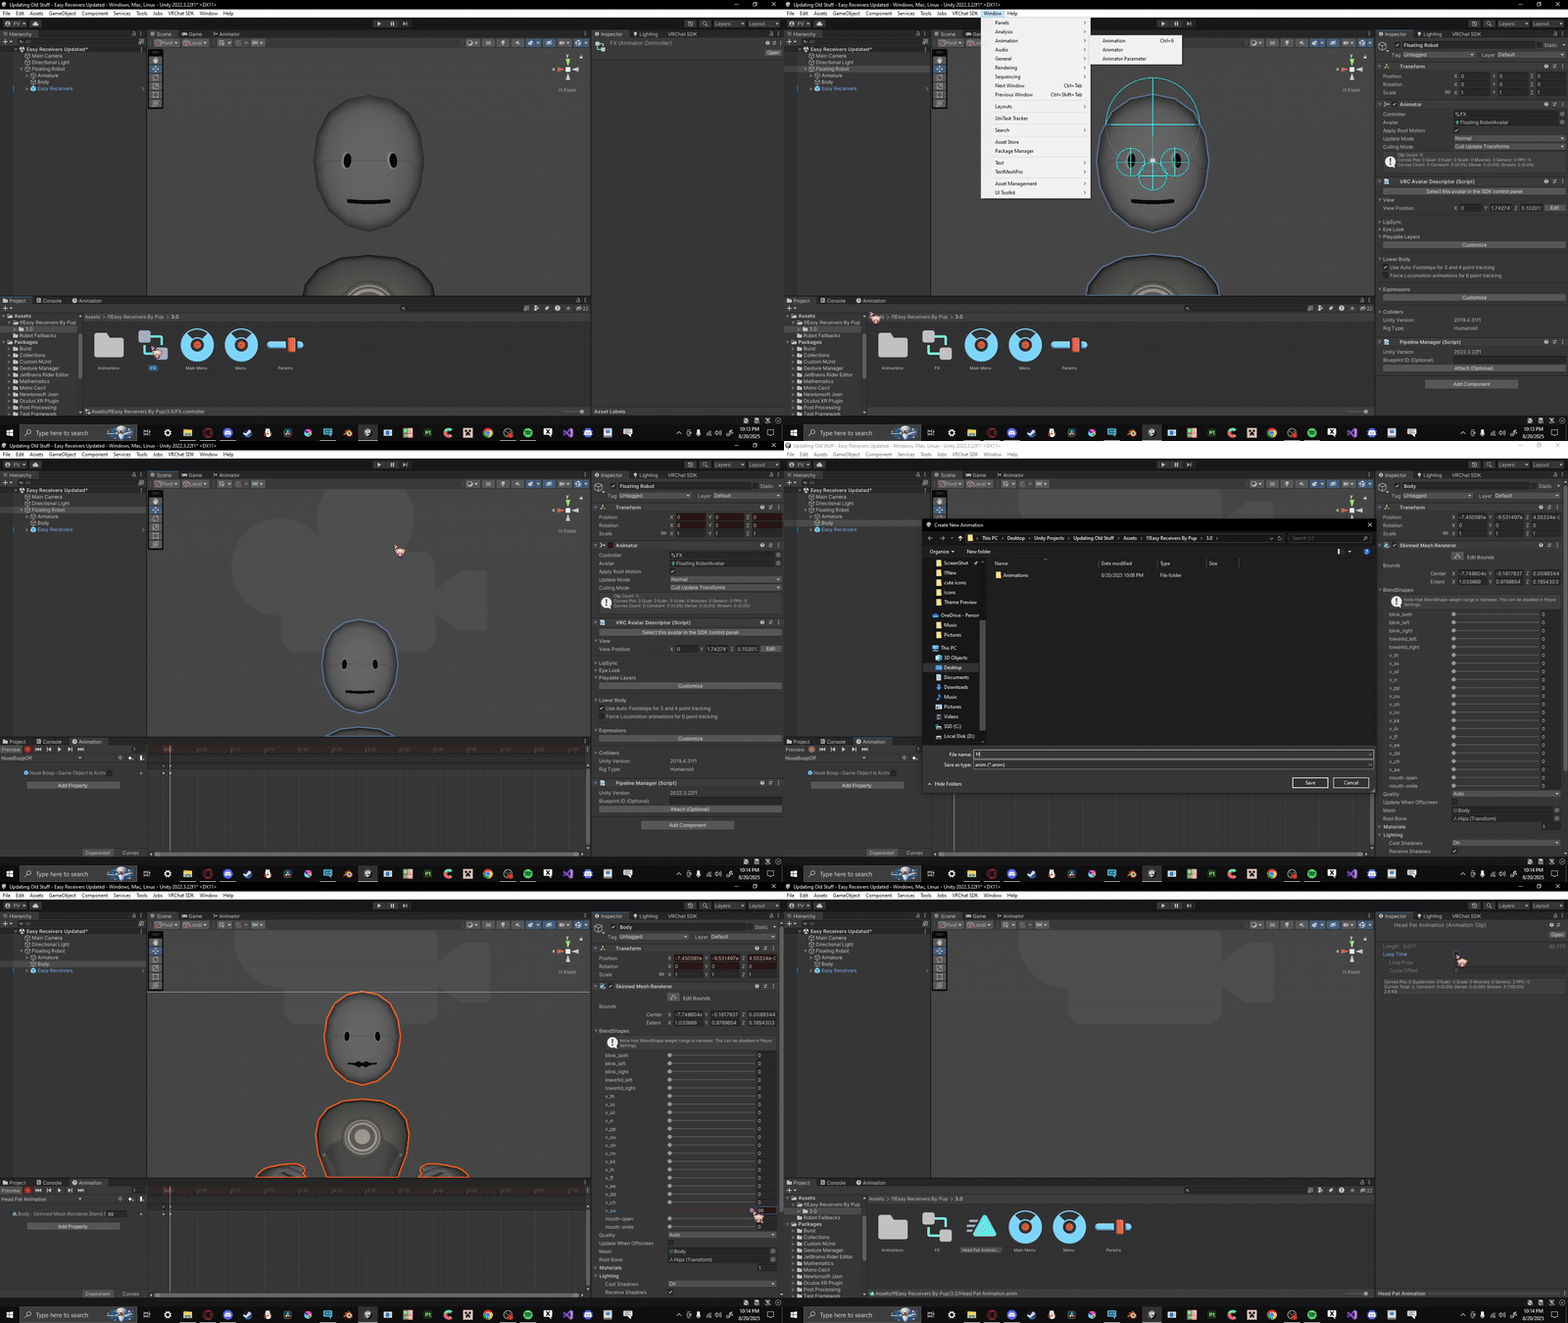
First, find the FX animator located in the 3.0 folder and drag it into your model's animator controller.
Next, open the Animation tab and create a new animation. On the second frame of this new animation, enable all the blendshapes or objects you want to use. Make sure to uncheck "Loop Time" on the animation.
Important Note
It is critical that you do not use any blendshapes or objects that are already in use by another animation, such as gestures or blinking. If two animations try to control the same blendshape, they will conflict with each other, and the animations will not work correctly.
Adding Your Animation
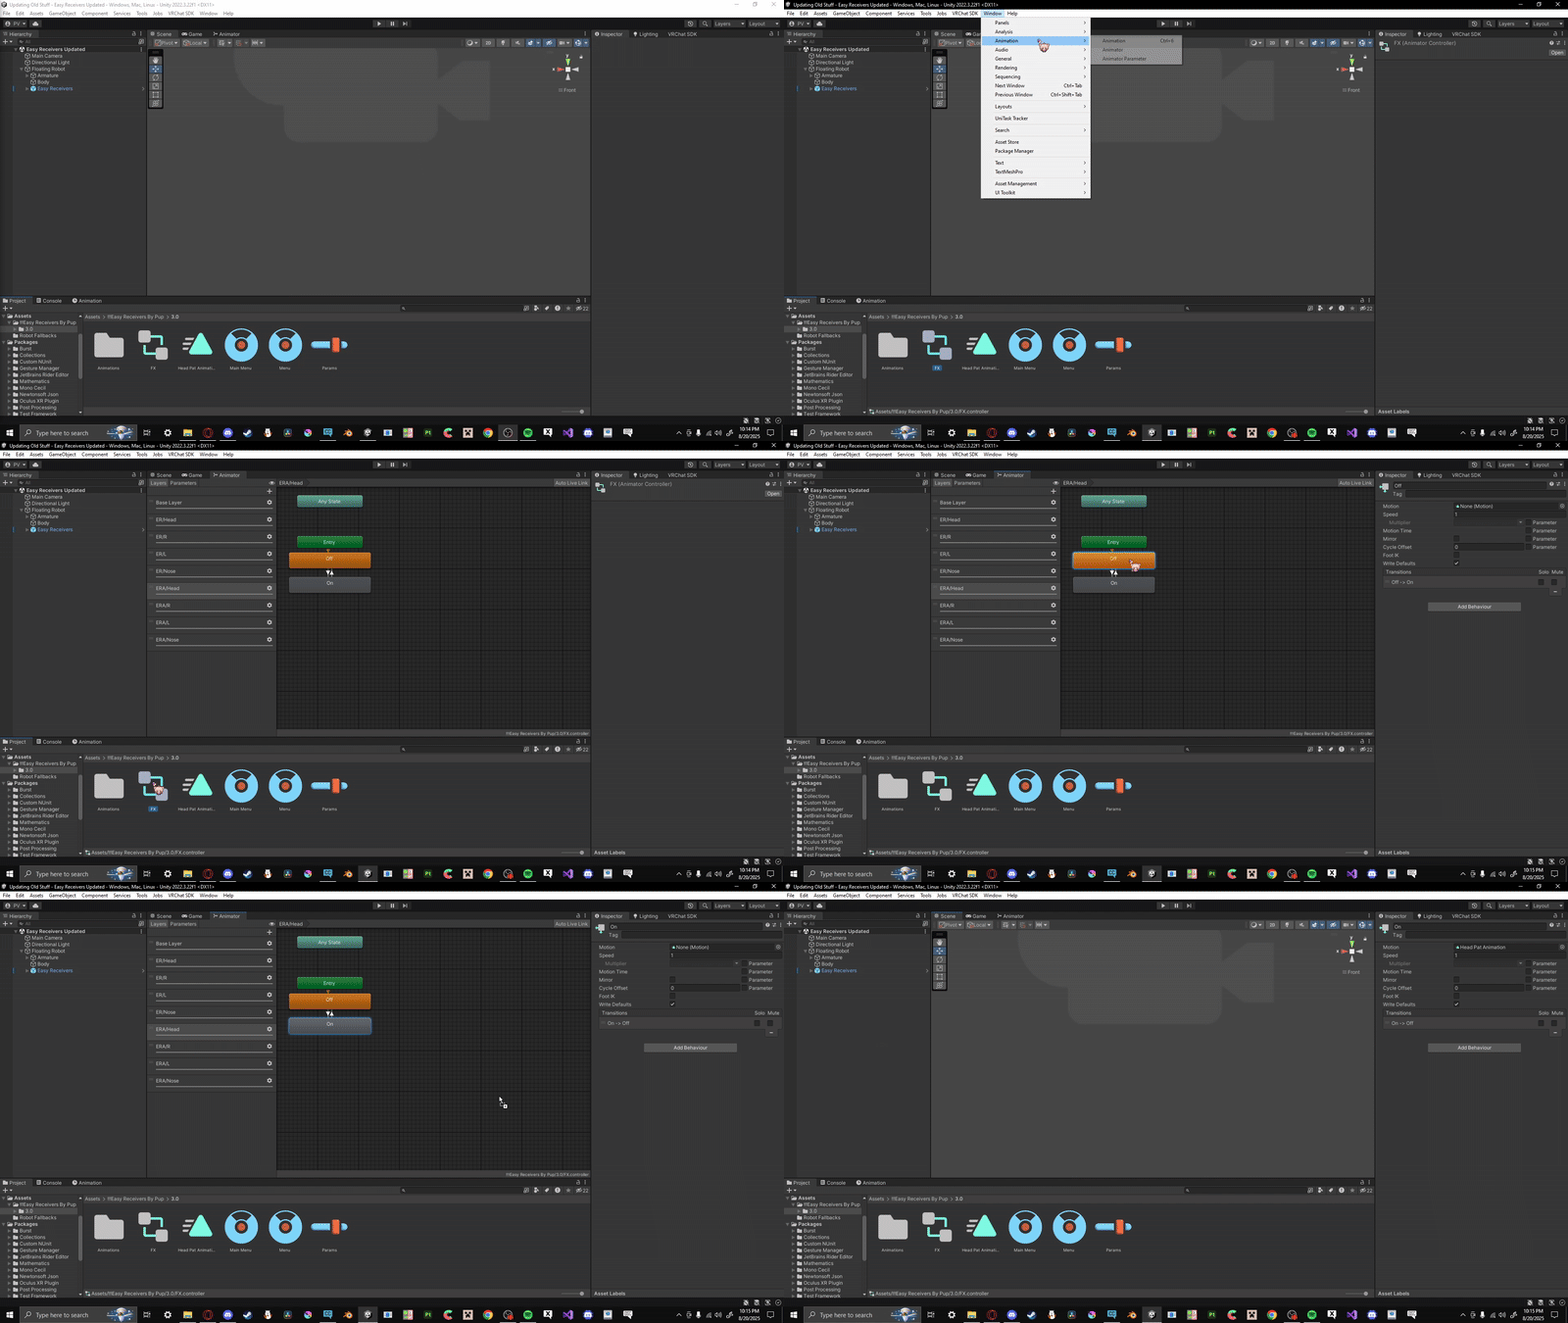
After creating your animation, locate the FX animator. Next, find the appropriate layer for your animation within the animator. In the OFF / ON animations, drag your newly created animation into motion time.
Testing Your Receivers
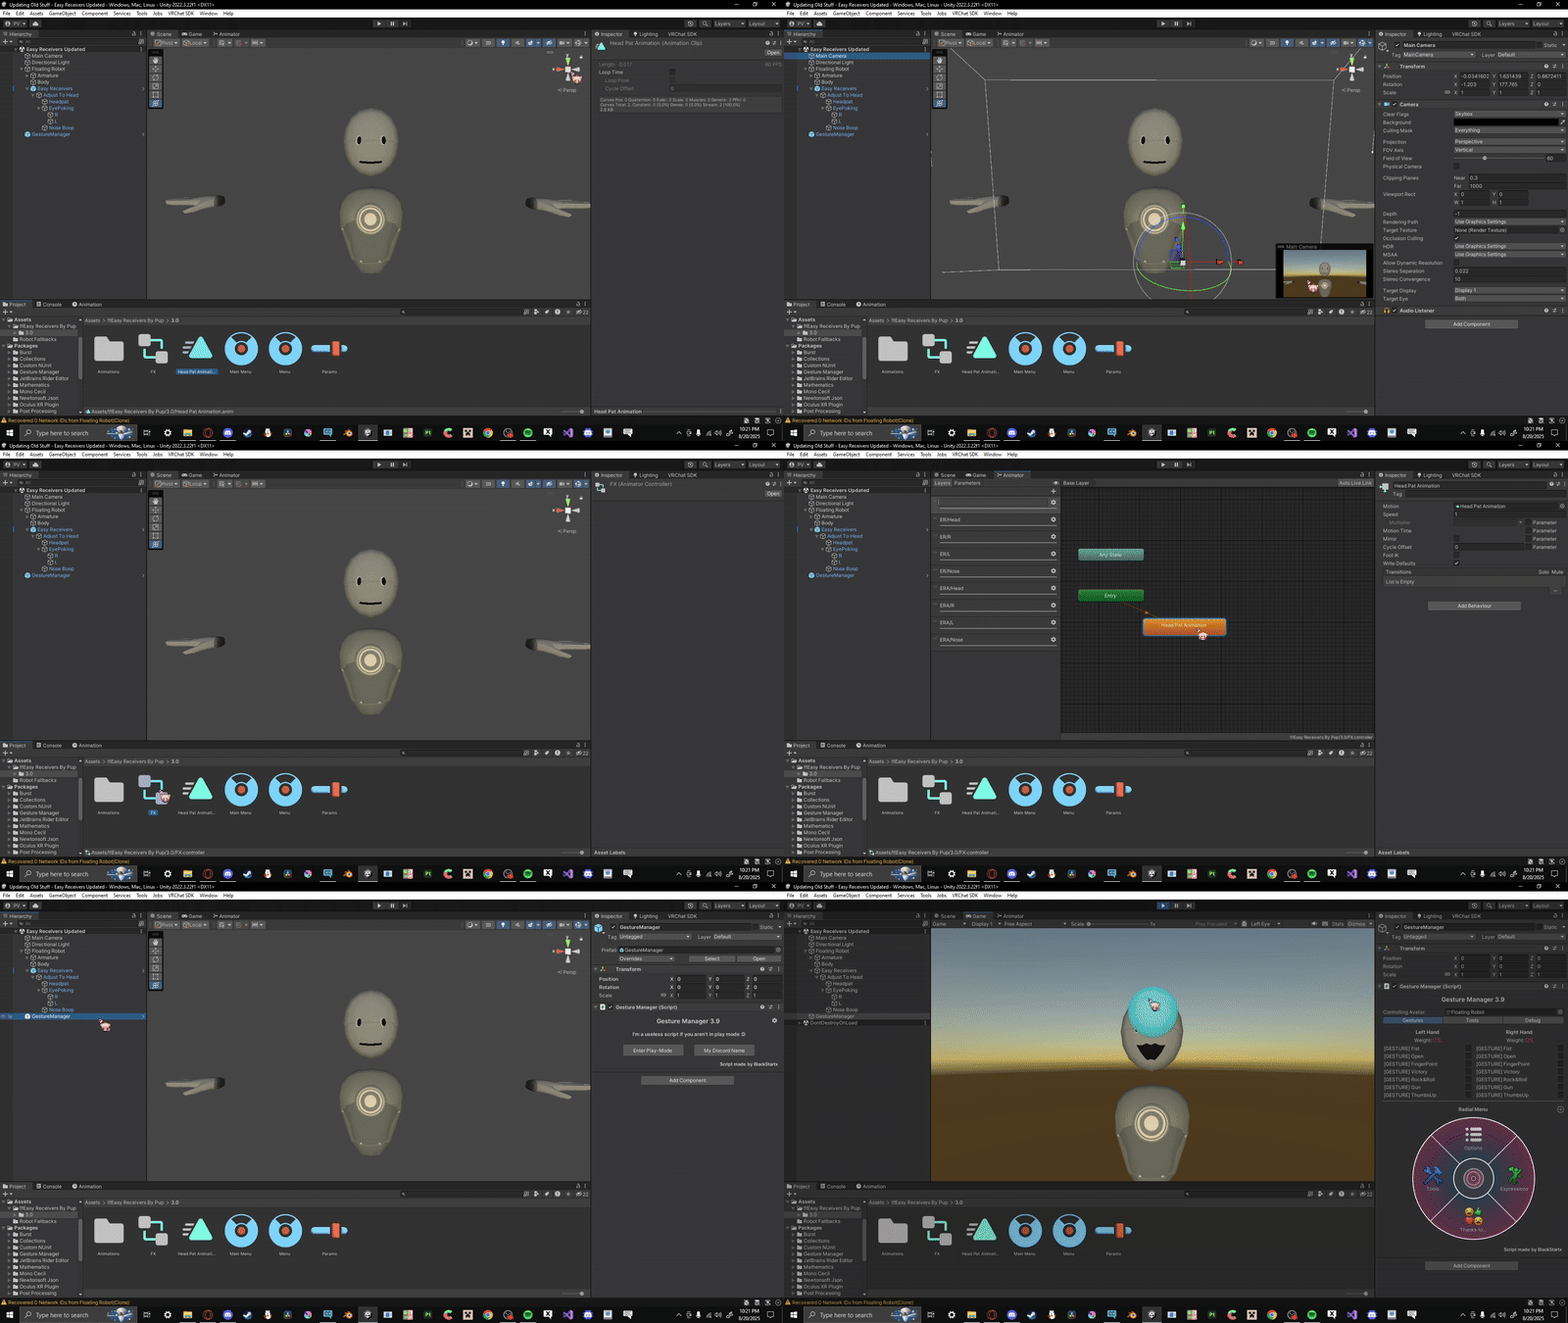
Before entering Play Mode, ensure that Gizmos are enabled in your Unity project.
Adjust your main camera to face the front of your model, ensuring that the game view can fully see your model's head. Click on the FX and make sure to delete the created animation from your "Base Layer" .
Once the camera is positioned, click on Gesture Manager and select Enter Play Mode. In the Game tab, you can then click on your model's receivers to test their functionality.
You're Finished!
Everything else is automated for your convenience. If you have any issues, please contact me via email.

