

Table of Contents
- Why Interior Photography Is Different
- Preparing the Home
- Camera Height and Position
- Composing the Room
- Lighting Decisions
- The Flambient Capture Sequence
- Working Through the Home
- Common Mistakes
- Frequently Asked Questions
- Continue Learning
Why Interior Photography Is Different
Exterior photography is largely about showcasing architecture.
Interior photography is about communicating how a home feels.
The objective isn't simply to record a room.
It's to help a buyer imagine living there.
A successful interior photograph should answer questions such as:
- How large is the room?
- How does it connect to adjacent spaces?
- Where does the natural light come from?
- What architectural details make it special?
- What would it feel like to spend time here?
The strongest photographs accomplish all of that while remaining completely believable.
Professional real estate photography never exaggerates a home's size or hides its shortcomings. Instead, it presents each room in its best—and most accurate—light.
Preparing the Home
Before the camera comes out, prepare the space.
Even small distractions become obvious in a high-resolution photograph.
Walk through every room and look for:
- Trash cans
- Floor mats
- Tissue boxes
- Remote controls
- Power cords
- Pet bowls
- Personal photographs
- Refrigerator magnets
- Cleaning supplies
Straighten chairs.
Align bar stools.
Smooth bedding.
Fluff pillows.
Open blinds evenly.
Turn on decorative lighting if it complements the room.
Small details dramatically improve the final photographs.
Professional Tip
Spend five extra minutes preparing a room before photographing it. You'll save far more than five minutes trying to remove distractions later in Photoshop.
Camera Height Matters
One of the quickest ways to identify an inexperienced real estate photographer is inconsistent camera height.
Photographing too high makes furniture feel compressed.
Photographing too low exaggerates foreground objects.
For most rooms, position the camera approximately 4½ to 5 feet above the floor.
Exceptions certainly exist.
Kitchen islands.
Bathroom vanities.
Large dining tables.
Vaulted spaces.
The goal is balance—not rigid measurements.
Compose the Room—Not Just the Corners
Many beginners believe every photograph should be taken from a corner.
Sometimes that's true.
Often it isn't.
Instead, ask yourself:
"What is this room trying to communicate?"
Perhaps it's symmetry.
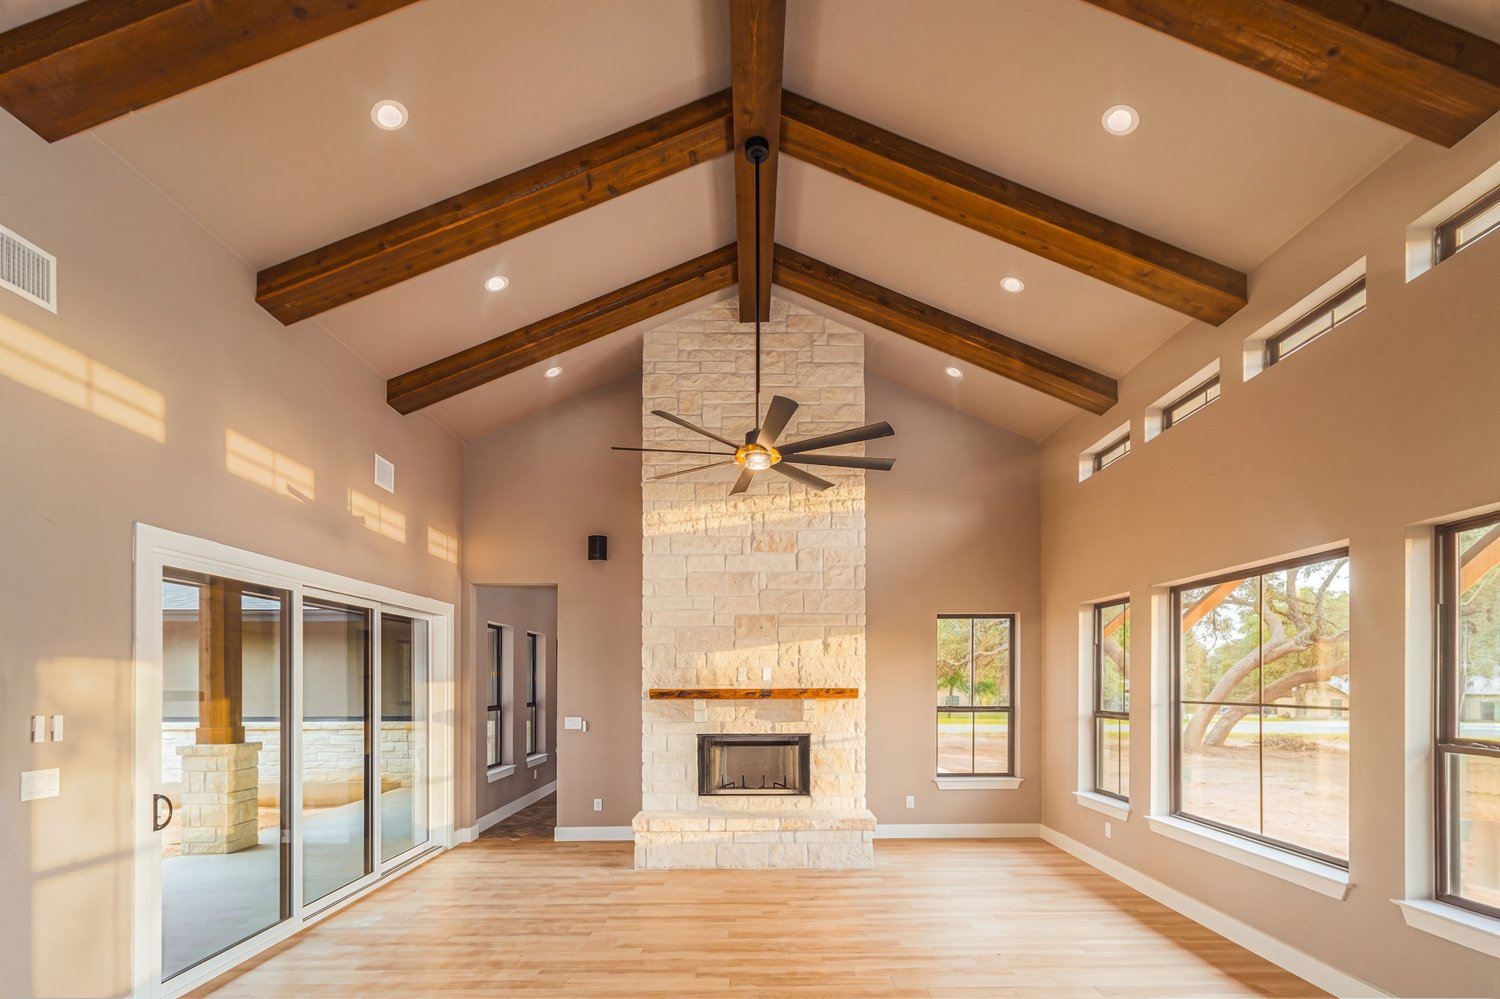
Perhaps it's ceiling detail.
Perhaps it's the relationship between the kitchen and family room.
Choose the camera position that best tells that story.
Avoid placing large furniture immediately against the edge of the frame.
Allow breathing room whenever possible.
The composition should feel intentional rather than accidental.
Keep Vertical Lines Straight
One of the defining characteristics of professional architectural photography is straight vertical lines.
Walls should not appear to lean.
Door frames should remain vertical.
Cabinets should look square.
Keep the camera level during capture.
Perspective adjustments can then be refined during editing.
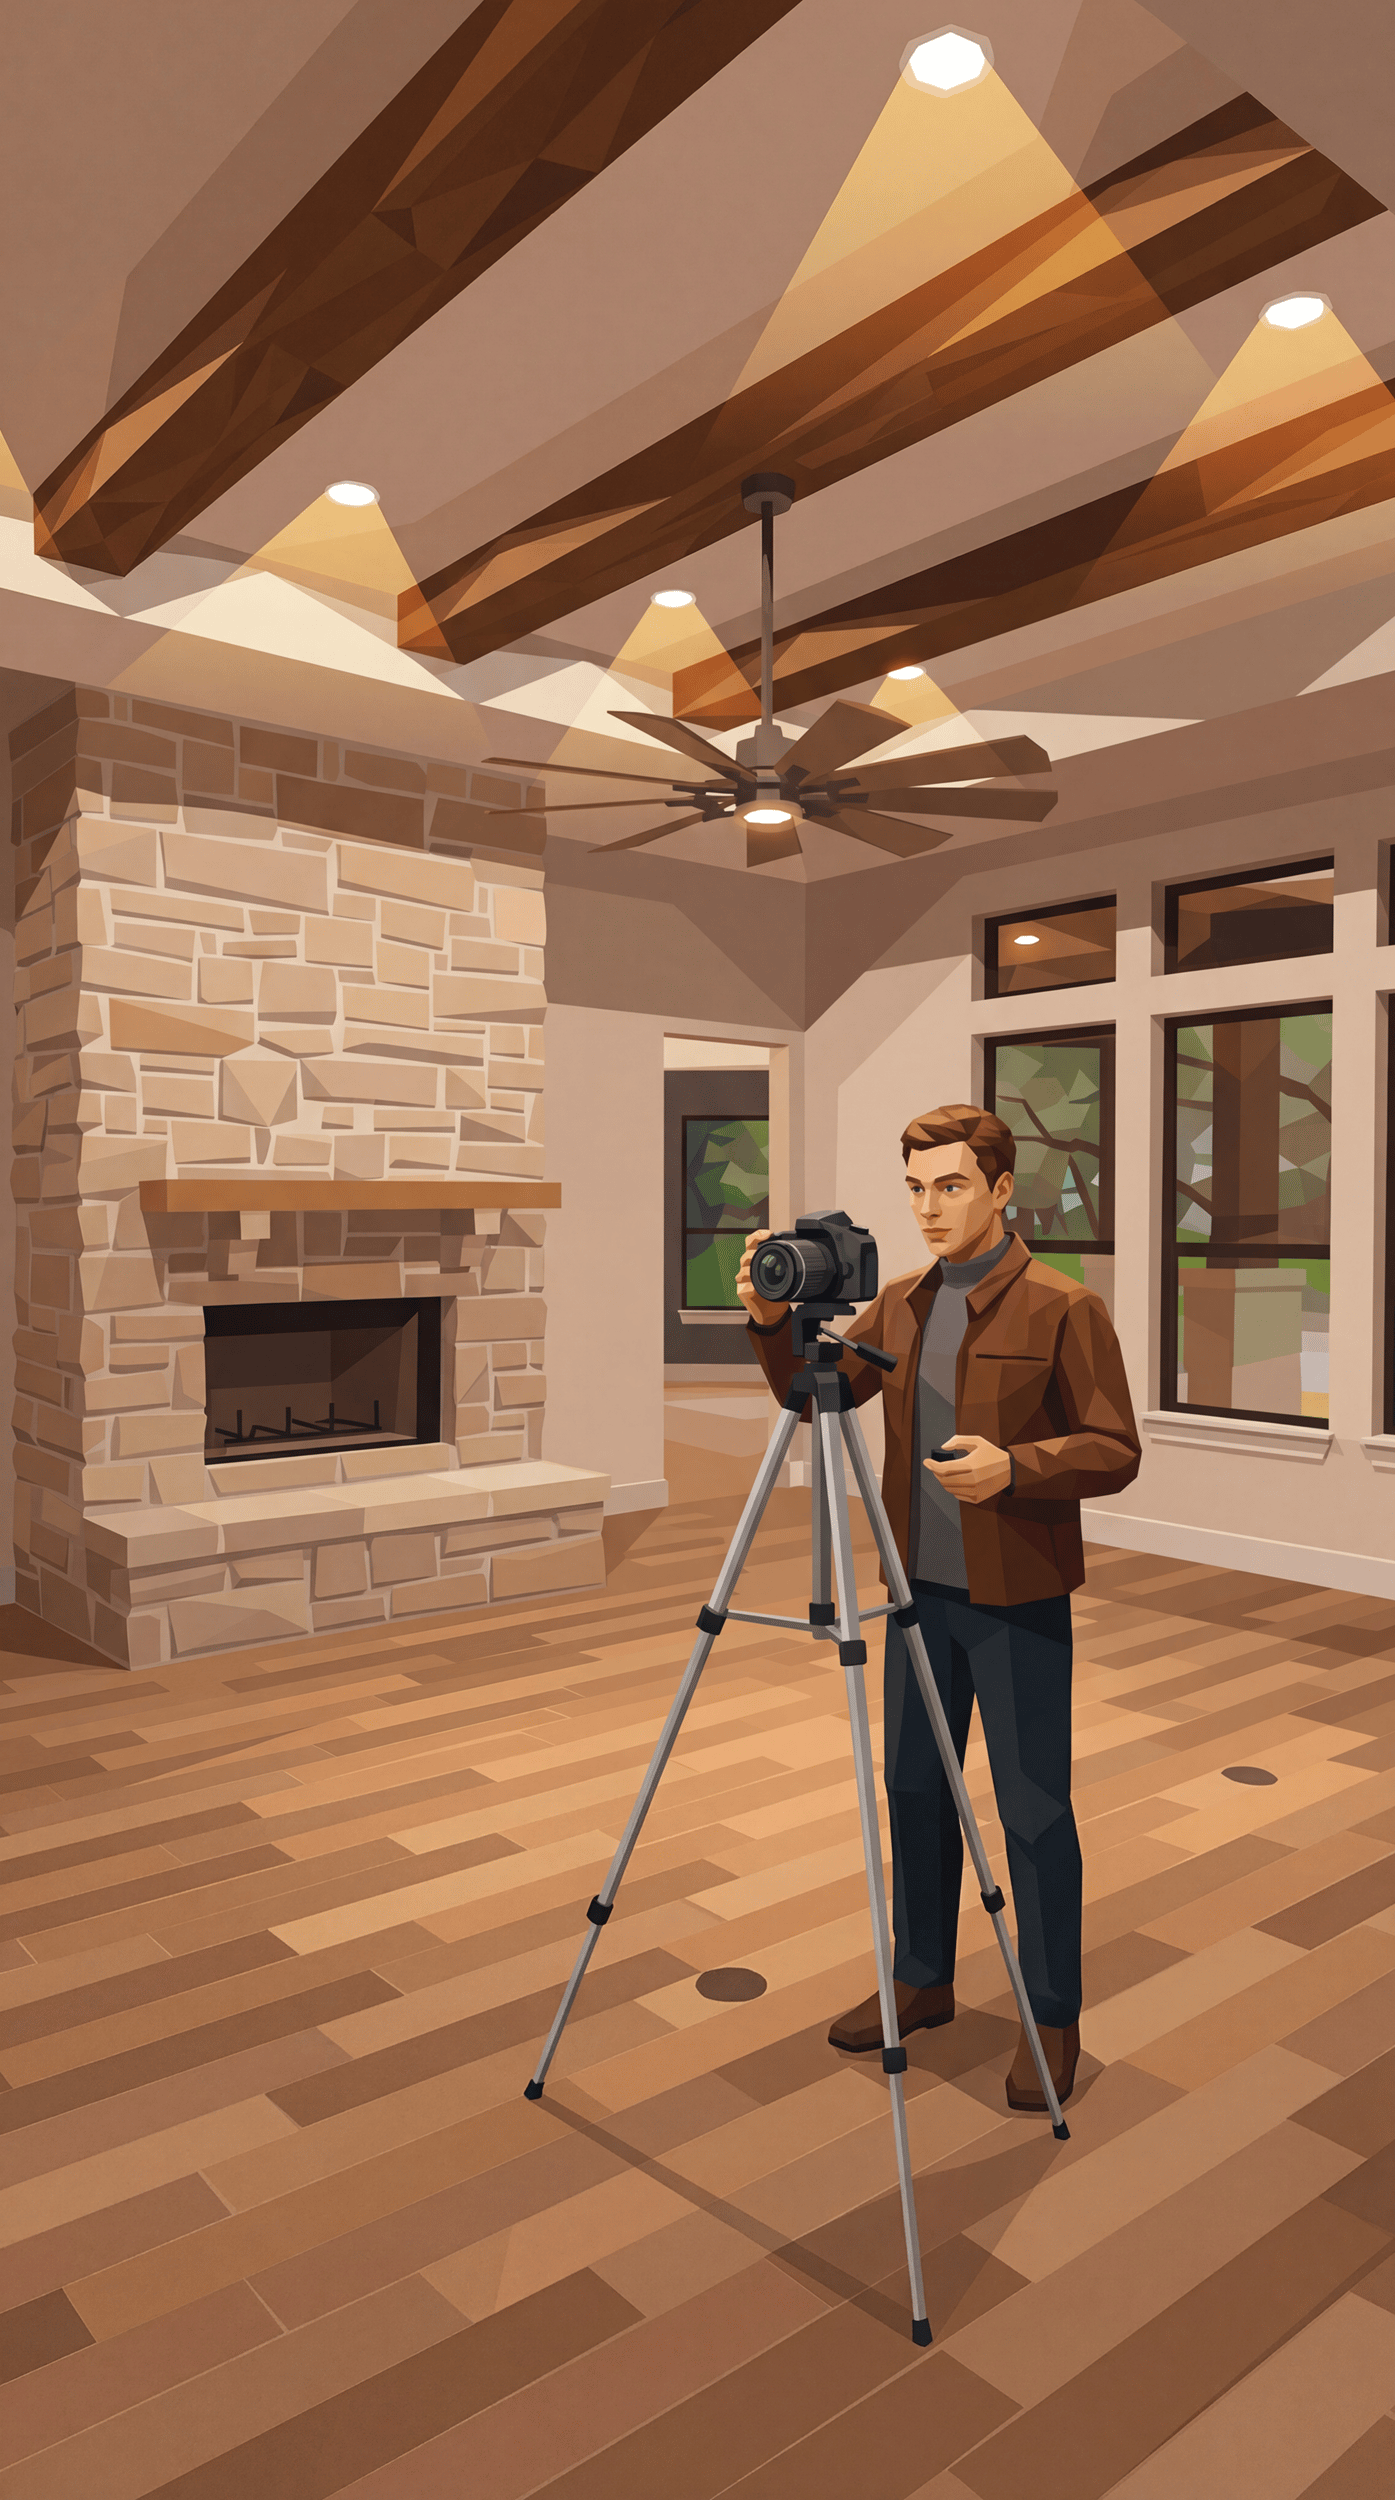
A level tripod is one of the simplest ways to improve your photography immediately.
Choosing Your Lighting
Interior lighting presents unique challenges.
Natural window light.
Ceiling fixtures.
Pendant lights.
LED strips.
Under-cabinet lighting.
Every source has a different color temperature.
Rather than fighting those differences with a single exposure, professionals typically use a flambient workflow.
This combines:
- Ambient exposures
- Flash exposures
- Window exposures
Each contributes something different to the final image.
The Flambient Workflow
Rather than photographing one perfect exposure, capture a complete image set.
A typical sequence includes:
- Ambient exposure for the room.
- Flash exposure to create clean, even lighting.
- Ambient window exposure.
- Flash window exposure.
Later, these images are blended together during editing to create natural color, clean shadows, and realistic window views.
This workflow forms the foundation of the REPT editing process.
Work Methodically
Avoid photographing rooms randomly.
Instead, develop a repeatable routine.
For example:
- Exterior front
- Entry
- Living areas
- Kitchen
- Dining
- Primary suite
- Primary bath
- Secondary bedrooms
- Secondary baths
- Utility room
- Garage
- Outdoor living
- Rear elevation
Consistency reduces missed rooms and speeds both shooting and editing.
Photograph Connections Between Spaces
Buyers aren't purchasing isolated rooms.
They're purchasing a floor plan.
Look for opportunities to show:
- Kitchen flowing into the family room.
- Dining connected to the patio.
- Primary bedroom leading into the bathroom.
- Hallways connecting bedrooms.
These relationship shots help viewers mentally navigate the home before visiting in person.
Less Is Often More
Not every room needs six photographs.
Sometimes one carefully composed image communicates the space perfectly.
Other rooms may deserve three or four.
Quality always outweighs quantity.
Every photograph should provide new information.
Common Mistake
Trying to fit every inch of a room into one photograph. Ultra-wide compositions often feel unnatural and can distort proportions. It's better to create two balanced photographs than one exaggerated one.
Frequently Asked Questions
Should every interior light be turned on?
Not always.
Decorative lighting often enhances warmth, while certain overhead fixtures may introduce unpleasant color casts. Evaluate each room individually.
Should ceiling fans be running?
No.
Turn them off before photographing.
Blurred fan blades immediately distract from an otherwise clean image. This is part of the standard on-location workflow taught throughout the REPT course.
What camera mode should I use?
Manual mode provides the greatest consistency throughout an entire property.
How many photos should a typical home receive?
The answer depends on size and architectural complexity.
Focus on telling the home's story—not achieving an arbitrary image count.
Is flash necessary?
For the highest-quality interiors, yes.
Flash provides cleaner colors, reduces noise, and improves overall consistency.
Recommended Course Lesson
This topic is demonstrated step-by-step in:
Episode 4 – On Location: Interior Workflow
You'll see the complete capture process, including camera positioning, framing decisions, white balance, flash placement, and the four-image flambient sequence used throughout the REPT workflow.
Continue Your Training
Whether you're just getting started or refining your workflow, you'll find additional free tutorials, articles, and training resources at:
Website
Real Estate Photography Training
Complete Course
Ready to master the entire workflow—from camera setup to final Photoshop export?
Real Estate Photography Training Course
Follow Along
Behind-the-scenes shoots, editing tips, and new tutorials are regularly shared on Instagram.
Comments ()