


When it comes to building a prepper pantry, the shelves themselves matter just as much as the food you put on them. A well-organized pantry isn’t just about neat rows of cans—it’s about making your food easy to see, easy to access, and simple to rotate so nothing goes to waste.
Start with the 25 foods from my checklist as your foundation, then set up shelves in a way that helps you maximize space, protect your investment, and keep your pantry running smoothly for the long haul.
Step 1: Start with the Right Shelving

Not all shelves are created equal. If you’re planning long-term storage, durability and strength are essential. Wire racks or heavy-duty metal shelving can hold the weight of bulk items without sagging over time. Wood can work too, but make sure it’s sealed to prevent moisture damage.
- Choose shelves that can handle the weight of cases of canned goods and gallon jugs.
- Adjust shelf heights to fit tall items like 2-liter bottles or buckets.
- Keep shelves slightly raised off the floor to protect against potential water damage.
Strong, customizable shelving is the backbone of a pantry you can rely on year after year. Think of it as an investment—if your shelves collapse, all your effort (and money) is wasted. Solid shelving also creates a sense of order and makes it easier to expand your pantry later.
Step 2: Organize by Food Categories
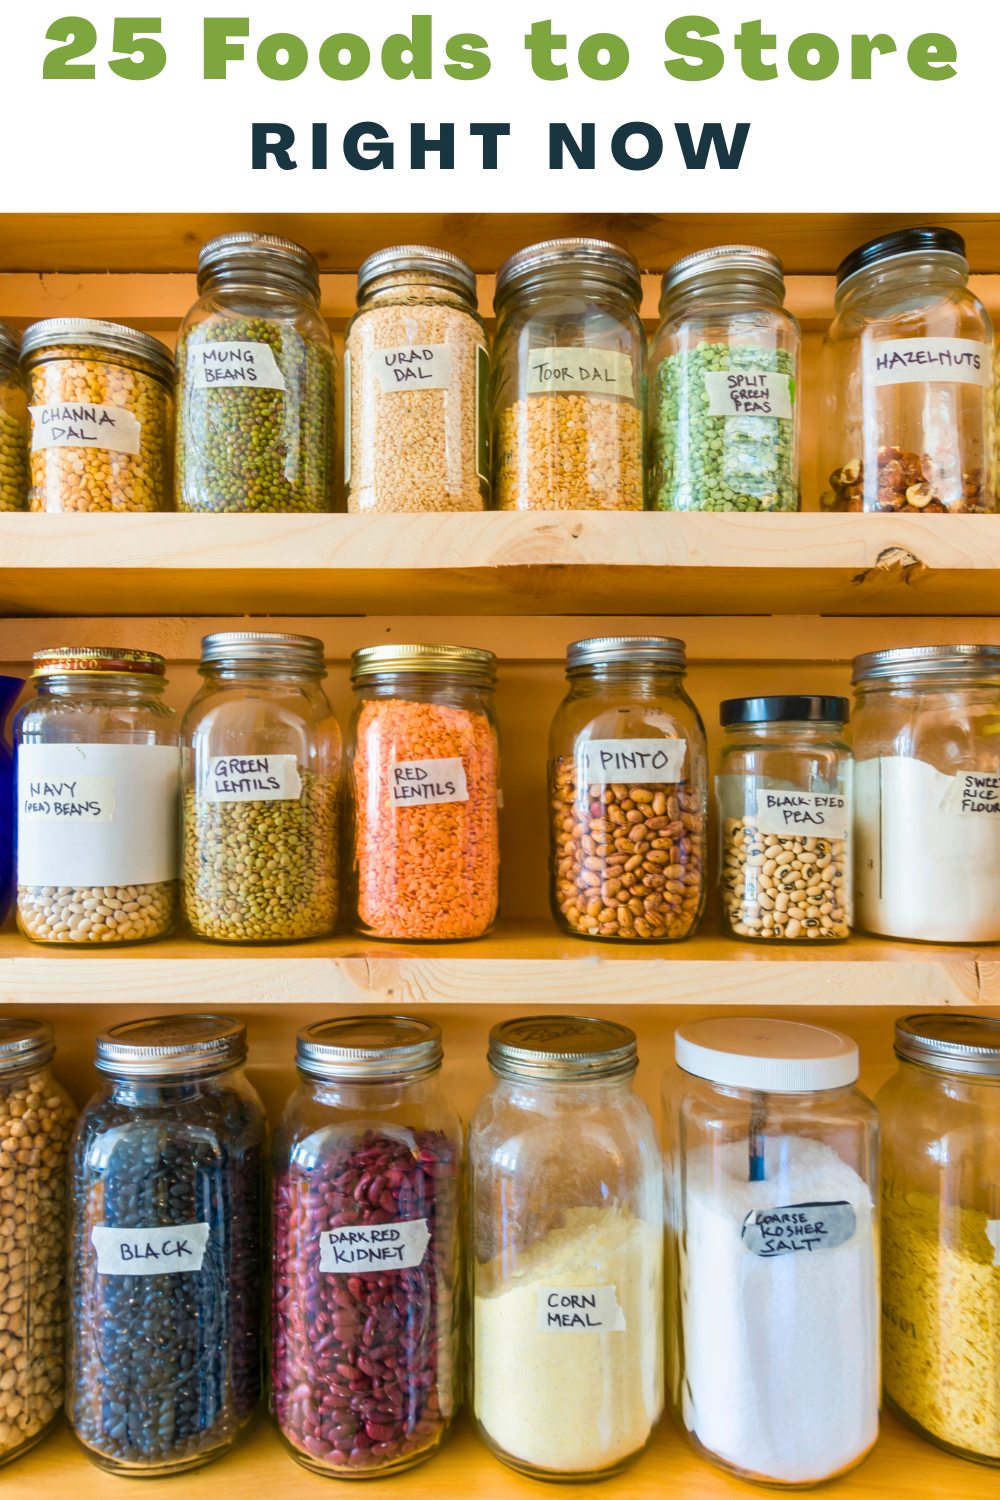
A jumbled pantry means wasted time and wasted food. Instead, sort your items into logical categories—grains, proteins, canned vegetables, baking supplies, and so on. Grouping makes it much easier to find what you need when you’re cooking and simplifies your inventory tracking.
- Label each shelf or section clearly (e.g., “Canned Vegetables” or “Pasta & Rice”).
- Store similar items together so you don’t end up with duplicates hidden in the back.
- Dedicate top shelves for lighter items and lower shelves for heavier goods.
When your pantry is grouped by category, you can build meals faster and track what’s running low before it becomes a problem. This system also makes it easier for your family to grab what they need without tearing apart the shelves. Plus, when you shop, you’ll instantly know which section needs replenishing.
Step 3: Make Rotation Easy

Food rotation is the secret to avoiding waste. Use the “first in, first out” (FIFO) method: what comes in first should be used first. Set up your shelves so this system is easy to follow.
- Place new purchases at the back and move older items to the front.
- Consider using can dispensers or gravity-fed racks for soups, beans, and vegetables.
- Keep a running inventory list nearby to update as items go in and out.
Good organization turns food storage into a working system, not a guessing game. Without rotation, you risk losing food to expiration, which wastes money. By creating a natural flow on your shelves, you’ll always know that your food is fresh and ready to use.
Step 4: Use Containers to Protect and Extend Shelf Life

Even on sturdy shelves, food can degrade if it isn’t stored properly. Airtight containers, glass jars, and food-grade buckets help prevent pests, moisture, and spoilage.
- Store dry goods like rice, flour, and oats in sealed containers to keep them fresh.
- Use clear containers so you can see what you have at a glance.
- Add oxygen absorbers or vacuum sealing for long-term bulk storage.
Containers not only extend shelf life but also make your pantry look clean and intentional. They also reduce clutter by removing excess packaging. Investing in quality containers means fewer surprises like bugs, mold, or stale food when you need your pantry most.
Step 5: Leave Room for Growth
It’s easy to fill every inch of your shelves, but leave some space for flexibility. As your needs change, you’ll want room to add new items or adjust categories. A little breathing room keeps your system from feeling cluttered and overwhelming.
- Leave a shelf or two open for overflow or new foods you decide to try.
- Keep a basket for “use soon” items that are close to their expiration date.
- Adjust shelving over time as your family’s diet or storage goals shift.
An organized pantry isn’t static—it’s designed to grow with you. Having extra space also keeps you from overbuying since you’ll naturally notice when the pantry looks too full. Plus, flexibility helps your pantry remain useful whether you’re cooking everyday meals or preparing for an emergency.
Final Thoughts
A pantry that’s built for long-term storage is more than just shelves—it’s a system. Start with the 25 foods from my checklist, then create sturdy shelving, categorize your food, set up a rotation system, use protective containers, and always leave space to grow. These small steps keep your pantry efficient, functional, and ready to serve your family no matter what comes your way.
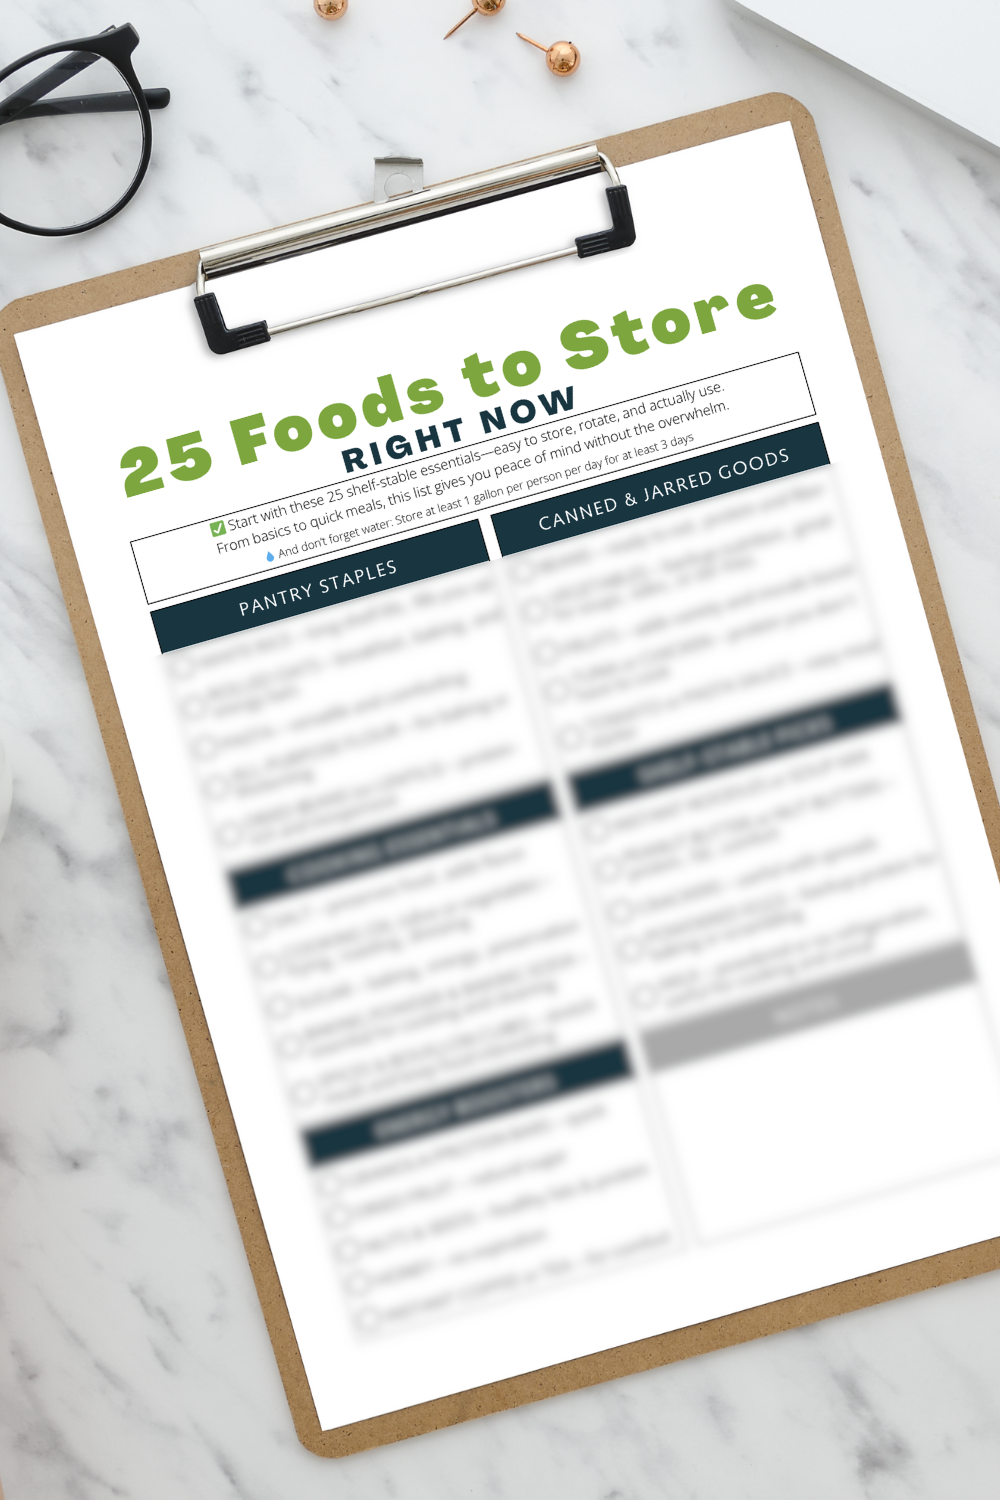
👉🏼 Download my “25 Foods to Store Right Now” printable to kick off your pantry organization with a ready-to-use checklist.
You may also enjoy these:
- 5 Myths About Building a Prepper Pantry (and What to Do Instead)
- How a Prepper Pantry Saves You Time, Money, and Stress
This post may contain affiliate links, which means I may earn a commission if you purchase through them (at no extra cost to you!) Portions of this content may be generated by AI.
Comments ()