

Sublimation printing is a fantastic way to personalize car coasters with vibrant designs that are both durable and eye-catching. Whether you’re crafting for your small business or making custom gifts, sublimating car coasters is a fun and rewarding process. This guide will take you through the steps to achieve flawless results every time.
What You’ll Need for Sublimation Printing
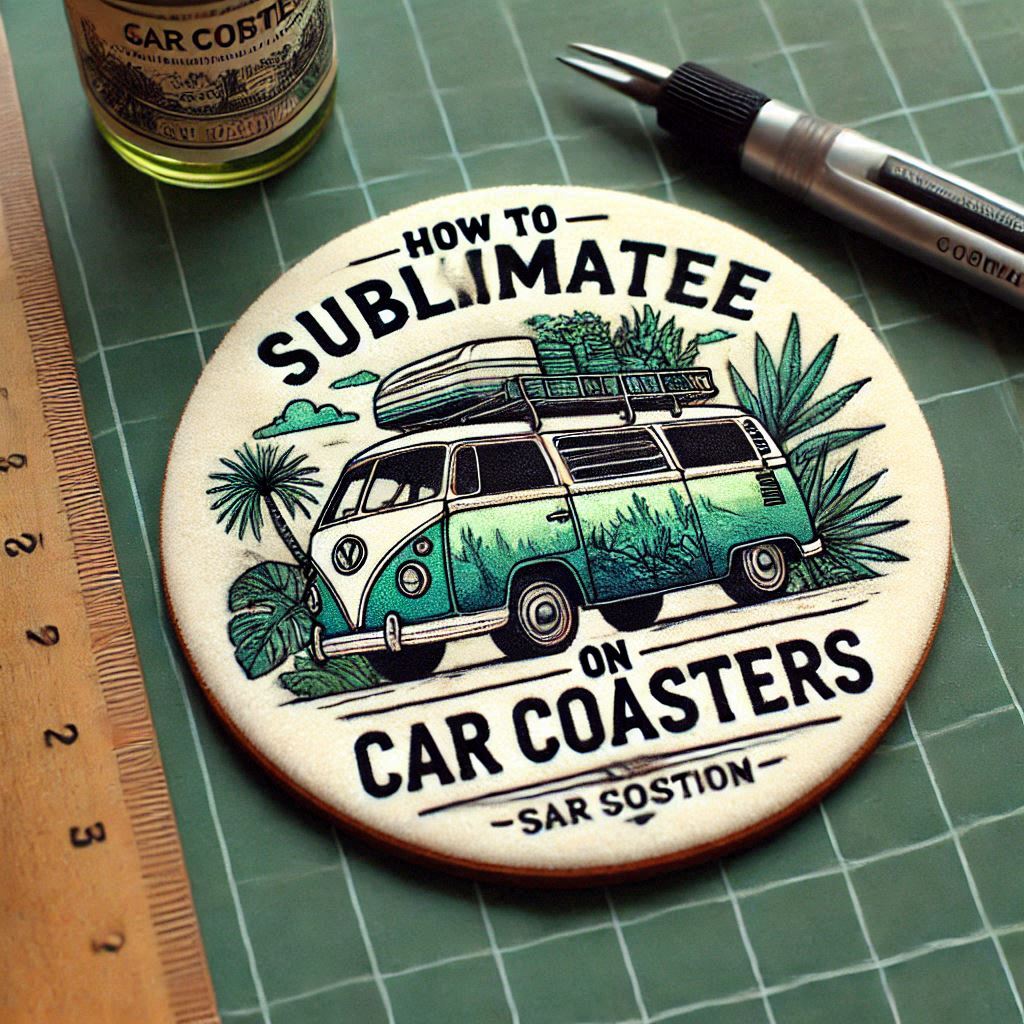
Before starting, gather all the necessary tools and materials:
- Sublimation Printer: A printer capable of using sublimation ink.
- Sublimation Paper: Special paper designed for sublimation transfers.
- Heat Press Machine: A flat heat press is ideal for car coasters.
- Car Coasters: Sublimation-compatible car coasters made from materials like ceramic or sandstone.
- Heat-resistant Tape: To secure your design in place.
- Sublimation Ink: Specialized ink used for sublimation printing.
- Lint Roller: To remove any debris from the coaster surface.
Step 1: Create or Choose Your Design
Start by creating or selecting a design tailored for car coasters. The designs can include patterns, logos, quotes, or monograms. Ensure the design is the correct size to fit your coaster:
- Standard Car Coaster Size: Approximately 2.56 inches in diameter.
Use design software like Adobe Photoshop or Canva to create your artwork. Remember to mirror your design before printing, as sublimation requires a flipped image for proper transfer.
Step 2: Print Your Design
Load your sublimation printer with sublimation paper and ensure your printer settings are optimized for high-quality results. Print the design using sublimation ink, making sure to:
- Set the print quality to "High."
- Enable the mirror image option.
Step 3: Prepare the Car Coasters
Clean the surface of the car coasters with a lint roller to remove dust and debris. A clean surface ensures that the sublimation design transfers evenly.
- Position your printed design onto the coaster with the image facing down.
- Use heat-resistant tape to secure the paper to the coaster, preventing any movement during the pressing process.
Step 4: Set Up Your Heat Press
Adjust your heat press settings based on the manufacturer’s recommendations. For sublimating car coasters, typical settings are:
- Temperature: 385-400°F (196-204°C)
- Time: 60-90 seconds
- Pressure: Medium to firm
Allow the press to preheat before proceeding.
Step 5: Sublimate the Car Coasters
Place the car coaster with the attached design onto the heat press. Ensure the design faces up if you’re using a protective sheet or down onto the press plate if not. Close the heat press and start the timer.
After the time is up, carefully open the heat press and remove the coaster. Be cautious—it will be hot!
Step 6: Cool and Remove the Design
Allow the coaster to cool for a few minutes before peeling off the sublimation paper. The design should now be vibrant, clear, and permanently bonded to the coaster.
Step 7: Quality Check
Inspect the finished coaster for any imperfections. If the design is uneven or faded, revisit your heat press settings and ensure the pressure and time are correct.
Tips for Successful Sublimation on Car Coasters
- Use High-Quality Materials: Choose sublimation-ready coasters for the best results.
- Avoid Overheating: Excessive heat can cause the design to blur or fade.
- Experiment with Designs: Try out different patterns and colors to find what works best for your audience.
- Practice First: Test your process on a sample coaster before moving to bulk production.
Conclusion
Sublimating on car coasters is a simple yet effective way to create personalized items that stand out. By following these steps and using the right tools and techniques, you can produce professional-grade coasters perfect for gifts, car enthusiasts, or retail products. Happy crafting!
Comments ()