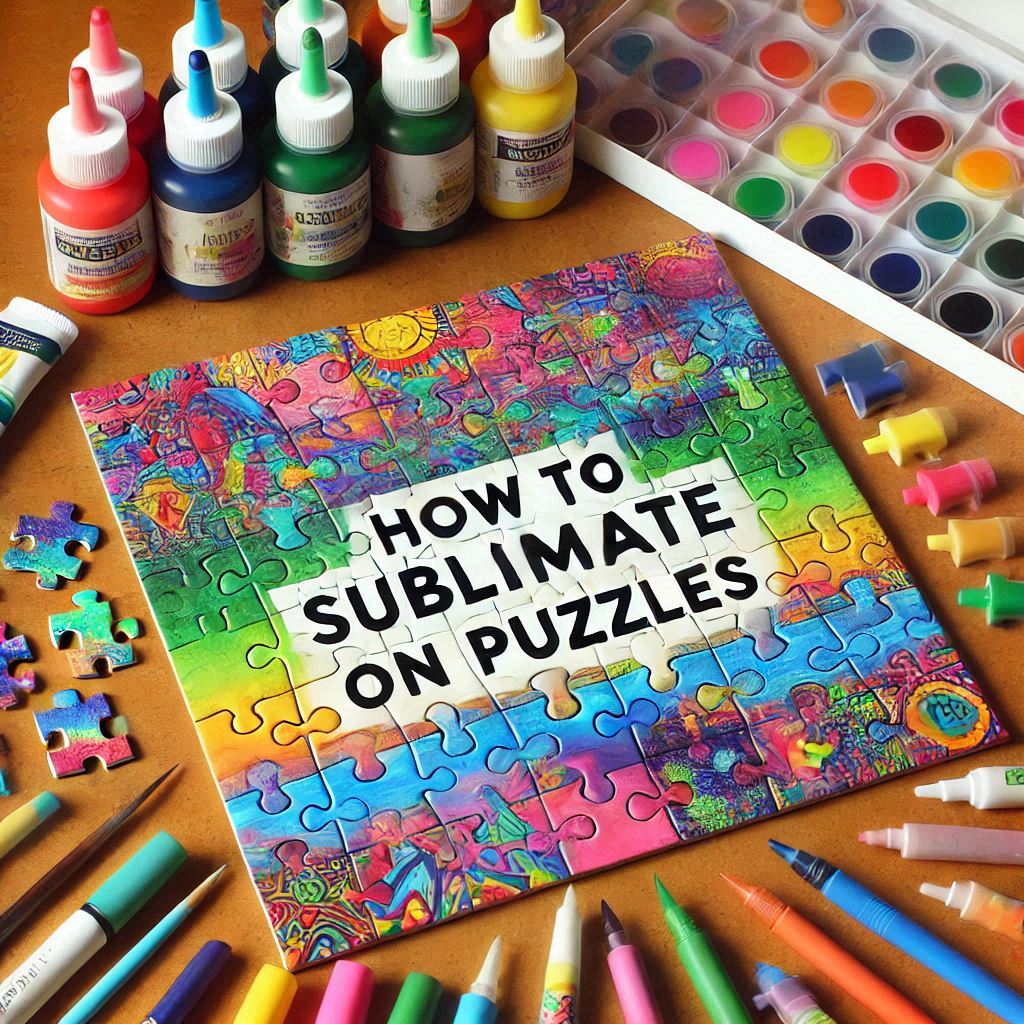
Sublimating on puzzles is a creative and fun way to create personalized gifts, promotional items, or memorable keepsakes. Whether you’re designing a custom jigsaw puzzle for a family reunion, a special gift for loved ones, or a unique marketing tool for your brand, sublimated puzzles offer vibrant, high-quality, and durable designs. This step-by-step guide will walk you through the process of sublimating on puzzles, ensuring that your designs are crisp, clear, and permanent.
What You’ll Need for Sublimating on Puzzles
Before you begin sublimating your puzzle, make sure you have the following tools and materials ready:
- Sublimation Printer: A printer designed to use sublimation ink, essential for transferring high-quality designs onto the puzzle surface.
- Sublimation Paper: Special paper that holds sublimation ink, ensuring it transfers onto the puzzle correctly.
- Heat Press Machine: A machine that applies heat and pressure, necessary for the sublimation process.
- Sublimation Puzzles: Puzzles made from materials like wood, metal, or cardboard that are coated with a special sublimation-friendly coating.
- Heat-resistant Tape: To secure the sublimation paper onto the puzzle during the heat press process and prevent shifting.
- Sublimation Ink: High-quality ink specifically designed for sublimation that produces vibrant, durable colors.
- Silicone Mat or Teflon Sheet: To protect the heat press and ensure even heat distribution.
- Protective Gloves: To safely handle hot puzzles once the heat press cycle is complete.
Step 1: Create or Choose Your Design
The first step in sublimating on a puzzle is to create or choose the design. Popular design ideas for puzzles include:
- Custom family photos, wedding pictures, or vacation memories for personalized gifts.
- Custom artwork, such as illustrations or patterns, for unique, fun puzzle designs.
- Logos, branding, or promotional messages for business use.
Use design software like Adobe Illustrator, Photoshop, or Canva to create your design. Ensure that your design is sized appropriately for the puzzle, and remember to mirror the image to ensure a correct sublimation transfer.
Step 2: Print Your Design
Once you’ve created your design, load the sublimation paper into your sublimation printer and adjust the settings for the best results:
- Set the printer to “High” print quality.
- Select the “Mirror Image” option to reverse your design for proper transfer.
- Print your design using sublimation ink, and allow it to dry completely before moving to the next step.
Step 3: Prepare the Puzzle
Before sublimating, make sure the puzzle surface is clean and free of any dust, dirt, or oils that could affect the transfer. Use a lint-free cloth to wipe down the surface.
Next, place the printed sublimation paper face down on the puzzle, ensuring the design aligns with the puzzle’s surface. Use heat-resistant tape to securely attach the paper to the puzzle, making sure there are no wrinkles or air pockets.
Step 4: Set Up the Heat Press
Adjust your heat press machine for the puzzle material you are working with. Typical heat press settings for sublimating puzzles include:
- Temperature: 375-400°F (190-204°C)
- Time: 3-5 minutes (based on puzzle thickness and material)
- Pressure: Light to medium pressure
Preheat the heat press to ensure even and consistent results.
Step 5: Sublimate the Puzzle
Carefully place the puzzle, with the sublimation paper facing the puzzle’s surface, into the heat press. Cover it with a silicone mat or Teflon sheet to ensure even heat distribution and protect your press from any contact with the paper.
Apply pressure and start the timer. Once the time is up, carefully open the heat press and remove the puzzle using protective gloves to avoid burns.
Step 6: Cool and Remove the Sublimation Paper
Allow the puzzle to cool for a few minutes before carefully peeling off the sublimation paper. The design should now be vibrant, crisp, and permanently bonded to the surface of the puzzle.
Step 7: Quality Check
Inspect the puzzle for any imperfections, such as misalignment or faded areas. If necessary, adjust your heat press settings and repeat the process to perfect your design.
Tips for Successful Puzzle Sublimation
- Use High-Quality Sublimation Puzzles: Choose puzzles that are specifically coated for sublimation. These puzzles are designed to accept sublimation ink, ensuring long-lasting and vibrant designs.
- Avoid Overheating: Too much heat can cause colors to bleed or distort. Ensure that you follow the correct temperature and time settings.
- Test Your Setup: Practice on a sample puzzle to fine-tune your settings and technique before sublimating your final piece.
- Protect the Design: Always ensure that the design is properly aligned and secured to avoid any movement during the pressing process.
Conclusion
Sublimating on puzzles is an exciting way to create personalized, unique gifts or branded promotional items. By following this guide and using the right materials and equipment, you can achieve professional-quality results that make your puzzles stand out. Start creating custom puzzles today, and transform your favorite memories or designs into interactive, vibrant pieces of art!


Comments ()