Intro
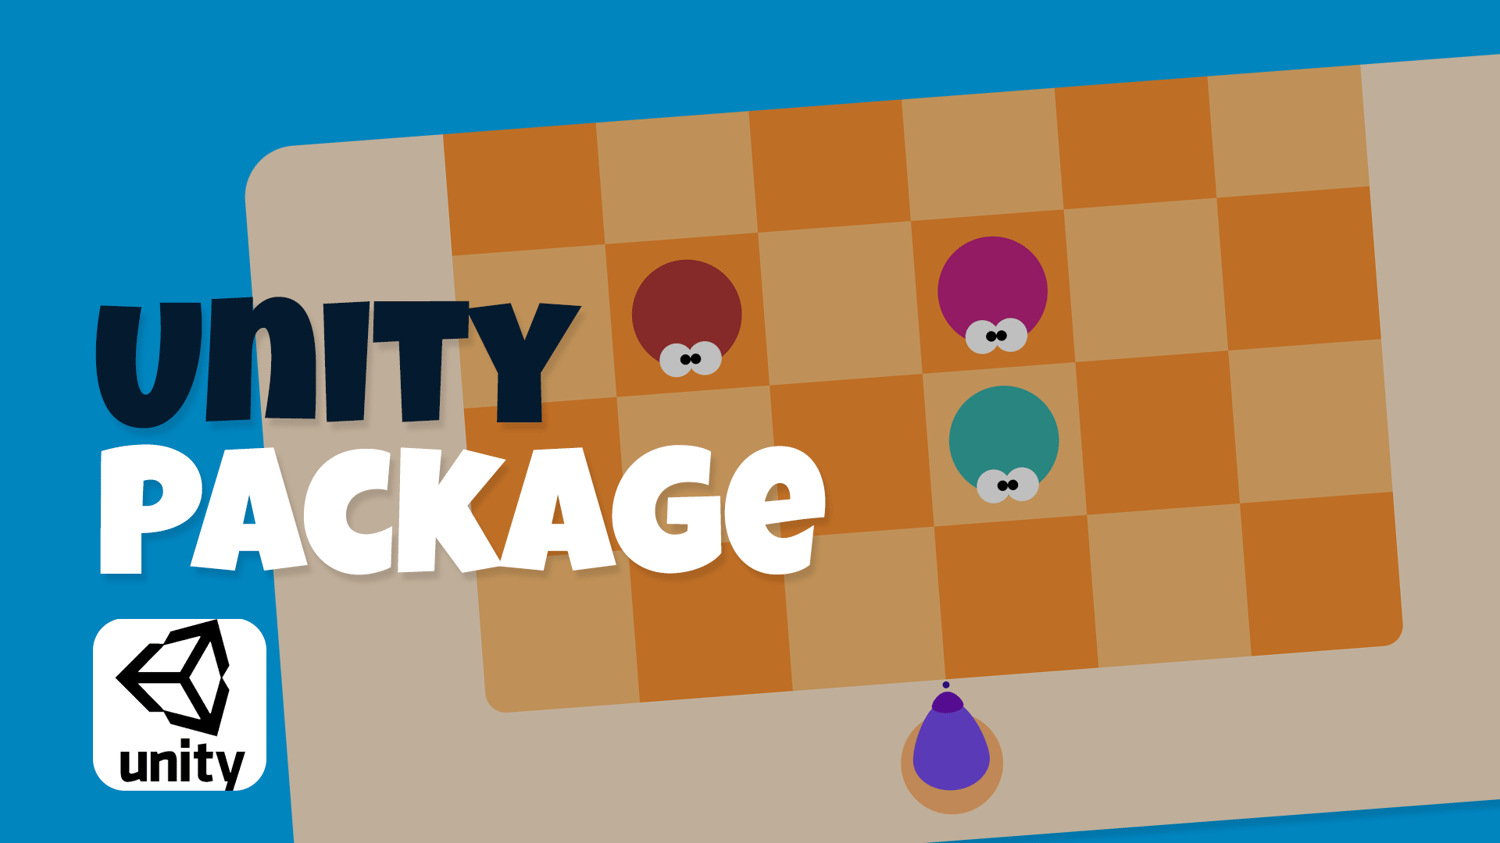
Welcome to our exciting Unity tutorial where we dive into the basics of game development by creating your very first game—a simple shooter! Whether you're a complete beginner or someone with a bit of coding knowledge looking to expand your skills, this guide is designed just for you.
In this tutorial, we'll walk you through the step-by-step process of building a 2D shooter game in Unity. You'll learn how to set up your project, create game objects, apply basic scripts, and see your game come to life. The design is intentionally straightforward, focusing on fundamental concepts that are crucial for any budding game developer.
We hope this post inspires you to experiment and build upon the foundation laid here. Please don't hesitate to share your progress, ask questions, or provide feedback in the comments section. Your interaction enriches our community and helps us all grow together. So, let’s get started and have some fun creating your first game!
Setup and Initial Configuration:
Starting Your Unity Project:
Getting started with Unity is straightforward. First, open Unity Hub and click on the 'New' button to create a new project. You'll be prompted to choose a template for your game. Since we are building a 2D shooter, select the '2D' template to set your project up with the appropriate settings for 2D game development. This choice optimizes the Unity Editor for 2D projects, adjusting lighting, rendering, and camera settings to better suit 2D game design.
Configuring Your Project Settings:
Once your project is created, there are a few settings we need to adjust before diving into game development:
- Graphics Settings: Ensure that the graphics settings are optimized for 2D by navigating to Edit > Project Settings > Graphics. Here, you can adjust your shader settings and visual quality, which are essential for the visual output of your game.
- Physics Settings: Adjust the physics settings to suit a 2D environment by going to Edit > Project Settings > Physics 2D. This is crucial as it will affect how objects in your game interact with each other.
Creating Your Main Scene:
Now, let’s set up your main game scene:
- Open Unity and click on File > New Scene.
- Save this scene by clicking on File > Save As... and name it MainGame. This will be the canvas where you will build your game.
By setting up your project with these configurations, you're laying a strong foundation that will make the development process smoother and more efficient. Now, you're ready to start bringing your game to life!
Creating Game Objects
Setting Up Your Game Environment:
- Tiles: In Unity's Hierarchy, right-click, select Create > 2D Object > Sprite, and choose a square. This will serve as your tile. Adjust its size and position according to your game's layout.
- Weapon: Repeat the process to create the weapon sprite. Position it at the bottom center of your screen to represent the player’s weapon.
- Bullets: Create another sprite for the bullets. You’ll be making this a prefab later, so it can be instantiated multiple times during gameplay.
Visual Aids: Here’s how your hierarchy should look after setting up these objects:
Basic Movement and Actions:
Here are simple scripts to get your objects moving:
Code:
// Simple movement script for weapon
public float speed = 5.0f; void Update () { float move = Input.GetAxis("Horizontal") * speed * Time.deltaTime; transform.Translate(move, 0, 0); }
Attach this script to your weapon for basic left and right movement.
Scripting
Implementing Game Mechanics:
- Enemy Spawning:
Copy code:
// Enemy Spawner Script public GameObject enemyPrefab; public float spawnInterval = 2.0f; void Start() { InvokeRepeating("SpawnEnemy", 0.5f, spawnInterval); } void SpawnEnemy() { Instantiate(enemyPrefab, new Vector3(Random.Range(-10, 10), 10, 0), Quaternion.identity); }
- Bullet Mechanics:
Copy code:
// Bullet Movement Script public float bulletSpeed = 10.0f; void Update() { transform.Translate(0, bulletSpeed * Time.deltaTime, 0); }
- Collision Detection:
Copy code
// Collision Script
void OnTriggerEnter2D(Collider2D other) { if (other.gameObject.CompareTag("Enemy")) { Destroy(other.gameObject); Destroy(gameObject); } }
Attach these scripts to the respective game objects to bring your game to life.
Testing and Troubleshooting
How to Test Your Game:
- Regularly playtest by pressing the Play button in Unity.
- Check for errors in the console and ensure all interactions like movements and collisions work as intended.
Common Issues:
- Objects not appearing: Check their Z-axis positions.
- Collisions not triggering: Ensure both objects have colliders and at least one has a Rigidbody.
Enhancements and Additional Features
Expanding Your Game:
- Add scoring for each enemy hit.
- Increase difficulty with faster enemies or more frequent spawns.
- Implement player lives and a game over scenario.
Experimentation:
Try different enemy types or power-ups to enhance gameplay dynamics.
Conclusion
We’ve covered everything from setting up your Unity project to scripting basic game functionalities. Now it’s your turn to build on this foundation. Share your versions or enhancements, and let’s learn from each other!
Call to Action
Don’t forget to subscribe for more posts like this, and join our community on social media to continue the conversation.
Additional Resources
- Unity Documentation
- Recommended Course: "Introduction to Game Development with Unity"


Comments ()