Collections allow your customers to easily buy your products based on categories. You might have a particular group of products that naturally fit together and it could make a lot of sense to display them as a collection on your store page, making shopping easier for your customers.
In this article:
How do I add a collection?
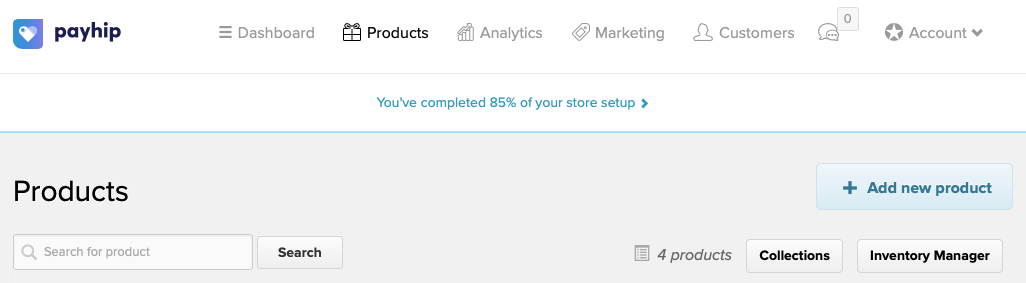
Step 1: Click on Products at the top of the screen. On the next page you’ll see a Collections button at the top right corner of the products list. Click on that button you’ll be taken to the collections page.
Step 2: On the collections page click on the Add new collection button.
Step 3: Choose a name for your collection.
Step 4: You’ll see a list of all your products with the checkboxes next to them. You can assign particular products to that collection by clicking on the checkboxes. Once you’re done choosing, click on the Add Collection button and the changes will be saved.
Step 5: Now if you visit your store page, you’ll see your collections listed. Customers can quickly click through collections to shop by your categories.
