

I first tried making sourdough during the COVID lockdowns. Our neighbour passed us a fresh loaf over the fence, still warm from the oven, and it was so good it inspired me to give it a go myself.
She gave me some of her starter, and I tried… but I wasn’t very successful at the beginning. I followed different recipes and videos, but everything felt overly complicated and very rigid. There always seemed to be a strict schedule of stretch and folds and timing that just didn’t fit into real life, so eventually I gave up.
A few years later, I decided to try again. I made my own starter using a method from The Clever Carrot, and slowly started again. The first few loaves weren’t perfect, but with practice I realised sourdough doesn’t need to be so complicated.
These days, I’m not at home nearly as much as I used to be, so I’ve had to make it work around real, everyday life. The method I’m sharing in this post is very flexible and fits around being out and about all day. I was out mowing lawns today and was able to make sourdough without any stress or strict timing.
Since sharing starter with friends, I’ve also found myself sending little step-by-step videos, so this blog post is really just a simple, easy place to gather it all in one spot — no overwhelm, just real-life sourdough.
My Simple Instructions
These videos are very basic and real life(family chatter, dirty windows and all) I’m by no means an expert — I’m just sharing how I do it. Nothing fancy or staged, just real-life. There are plenty of very talented bakers out there, but this is just my simple way of doing it.
1. Feed your sourdough starter
At about 8am in the morning, just before we headed out to do our lawns, I took my sourdough starter out of the fridge and fed it.
I usually scrape off the top layer if it looks a bit thin or slimy and pop that into a bowl to use later for sourdough discard recipes (I’ll link some favourites below).
To feed it, I add:
- ½ cup flour
- ¼ cup water
I mix it together and leave it on the bench to double in size.
2. Mix the dough
At around 4:30pm, once we got home and after a shower, I mixed the dough.
I used:
- 150g sourdough starter
- 320g room temperature water
- 450g flour (I switch this up — sometimes white, sometimes a mix of wholemeal and high-grade flour)
- A pinch of salt
I’m very much a “wing it” baker, so I don’t stress too much about exact flour combinations. I just use what I have and what feels right.
Once mixed, it will look quite messy at first — don’t worry, that’s normal. It all comes together as you do the stretch and folds later on.
At this point I re-feed my remaining starter too. Once it doubled in size I put into the fridge till I’m ready to use it again.
3. First stretch and fold
Let the mixture sit for about 15 minutes and then do your first stretch and fold. I actually got sidetracked, so I mine until about 5:45pm.
As you can see, the dough still doesn’t look quite right at this stage — it looks a bit messy and rough, but that’s completely normal. It always improves with each stretch and fold, and starts to come together over time.
4. Stretch and folds
As you can see in the video, the dough is just starting to come together nicely at this stage.
From here, I do stretch and folds whenever I remember throughout the afternoon and evening — as many as I can fit in.
I actually really enjoy this part and find it quite therapeutic.
I always wet my hands before starting, which stops the dough sticking too much. Over time, it becomes smoother and more elastic, ready to shape and go into the fridge overnight.
5. Shape and fridge overnight
Around 9pm, just before going to bed, I do a final stretch and fold and then shape the dough.
I dust it well with flour so it doesn’t stick, then place it into a banneton (sourdough proving basket). If you don’t have one, a bowl lined with a well-floured tea towel works just as well.
Once shaped, I cover it and pop it into the fridge to prove overnight.
6. Preheat the oven
First thing the following morning — around 6am for me this time — I turn the oven on to 250°C fan bake and place my cast iron Dutch oven inside to heat up for about 30 minutes.
It doesn’t have to be this early. You can do this whenever you get up or whenever suits your day.
I bake mine in a cast iron Dutch oven, but you could also use a casserole dish with a lid. I’ve also heard of people baking sourdough with a tray of water in the bottom of the oven to help create steam.
7. Score and bake
Once the oven is heated, I take the dough out of the fridge and gently tip it onto some baking paper.
Then I score the top of the dough. I just use a serrated kitchen knife — you can get fancy tools for this, but I find a knife works perfectly fine.
One thing I’ve noticed is that the deeper I make the score, the better the loaf seems to rise. I’m guessing it gives the dough more room to expand as it bakes.
Then I place it into the hot Dutch oven, pop the lid on, and bake it on fan bake for 20 minutes.
8. Remove the lid and finish baking
After 20 minutes, I take the lid off the Dutch oven and change the oven from fan bake to regular bake.
I then bake it for another 15 minutes to help brown the loaf nicely.
9. Let it cool… if you can wait
Once the timer goes off, I take the bread out of the oven and let it cool.
I have heard it’s best to let sourdough cool properly before cutting into it, as it helps the inside finish setting and improves the texture. But, I’m often not patient enough.
Fresh sourdough straight out of the oven with melted butter is just too good.
This morning I had a piece with almond butter and honey for breakfast, and the rest has gone with the kids for their lunch today alongside pumpkin soup I made in the Thermomix and packed into flasks.
I hope these very basic, real-life step-by-step instructions and videos have been helpful. I’m by no means an expert — just sharing what works for me.
If you’re local to Gisborne(NZ) and would like some of my sourdough starter, I’m always happy to divide some off and share it.
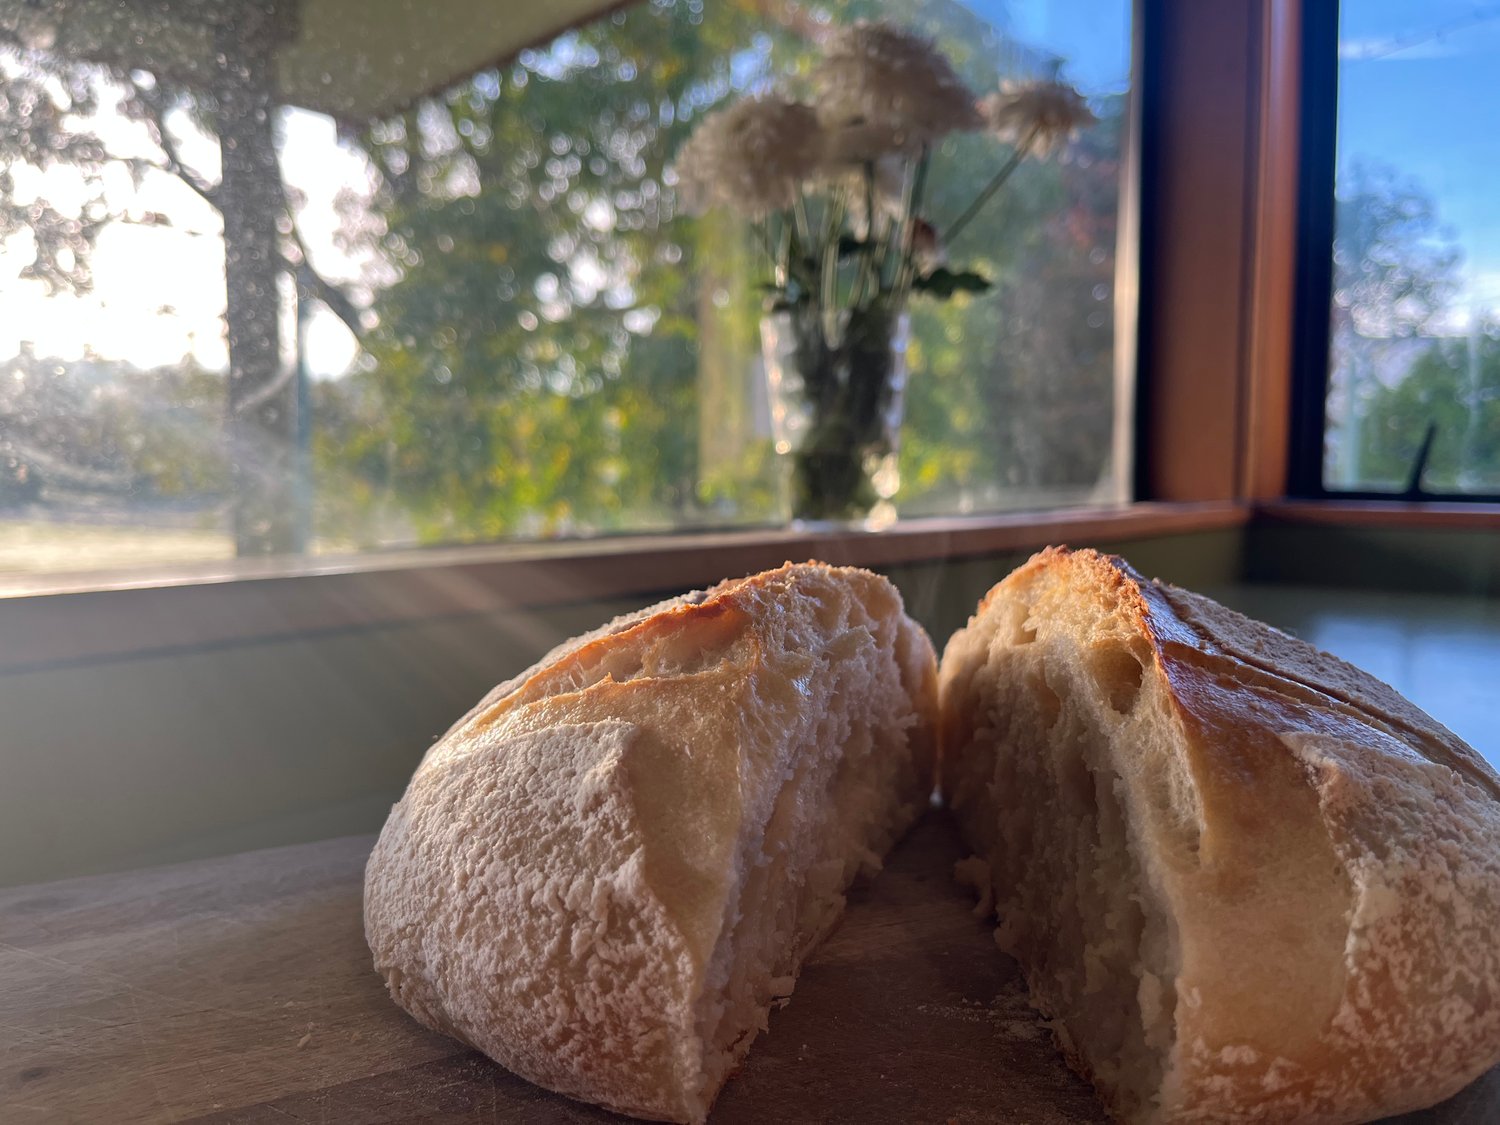
This loaf definitely isn’t the best loaf I’ve ever made, but I wanted to keep things real. Every loaf turns out a little differently, and sometimes it feels like there’s no rhyme or reason to it — although I’m sure there probably is. I’m just not a very science-minded baker. I’m ‘wing it’ baker remember!
If you have any questions, feel free to ask then in the comments and I’ll do my best to answer them. And, if you’ve made sourdough before, I’d love to hear how you’ve found it or any tips you have. And if you bake without a cast iron Dutch oven and use the tray-of-water method instead, I’d love to hear how to do that. There’s still heaps I’d like to learn and give a go.
Most of all, I hope you enjoy the process as much as I do. It’s strangely addictive once you get into it.
Some of the resources I’ve used, including a beautiful book I bought just because I love books:
https://www.homegrown-kitchen.co.nz/the-homemade-table-cookbook/
Sourdough starter recipe
https://www.theclevercarrot.com/2019/03/beginner-sourdough-starter-recipe/
Sourdough discard recipes
https://homegrownhappiness.com/sourdough/sourdough-discard/