

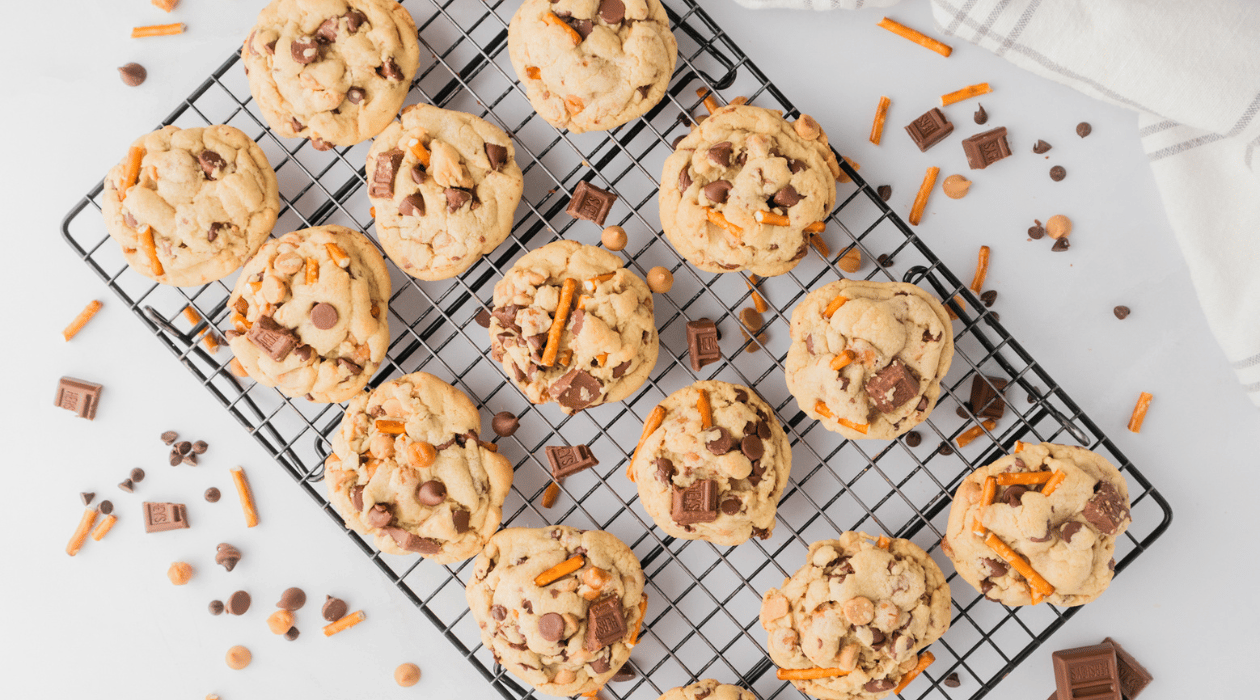
There's a certain kind of cookie that makes people stop mid-bite and ask, "Wait — what's in these?"
Not because something tastes off. Because everything tastes exactly right.
Sweet. Salty. Chewy. Crunchy. Rich. A little unexpected.
That's a kitchen sink cookie. And once you make them, you'll understand why they're the recipe people ask about over and over again.
What Are Kitchen Sink Cookies? And why you will love them!
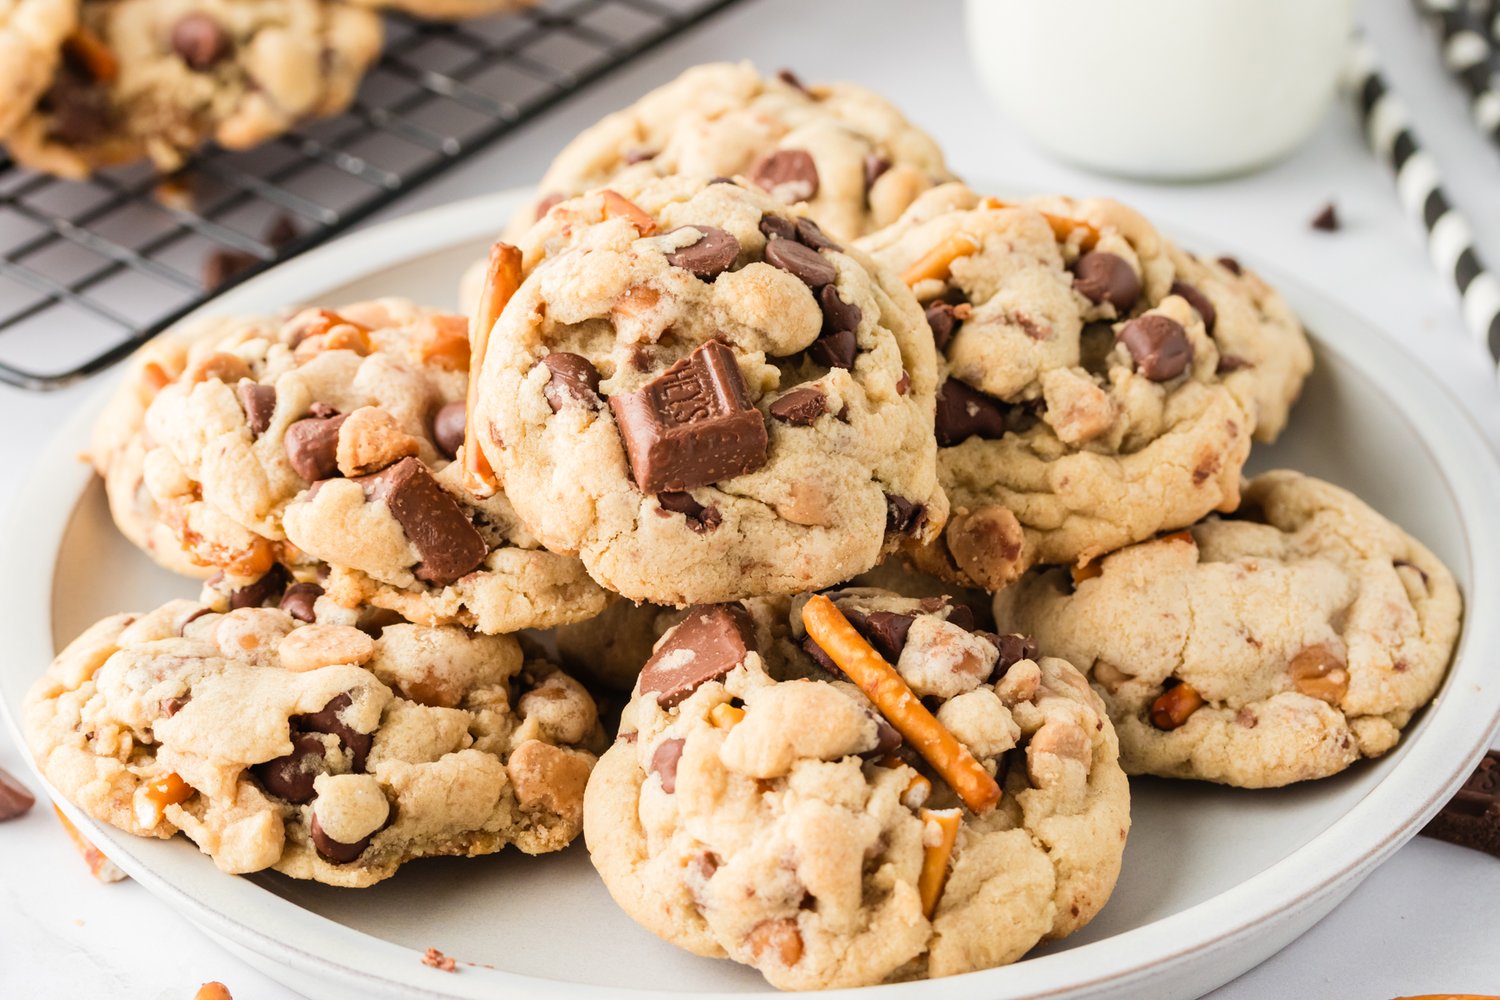
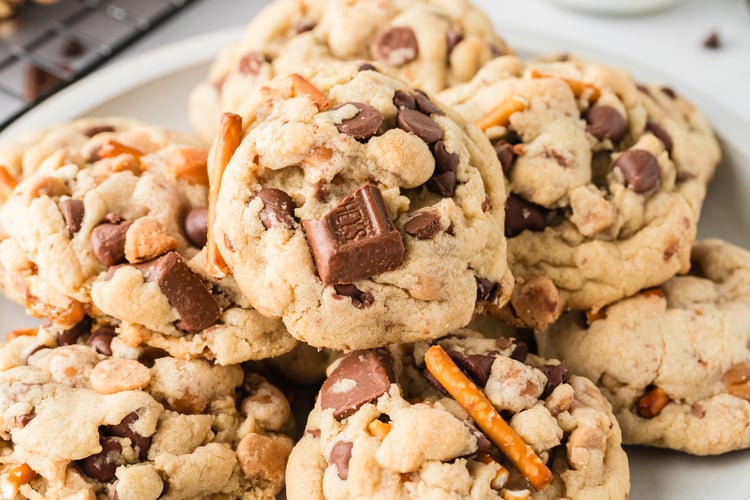
Kitchen sink cookies are exactly what they sound like — you throw in a little bit of everything. Chocolate chips, chocolate chunks, pretzels, toffee bits, peanut butter chips. The kind of cookie that feels indulgent and creative and just a little over the top in the best possible way.
The name comes from the idea that you've added everything but the kitchen sink.
But here's the thing most people get wrong: they assume that because the mix-ins are doing the heavy lifting, the dough doesn't matter as much.
It's actually the opposite.
When you're loading a dough with this many mix-ins, you need a base that can hold up to them — one that stays thick, soft, and chewy without falling apart or spreading into a flat mess. A weak dough underneath all those add-ins just becomes a vehicle for sugar. A strong dough makes every bite feel intentional.
That's why I always start with the same base dough, no matter what cookie I am making.
Why You'll Love These Cookies:
- They're the cookie people remember. Every batch I've made has gotten some version of "these are the best cookies I've ever had." The sweet-salty-chewy-crunchy combination is just different from anything else on the dessert table.
- They look impressive without extra effort. Press a few mix-ins on top before baking, and they come out looking like something from a bakery display case — no decorating skills required.
- They're infinitely customizable. No peanut butter chips? Swap them out. Want to add white chocolate? Go for it. Once you understand the base dough, the mix-ins are just creative choices.
- They use up what you already have. Leftover Halloween candy, partial bags of chips, that one bag of toffee bits you bought for something else — kitchen sink cookies were made for exactly that.

Ingredient Overview
Butter — Use unsalted and make sure it's properly softened, not melted. Softened butter creams with the sugar to create air pockets in the dough, giving you that thick, tender texture. Melted butter will cause your cookies to spread flat.
Two sugars — Brown sugar adds chewiness and a subtle caramel depth. Granulated sugar gives you structure and those slightly crisp edges. Using both is what gives these cookies their balanced texture.
Egg + egg yolk — The whole egg provides structure. The extra yolk adds richness and makes the center softer and more fudgy. This combination is one of the small details that separates a good cookie from a great one.
Vanilla — Don't skip it and don't skimp on it. Even with all these mix-ins, vanilla is working in the background to tie every flavor together.
Baking powder + baking soda — Both together give you lift and spread in exactly the right balance. Baking soda also helps with browning on the edges.
The mix-ins — Each one is doing something specific. The chocolate chips melt into the dough. The chunks give you those dramatic pockets of chocolate. The pretzels add salt and crunch. The toffee adds caramel notes. The peanut butter chips round out the richness. Together, they create layers of flavor in every single bite.
How to make Kitchen Sink Cookies:
Step One: Preheat your oven to 350°F. Line a baking sheet with parchment paper and set aside.
Step Two: Cream the butter, brown sugar, and granulated sugar together using a stand mixer or hand mixer until light and fluffy, about 2–3 minutes.
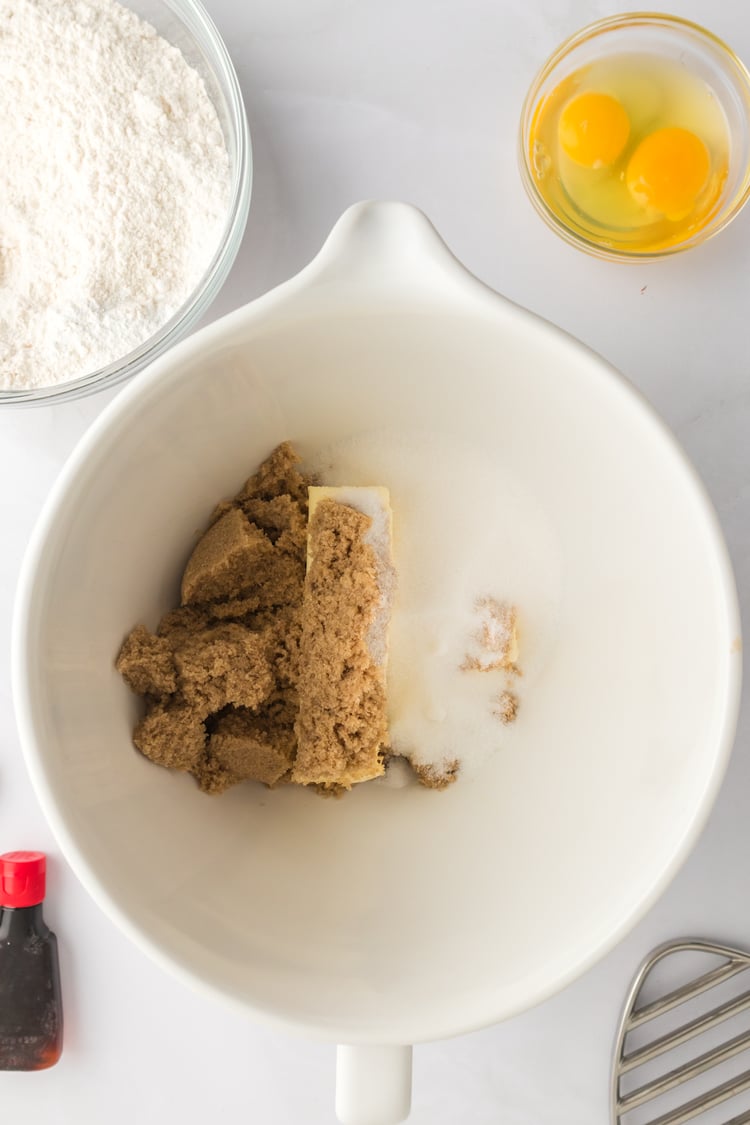
Step Three: Add the eggs and vanilla, mixing until fully combined.
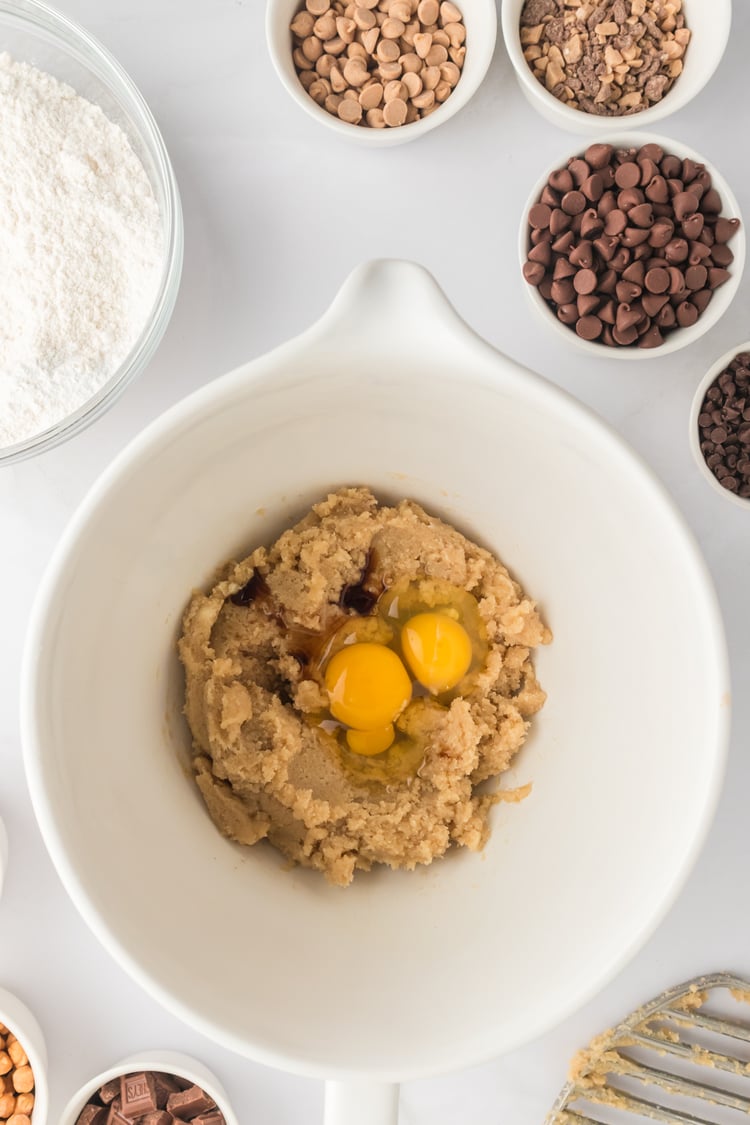
Step Four: Whisk together the flour, baking soda, baking powder, and salt in a separate bowl. With the mixer on low, gradually add the dry ingredients. Increase to medium speed and mix just until blended — don't overmix.

Step Five: Fold in the mix-ins one at a time using a wooden spoon or spatula: chocolate chips, chocolate chunks, pretzels, toffee bits, and peanut butter chips, stirring gently between each addition until evenly distributed.
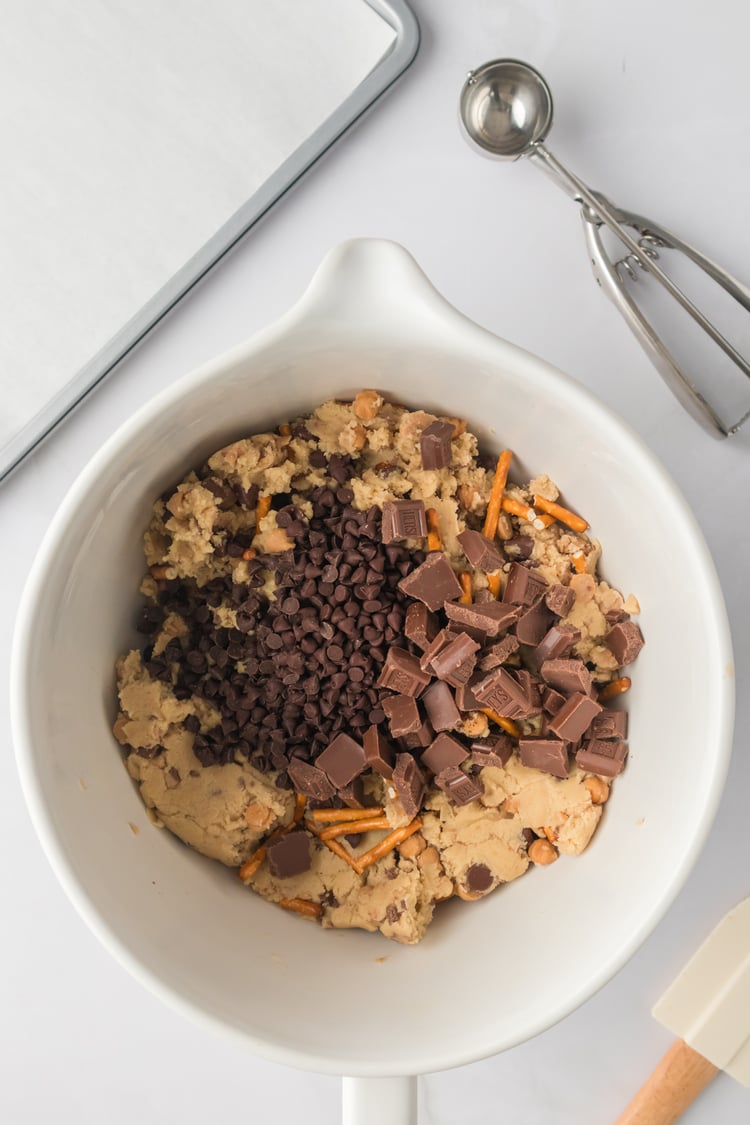
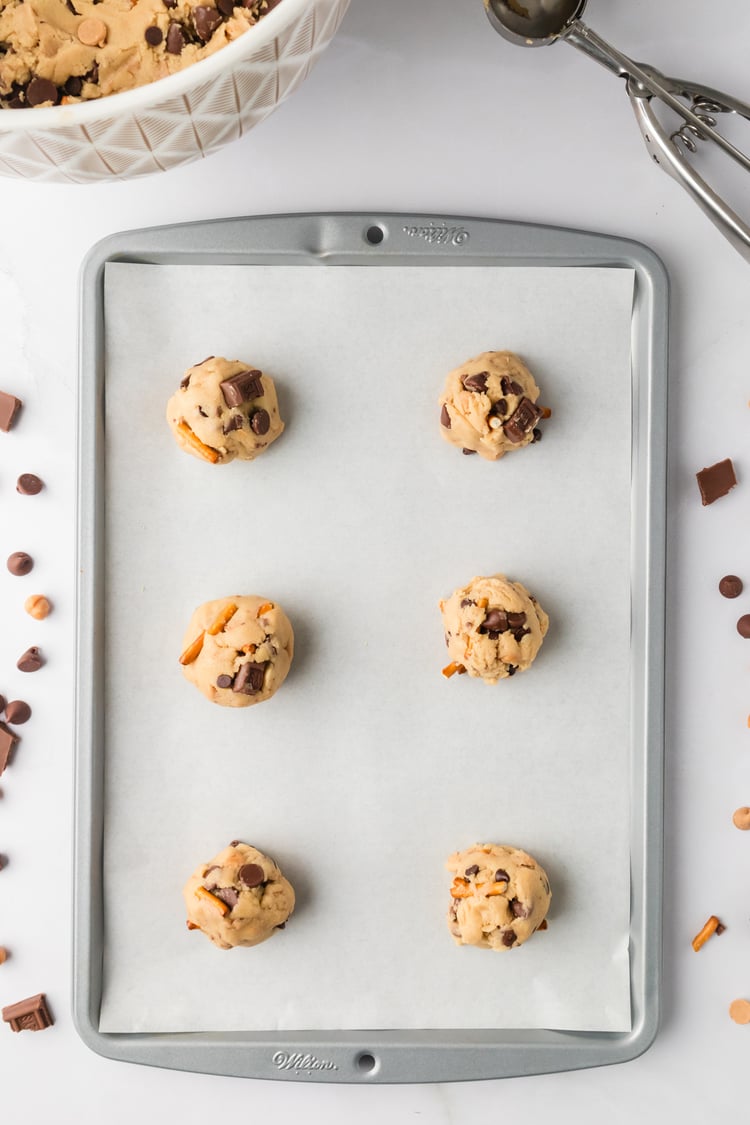
Step Six: Scoop dough using a medium cookie scoop and place on the prepared baking sheet, spacing about 2 inches apart. For bakery-style cookies, weigh each portion to 3–3.5 oz and shape into tall mounds rather than flat rounds.
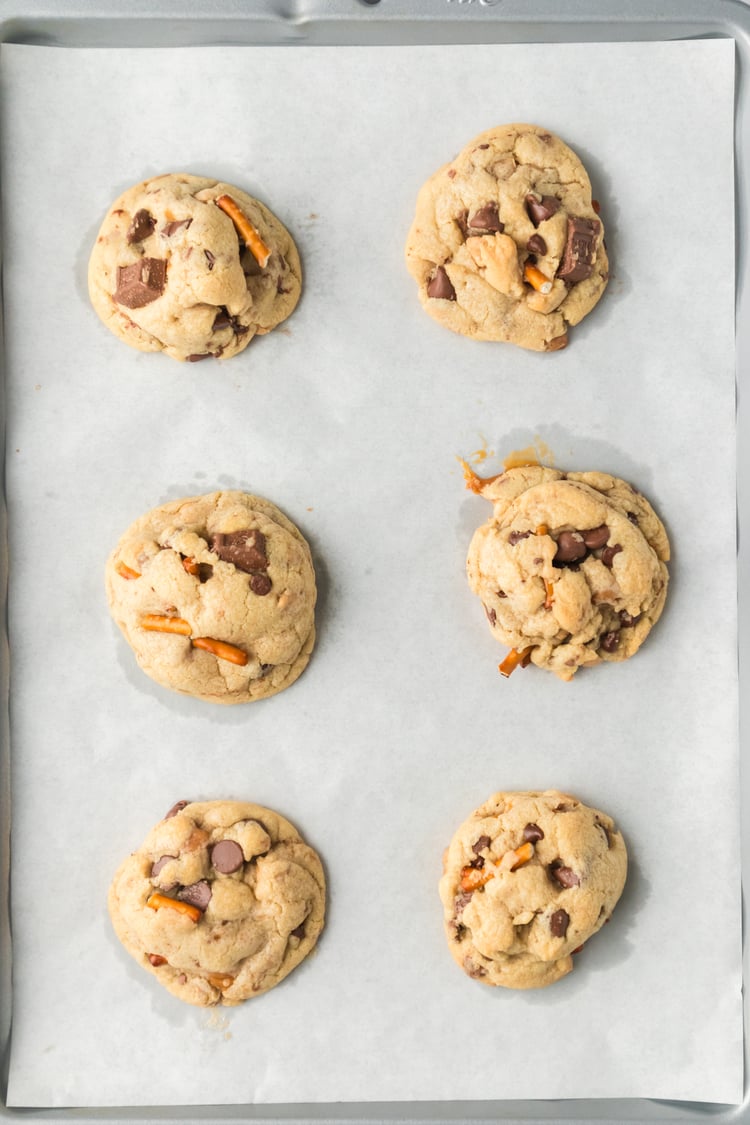
Step Seven: Bake for 10–12 minutes, or until the edges are lightly golden. The centers should look slightly underdone — that's exactly right.
Step Eight: Cool on the baking sheet for 5 minutes, then transfer to a wire rack. They'll continue to set as they cool.
Tips for the Best Kitchen Sink Cookies
- Set aside some mix-ins before folding. Press a few chocolate chips, chunks, and pretzel pieces onto the tops of each dough ball before baking. This is what gives you that bakery-style look where every ingredient is visible on the surface.
- Don't flatten the dough. Shape each scoop into a tall mound. The height is what gives you that thick, soft center.
- Watch your mix-in ratio. With this many add-ins, you're right at the limit of what the dough can hold. Stick to the amounts listed — too many mix-ins can affect how the dough bakes and holds together.
- The pretzel is non-negotiable. I know it sounds unusual if you haven't tried it, but the salt and crunch from the pretzels is what makes this cookie memorable. Don't skip it.
Storage & Serving Tips
- Room temperature: Store baked cookies in an airtight container for up to 5 days.
- Freezing baked cookies: Let them cool completely, then freeze in a single layer before transferring to a freezer bag. They keep for up to 2 months. Thaw at room temperature or warm in the microwave for 15–20 seconds.
- Freezing the dough: This is my favorite option. Scoop the dough into portions, freeze on a baking sheet until solid, then transfer to a freezer bag. Bake straight from frozen — just add 1–2 minutes to the bake time. Fresh cookies whenever you want them with zero prep.
- Make ahead: The dough can be refrigerated for up to 3 days. In fact, chilling the dough overnight actually improves the flavor — the sugars have more time to absorb into the dough, and the result is a richer, more complex cookie.
- Serving: These cookies are best slightly warm when the chocolate is still soft, and the pretzels are at their crunchiest.

The One-Dough Approach
I'm a recipe developer and food photographer. After years of testing cookies professionally, the biggest shift in my baking came when I stopped treating every recipe as a completely separate thing — and started understanding what they all have in common.
Good recipes are valuable. They give you tested ratios, reliable results, and a starting point you can trust. But the bakers who get the most out of every recipe they try? They're not just following instructions. They understand why it works.
Once you understand how a base cookie dough actually works — what each ingredient does, how small changes affect texture, how to troubleshoot when something goes wrong — every recipe you try makes more sense. You stop second-guessing yourself. You start adapting instead of starting over.
My vanilla foundation dough is built on that idea. It's the same base I use for classic chocolate chip cookies, M&M cookies, snickerdoodles, and yes — these kitchen sink cookies. The mix-ins change. The dough doesn't.
That's the system.
And once you have it, every recipe you make — including all the ones on this blog — starts to feel less like guessing and more like creating.
 Kitchen Sink Cookies Recipe
Makes 18–24 cookies | Prep: 15 min | Bake: 10–12 min
Ingredients
For the dough:
- 2½ cups all-purpose flour
- 1 tsp baking powder
- ½ tsp baking soda
- ½ tsp salt
- ¾ cup unsalted butter, softened
- ½ cup granulated sugar
- ½ cup brown sugar, packed
- 1 large egg
- 1 egg yolk
- 1 tsp vanilla extract
For the mix-ins:
- ¾ cup milk chocolate chips
- ½ cup chocolate chunks (or chopped Hershey bars)
- ¼ cup mini chocolate chips
- ¼ cup peanut butter chips
- ¼ cup toffee bits
- ½ cup chopped pretzels
Directions
- Preheat your oven to 350°F. Line a baking sheet with parchment paper and set aside.
- Cream the butter, brown sugar, and granulated sugar together using a stand mixer or hand mixer until light and fluffy, about 2–3 minutes.
- Add the eggs and vanilla, mixing until fully combined.
- Whisk together the flour, baking soda, baking powder, and salt in a separate bowl. With the mixer on low, gradually add the dry ingredients. Increase to medium speed and mix just until blended — don't overmix.
- Fold in the mix-ins one at a time using a wooden spoon or spatula: chocolate chips, chocolate chunks, pretzels, toffee bits, and peanut butter chips, stirring gently between each addition until evenly distributed.
- Scoop dough using a medium cookie scoop and place on the prepared baking sheet, spacing about 2 inches apart. For bakery-style cookies, weigh each portion to 3–3.5 oz and shape into tall mounds rather than flat rounds.
- Bake for 10–12 minutes, or until the edges are lightly golden. The centers should look slightly underdone — that's exactly right.
- Cool on the baking sheet for 5 minutes, then transfer to a wire rack. They'll continue to set as they cool.
Want to Learn the Full System?
If you want to go beyond this recipe and learn how to build, adjust, and customize your own cookies from one reliable base dough — that's exactly what The One-Dough Cookie System is designed to teach you.
It includes:
- The full Vanilla Foundation Dough recipe
- The 5-step One-Dough Framework
- 7 guided variation recipes with professional photos
- A complete ingredient breakdown so you understand what everything does
- Baking tips from years of professional recipe development
- A troubleshooting guide for common problems
- Printable worksheets and cheat sheets to keep next to you while you bake
It's a complete baking system — and it pays for itself on the first batch you make.
Get the One Dough Cookie Method
Have questions or made this recipe? I'd love to hear from you — reach out at bakewithadashofwonder@gmail.com or tag me on Instagram @adash_ofwonder. Happy baking!
— Rossi, A Dash of Wonder