
Slate roofing has long been revered for its timeless elegance, durability, and natural beauty. As a premium roofing material, slate offers a classic and sophisticated appearance while providing exceptional longevity. Installing a slate roof requires careful planning, precision, and adherence to specific techniques to ensure optimal performance and aesthetic appeal. In this comprehensive guide, we will delve into the intricate process of slate roofing installation, covering key aspects from preparation to finishing touches.
I. Selecting High-Quality Slate
The first step in any successful slate roofing project is selecting high-quality slate tiles. Opt for tiles that meet industry standards and are sourced from reputable quarries. Characteristics such as thickness, color, and texture should be considered to achieve a cohesive and visually appealing result. Thicker slates often indicate better durability, while a consistent color palette ensures a uniform appearance.
II. Roof Preparation
Before installing slate roofing, it is crucial to assess the existing roof structure and make any necessary repairs. The roof should be free of leaks, and damaged or rotten sections must be addressed. Ensure that the roof deck is stable and can support the weight of the slate tiles. If needed, reinforce the structure to meet the load requirements of slate roofing.
III. Underlayment Installation
The underlayment serves as a crucial barrier against water infiltration and plays a significant role in protecting the roof structure. Synthetic underlayment materials, such as high-grade roofing felt or specialized synthetic membranes, are commonly used for slate roofing installations guide. Proper installation of the underlayment ensures a watertight seal, safeguarding the roof from adverse weather conditions.
IV. Flashing and Waterproofing
Flashing is a vital component in preventing water penetration at vulnerable points, such as roof intersections, valleys, and chimney areas. Copper or lead flashings are preferred for their durability and malleability. Carefully install flashing materials, ensuring they are securely fastened and integrated seamlessly with the slate tiles. Waterproofing these critical junctures is essential to prevent water damage over time.
V. Layout and Design Considerations
A thoughtful layout is essential for achieving an aesthetically pleasing slate roof. Consider the roof pitch, exposure, and the desired pattern for laying the slate tiles. Traditional patterns include straight, staggered, or diamond layouts, each contributing to the overall character of the roof. Dry-lay the slate tiles before fastening them to ensure the desired design is achieved.
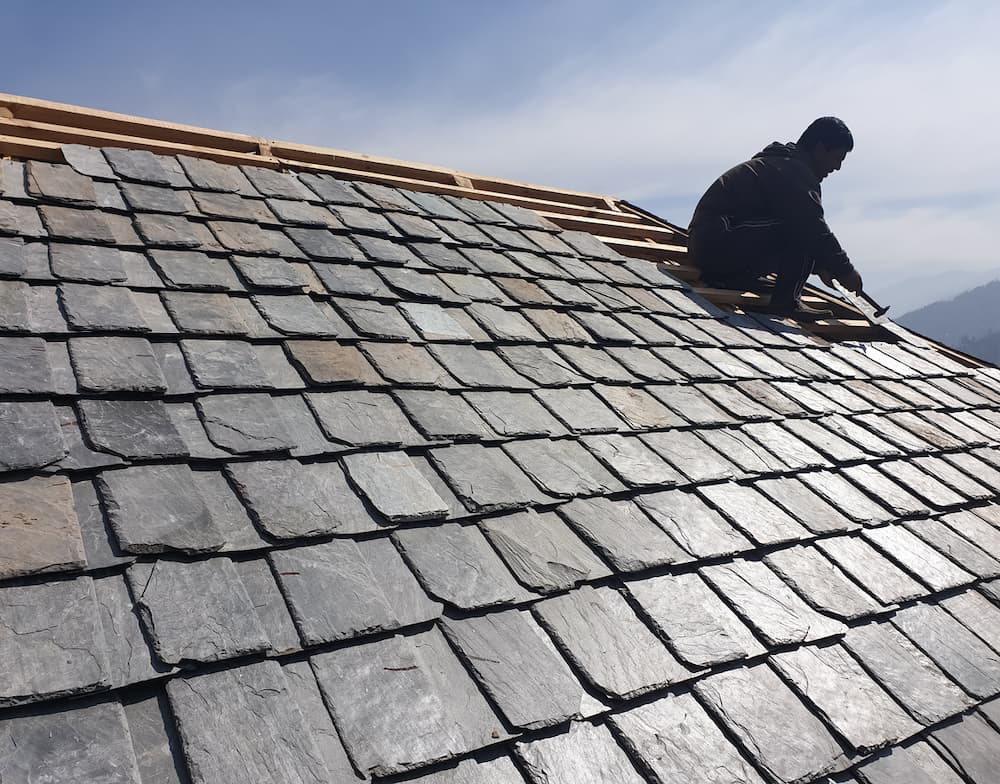
VI. Slate Tile Installation
Precision is paramount when installing slate tiles, as inaccuracies can compromise both the visual appeal and functionality of the roof. Begin at the eaves and work upward, overlapping the tiles according to the predetermined pattern. Use copper or stainless steel nails to secure the tiles, ensuring they penetrate the underlying roof deck for a secure hold. Maintain consistent headlap and sidelap measurements to guarantee a watertight seal.
VII. Cutting and Trimming
Due to the natural variation in slate tiles, cutting and trimming are often necessary to achieve a uniform appearance. Use a slate cutter or a diamond-bladed saw to make precise cuts, ensuring that the edges remain clean and free from fractures. Take care to handle the slate tiles delicately during this process to prevent breakage.
VIII. Ridge and Hip Installation
Ridge and hip tiles are critical elements in completing the slate roofing system. Secure these tiles using mortar or mechanical fixings, ensuring a secure and weatherproof connection. The ridge and hip tiles should complement the overall design of the roof while providing additional protection against water ingress.
IX. Final Inspections and Maintenance
Once the slate roofing installation is complete, conduct a thorough inspection to identify any potential issues. Ensure that all tiles are securely fastened, flashings are intact, and the overall roof structure is sound. Regular maintenance, including the replacement of damaged or missing tiles, will prolong the lifespan of the slate roof and preserve its aesthetic appeal.
Conclusion
Slate roofing installation is a meticulous process that demands precision and attention to detail. From selecting high-quality slate tiles to the final inspection, every step contributes to the overall performance and visual allure of the roof. By following this comprehensive guide, homeowners and roofing professionals alike can embark on a slate roofing project with confidence, creating a roof that not only stands the test of time but also elevates the beauty of any structure it adorns. Visit official website onlyroofing.com