
Vinyl siding is a popular choice for homeowners due to its durability, low maintenance requirements, and versatility in enhancing a home's curb appeal. However, over time, vinyl siding can become damaged, developing holes or cracks that compromise its aesthetic and functional qualities. Whether caused by weather-related issues, accidents, or general wear and tear, these imperfections can leave your home vulnerable to moisture infiltration and pest infestation. Repairing vinyl siding holes is essential to maintaining the integrity and appearance of your home's exterior. In this comprehensive guide, we will walk you through the steps to effectively repair vinyl siding holes, ensuring your home remains beautiful and protected. Wikipedia.org
Tools and Materials
Before you begin repairing your vinyl siding, gather the necessary tools and materials to ensure a smooth and efficient repair process. Here's what you'll need:
- Replacement Vinyl Siding Panels: Purchase matching vinyl siding panels that are identical to your existing siding. Ensure you have enough to cover the damaged area and match the color and style of your current siding.
- Utility Knife: A sharp utility knife will be used to cut the damaged siding and create clean edges for a seamless repair.
- Zip Tool: A zip tool is essential for unlocking and disengaging the vinyl siding panels. It helps you remove the damaged pieces without causing additional harm to the surrounding siding.
- J-Channel or F-Channel: Depending on the location of the hole and the type of vinyl siding, you may need J-channel or F-channel to provide support and a clean edge for the new panel.
- Galvanized Nails: These will be used to secure the new vinyl siding holes repair panel in place.
- Caulk: Choose a color-matching exterior caulk to seal gaps and ensure a weather-tight repair.
- Level: A level will help you ensure that the new vinyl siding panel is installed horizontally and flush with the surrounding siding.
- Measuring Tape: Accurate measurements are crucial to ensure a precise fit for the replacement panel.
- Safety Equipment: Don't forget safety gear, including gloves and safety glasses, to protect yourself during the repair process.
Step-by-Step Repair Guide
- Assess the Damage:
Begin by examining the damaged vinyl siding. Identify the size and location of the hole, as well as any other potential issues in the surrounding area.
- Order Replacement Siding:
Purchase replacement vinyl siding panels that match your existing siding in terms of style and color. It's essential to ensure a seamless repair that doesn't stand out from the rest of your home's exterior.
- Prepare the Work Area:
Clear the area around the damaged siding. Remove any obstacles, debris, or obstructions that might hinder the repair process.
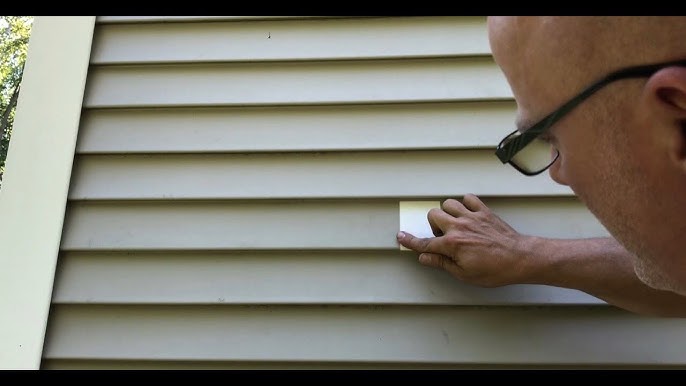
- Unlock the Siding:
Use the zip tool to unlock and disengage the siding panels. Starting at the top of the damaged area, gently slide the zip tool underneath the panel and pull it down to release the lock.
- Remove Damaged Section:
Once the panel is unlocked, carefully remove the damaged section by pulling it away from the wall. If the hole is larger, you may need to cut out the damaged part with a utility knife, creating clean, straight edges. Be cautious not to damage the surrounding siding during this process. Visit official website onlyroofing.com