

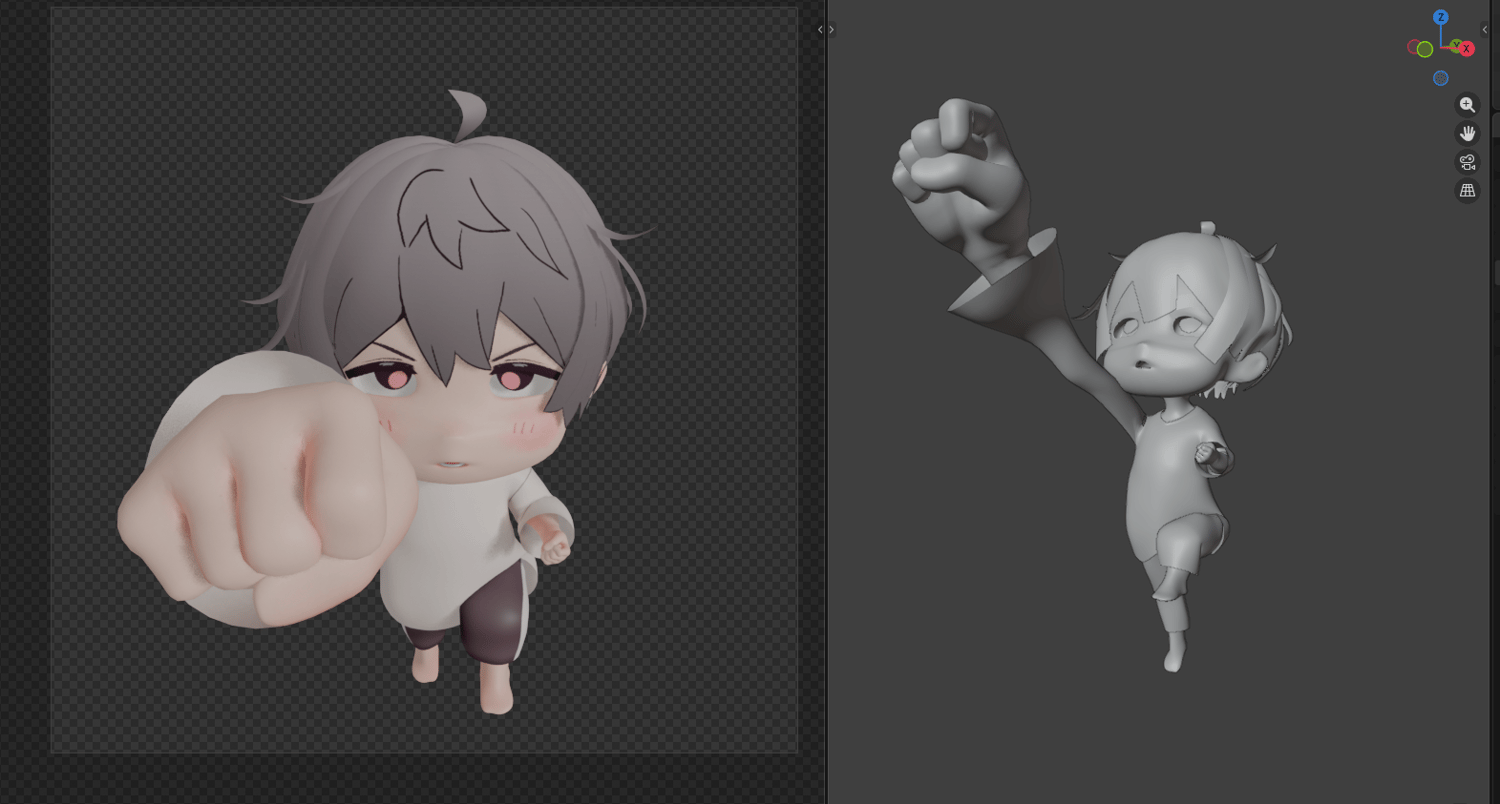
Want to give your characters a more natural, powerful, or realistic punch? In this tutorial, we break down the step-by-step process of posing a natural-looking fist in Blender using the Rigify rig. No more stiff, robotic hands!
We'll cover the exact bones to rotate, how anatomy dictates finger movement, and the subtle adjustments that make a fist look truly convincing.
📌 What You'll Learn in This Video:
- Crucial Setup: Setting your Pivot Point to Individual Origins and Transformation Orientation to Local for effortless finger control.
- Relaxing the Foundation: Starting from a relaxed hand state by adjusting the Palm bone along the X-axis.
- Anatomical Finger Positioning:
- Why the pinky and ring fingers should be adjusted together.
- How to offset the knuckles (keeping the middle and index knuckles higher) for a realistic look.
- Locking the Thumb: Properly scaling and rotating the thumb so it overlaps the middle finger naturally without clipping aggressively.
- Finishing Touches: Eliminating awkward gaps between fingers using precise Y and Z-axis adjustments to make the fist feel tight and strong.
🚀 Featured Tool & Model
The character model featured in this video was created entirely using the Chibi Gen Pro2 Blender add-on! If you want to speed up your character creation workflow and build adorable, high-quality models effortlessly, check it out below:
🔗 Get the Chibi Gen Pro2 Add-on here: https://payhip.com/b/PRHXZ
Drop a like if this tutorial helped you, and subscribe for more quick Blender tips and character art workflows! Happy blending! 🎮✨
#Blender3D #Rigify #3DAnimation #BlenderTutorial #ChibiGenPro2 #CharacterDesign