

Preparing for a U.S. visa interview can feel overwhelming. Many applicants worry they will forget a critical paper or make a small mistake that leads to rejection. The good news is that with the right preparation and a U.S. visa interview checklist, you can feel confident and ready. This guide will walk you through all the essential documents, supporting evidence, and practical visa interview tips to ensure nothing is left behind.
---
Why Preparation Matters
The U.S. visa interview is not just a formality—it is the deciding factor in whether you’ll be approved or denied. Consular officers rely heavily on the documents you present to verify your eligibility. Missing even one key form can delay or cancel your application. By following a structured checklist, you will reduce stress and improve your chances of success.
---
The Complete U.S. Visa Interview Checklist
Below is a detailed breakdown of the documents for visa interview success. Keep all originals and make at least one photocopy of each item.
1. Appointment Confirmation Letter
Print the confirmation page showing your scheduled interview date and time.
This proves you have an official appointment.
2. DS-160 Confirmation Page
The DS-160 is the online visa application form.
Bring the printed confirmation page with the barcode—it is scanned at the embassy or consulate.
3. Valid Passport
Your passport must be valid for at least six months beyond your intended stay in the U.S.
If you have old passports with previous visas, bring them as well.
4. Visa Application Fee Receipt
Proof of payment for the visa fee (MRV receipt) is mandatory.
Bring the printed confirmation or receipt from the bank or online payment portal.
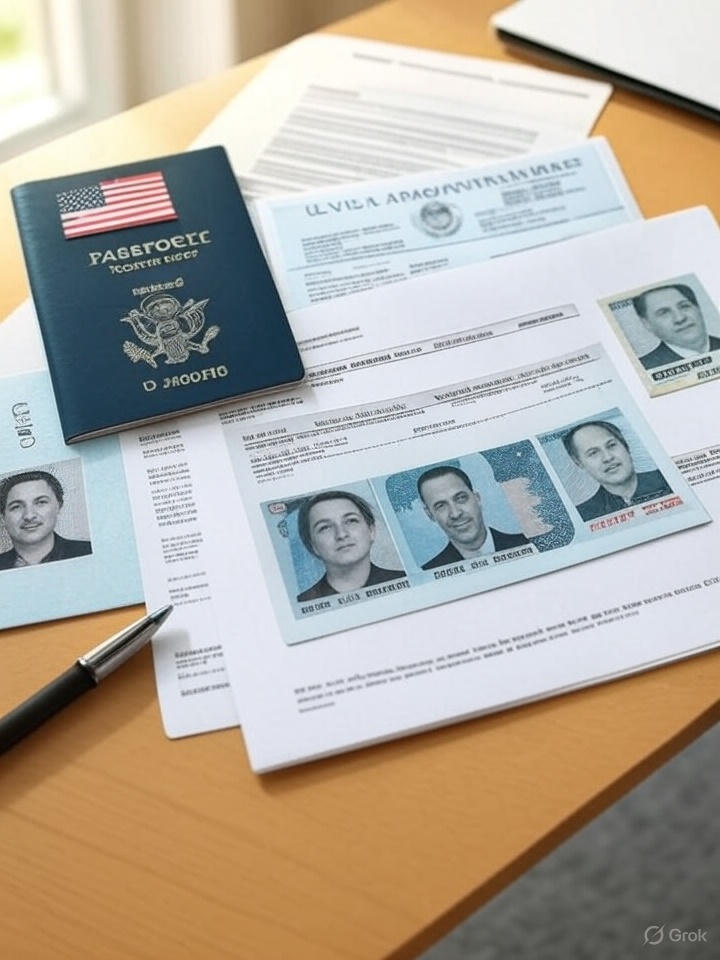
5. U.S. Visa Photos
Typically, two identical 2x2 inch (51x51 mm) photos are required.
Follow U.S. Department of State photo guidelines: plain white background, no glasses, full face visible.
6. Supporting Financial Documents
Consular officers often want proof that you can afford your stay and will return home. Suggested items include:
Recent bank statements (last 3–6 months).
Pay slips or employment letters.
Tax returns (if applicable).
Sponsorship documents (if someone else is funding your trip).
7. Proof of Ties to Your Home Country
One of the most important parts of the U.S. visa interview checklist is showing you have reasons to return home. Examples:
Employment verification letters.
Property ownership documents.
Family records (marriage certificates, children’s birth certificates).
School enrollment letters if you are a student.
8. Travel Itinerary (If Available)
Flight bookings, hotel reservations, or tour confirmations can strengthen your case.
While not always required, they show planning and intent.
9. Invitation Letter (If Applicable)
If visiting family, friends, or attending an event, bring the invitation letter.
Include copies of your host’s U.S. visa, passport, or green card if possible.
10. Employment or Study Documents
Work visa applicants should bring job offer letters or employment contracts.
Student visa applicants (F-1/M-1) must bring their Form I-20, SEVIS fee receipt, and school admission letter.
11. Additional Category-Specific Documents
Depending on your visa type, you may need:
H-1B Work Visa: LCA approval notice, employer support letter.
Tourist Visa (B1/B2): Travel plans, proof of funds, ties to home.
Fiancé(e) Visa (K-1): Proof of relationship, photos, communication records.
---
Organizing Your Documents
To make the process smooth:
Use a folder with sections for each category.
Place the most important documents (passport, DS-160, appointment confirmation) on top.
Label each document clearly to avoid fumbling at the counter.
---
Visa Interview Tips: Beyond the Paperwork
Even with all documents prepared, your attitude and presentation matter. Keep these tips in mind:
Dress professionally: Business casual is appropriate.
Be concise: Answer questions honestly but avoid unnecessary detail.
Stay calm: Nervousness is normal, but confidence makes a positive impression.
Know your story: Be ready to explain your purpose of travel and your ties to your home country clearly.
---
Common Mistakes to Avoid
Many applicants fail not because of missing documents, but because of preventable errors. Avoid these pitfalls:
1. Forgetting Original Documents
Photocopies alone are not enough—bring the original and a copy.
2. Submitting Old or Incorrect Photos
Photos older than six months or that don’t meet requirements will be rejected.
3. Inconsistent Answers
Your answers during the interview must match the information on your DS-160 form.
4. Showing Unclear Financial Records
Submitting incomplete bank statements or unexplained large deposits can raise red flags.
5. Being Overly Nervous
While it’s normal to be anxious, appearing unprepared or panicked may reduce confidence in your application.
---
Final Thoughts
Walking into the embassy with a clear U.S. visa interview checklist gives you peace of mind. Remember: the interview is not only about paperwork but also about demonstrating that you are a genuine traveler who will respect visa rules. By preparing documents in advance and avoiding common mistakes, you maximize your chances of approval.
---
Download Your Printable Guide
Want a step-by-step PDF you can print and take with you?
👉 Download the CupVoyager guide “What to Bring to Your Visa Interview” here.
Comments ()