

How to Use Clipart Files in Canva, Cricut Design Space & Photoshop
Introduction
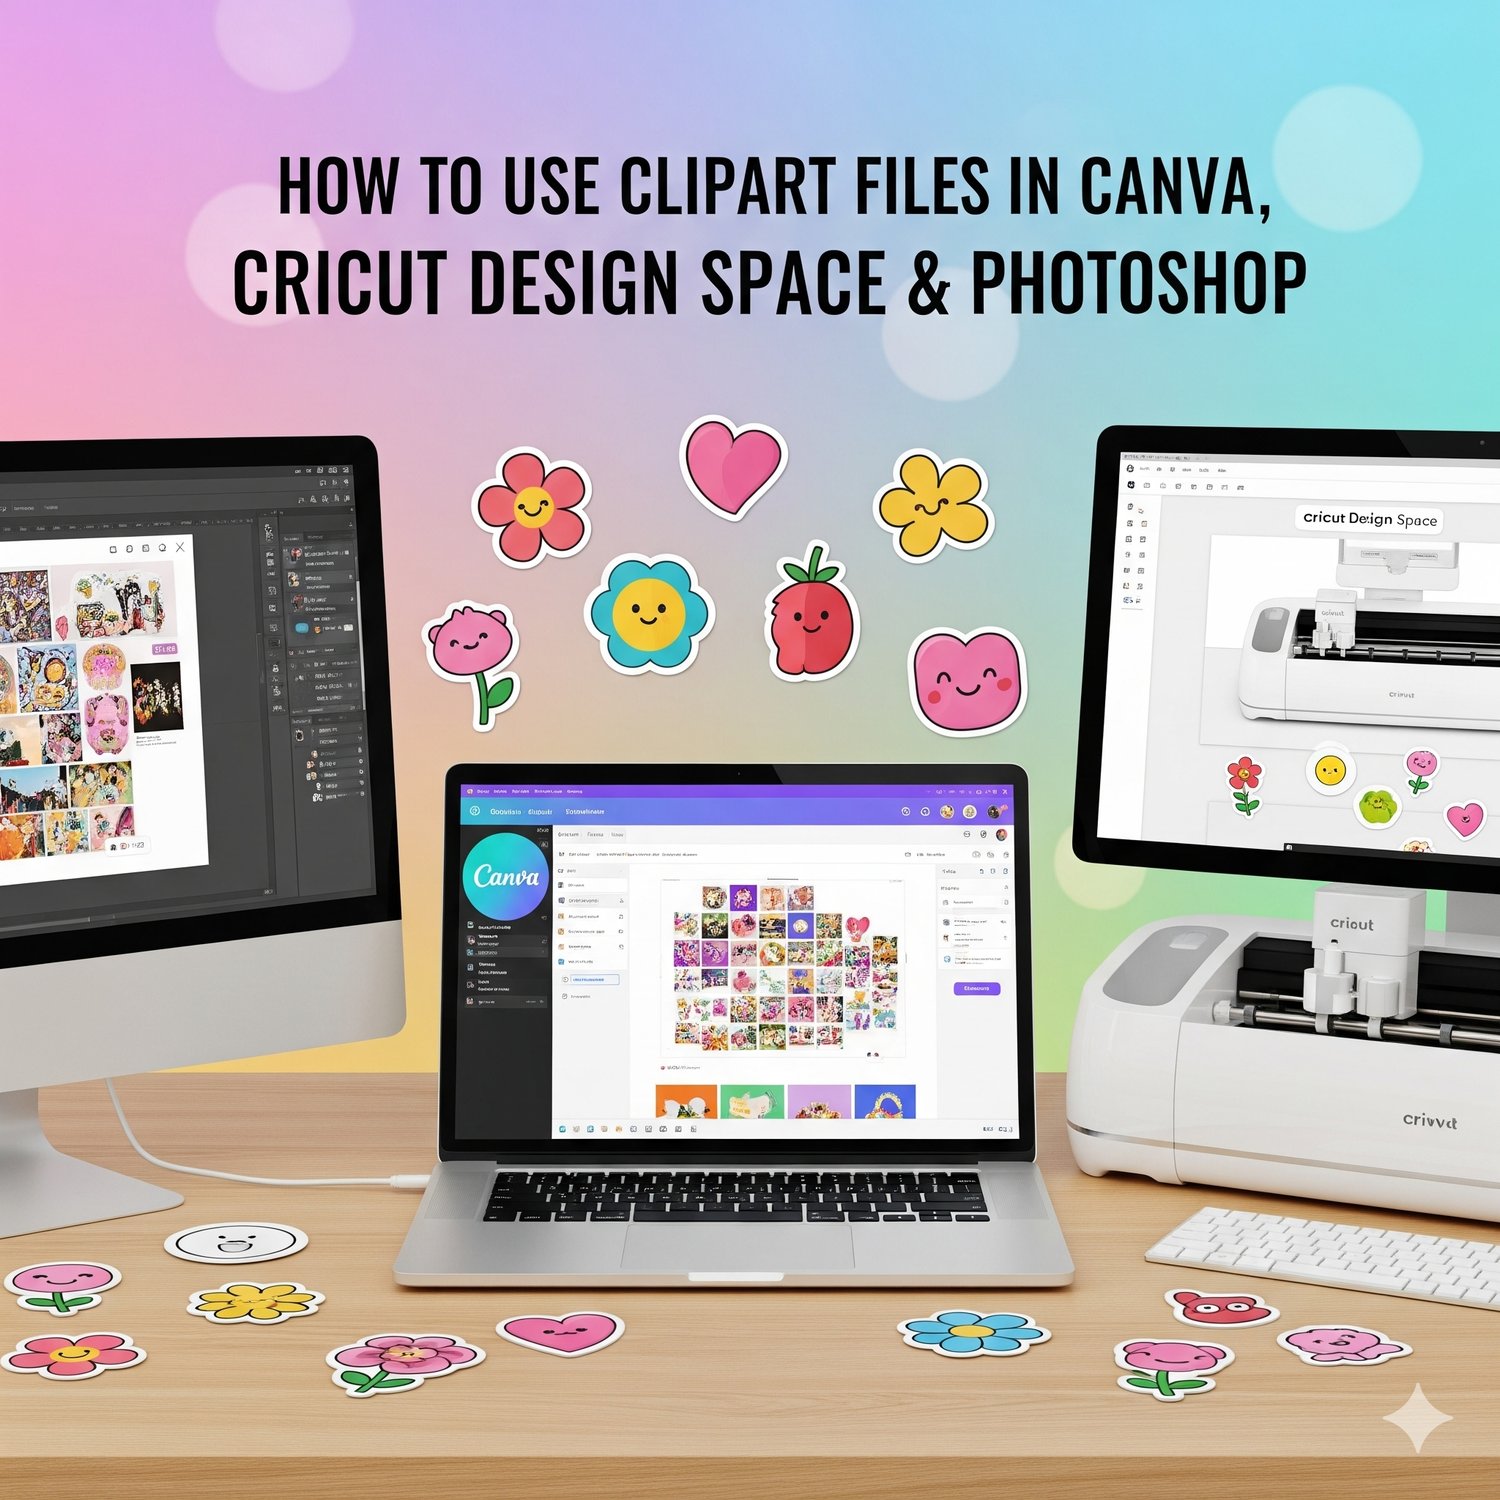
Clipart files are a crafter’s best friend! Whether you’re designing a T-shirt, making stickers, or creating digital products, clipart saves time and adds creativity to your project. But the real question is — how do you actually use clipart files in popular tools like Canva, Cricut Design Space, and Photoshop?
In this step-by-step guide, we’ll walk you through the basics of using clipart in these three platforms so you can start designing like a pro.
What Are Clipart Files?
Clipart files are ready-made graphics (like flowers, icons, doodles, and characters) that you can use in your designs. They usually come in formats such as:
- PNG (transparent background, perfect for Cricut & Canva)
- JPG (solid background, mostly for Canva/Photoshop)
- SVG (scalable for Cricut cutting)
- Find Free Clipart Bundle for Crafters (2025)
How to Use Clipart in Canva
Canva is one of the easiest tools for beginners.
Steps:
- Log into your Canva account.
- Click Create a Design and choose your size (e.g., Instagram Post, Flyer, etc.).
- Go to Uploads → Upload Files → Select your clipart file (PNG recommended).
- Drag and drop the clipart into your design.
- Resize, rotate, and add text or shapes to make it your own.
✨ Pro Tip: Use transparent PNGs for seamless designs.
✨ Top 10 Free PNG Clipart Bundles For Crafters (2025)
How to Use Clipart in Cricut Design Space
Cricut users love clipart for stickers, print-and-cut designs, and custom vinyl decals.
Steps:
- Open Cricut Design Space.
- Click Upload → Upload Image → Browse your clipart file.
- For PNG/JPG, choose Simple or Complex depending on detail.
- Remove the background if needed → Save as Print Then Cut.
- Insert it onto your canvas and resize for your project.
- Send to print & cut with your Cricut machine.
✨ Pro Tip: Use SVG clipart files when possible — they cut cleaner and resize without losing quality.
✨ Find Free SVG Bundles For Crafters (2025)
How to Use Clipart in Photoshop
Photoshop gives you the most control and is perfect for advanced editing.
Steps:
- Open Adobe Photoshop → New Document.
- Go to File → Place Embedded → Select your clipart.
- Use the Move Tool (V) to resize or reposition.
- Add layers of text, effects, or combine multiple clipart files.
- Export your design as PNG (transparent) or JPG (solid background).
✨ Pro Tip: Use Photoshop for advanced editing like recoloring or applying textures to your clipart.
Best Tips for Using Clipart Files
- Always check the file format (PNG for Canva, SVG for Cricut, PNG/JPG for Photoshop).
- Keep your clipart organized in folders by theme.
- Watch out for licensing rules (personal vs. commercial use).
- Experiment with layered clipart to make unique designs.
Conclusion
Using clipart files in Canva, Cricut Design Space, and Photoshop is easier than you think. Whether you’re creating T-shirts, stickers, social media graphics, or digital products, clipart can save you time and unlock your creativity.
👉 Start practicing today by downloading our Free Clipart Bundle for Crafters (2025) and bring your designs to life!
Comments ()