

How to Sell on Payhip in 2025:
A No-Fluff, Step-by-Step Guide
If you want an easy, low-risk way to sell digital products, courses, memberships, coaching, or even physical items, Payhip is one of the simplest platforms to get started on in 2025. You can open a store for free, accept payments with Stripe or PayPal, and even have EU/UK digital VAT handled for you—all without needing to code. Payhip+2Payhip Help Center+2
Below is a practical roadmap that takes you from zero to your first sale—and sets you up to scale.
Why Payhip in 2025?
- Fast setup, all-in-one: Sell digital downloads, courses, memberships, coaching, and physical products from one dashboard, with a hosted storefront included. Payhip
- Begin free, upgrade when it pays: Pricing is transparent—Free ($0/mo + 5% fee), Plus ($29/mo + 2%), Pro ($99/mo, 0%). All plans include the same features; the difference is the per-sale fee. Payhip+1
- Payments + global readiness: Connect Stripe and/or PayPal (plus other regionals) and let Payhip handle EU/UK digital VAT collection and remittance. (You’re still responsible for non-digital taxes where applicable.) Payhip+3Payhip Help Center+3Payhip Help Center+3
What You Can Sell (Ideas & Formats)
- Digital downloads: ebooks, templates, presets, printables, music, videos, software. Delivery is automatic after checkout. Payhip
- Courses & video products: Host or embed videos and structure lessons/modules within Payhip. Whop
- Memberships & subscriptions: Charge recurring fees for communities, content drops, or resource libraries. Payhip
- Coaching & services: Package sessions as products; deliver via scheduling links or intake forms. fetchprofits
- Physical products: Sell merch or small runs alongside your digital catalog. Payhip
Choosing the Right Plan (Quick Math)
- Just testing? Start on Free. You’ll pay 5% + payment-processor fees per sale (e.g., Stripe/PayPal ~2.9% + 30¢). Upgrade when volume grows. Payhip+1
- $1k–$5k/mo? Plus often reduces net fees.
- $5k+/mo? Pro (0% Payhip fee) usually wins on cost. Blogging Wizard
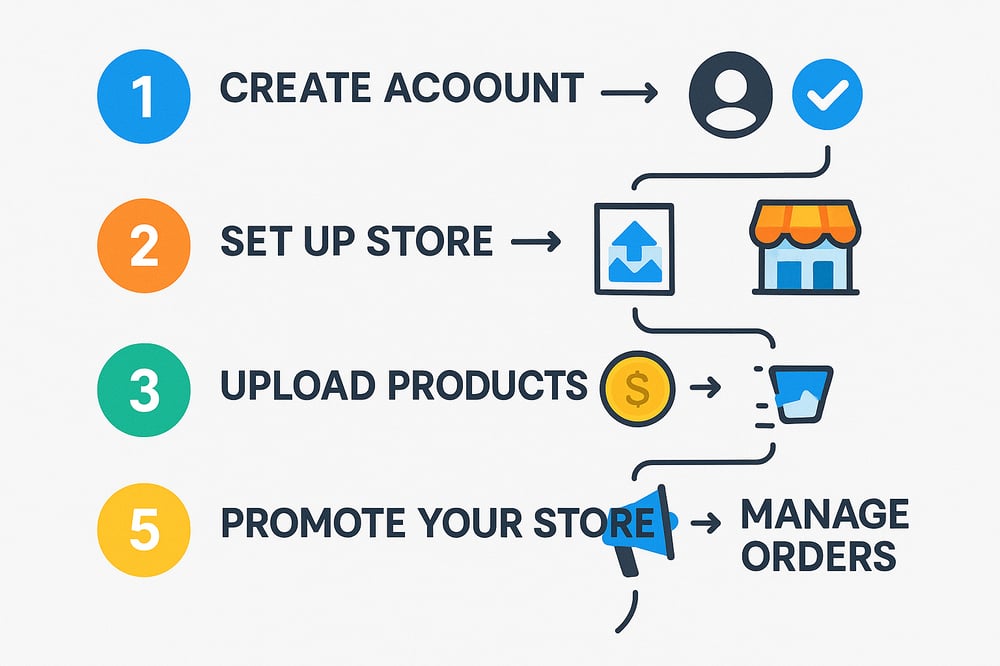
Step-by-Step: From Account to First Sale
1) Create Your Store
- Sign up and name your store (you’ll get a hosted URL and can use your own domain later).
- Add your brand basics: logo, colors, navigation, and homepage sections via the store builder. Payhip
2) Connect Payments
- In Account → Settings → Payment Details, connect Stripe and/or PayPal (availability varies by region). This enables instant payouts to your accounts. Payhip Help Center+1
3) Configure Taxes
- For digital goods sold to EU/UK buyers, toggle Payhip’s VAT handling so Payhip collects/remits for you automatically. Keep records for your accountant. (Non-digital taxes are your responsibility.) Payhip
4) Add Your First Product
- Go to Products → Add New and choose the type (Digital Download, Course, Membership, Coaching, Physical).
- Upload files or build your course structure, set your price, add a compelling description, benefits list, and images/video preview. Payhip Help Center
5) Optimize the Listing
- Lead with outcomes: “Get X result in Y time.”
- Proof: Add demo pages/clips, mockups, and a short walkthrough video.
- Guarantee: A clear refund or support policy reduces friction.
- SEO: Use a keyword-rich title, URL slug, and meta description for each product page. (Payhip provides fields in the editor.) Payhip
6) Test Checkout
- Create a test coupon for 100% off and run through checkout to verify delivery, receipts, and post-purchase flows. (Then disable the coupon.)
7) Launch with an Offer
- Announce to your email list and socials with a limited-time coupon or bundle.
- Use Payhip’s built-in coupons, cross-sell/upsell, and email updates to drive conversions. Payhip
Store Design That Converts
- Above-the-fold clarity: One sentence on who your store is for and what result it delivers.
- Featured collection or hero product with benefits bullets and social proof.
- Friction-free nav: Keep it to Shop / Courses / Contact (and a search bar if you have 10+ products).
- Trust markers: Refund terms, support email, and payment badges in the footer.
Payhip’s store builder lets you rearrange sections, add banners, galleries, testimonials, and more without code. Payhip
Payments & Checkout Notes
- Stripe & PayPal give buyers familiar options; add both for maximum conversion. Payhip Help Center
- Expect standard card processing fees in addition to any Payhip plan fees. Checkout Links
- If you sell to Europe, offering PayPal can help conversion for EU buyers. Stripe Docs
Built-In Growth Tools You Should Use
- Coupons: % off, dollars off, or free for limited seats.
- Upgrades & bundles: Pair complementary products to raise AOV.
- Email updates: Send product updates and limited offers to past buyers.
- Affiliates: Let partners promote in exchange for a tracked commission.
- Cross-sell: Suggest related items pre- or post-checkout.
(All available across plans; the “plan” mainly changes transaction fees.) Payhip+1
Course & Membership Tips (2025 Edition)
- Structure beats length: Short video lessons (5–10 min) with downloads and checklists.
- Drip & community: Release modules on a schedule; add monthly Q&As or office hours for retention.
- Value ladder: Tripwire download → Core course → Membership/Coaching for ongoing results.
- Video delivery: Host inside Payhip or embed YouTube/Vimeo; both are supported. Whop
Compliance & Admin
- Licensing & usage rights: Spell out how buyers may use your digital assets.
- Refund policy: Clear terms reduce disputes (e.g., “7-day refund if less than 20% consumed”).
- Privacy & email consent: Follow CAN-SPAM/GDPR best practices when emailing customers.
- Taxes: Payhip handles digital EU/UK VAT; keep your own records and handle all other jurisdictions/physical goods as required. Payhip
When to Upgrade Your Plan
- If Payhip fees on the Free plan exceed $29 in a typical month, Plus likely saves money.
- If your monthly Payhip fees would exceed $99, Pro usually wins (0% Payhip fee). Remember payment processor fees still apply. Payhip+1
Common Mistakes to Avoid
- Launching with no offer: Always pair launch with a coupon or bonus to pull early buyers.
- Weak product images: Use clean mockups and a 30–60s preview video.
- Too many choices: Curate your homepage; make the next step obvious.
- No follow-up: Email past customers with updates, bundles, and seasonal promos using Payhip’s tools. Payhip
Quick-Start Checklist
- Create Payhip account & name your store. Payhip
- Connect Stripe and/or PayPal for payouts. Payhip Help Center+1
- Enable EU/UK digital VAT handling (if selling digital to those regions). Payhip
- Add at least one product with strong images, bullets, and a preview. Payhip Help Center
- Design your homepage with a clear promise and featured products. Payhip
- Create a launch coupon and a bundle to increase AOV. Payhip
- Test checkout end-to-end, then announce everywhere.
Final Word
Payhip’s 2025 offering makes it unusually easy to launch and scale without upfront platform risk: you can sell almost any format, start on a truly free plan, plug in Stripe/PayPal, and have digital EU/UK VAT compliance largely off your plate. Nail one great product, present it clearly, and let Payhip’s built-in tools—coupons, email updates, bundles, affiliates—do the heavy lifting as you grow.