
Installing a mural at home is a practical way to add a planned, cohesive look to a space without changing furniture or fixtures. A wall mural wallpaper usually comes as numbered panels that align to form one large image, so the process is more about careful preparation and steady placement than speed. With the right tools and a bit of patience, most people can complete one feature wall in a weekend.
Tools and Materials You’ll Need
Before starting, gather: measuring tape, pencil, spirit level, step ladder, sharp utility knife with spare blades, smoothing tool/squeegee, clean sponge or microfiber cloth, seam roller, and masking tape. If your wallpaper needs adhesive, keep the recommended paste and a roller/brush ready. Also clear the work area—move furniture away and cover flooring to prevent paste drips or scuffs.
Check the Wall Condition First
A clean, smooth surface is the base for a neat mural finish. Remove dust, grease, and loose paint. Fill cracks or nail holes, sand lightly, and wipe down again. Freshly painted walls should cure fully before wallpapering (often a couple of weeks depending on paint type and humidity). If your wall is very porous or patched heavily, a primer or sizing solution can help the panels adhere evenly and reduce bubbling.
Measure, Mark, and Plan Panel Placement
Measure wall height and width at multiple points since walls can be slightly uneven. Mark a vertical guideline using a level—this is your anchor line, usually placed where the first panel will start. Most mural sets are designed to be installed left-to-right, panel by panel. Lay panels on the floor in order to confirm the image sequence and to spot any color shifts or printing issues before anything goes onto the wall.
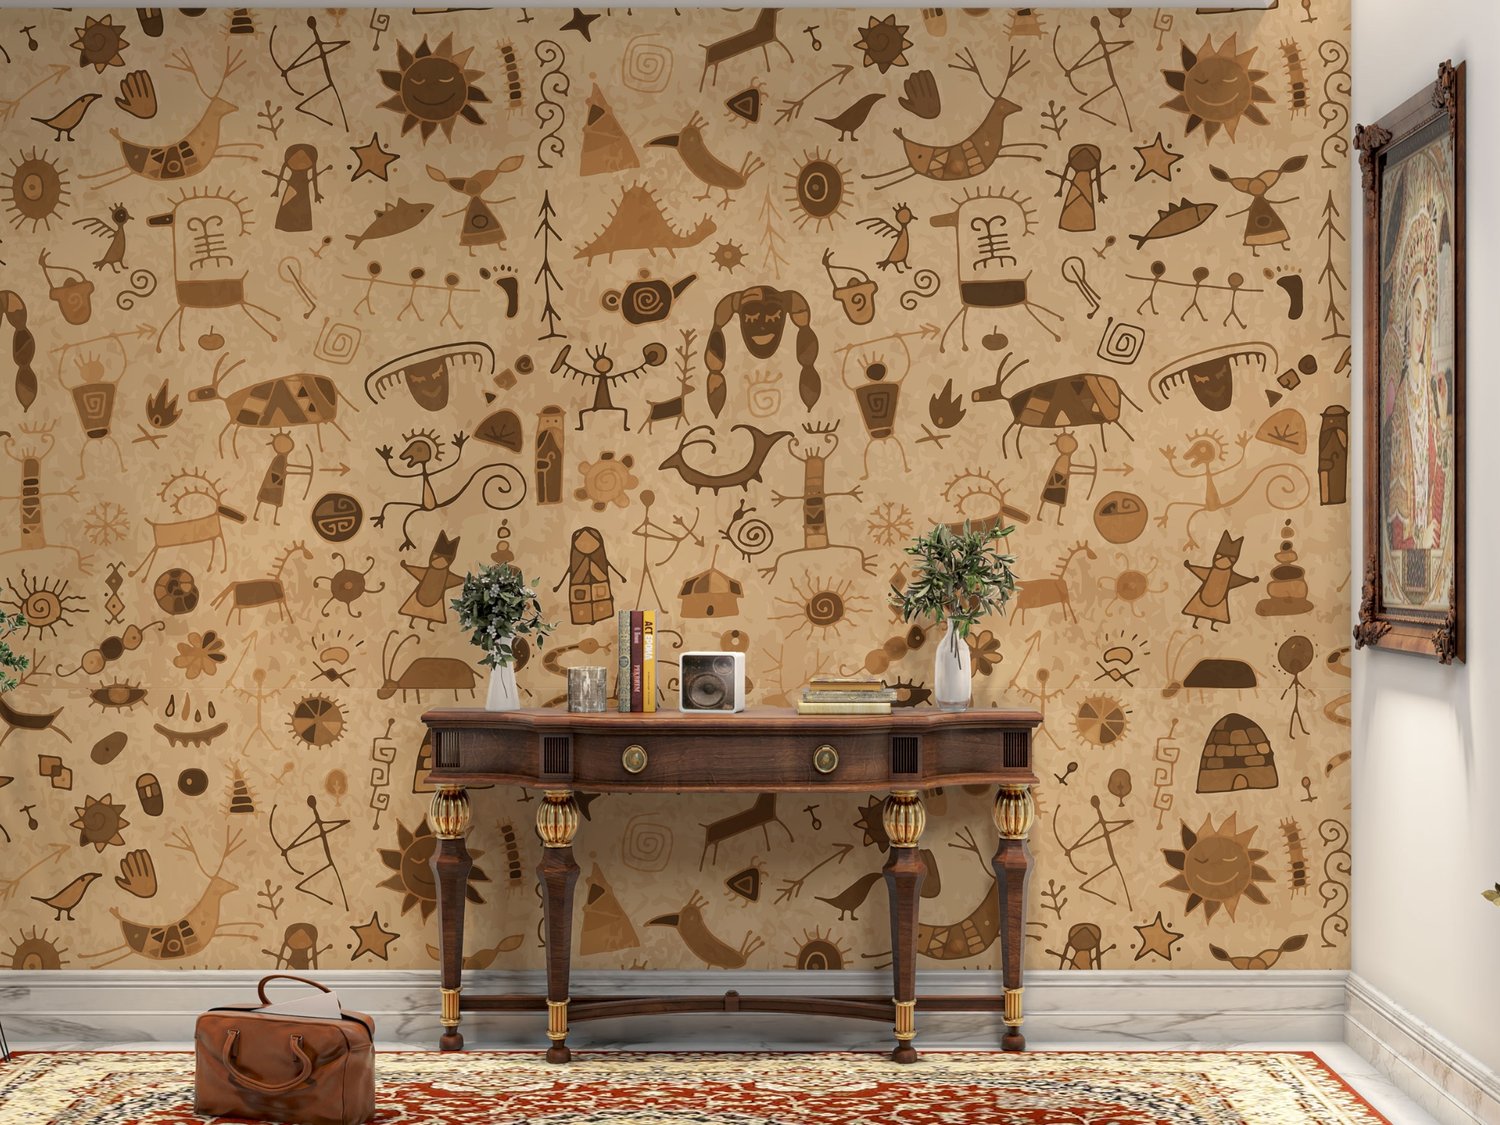
Choose the Right Mural Style for the Room
If you want a calm, open feel, wallpaper of beautiful nature works well in bedrooms, lounges, or reading corners. Nature scenes typically have softer gradients and organic shapes, which can help hide minor wall imperfections better than sharp geometrics. Keep surrounding décor simple—solid curtains and minimal wall art help the mural remain the main visual element.
Adhesive Basics: Paste-the-Wall vs Paste-the-Paper
Check the product instructions first. Many modern wallpapers are “paste-the-wall,” meaning you apply paste to the wall and place the dry panel on top. This approach is easier for beginners because it reduces stretching and tearing. “Paste-the-paper” requires you to coat the panel, fold it gently, and wait for soak time. Either way, use only the recommended adhesive, mix it as directed, and don’t rush the drying process.
Step-by-Step Installation for a Feature Wall
Start at the guideline and install the first panel carefully—if the first one is straight, the rest usually follow smoothly. Apply paste evenly (or prepare the panel), then position the top edge with a small overlap at the ceiling and corners for trimming. Smooth from the center outward to push out air pockets. Align the next panel to the first, matching the artwork edges and keeping seams tight but not forced. Use a seam roller lightly to secure joins without squeezing out too much adhesive.
Working with Bold Themes Like Tropical Murals
Large leafy prints and bright color areas require extra attention to seam alignment because the human eye spots breaks in repeated shapes quickly. tropical wallpaper for walls often includes strong lines (leaf stems, fronds, silhouettes), so take your time matching the artwork at eye level before smoothing the full panel. If you need to reposition, lift gently and reapply—don’t drag the panel sideways, which can stretch the print.
Installing Wallpaper in a Pooja Room
A pooja room typically has smaller walls, corners, and shelves, so planning matters more than speed. pooja room wallpaper is best installed on the cleanest, least obstructed surface—often behind the mandir unit—so the design remains visible. Avoid placing seams directly behind diyas or near areas where oils or incense residue may settle. After installation, allow extra drying time before placing décor back to prevent marks or peeling.
Trimming, Edges, and Finishing Touches
Once panels are up, trim excess at the ceiling, skirting, and corners using a sharp blade and a straight edge. Replace blades often—dull blades cause tearing. Wipe away paste residue immediately with a lightly damp sponge, especially along seams. For outlets and switches, turn off power first, remove the cover plate, cut an “X” over the opening, trim neatly, and reinstall the cover once dry.
Decorating After Installation
After the mural cures, you can style around it with confidence. rose wallpaper pairs nicely with neutral bedding, simple side tables, and warm lighting, especially for accent walls in bedrooms. Keep frames and shelves minimal on a mural wall; instead, use adjacent walls for art so the mural image stays clear.
Care, Cleaning, and Quick Fixes
Most wallpapers can be dusted with a soft cloth; some allow gentle wiping—always follow care instructions. If you notice a lifting seam, apply a small amount of seam adhesive and roll lightly. For long-term results, keep rooms ventilated so moisture doesn’t collect behind panels.
Where to Browse More Options
If you’re still deciding on finishes, themes, or room-by-room picks, explore wall wallpaper for a broad range of designs and categories. Choosing the right mural is half the job; careful prep and steady installation do the rest.