How i did the swatch cards with markers
Here is a small guide on how i did my swatch cards with markers

Here is a small guide on how i did my swatch cards with markers
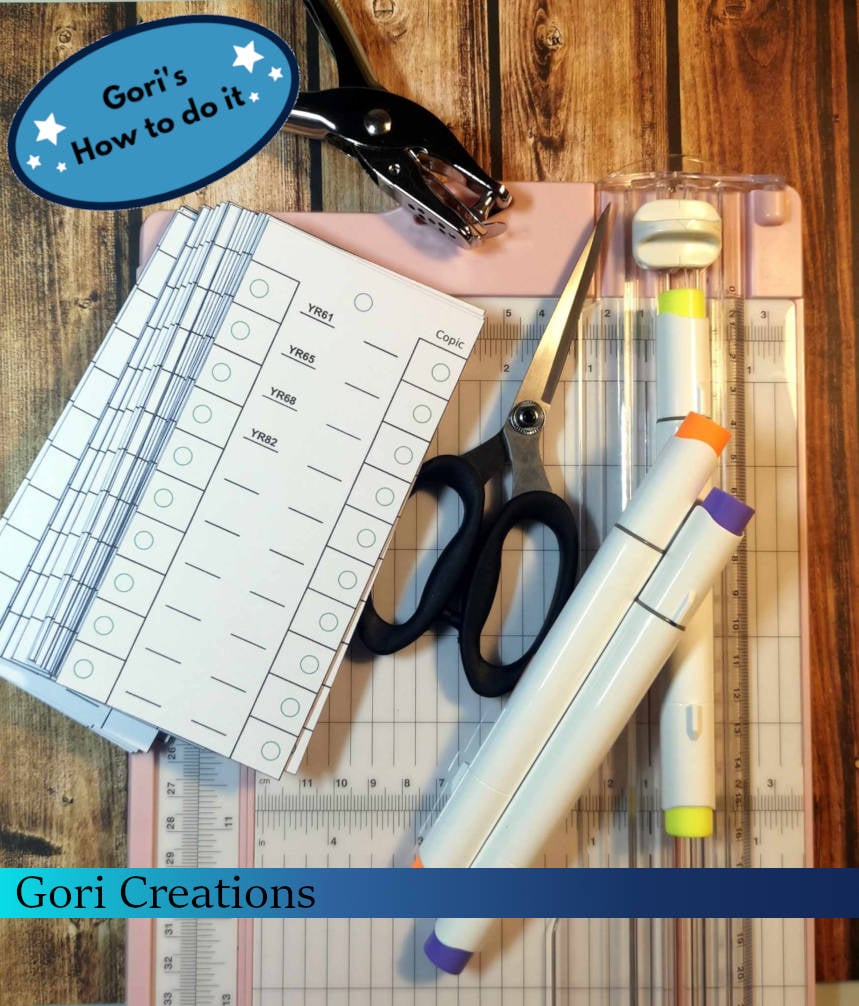
Let’s get everything ready for your creative project!
Here’s what you’ll need:
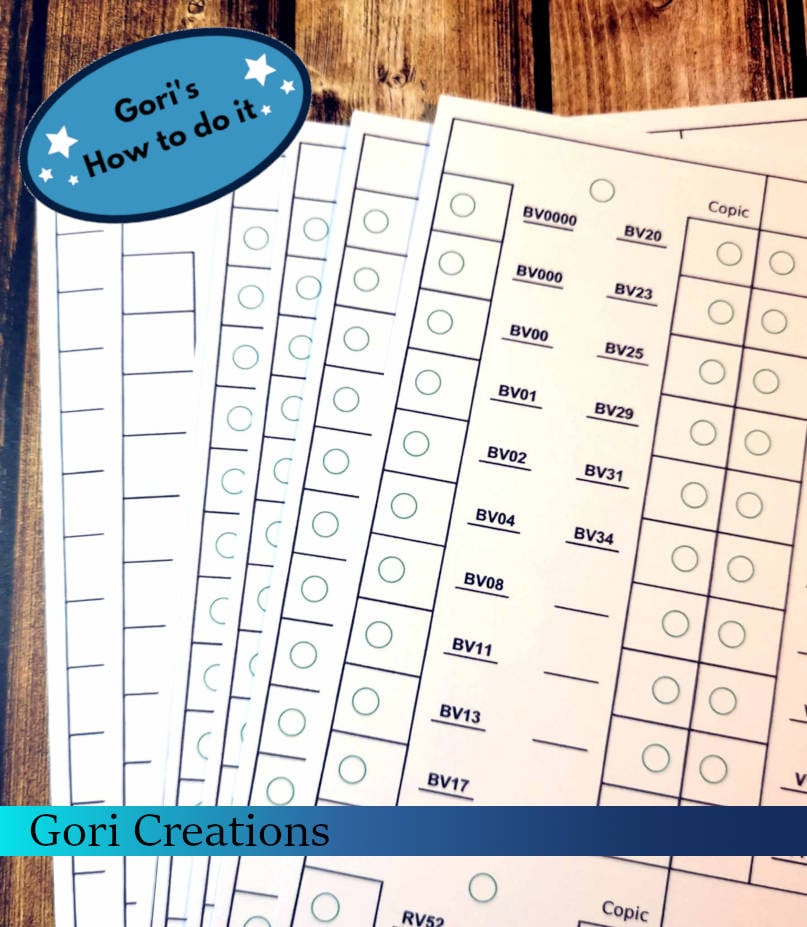
Print your PDF on sturdy cardstock for the best results. This will ensure your swatch cards are durable and easy to work with!
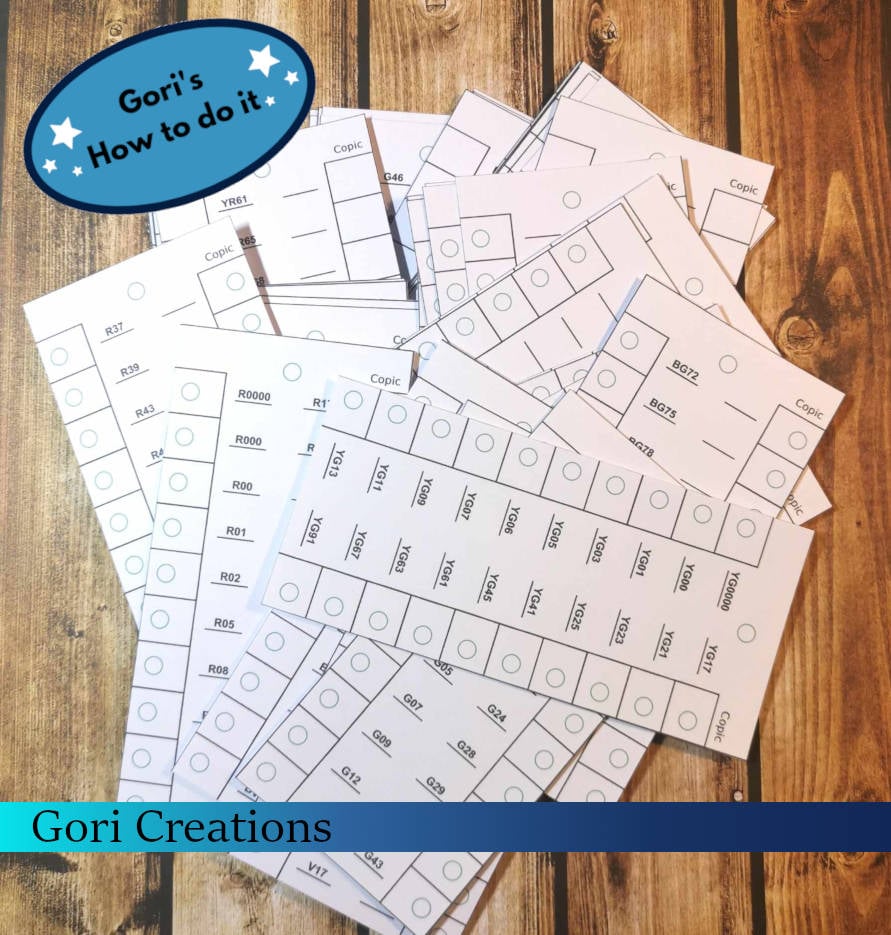
Cut out all the fields from the printed PDF, making sure each one is neatly separated. This will give you the individual pieces needed for your project!
Now that you’ve cut out all your fields, you're ready to move on to the next step!
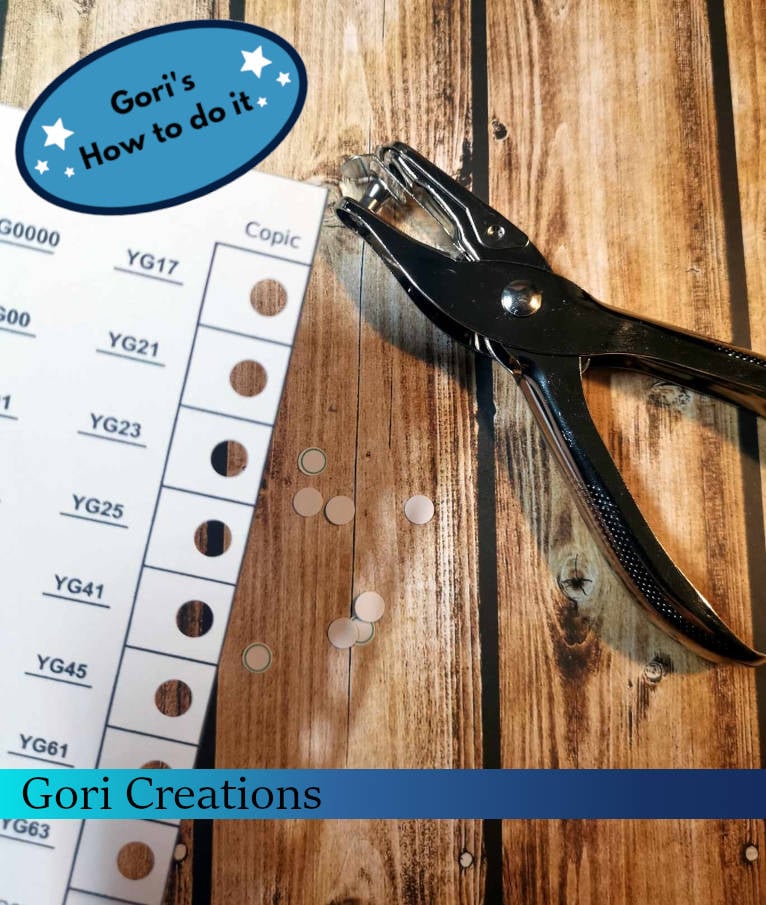
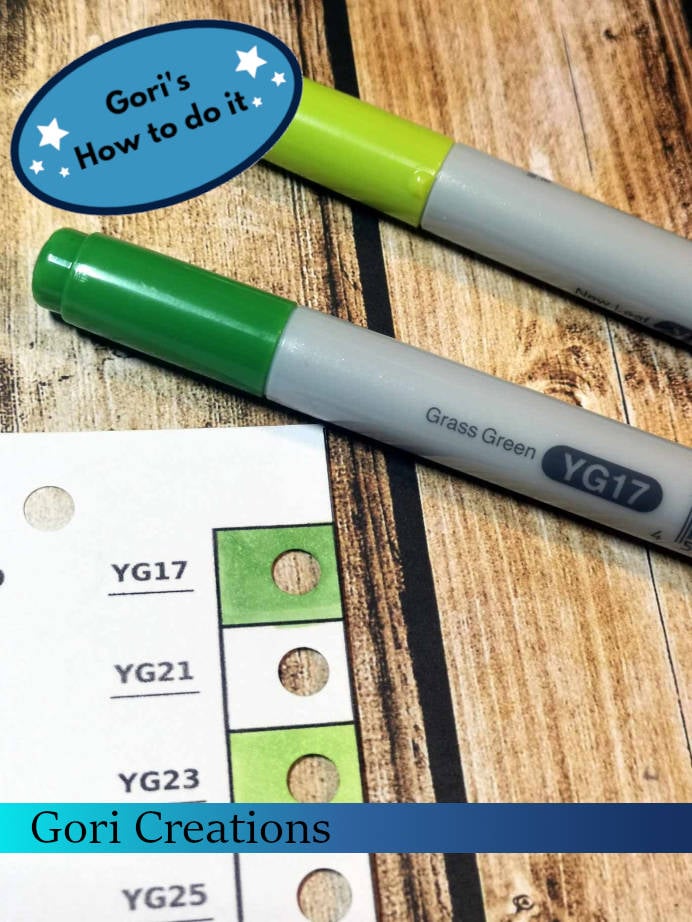
Now it’s time to punch all the holes. Carefully align the puncher to make sure each circle is perfectly centered for a clean, professional look!
Once you're done, and your hand feels like it's about to fall off from all those holes you've punched, it's finally time to color in the fields! Get ready to bring your design to life with vibrant colors!
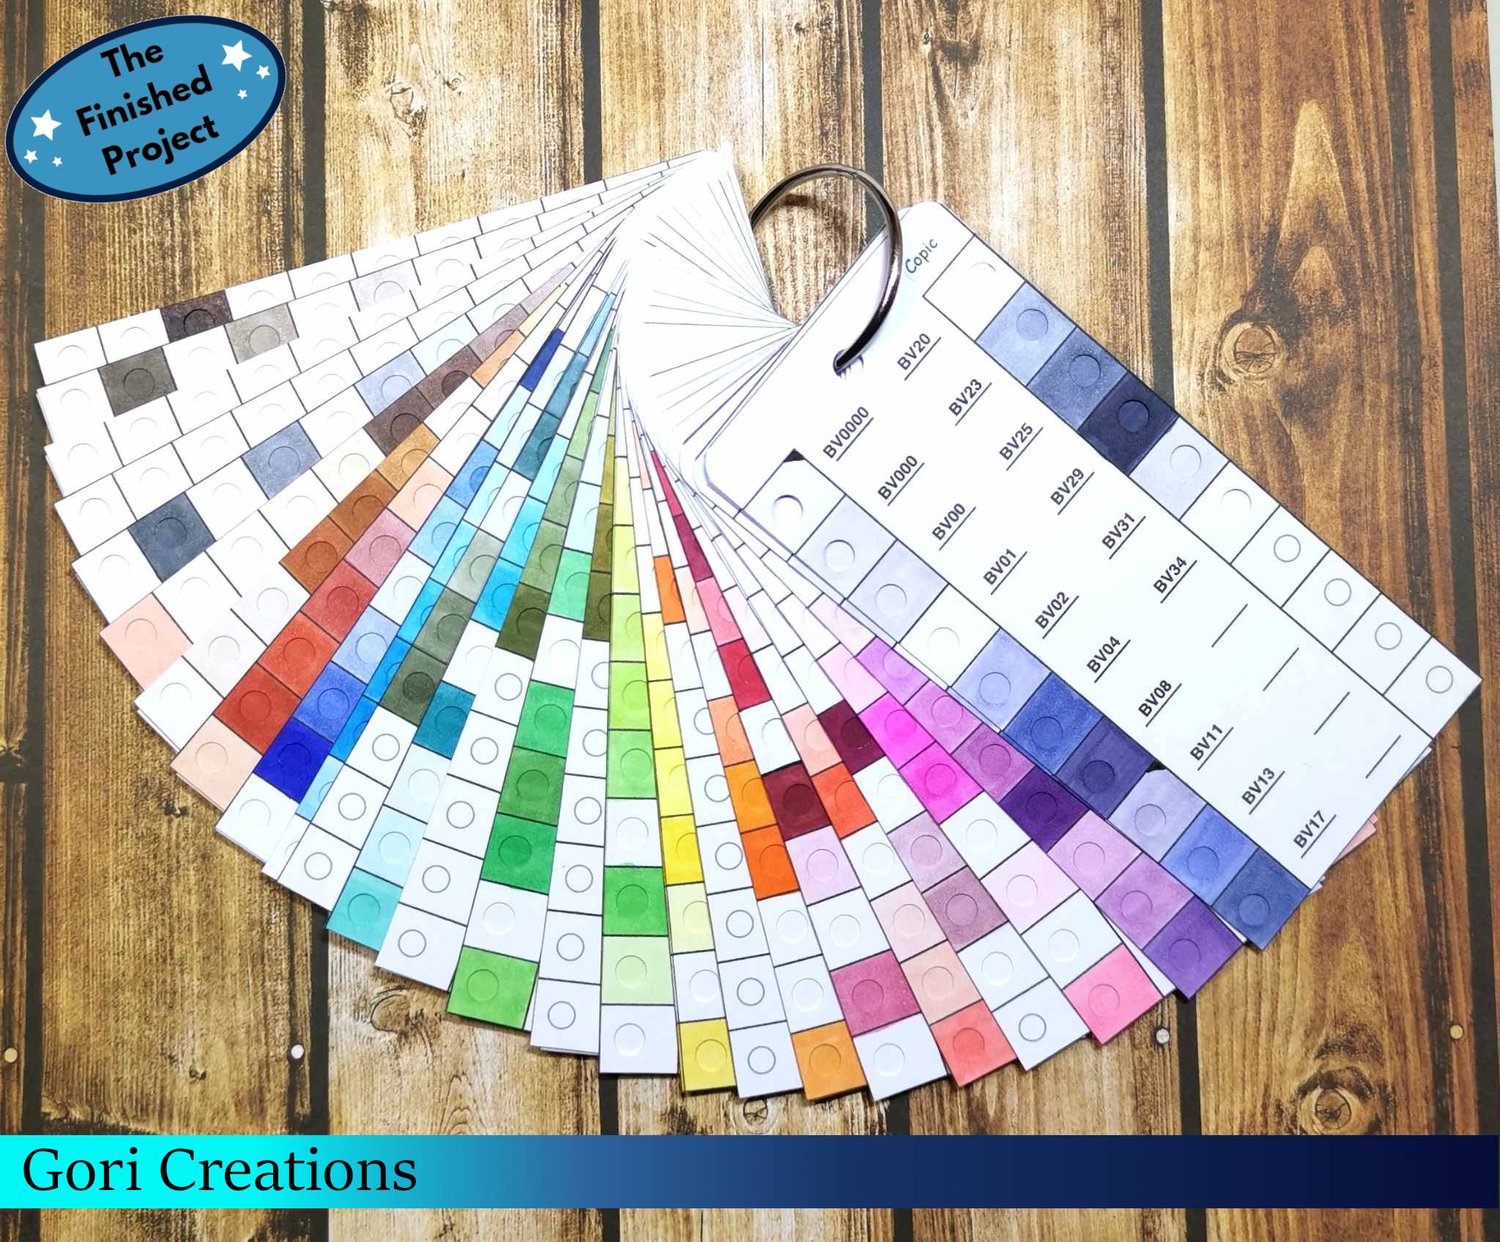
All done! Now, enjoy your beautiful new swatch cards. If, like me, you don’t have all the colors yet, you can easily fill them in as you purchase more. Keep adding to your collection and watch it grow!