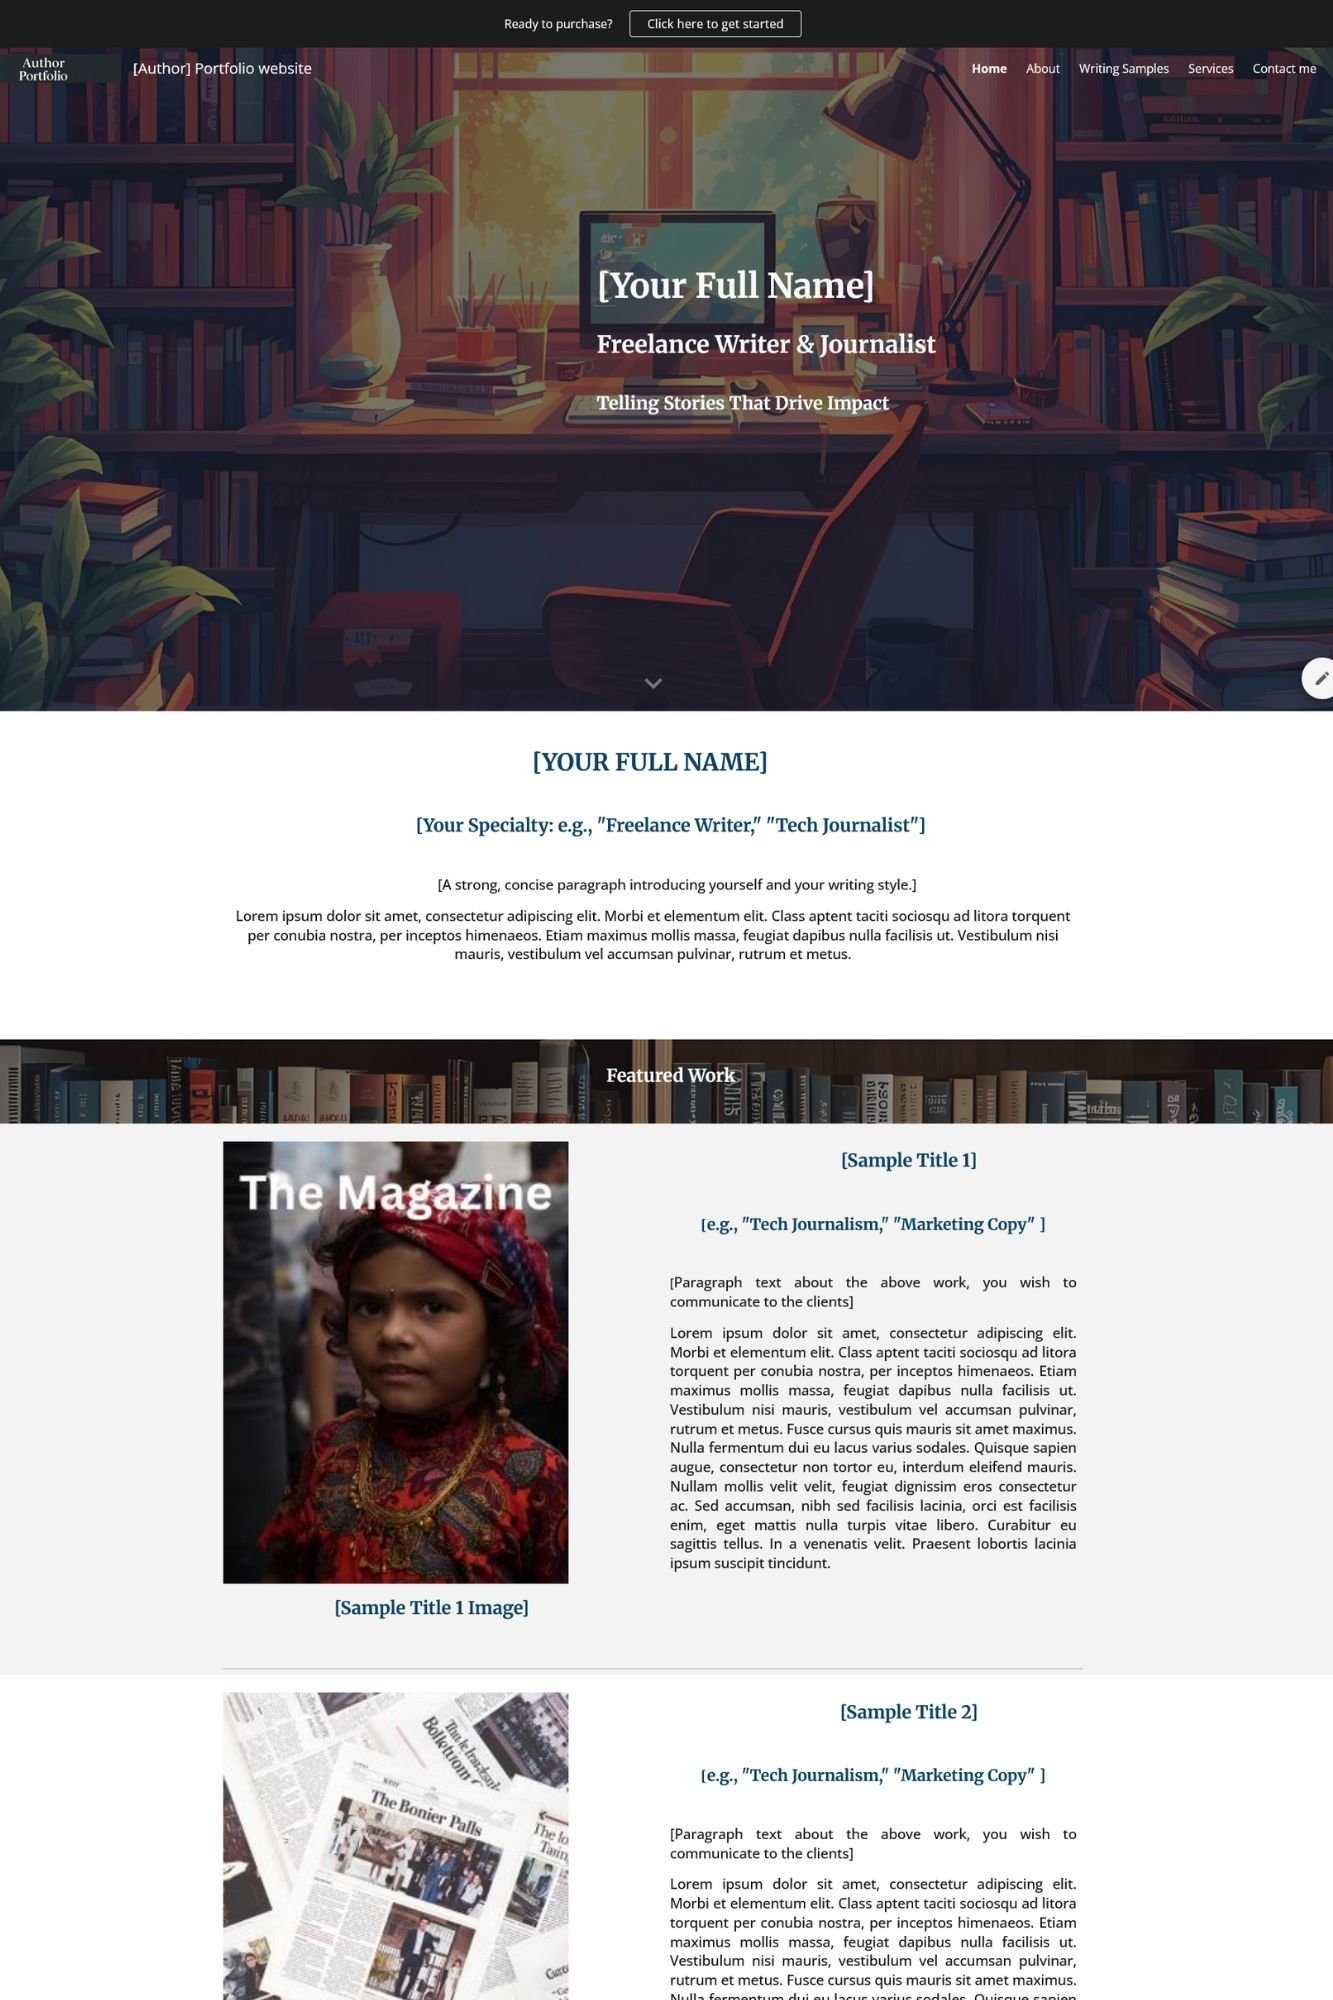
Have you ever wanted to create a beautiful website without coding or spending money on hosting?
That’s exactly what Google Sites allows you to do — a free, beginner-friendly tool to design, build, and publish your own website using just your Google account.
In this post, we’ll cover:
- What Google Sites is and what it’s used for
- Its key features and benefits
- How to set up a free Google Site (step-by-step)
- Tips to make your site stand out
What Is Google Sites?
Google Sites is a free website builder that’s part of the Google Workspace suite — the same family as Docs, Sheets, and Drive.
It’s designed for simplicity — meaning anyone, even with zero technical knowledge, can create and publish a website within minutes.
You can use Google Sites for:
- Personal portfolios or resumes
- Small business websites
- Event pages (like weddings, workshops, or conferences)
- Class or school project websites
- Internal team pages for organizations
- Link-in-bio pages for creators
Everything is drag-and-drop, so you don’t need to worry about HTML, CSS, or hosting setup.
Key Features of Google Sites
- Completely Free: No hosting fees or subscriptions.
- Google Integration: Easily embed Docs, Sheets, Slides, YouTube videos, Maps, and Forms.
- Drag-and-Drop Editing: Build and arrange sections visually.
- Responsive Design: Your site automatically adjusts for mobile, tablet, and desktop.
- Custom Domains: You can use a free sites.google.com domain or connect your own.
- Collaborative Editing: Invite others to edit your site in real time — just like Google Docs.
How to Set Up a Free Google Site — Step by Step
Step 1: Go to Google Sites
Visit sites.google.com and sign in with your Google account.
You’ll see a list of existing sites and templates to start from.
Step 2: Choose a Template or Start Blank
Click the “+ Blank” button to start from scratch, or pick one of Google’s ready-made templates (like “Portfolio,” “Team,” or “Event”).
💡 Tip: If you want a professionally designed layout, try pre-made templates — they save hours of design work.
You can check out our Google Site Templates to get stunning and editable designs for blogs, portfolios, and link-in-bio pages.
Step 3: Add a Title and Customize Layout
Give your site a title (like “My Personal Blog” or “Studio Portfolio”).
You can edit the header image, change fonts, colors, and layout styles from the right-hand menu.
Step 4: Add Content
Click Insert from the right menu to add:
- Text boxes
- Images
- Embedded videos (from YouTube or Drive)
- Buttons and dividers
- Google Docs, Slides, or Forms
You can also drag and drop sections to rearrange your page.
Step 5: Add More Pages
Click Pages → + → New Page to create sections like “About,” “Services,” or “Contact.”
You can link these pages from the site’s navigation bar automatically.
Step 6: Preview and Publish
Once your site looks good:
- Click the Preview (👁️) icon to see how it looks on desktop and mobile.
- Then click Publish.
- Choose your free site address (e.g., sites.google.com/view/yourname).
And that’s it — your free website is live!
Tips to Make Your Google Site Look Professional
- Use Consistent Colors and Fonts: Keep your design clean and on-brand.
- Add High-Quality Images: Free stock photo sites like Unsplash or Pexels work great.
- Organize Content Clearly: Use sections and headers to make it easy to read.
- Link to Social Media and Email: Add buttons or icons for easy contact.
- Upgrade Your Design with Templates: Pre-made templates give a polished, modern look without extra effort.
Final Thoughts
Google Sites is one of the most underrated tools for creating free websites — especially for students, freelancers, small business owners, and creators.
It’s fast, intuitive, and completely free — making it perfect for launching your first website in minutes.
If you want to save time and make your site look professional right from the start, explore our ready-to-use Google Site Templates designed for blogs, link-in-bio pages, and personal portfolios.


