

This article is an overview of the materials and tools I currently use when making my marionettes. Over time I experimented with different techniques, discovered new supplies, and adjusted the body construction several times. The good news is: you don’t need anything expensive or complicated. Most of the materials are easy to find, and the tools are just basic DIY equipment.
I like to divide the puppet-making process into four main categories: sculpting, woodworking, assembling, and customizing. Let’s go through each step and look at the essentials.
Sculpting
My marionettes combine wooden and sculpted parts that are connected with (mostly) metal fasteners. The sculpted pieces are the head, hands, and shoes. However, to make them, I use not only air-dry clay, but other supporting materials, too. As an example, let me show you what materials I use to make my marionette heads:
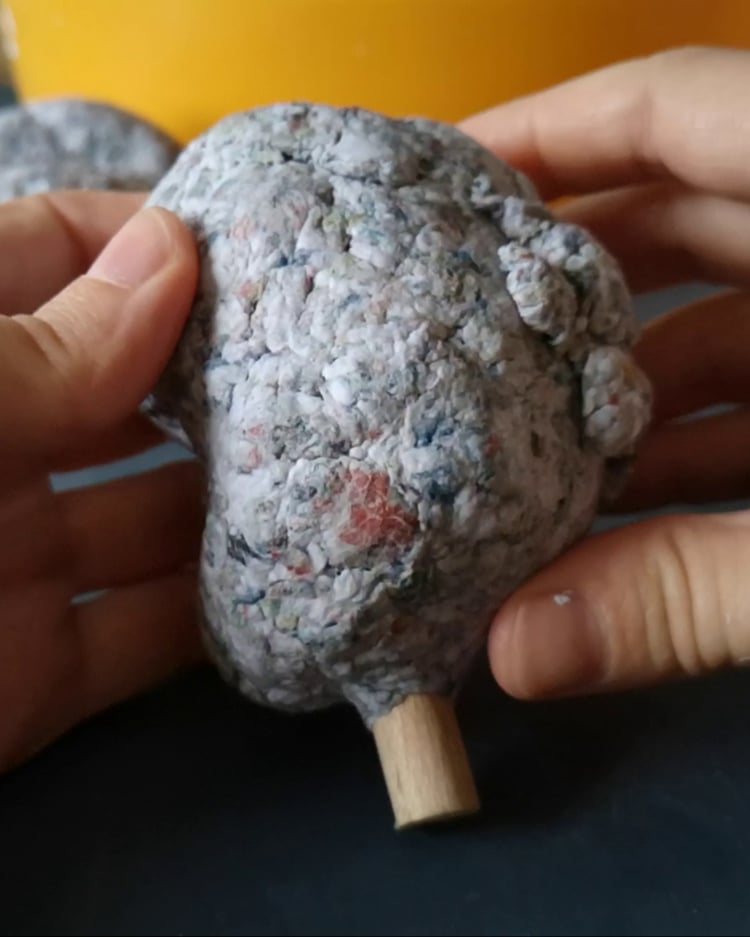
Wooden Core
Since the head carries the weight of the entire body, it needs something stronger inside than just clay. I usually start with a small wooden block as a solid core, with a dowel glued in to form the neck. (Sometimes I even use a wooden spoon of the right size, cutting its handle shorter).
Basic Skull
On top of this core, I create a lightweight “skull” using paper-mâché pulp. It’s made out of:
- shredded paper (or newspaper cut into small pieces)
- water (to wet the shredded paper which I drain afterwards),
- water-based glue (often called “white glue”)
- starch powder (soluble in cold water)
The big advantage is that it’s cheap, lightweight, and environmentally friendly. It is also a great way to spare our expensive sculpting clay that we need for face features. After drying (which can take one week, depending on the size), it becomes firm enough to cover with sculpting clay. It is important to squeeze the paper-maché clay thoroughly, while forming the basic skull, to increase its density.

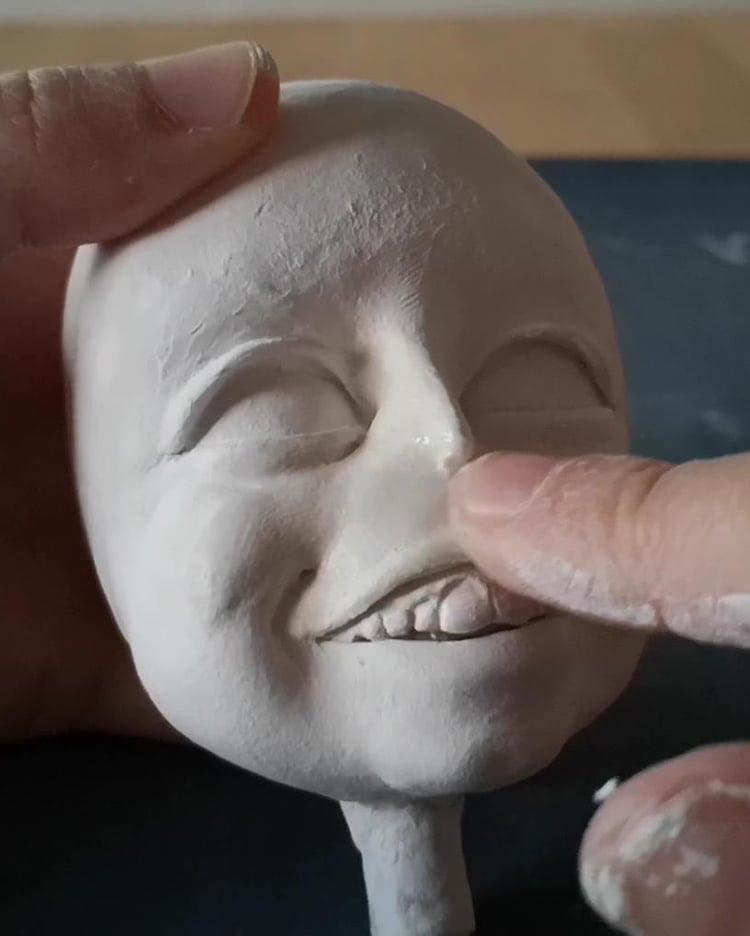
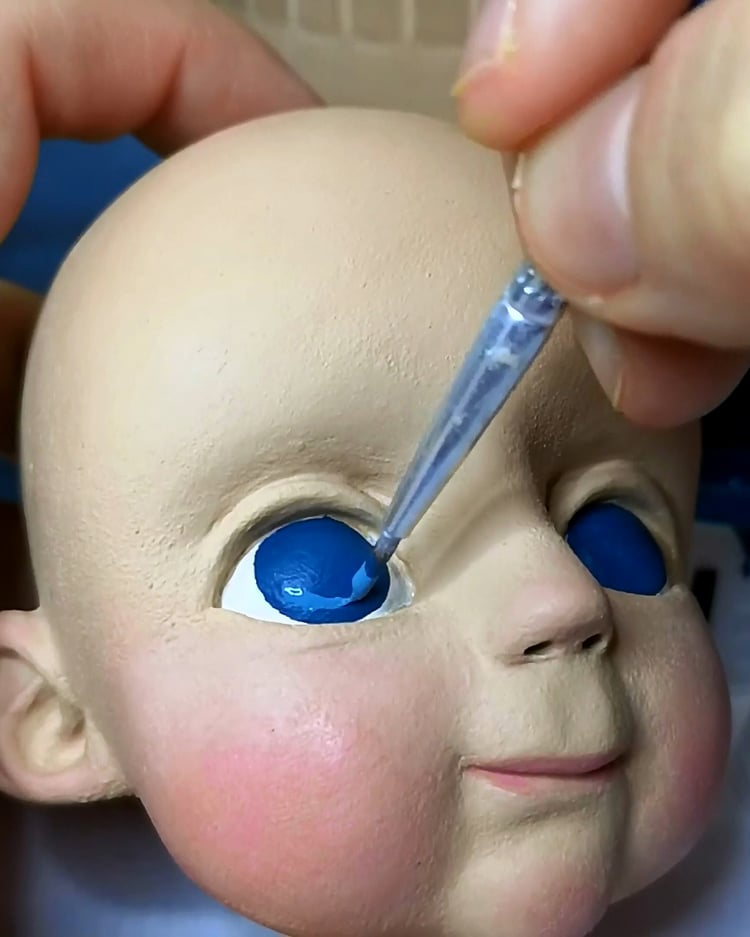
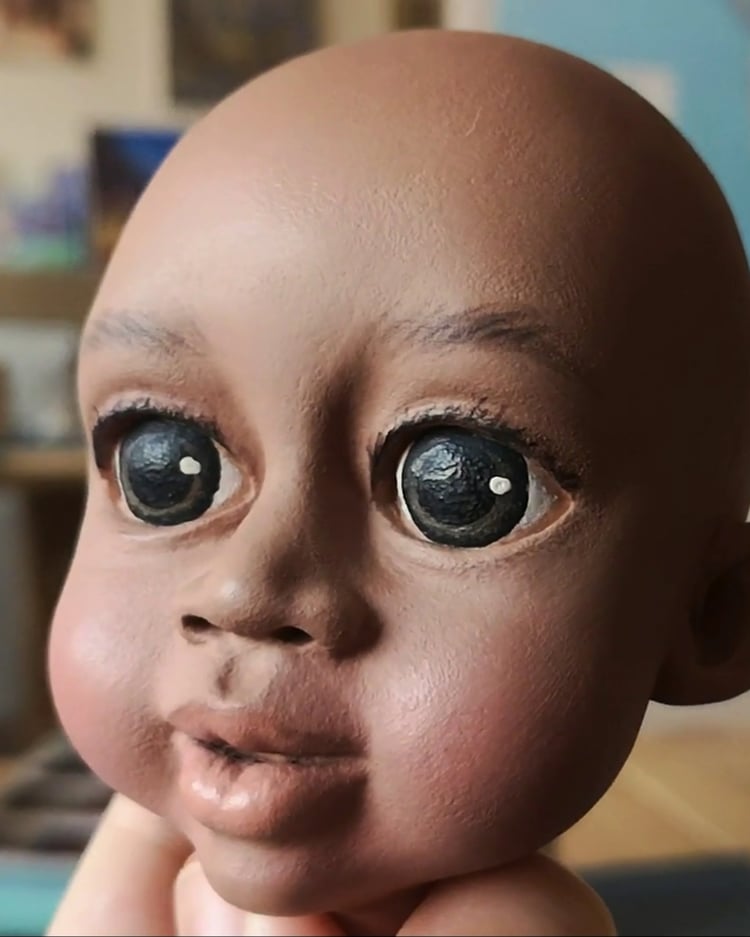
Head and Face Features
The advantage of air-dry clay is the possibility to layer them, so I am not urged to finish the entire head at once. I like to work in short sessions, building the head layer by layer. My advice: always test your clay before starting a big project, as different brands behave differently after drying.
I used to sculpt with Holzmaché (sadly no longer available), and now I mostly use La Doll clay. I mention these brands because I know how they behave, but there are many others that could work just as well. My advice - test your clay first. I had a student asking me why is their clay cracking, crumbling, and falling apart. That’s why I recommend to test it first and sculpt something easy, just to see how it behaves not only during sculpting, but also after drying.
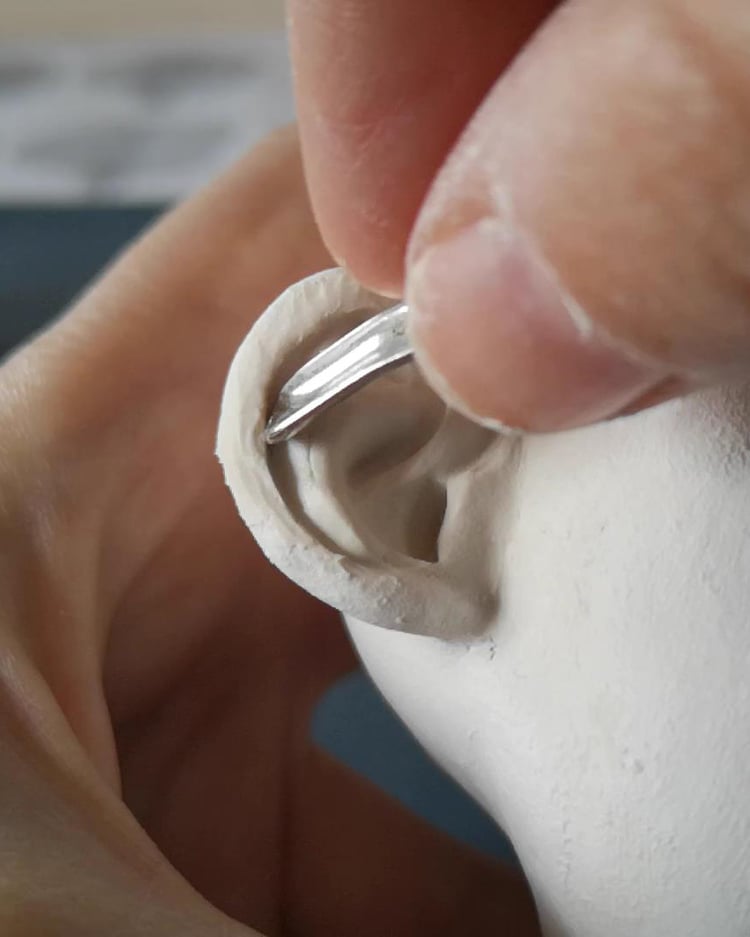
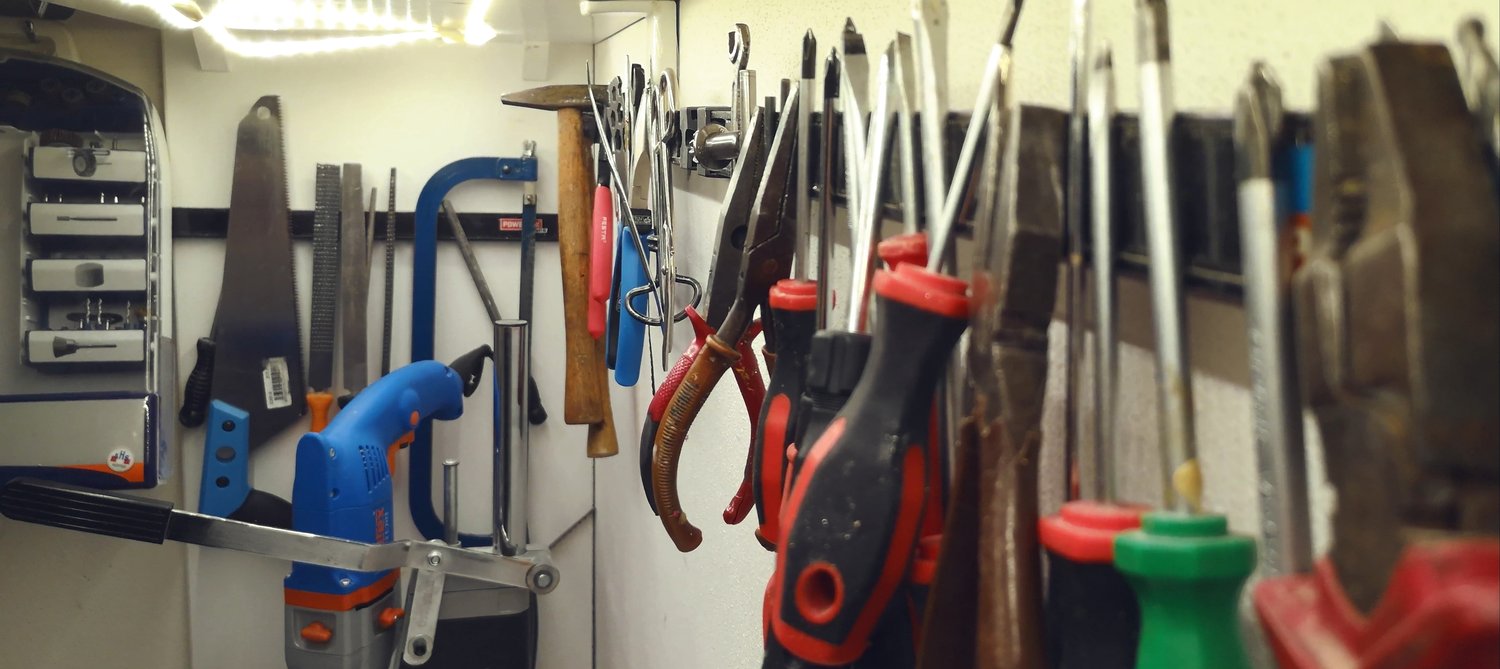
Sculpting Tools:
No fancy equipment here. I mostly use a simple old manicure set and a ball-head pin. Yes, it may sound weird :), but I like to give unnecessary things a new use. If the set breaks one day, I’ll go get something specifically designed for sculpting. The main point is to feel comfortable with your tools. Let’s not forget about sanding, too - you’ll need a sandpaper to smooth the surface. For paper-maché clay, some mixing bowl is a must-have, and it is also useful to have an old sieve to drain wet paper.
Woodworking
Wood is essential for the body structure and controller. I typically use wooden dowels for limbs, laths for torso parts, and long sticks and slats for controllers. Most of these can be found in home improvement stores.
Woodworking Tools:
Basic tools are enough to get started:
- handsaw
- drill
- vise
- rasp and file
- pliers and screwdrivers
- hammer
- measuring tools (ruler, pencil)
These are the basic woodworking tools for creating a simple marionette, like the one from my course: Making a Simple Marionette (2019).
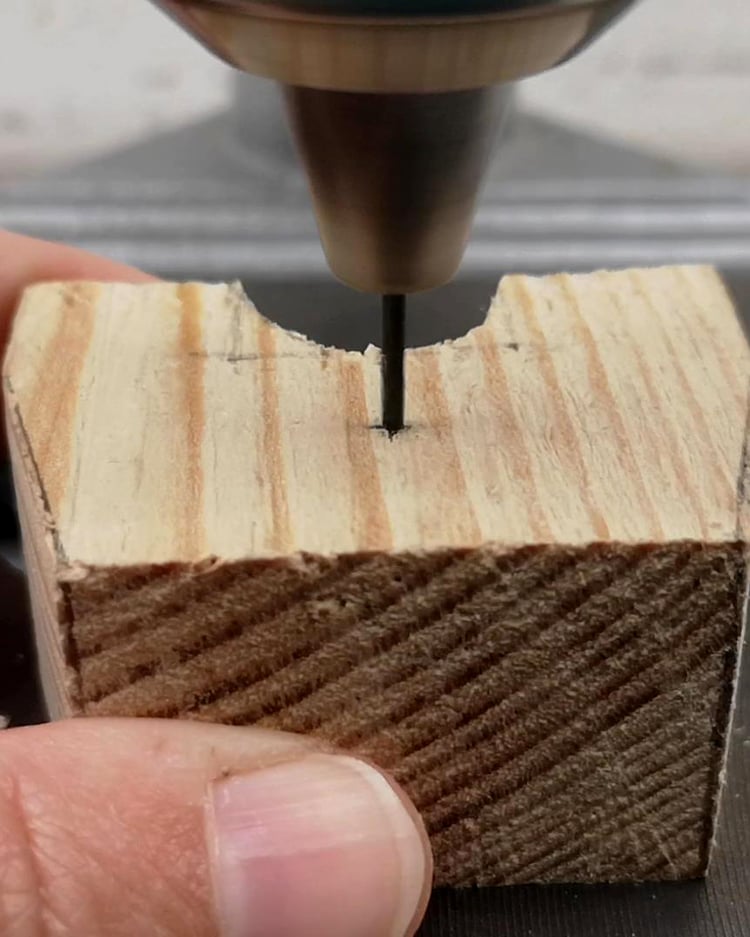
For advanced body construction (like in my e-book Making a Marionette, 2024), I recommend getting a drill press stand (if you don’t have it) and a special chuck for thin drill bits (you insert it into a standard drill, and it allows you to drill holes smaller than 1 mm. They’re not expensive, however, for a one-time project, you can ask someone to drill this tiny hole for you).
Assembling
Connecting the different body parts is where everything comes together. I usually group the materials into three categories:
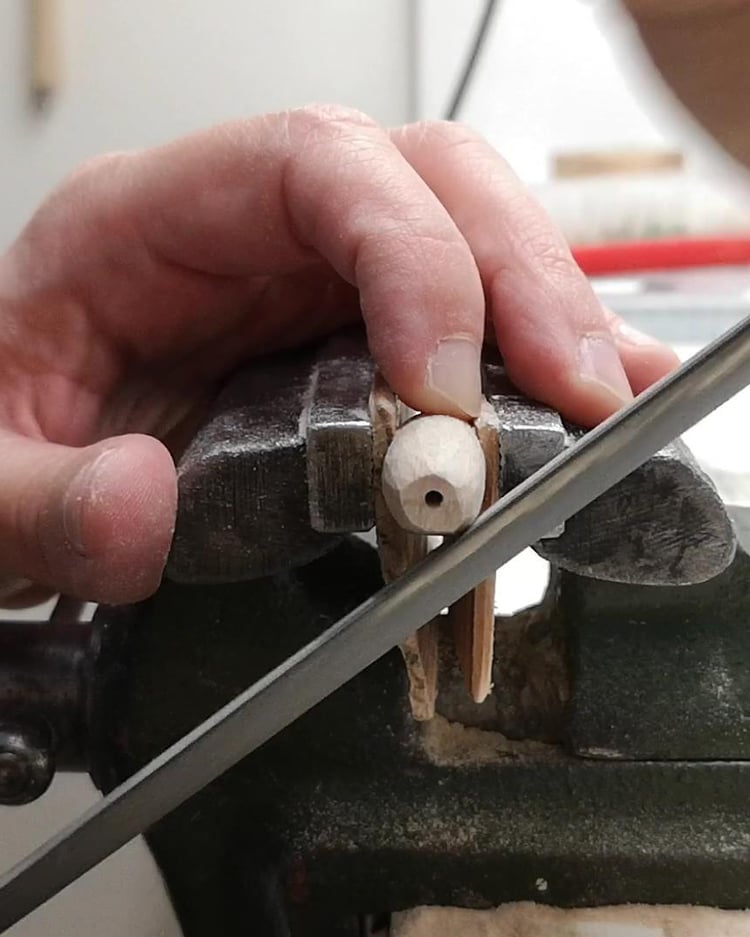
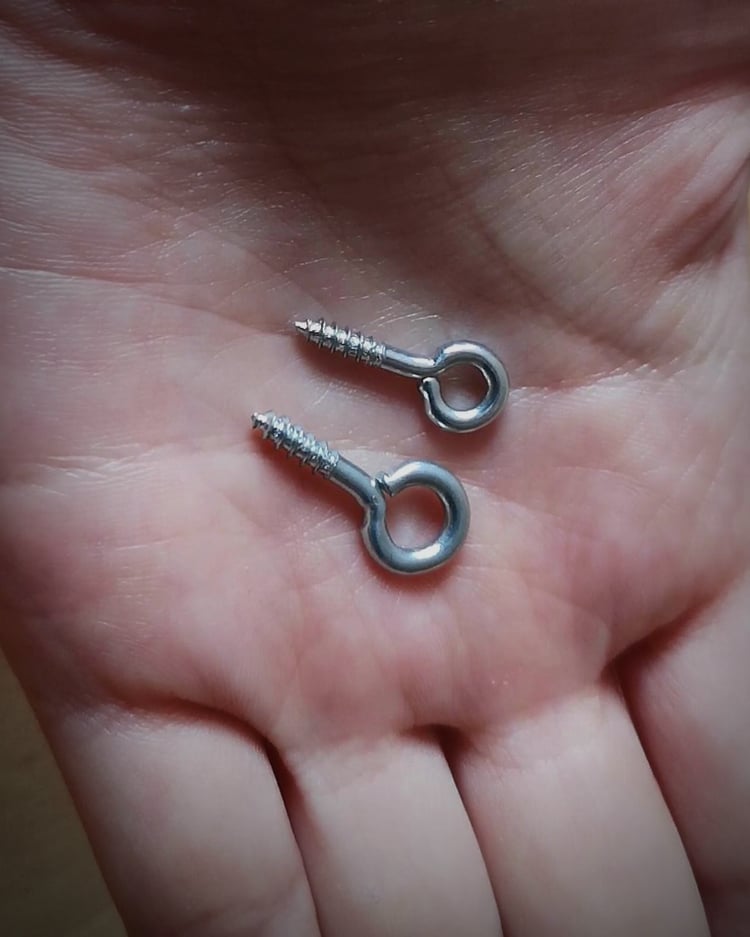
- Metal fasteners – screws, screw eyes, paperclips (bent into hand and shoe cores).
- Textile parts – cords for connecting chest and pelvis, and strong fabric ribbons for a simple type of knee joint. I use these joints for puppets with long pants, when I know the knees will be hidden under the clothes. These joints are very strong and offer a really good range of motion. I get these materials in a haberdashery.
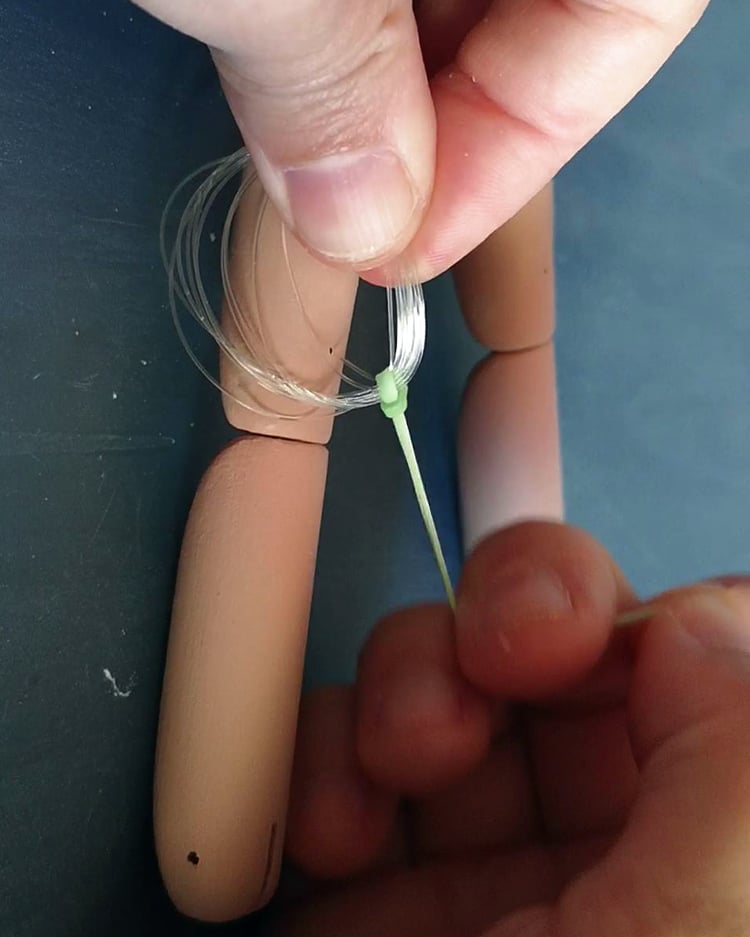
- Strings – for stringing I use fishing line (0.35–0.5 mm). It’s strong, smooth, and easy to find.
Assembly Tools:
Again, nothing exotic: a drill, pliers, screwdrivers, scissors, and sometimes rubber bands to help manage long strings during assembly.
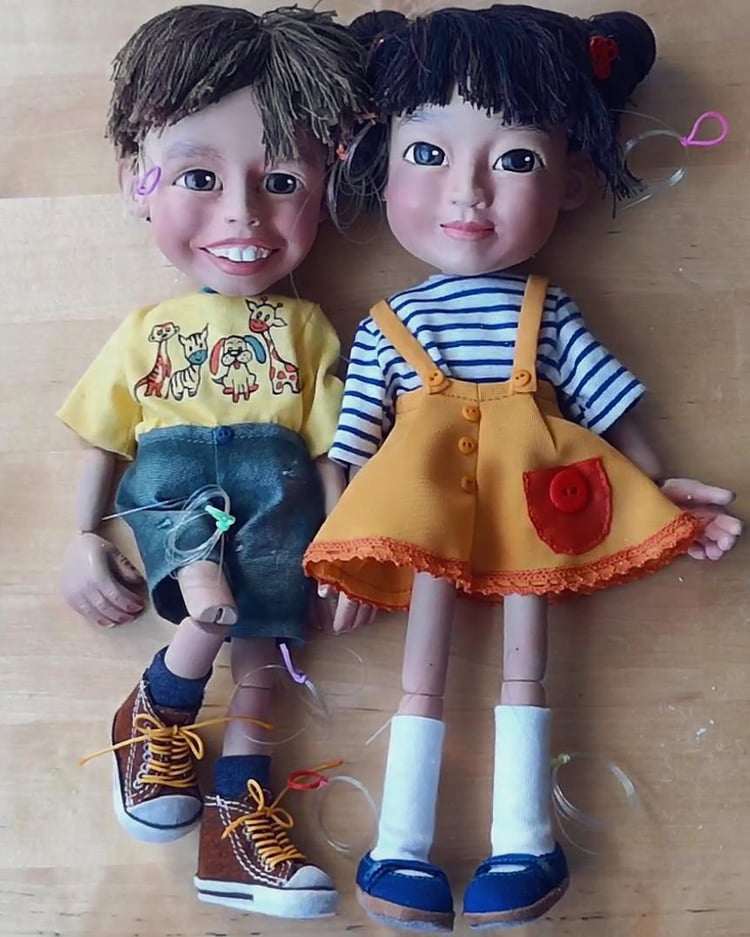
Customizing: Painting, Hair, Clothes
This is where a marionette comes to life and gains personality.
Painting
I use acrylic paints. With just the basic primary colors, plus black and white, you can mix almost anything. Flat brushes work for larger areas, and thin brushes for details like eyes or freckles. Sometimes I use an airbrush for shading, but that’s optional.
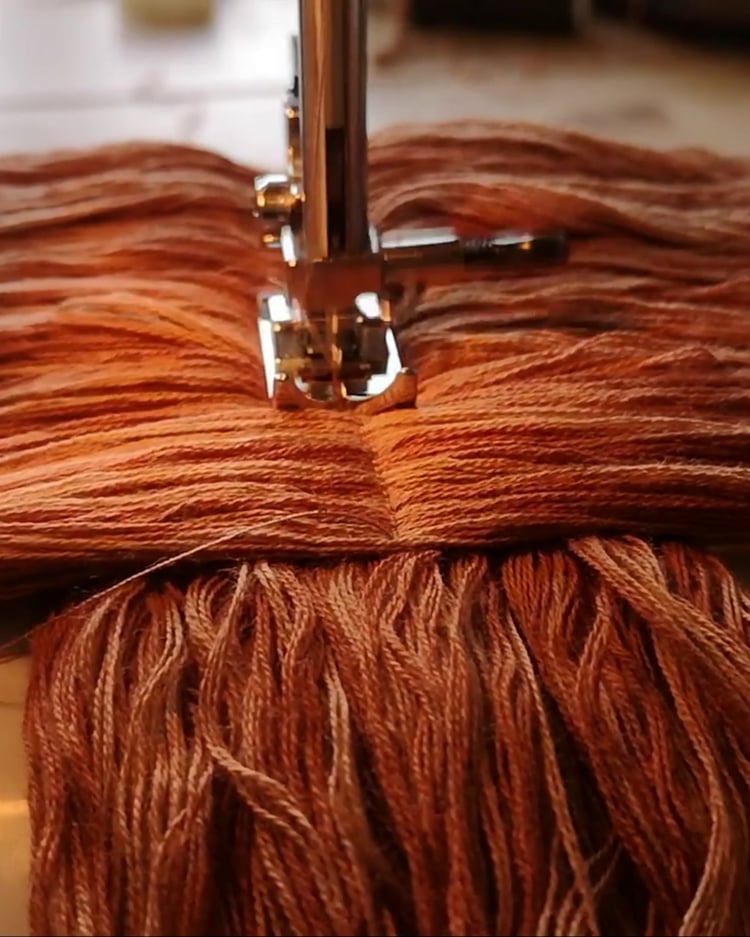
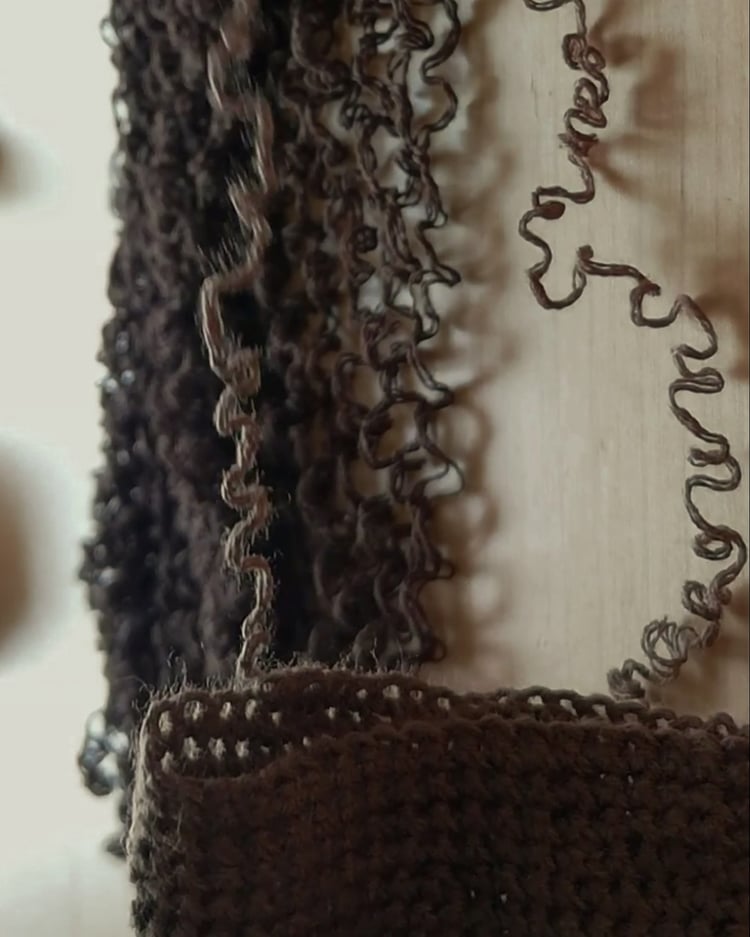
Hair
For wigs I use mending threads or darning yarn. Mixing several shades of the same color makes the result look more natural. For straight hair I simply wind the yarn around a book, and adjust the length. For curls I crochet the yarn first (the yarn has to be 100% cotton). Tools: scissors, comb, sewing machine, and optionally a crochet hook.
Clothes and Shoes
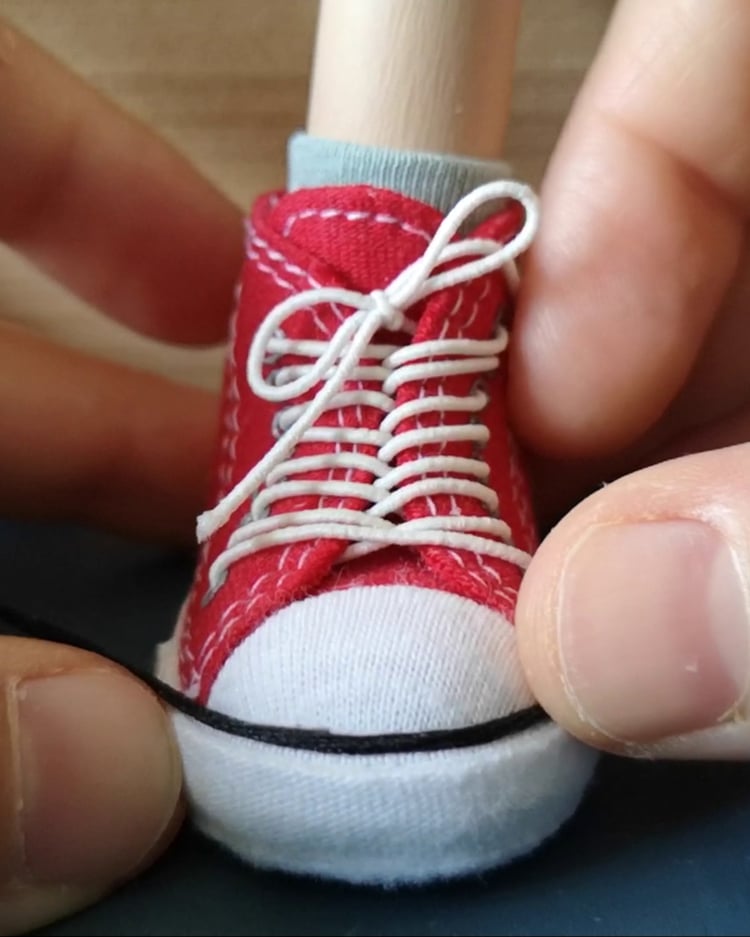
Clothing can be sewn by hand or with a machine. Thin, soft fabrics are best so they don’t restrict your puppet’s movements. Shoes are made by gluing fabric over simple sculpted shapes. The type of glue depends on the type of fabric I am using, e.g. water-based glue for cotton pieces, and contact glue for artificial leather. Tools: sewing machine, or just a needle and threads; scissors; and for shoes, a round needle with a big opening (for shoelaces) can be very handy.
Tips for Beginners
- Don’t rush. Let paper-mâché dry completely before adding new layers.
- Test your clay first before sculpting a head.
- Be careful with sharp tools.
- Keep it simple. You don’t need all the equipment at once - you can build your toolkit step by step :)
Final Thoughts
Making puppets is an adventure and a beautiful craft. You don’t need a workshop full of expensive tools - just creativity, patience, and some basic supplies.
If you’d like to dive deeper, my tutorials can guide you through the process step by step:
- My video course Making a Simple Marionette (2019) covers the basics and also includes painting, hair, and sewing lessons.
- My e-book Making a Marionette (2024) goes further into more sophisticated body construction (doesn’t cover painting, hair, or sewing) and includes additional video links.
All these instructions, as well as my tutorials, are intended for adult use only. I work with tools that can be dangerous, especially sharp ones – please handle them carefully.
Comments ()