

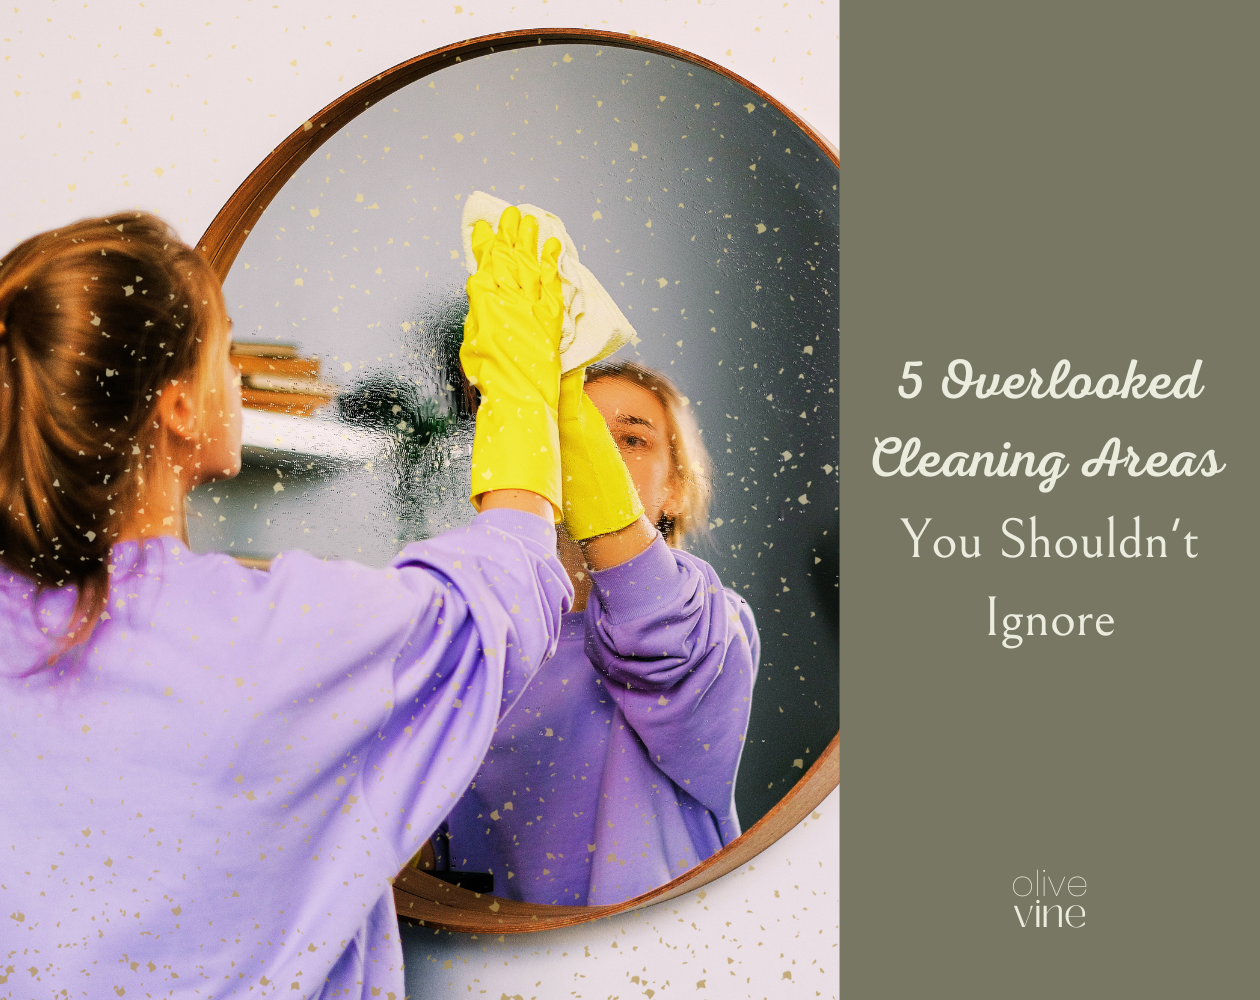
Let's face it: cleaning our homes is a necessary chore, but it's not always enjoyable. I bet that only a handful of people actually look forward to it.
Personally, I love having a clean home…But cleaning itself isn't exactly my idea of a good time. That's why I'm here to share valuable insights on five forgotten areas when cleaning your home. You might think these spaces don't matter, but they're notorious breeding grounds for dirt and bacteria.
Let's dive in!
Table of Contents
- The Ceiling & Walls
- The Windows
- The Staircase
- The Light Fixtures
- The Vents and Air Ducts
- Bonus Tips
1. The Ceiling & Walls
When did you last give your ceiling and walls a good cleaning? If you're like most people, the answer might be "never." We tend to focus our cleaning efforts on the floors, countertops, and other visible surfaces, neglecting the overhead areas.
Ceilings and walls are prone to accumulating dust, especially in those hard-to-reach corners and crevices. Cobwebs may appear in the corners, and if you have little ones or pets, you might even find some mysterious smudges or handprints on the walls. Incorporating ceiling and wall cleaning into your routine will banish these unsightly issues and give your home a fresh and inviting atmosphere.
Cleaning cobwebs and dust from ceilings and corners:
- Tools needed: A long-handled duster, a clean microfiber cloth, and a sturdy ladder.
- Frequency: Every 3-4 months or as needed.
- Directions: Dust the ceilings using a long-handled duster or an extendable microfiber wand. This will help remove any dust or cobwebs that have accumulated up high. A gentle wipe with a damp microfiber cloth or sponge should do the trick for the walls. Pay extra attention to areas near light switches and doorknobs, as they tend to attract more dirt and fingerprints.
- You can use a ladder if you don't have a long-handled duster. Just be aware of your safety and balance–we don't want to turn this into a trip to the hospital. Also, make sure to secure loose furniture or objects that might hinder your movement.
Washing and spot-cleaning walls:
- Tools needed: A bucket of warm water, mild detergent or wall cleaner, a soft sponge or cloth.
- Frequency: Once or twice a year or as needed.
- Directions: Dip the sponge or cloth in the soapy water, wring it out well, and gently scrub the walls in a circular motion, focusing on any visible stains or marks.
- Take care to keep the walls neat, especially if they are painted. Test a small inconspicuous area first to ensure no damage or color fading occurs.
Removing stains and scuff marks:
- Tools needed: Baking soda, water, a clean cloth, or a sponge.
- Frequency: As soon as you spot stains or scuff marks.
- Directions: Create a paste by mixing baking soda with a small amount of water. Apply the paste to the stain or scuff mark, gently scrub it in a circular motion, and then wipe clean with a damp cloth.
- Remember to rinse the area afterward to remove any residue and dry it thoroughly. Pay extra attention to areas near light switches and doorknobs, as they tend to attract more dirt and fingerprints.
2. The Windows
Can I just say–dirty windows are a buzzkill for your home's curb appeal? Nothing ruins the view and natural light quite like smudged glass and dusty blinds.
Not only do sparkling windows make your home look oh-so-inviting, but they also allow that glorious sunshine to pour in. Cleaning windows may not be the most glamorous task, but it's essential to keeping your home bright and inviting.
Cleaning window sills and tracks:
- Tools needed: A vacuum cleaner with a brush attachment, a soft cloth or sponge, a small brush or toothbrush, and a gentle cleaning solution.
- Frequency: Every few months or as needed.
- Directions: Start by vacuuming the window tracks to remove loose debris. Then, dip your cloth or sponge in the cleaning solution and wipe away any dirt or buildup. For those hard-to-reach corners, use a small brush or toothbrush to scrub away stubborn grime. Once clean, wipe them dry with a microfiber cloth for a polished finish.
Washing window screens and blinds:
- Tools needed: A soft brush or microfiber cloth, a bucket of warm soapy water, a hose or spray bottle, and a dry cloth or towel.
- Frequency: Once or twice a year or as needed.
- Directions: Gently brush or wipe down your window screens and blinds to remove dust and dirt. Then, dunk them in the bucket of soapy water, scrubbing gently with your hands or a cloth. Rinse them off with a hose or spray bottle and let them air dry before reattaching. Remove the screens and rinse them with water, using a soft brush to gently scrub away dirt. For blinds, close them and use a microfiber duster or a vacuum with a brush attachment to remove dust. Wipe them down with a damp cloth or use a mild soap solution if they need a deeper cleaning.
Ensuring streak-free and sparkling windows:
- Tools needed: A squeegee, a bucket of warm water with a small amount of dish soap, a microfiber cloth or lint-free towel, and a dry cloth or newspaper.
- Frequency: Every few months or as needed.
- Directions: Wet the windows with soapy water using a sponge or cloth, then use the squeegee to remove the moisture and prevent streaks. Wipe the edges with a microfiber cloth or towel. Work in a systematic pattern to ensure you cover the entire surface.
- Give the glass one final wipe with a crumpled newspaper for extra sparkle—it works wonders!
3. The Staircase
Have you ever run your hand along the stair railing only to recoil in horror at the dust and grime? I've been there! We tend to focus on cleaning the obvious areas, but those stair railings, corners, and edges? They deserve some serious TLC too.
Aside from being an eyesore, a dusty staircase can harbor allergens and impact indoor air quality. A clean and tidy staircase will bring a smile to your face and ensure that you're stepping up to a healthier home.
Dusting neglected railings and banisters:
- Tools needed: A microfiber cloth or duster and possibly a mild cleaning solution.
- Frequency: Every few weeks or as needed.
- Directions: Dust accumulates on railings and banisters, especially in those hard-to-reach spots. Grab a microfiber cloth or a duster and give them a thorough dusting. Remember the spindles! Those little crevices can be quite the dust magnets. Get rid of that dirt and enjoy clean, germ-free handrails.
Cleaning staircase corners and edges:
- Tools needed: A small brush or toothbrush, a handheld vacuum or a broom, and a dustpan.
- Frequency: Every few weeks or as needed.
- Directions: Take a moment to get down on your hands and knees and give those corners a good vacuuming or a thorough dusting. Use a crevice tool attachment on your vacuum to reach tight spots. Trust me, your staircase will thank you!
Vacuuming or mopping the stairs:
- Tools needed: A vacuum cleaner with a brush attachment or a mop and a mild cleaning solution if using a mop.
- Frequency: Every 1-2 weeks or as needed.
- Directions: Regular vacuuming or mopping is essential whether you have carpeted or hard-surface stairs. If you have carpeted stairs, use your vacuum with a brush attachment to remove dirt and debris. A microfiber mop or a damp cloth can do the trick for hard-surface stairs. Pay extra attention to the edges and corners to ensure a thorough cleaning.
4. The Light Fixtures
Picture this: dusty, greasy light fixtures casting a dim glow in your beautifully decorated room. Not a pretty sight, right? Dirty light fixtures not only look unsightly, but they can also cause problems like reduced light output and even unpleasant odors.
Dusting and cleaning ceiling light fixtures:
- Tools needed: A microfiber cloth or duster and possibly a gentle cleaning solution.
- Frequency: Every few months or as needed.
- Directions: The intricate design of ceiling light fixtures makes cleaning them challenging. Start by turning off the lights and allowing the bulbs to cool down. Then, use a microfiber duster or a soft cloth to gently remove the accumulated dust from the fixtures. You can dampen the cloth slightly with water or a gentle cleaning solution if needed. Take extra care with delicate fixtures, and thoroughly dry them.
Cleaning lampshades and table/floor lamps:
- Tools needed: A soft brush or lint roller, a microfiber cloth, and possibly a mild cleaning solution.
- Frequency: Every few weeks or as needed.
- Directions: Lampshades and table/floor lamps are neither immune to dust nor grime. Begin by removing any lampshades and give them a gentle dusting using a soft brush or a microfiber cloth. If your lampshade is fabric, use a lint roller to remove stubborn lint and pet hair. Wipe them down for table and floor lamps with a damp cloth or a disinfecting wipe. Remember to unplug them before cleaning and avoid getting water on any electrical components.
Replacing burnt-out bulbs:
- Tools needed: Your trusty step stool or ladder and replacement bulbs.
- Frequency: As soon as a bulb burns out.
- Directions: While not exactly a cleaning task, replacing burnt-out bulbs is an important maintenance step. Take a moment to review your home and check for any bulbs needing replacement. Consider switching to energy-efficient LED bulbs for longer-lasting illumination. Trust me, a well-lit space looks cleaner and creates a more inviting atmosphere.
5. The Vents and Air Ducts
These can get seriously nasty if left unattended. From compromised indoor air quality due to a buildup of dust and allergens (and who knows what else circulating through your home) to reduced HVAC system efficiency, dirty vents, and air ducts can create a host of problems. By ensuring they're part of our regular cleaning routine, we can improve the air we breathe and provide a fresher and healthier living environment.
Removing dust and debris from air vents:
- Tools needed: A screwdriver, a vacuum cleaner with a brush attachment, a microfiber cloth or duster, and possibly a gentle cleaning solution.
- Frequency: Every few months or as needed.
- Directions: Air vents are notorious for trapping dust and becoming a breeding ground for allergens. Start by turning off your HVAC system to avoid blowing dust around. Grab a vacuum cleaner with a brush attachment or a duster, and carefully remove the dust from the vents. If the grates are removable, take them off and wash them with warm soapy water. Allow them to dry completely before reinstalling.
Vacuuming and cleaning air ducts:
- Tools needed: A vacuum cleaner with a long hose attachment, a soft brush or duster, or possibly a professional air duct cleaning service.
- Frequency: Every 3-5 years or as recommended.
- Directions: While cleaning air ducts may require professional assistance, you can still maintain their cleanliness by vacuuming the accessible areas. Using a vacuum cleaner with a long hose and a brush attachment, gently remove dust and debris from the openings of the air ducts. Remember, it's best to consult a professional HVAC technician if you suspect mold, excessive dust buildup, or any other issues with your air ducts.
Improving indoor air quality:
- Tools needed: Regular maintenance and cleaning routines, proper ventilation, and possibly air purifiers or filters.
- Frequency: Ongoing, as part of your regular home maintenance.
- Directions: Clean vents and air ducts contribute to better indoor air quality, essential for our health and well-being. Additionally, you can further enhance the air quality in your home by regularly changing your HVAC filters, using air purifiers, and ensuring proper ventilation. Opening windows for fresh air circulation can also make a significant difference.
6. Bonus Cleaning Tips!
It's easy to forget those hidden nooks and crannies when cleaning our homes, but they play a significant role in maintaining a truly clean and healthy environment. We're taking proactive steps toward a cleaner and more enjoyable living space by addressing these often-forgotten areas.
Consistency is critical when it comes to keeping your home in pristine condition. Incorporate these overlooked areas into your regular cleaning routine to prevent dirt, dust, and bacteria from accumulating over time. By staying on top of these tasks, you'll avoid the overwhelming feeling of having to tackle a massive cleaning project all at once.
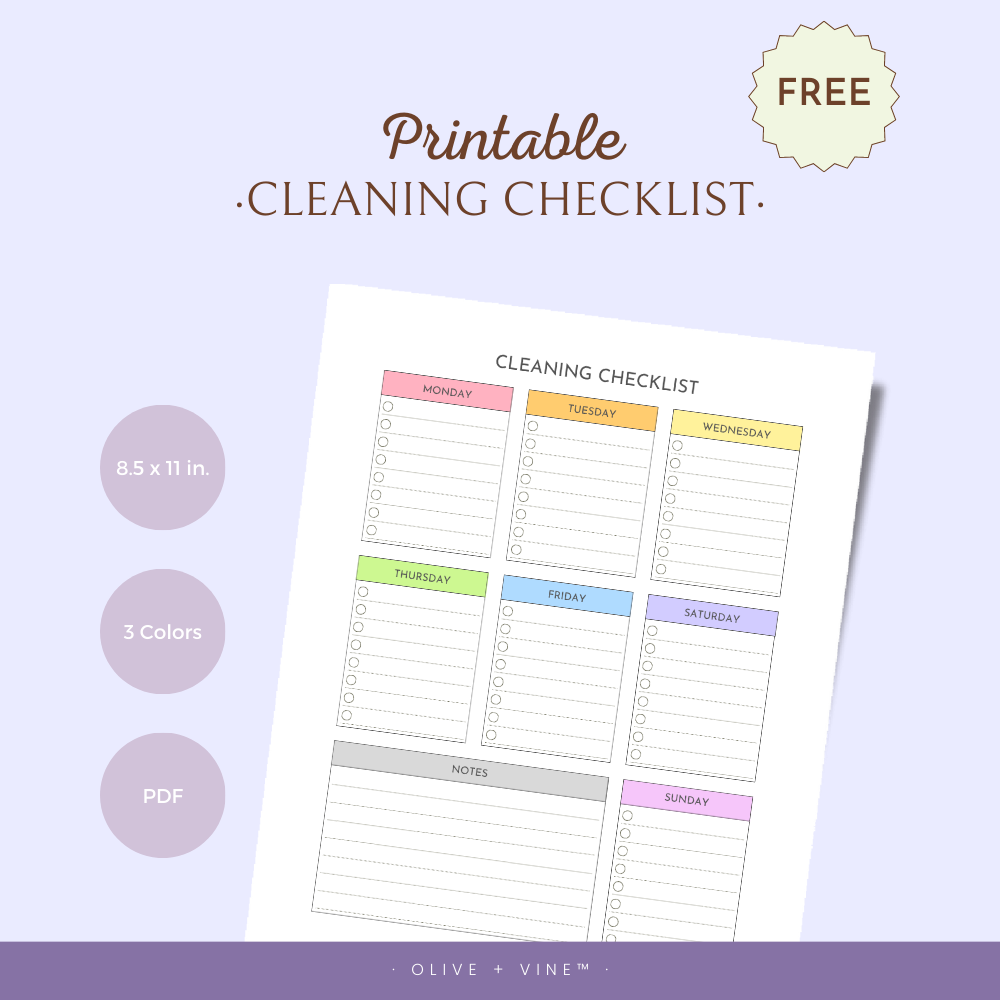
Here are a few additional tips to help you keep these spaces clean:
- Set reminders: Add reminders to your calendar or set alarms to ensure you don't forget these areas during your cleaning sessions.
- Share the workload: If you live with family members or roommates, assign specific cleaning tasks to each person to lighten the load and ensure all areas are covered.
- Make it enjoyable: Put on your favorite music, podcast, or audiobook while cleaning to make the process more enjoyable and rewarding.
So, what do you think? Were these tasks already on your to-do list, or did any of them catch you off guard? Let us know your thoughts and suggestions in the comments!


Comments ()