
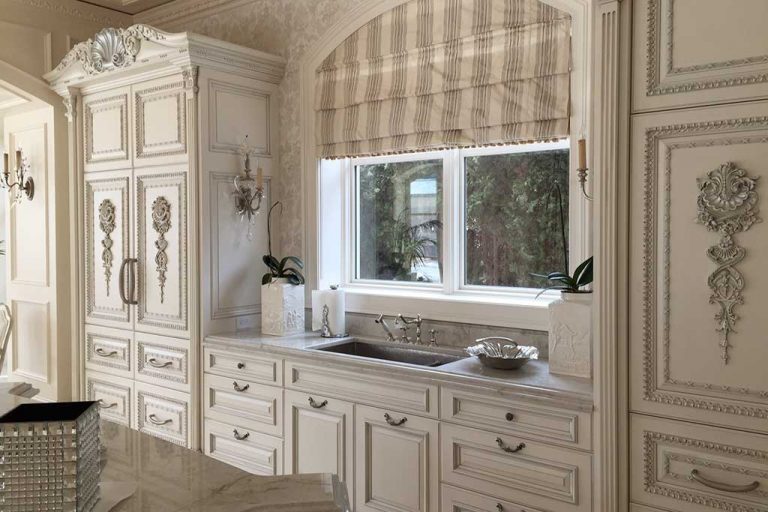
Adding Cabinet Crown Molding is one of the easiest ways to give your kitchen a polished, custom-built appearance. Crown molding bridges the gap between your cabinets and ceiling, creating a seamless and elegant finish. Whether you're upgrading an older kitchen or enhancing newly installed cabinetry, this beginner-friendly guide will help you complete the project with confidence.
Why Install Cabinet Crown Molding?
Cabinet crown molding enhances the overall aesthetic of your kitchen by adding architectural detail and sophistication. It can make stock cabinets look more expensive and create a cohesive, finished appearance throughout the room.
Tools and Materials You'll Need
Before starting, gather the following:
- Cabinet crown molding
- Measuring tape
- Miter saw
- Nail gun or finishing nails
- Wood glue
- Sandpaper
- Caulk
- Paint or stain
- Safety glasses
Step 1: Measure Your Cabinets
Carefully measure the top edges of all cabinets where the molding will be installed. Record each measurement and double-check for accuracy. Precise measurements will reduce waste and ensure a professional fit.
Step 2: Cut the Molding
Using a miter saw, cut the molding pieces to match your cabinet dimensions. For corners, make 45-degree miter cuts so the pieces join neatly. Take your time with this step, as accurate cuts are essential for a seamless appearance.
Step 3: Test Fit the Pieces
Before securing anything, place the cut molding pieces on top of the cabinets. Check that all corners align properly and make any necessary adjustments. Small corrections now can save significant time later.
Step 4: Attach the Crown Molding
Apply a thin layer of wood glue to the back of each molding piece. Secure it to the cabinet using a nail gun or finishing nails. Work carefully along the length of the cabinet to ensure the molding remains level and aligned.
Step 5: Fill Gaps and Sand
Use caulk or wood filler to fill any visible gaps, nail holes, or joints. Once dry, lightly sand the surface to create a smooth finish. This step helps achieve a professional-quality appearance.
Step 6: Paint or Stain
Apply paint or stain that matches your cabinetry. Allow adequate drying time between coats. The finished molding should blend naturally with the cabinets and elevate the overall look of your kitchen.
Common Mistakes to Avoid
- Incorrect measurements
- Rushing corner cuts
- Skipping the test fit
- Using too many nails
- Neglecting gap filling and finishing work
By avoiding these mistakes, you'll achieve a cleaner and more refined installation.
Conclusion
Installing Cabinet Crown Molding is a rewarding DIY project that can dramatically improve your kitchen's appearance. With the right tools, careful measurements, and patience, even beginners can achieve impressive results.
If you're searching for custom cabinets near me or looking to create a truly custom kitchen design, professional craftsmanship can make all the difference. Phoenix Kitchenworks specializes in high-quality cabinetry solutions that combine beauty, functionality, and expert installation to help homeowners bring their dream kitchens to life.
FAQs
1. Can I install cabinet crown molding without professional experience?
Yes. With basic tools, careful measurements, and patience, most beginners can successfully install cabinet crown molding.
2. What type of crown molding works best for kitchen cabinets?
The best choice depends on your cabinet style and ceiling height. Traditional, modern, and transitional molding profiles are all popular options.
3. When should I hire a professional instead of doing it myself?
If your kitchen has uneven ceilings, complex corner layouts, or custom cabinetry requirements, professional installation may provide better results.