

Google Docs has limitations when it comes to handling images, and its layout features can be cumbersome unless you resort to unconventional table setups.
Google Slides offers a much better solution as it can:
- be customized to any size
- text and images can be added and moved around the page
Unfortunately, teachers made their worksheet, downloaded it as an image, and then re-uploaded it as a background to prevent students from altering the layout. One slight typo or need for modification meant that the whole process needed to be repeated or have the entire sheet created anew.
Introducing my favourite way of making a digital worksheet...Google Slides' themes. A bonus feature in theme is its ability to easily allow students to add text and images through placeholders.
Let's get to work:
The Setup
- Enter in the URL "slides.new". This will create a blank slideshow to work within. Please remember to either move it into a folder or delete it once we are done. Keep that Google Drive clean!
- "x" out the themes on the side.
- Delete out all the text boxes.
- For this example, we'll change the size of the page to a landscape letter page.
- Go to "File - Page setup"
- Click on the drop down and select "Custom".
- Enter in "11 x 8.5" and make sure it is in inches.
- Click "Apply".
I find working within the Theme Slide setup a little awkward so we are going to create some of the layout in a regular slide and then copy it into the theme.
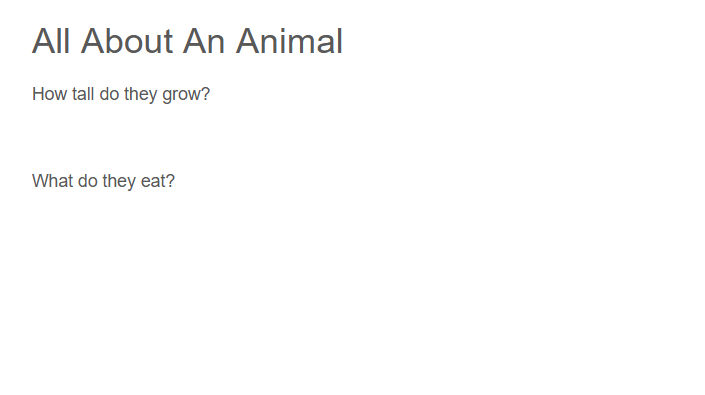
- Add in a text box and write in "All About An Animal".
- One accessibility item Google has created is a font called "Lexend". It is designed to be clean and clear especially for students with visual processing challenges.
- Click on the font selection box and choose "More fonts".
- In the search box, type in "lexend".
- Click on "Lexend" on the list so it has a blue checkmark. Ignore all the other Lexends.
- Click on "Ok".
- Change the font size to 36 and font type to Lexend to make the text a title.
- Enter in "How tall do they grow?" and "What do they eat?" and set their font size to 15 and font type to Lexend then leave a space between them for the student answers.
- Select and copy all of the information. <ctrl> or <cmd> <a> and then <ctrl> or <cmd> <x>
Example of my layout:
Accessing the Theme Slides
- Now for the magic, click on "Slide - Edit theme".
Scroll around and you'll notice that this is where all the layouts that are available from the "Layout" button on the main icon menu are stored.
Creating a Themed Slide
- Click on the "+" icon beside the magnifying glass in the icon menu.
- Beside "Editing: Simple Light - Custom Layout" click on the "Rename" button.
- Enter in "Animals" and click "OK".
- Delete out all the textboxes.
Creating the Actual Digital Worksheet
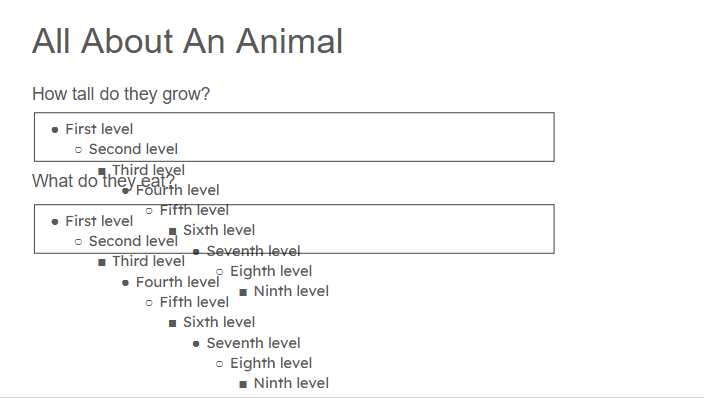
- The text information was copied into memory in a step above, <ctrl> or <cmd> <v> will copy all the information into the theme slide.
- Since we are in themes, go to "Insert - Placeholder - Body text placeholder".
- Draw a box under the "What do they eat?" question.
- Click on the pencil on the icon menu and choose a colour for the text box.
- Select all the text, <ctrl> or <cmd> <a> and then choose a font and colour...this is a good time to use Lexend and to set the font size to 15.
- Click on the "double line" icon beside the textbox.
- Choose "Shrink text on overflow". This keeps the box the same size and reduces the font size which is really important for worksheets otherwise a long answer will take over other boxes and it becomes a hot mess.
- Once the box is setup, make sure it is selected and press <ctrl> or <cmd> <d> to make a duplicate.
- Move the new box under the "How tall do they grow?". Check out the note below for tricks.
Example of my layout:
Note:
- I always add the text boxes starting at the bottom of the page as the sample text cannot be deleted and covers the item below it.
- I also find using duplicate easier as it is always two arrow keys down and two arrow keys to the right of the original. Moving the duplicated image to the left by two arrow key presses and it lines up to the right of the original.

Adding in Image Placeholders
- Click on "Insert - Placeholder - Image placeholder - Oval".
- Click and drag a circle for the animal picture. Hold down the <ctrl> or <cmd> key to keep it a perfect circle.
- Click on the pencil on the icon menu and select a colour. Click on the lines beside the pencil icon to select the thickness and/or style of the line.
- Repeat steps 1-3 but pick "Rectangle" or "Rounded rectangle" and place it near the circle for the map where the animal lives.
- Add in a "Where are they found" heading.
- Feel free to add in anything else, like a background or some images.
Note:
- It may become necessary to shorten the text boxes to fit in the image placeholders.
- Do not place anything you want the students to drag and drop, links or videos in a theme slide. The students will not be able to interact with them. Place these items on the actual slide.
Okay, after all this work...click on the "x" at the top right and notice...that absolutely nothing is there!
No need to panic just yet, click on "Layout" on the icon menu and notice your new slide layout is there. Click on your custom layout to insert it into the current slide.
Type something in one of the text boxes and click on one of the image placeholders and insert an image. Not happy with the image placement? Double click on it and you can move the base image so it fits in the frame.
Now, delete everything else you can! Okay, head back to the "Layout" and pick the custom layout again. It puts back all the items that where deleted and leaves the items with information alone!
Need to fix something, like adding in a text box for the animal's name, just click on "Slide - Edit theme" and find the custom layout and fix away. When you exit, you may have to pick the theme from the layout to see the changes.
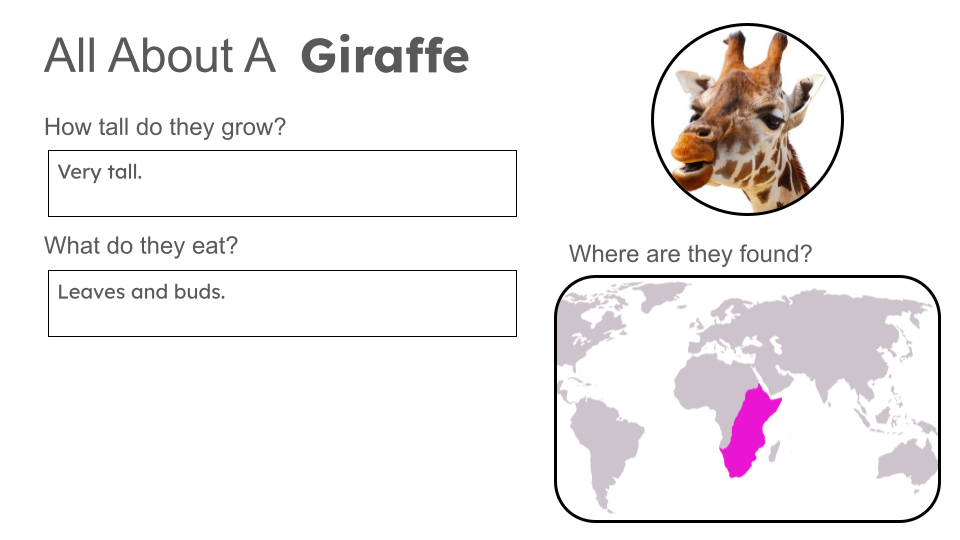
Here is my final version...it's a bit of a tall order.
Happy digital handout creation!
Comments ()