
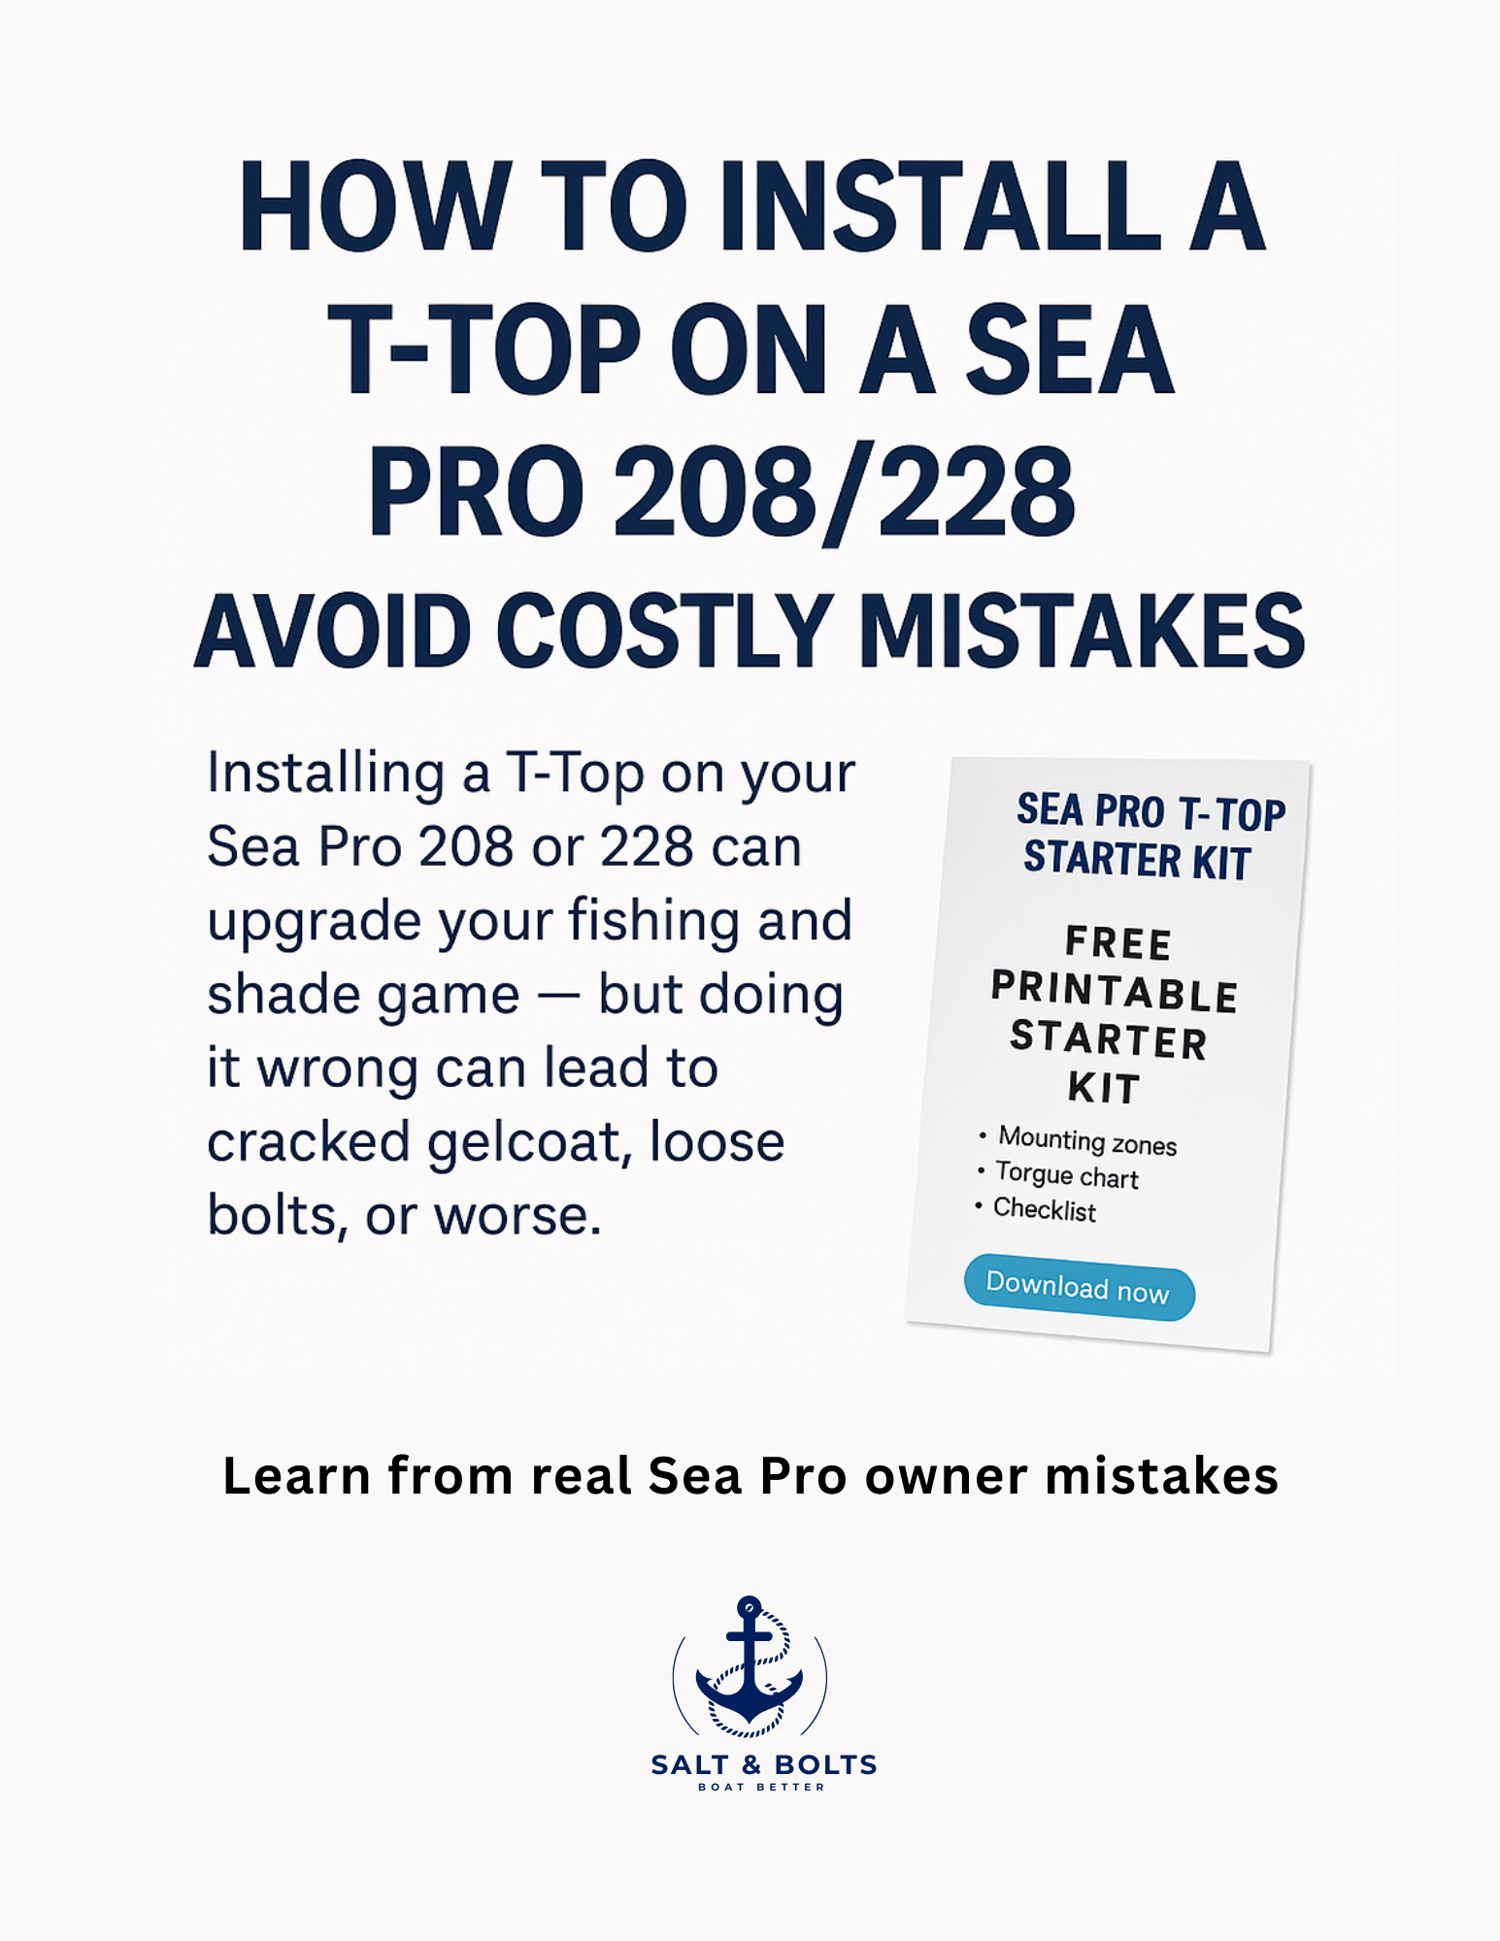
Installing a T-Top on your Sea Pro 208 or 228 can upgrade your fishing and shade game — but doing it wrong can lead to cracked gelcoat, loose bolts, or worse.
In this guide, we’ll walk you through the most common T-Top install mistakes, what to avoid, and where to start — with a free printable Starter Kit designed for Sea Pro owners.
🧱 Why Most DIY Installs Go Wrong
Many Sea Pro owners turn to forums like The Hull Truth or Reddit with questions like:
“Will lag bolts really hold?”
“What if the deck cracks?”
“How tight should I torque the bolts?”
The truth? Most first-timers either over-tighten and damage the gelcoat, or under-tighten and end up with a shaky T-Top that shifts on choppy water.
That’s why Salt & Bolt created a smarter starting point:
a free 6-page printable Starter Kit specifically for Sea Pro 208/228 models.
🎁 What’s Inside the Free Starter Kit
- Mounting zone sketch showing safe drill areas
- Pre-drill safety checklist
- Printable torque chart (including 1/4” and 5/16” SS bolts)
- “What to do if...” troubleshooting page
- Torque explanation and installer tips
- Clean, pro-style layout (8.5x11" format)
💡 Quick Tips from the Kit
- Use painter’s tape before marking or drilling
- Torque 5/16" bolts to 10–12 lb-ft
- Always retorque bolts 24 hours after install
- Never drill without checking for wiring or access panels beneath
- Do NOT block bilge or battery service zones
🔓 What the Full Guide Includes (If You’re Ready to Go All-In)
Once you’ve reviewed the starter kit, the full Salt & Bolt T-Top Install Guide gives you:
- Step-by-step install visuals
- Printable bracket templates
- Marine-grade sealant tips
- Wiring advice for lighting or antennas
- Updates included — install smarter, not harder
📥 The full guide link is inside the free PDF, right where you need it.
🎣 Ready to Drill with Confidence?
Don’t guess your way through it.
Start smart with the free Starter Kit — and when you’re ready, download the complete guide.
Salt & Bolt™ — Boat Better.
Let me know if you want a shorter version for an email, landing page, or social post. You're all set to copy-paste this into your blog platform or website backend.