
Today I'd like to show how to use our stickers sets in Cricut Design Space. This tutorial will include images from the Android version of Design Space but the steps are the same for desktop.
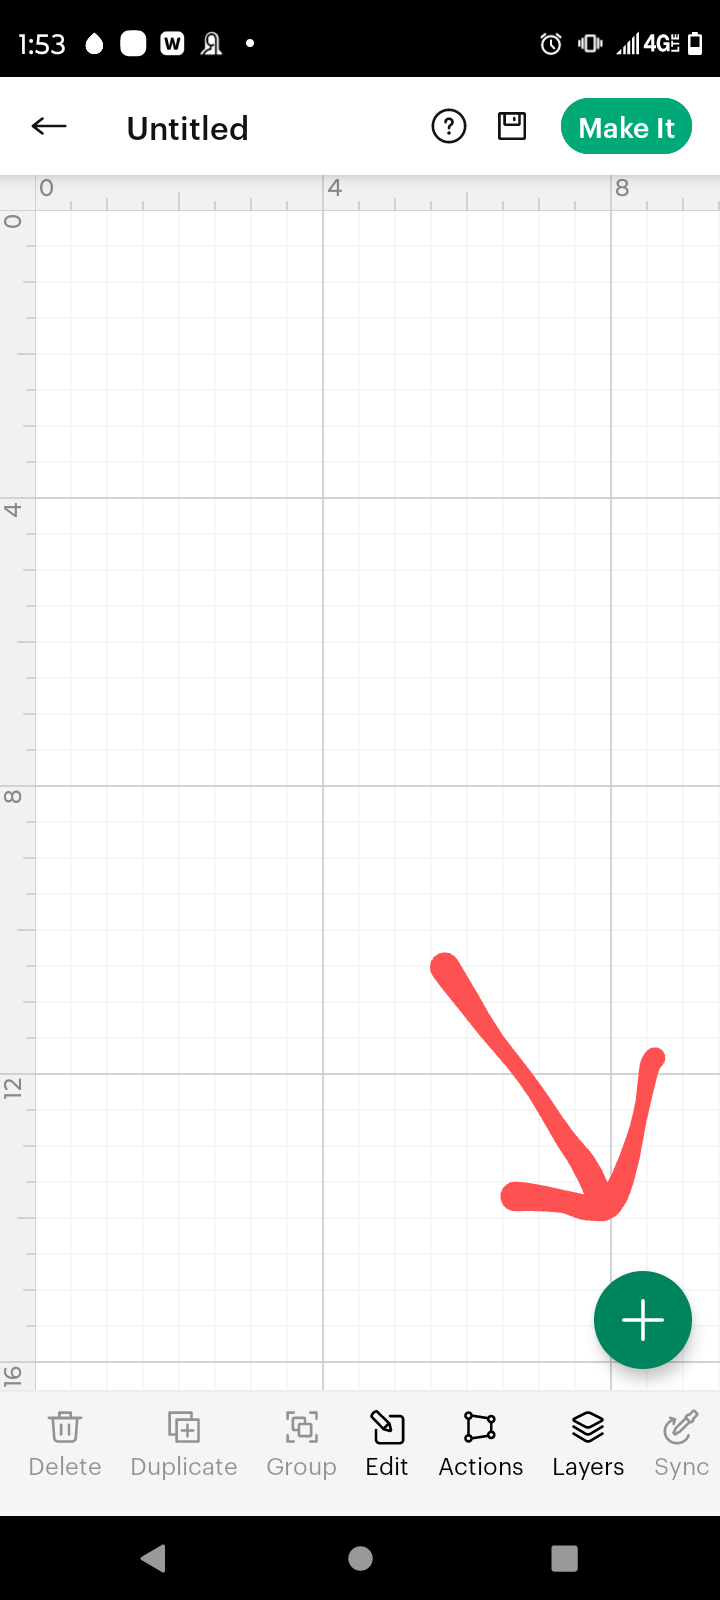
First, launch the Design Space app and click the add button on the bottom of the screen.
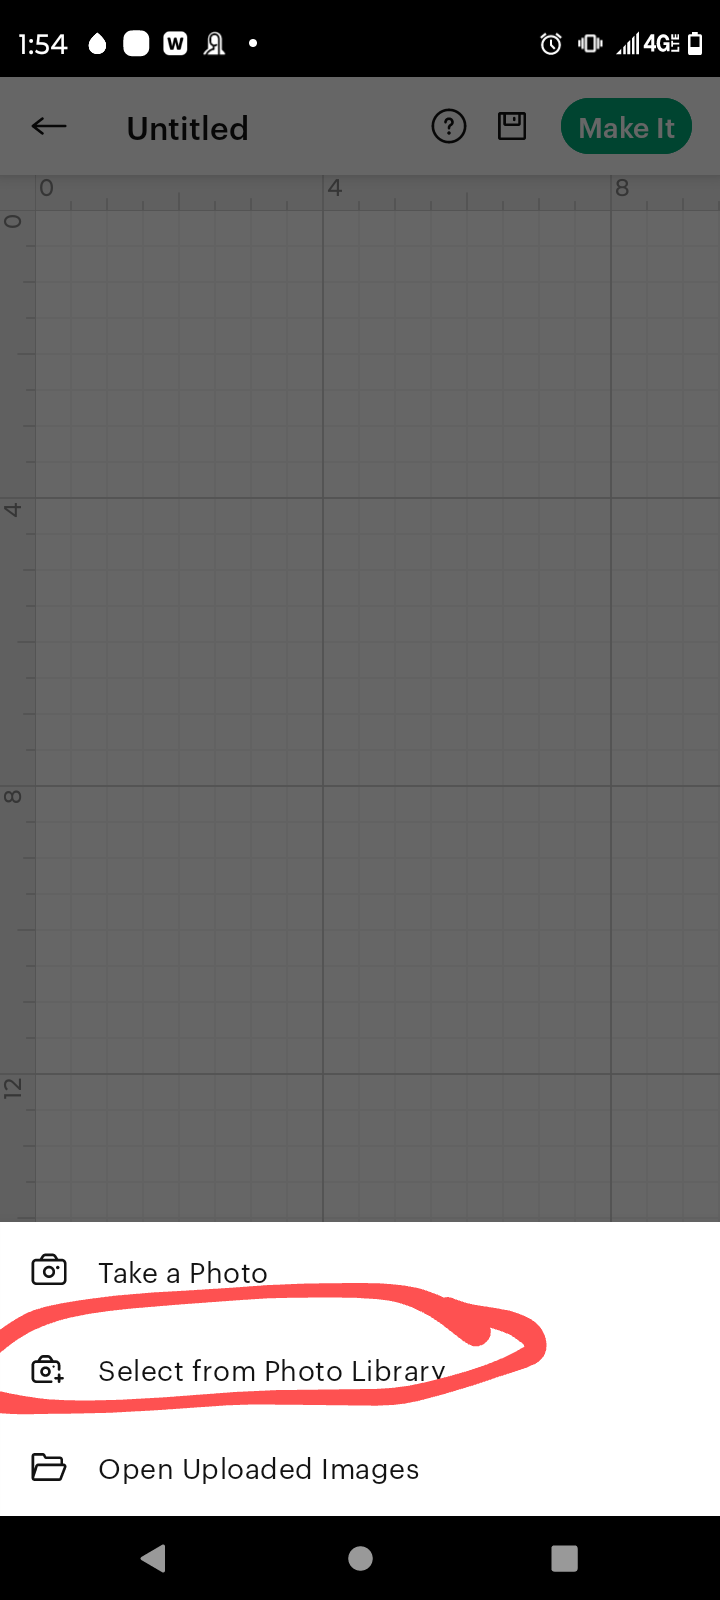
Select "Upload from photo library" and navigate to the location of the pngs you downloaded. Select your first png.
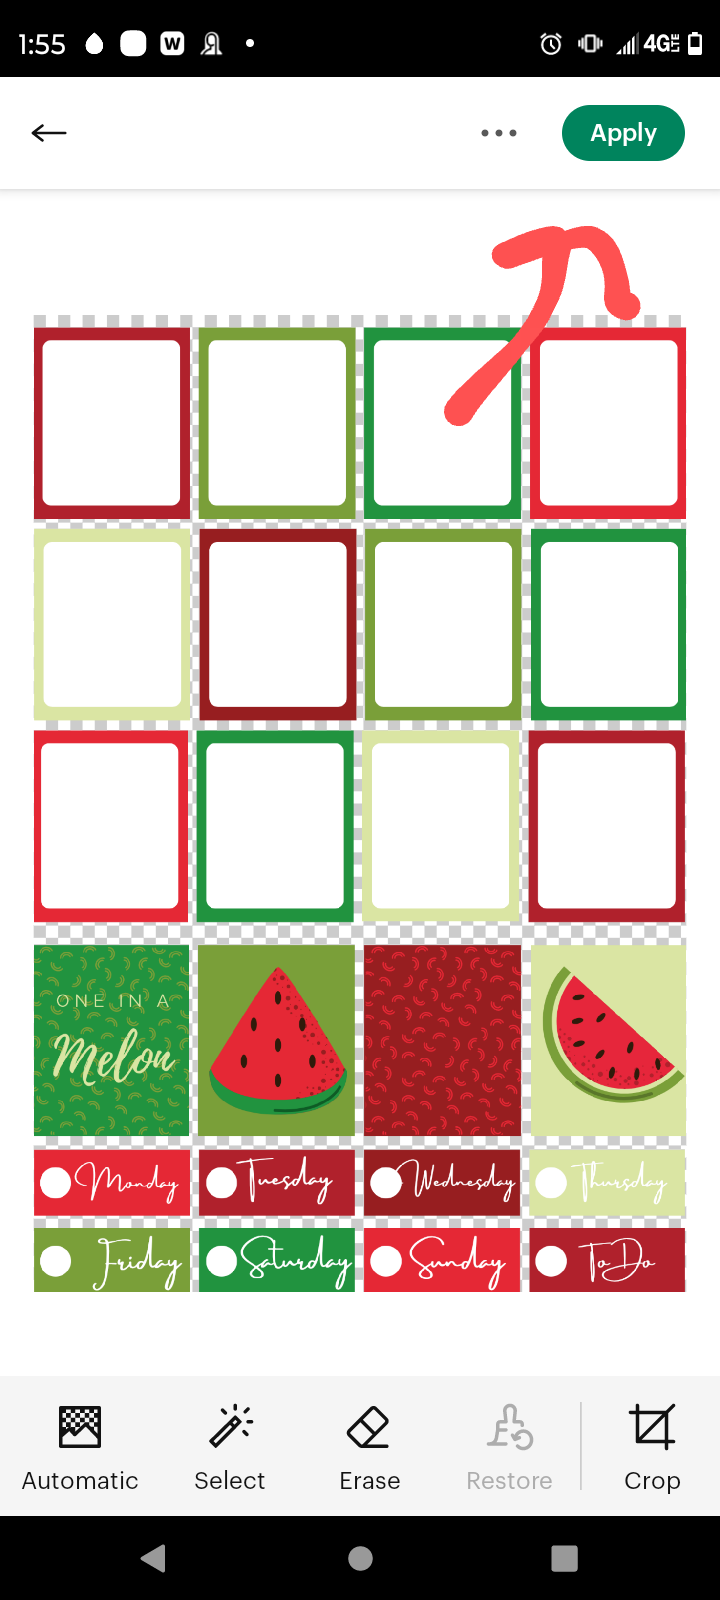
When the png loads, you can immediately click "apply" as the background is already transparent.
Name the file as you wish.
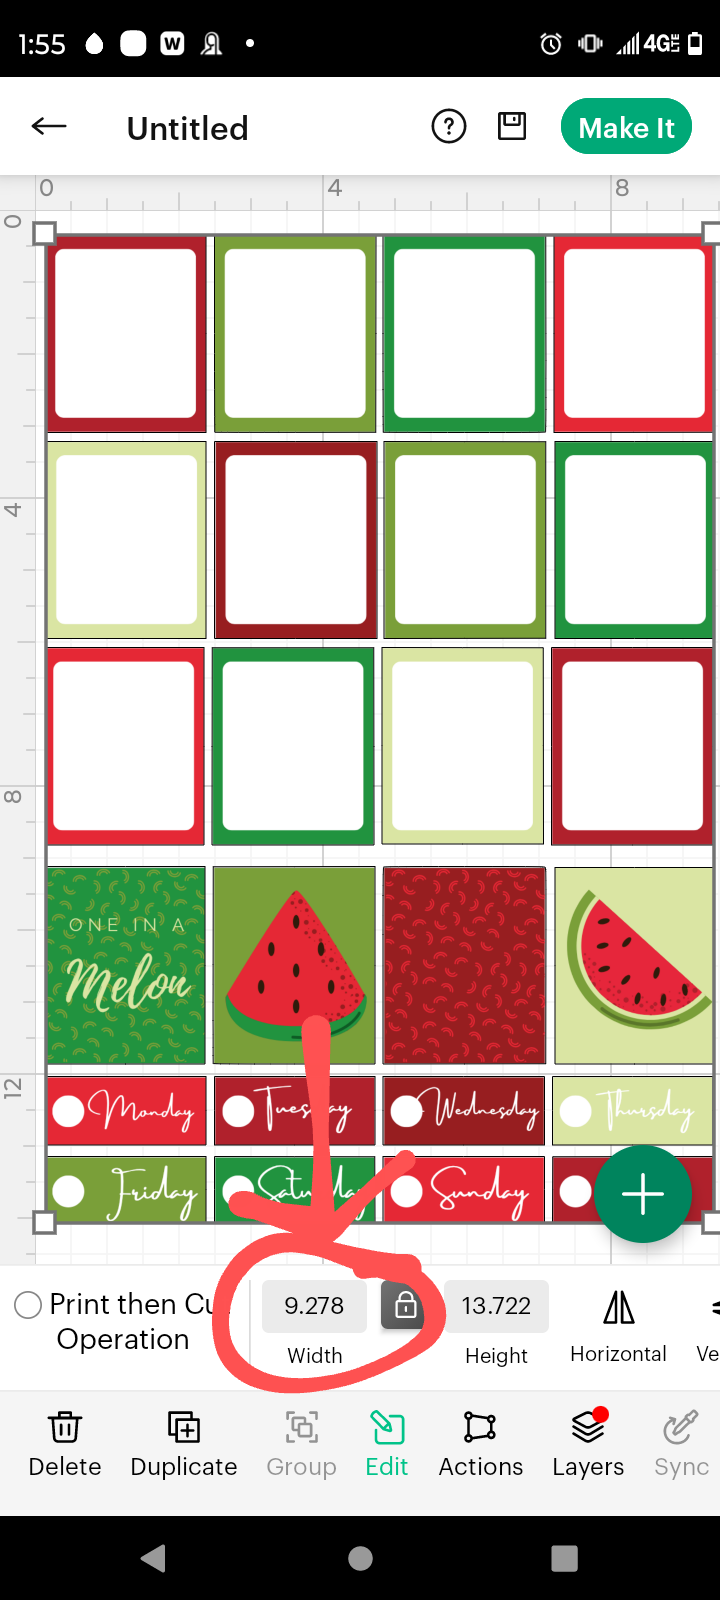
Once the image has loaded on the canvas, select it and find the dimensions at the bottom of the screen. Adjust the height to 6 inches for Hobonichi Cousin or Weeks files. For Happy Planner files set the height to 9.25 inches.
Repeat with the rest of the pngs included in your set.
For Sets with Separate Pages per Kit:
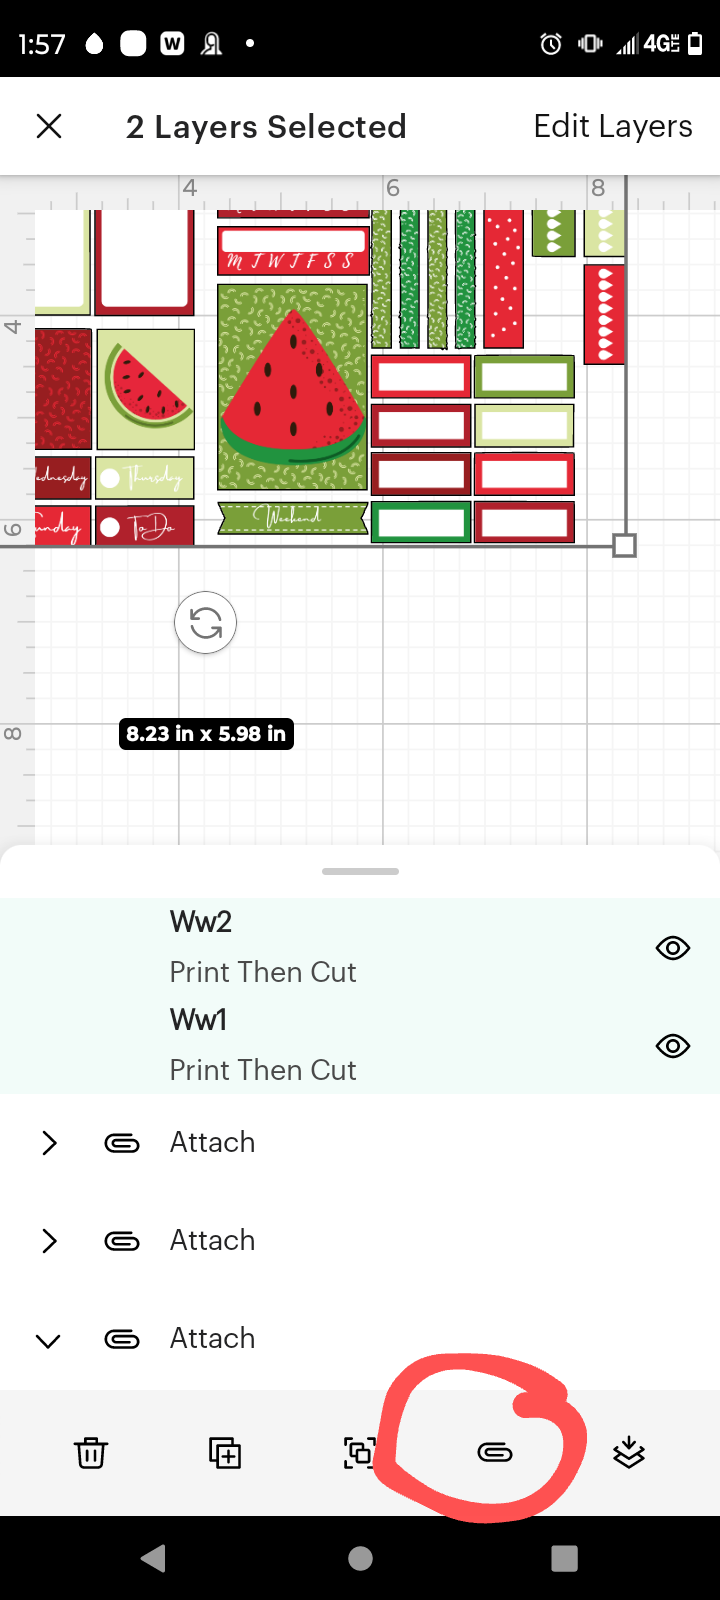
Once all the images are loaded and resized, place them in sets of two, side by side. Select each pair and navigate to "layers" in the tool tray at the bottom of the screen. Select the "Attach" button, which is an icon of a paperclip. Feel free to duplicate any images you would like. I often duplicate the full boxes and weekly pages in a monthly kit.
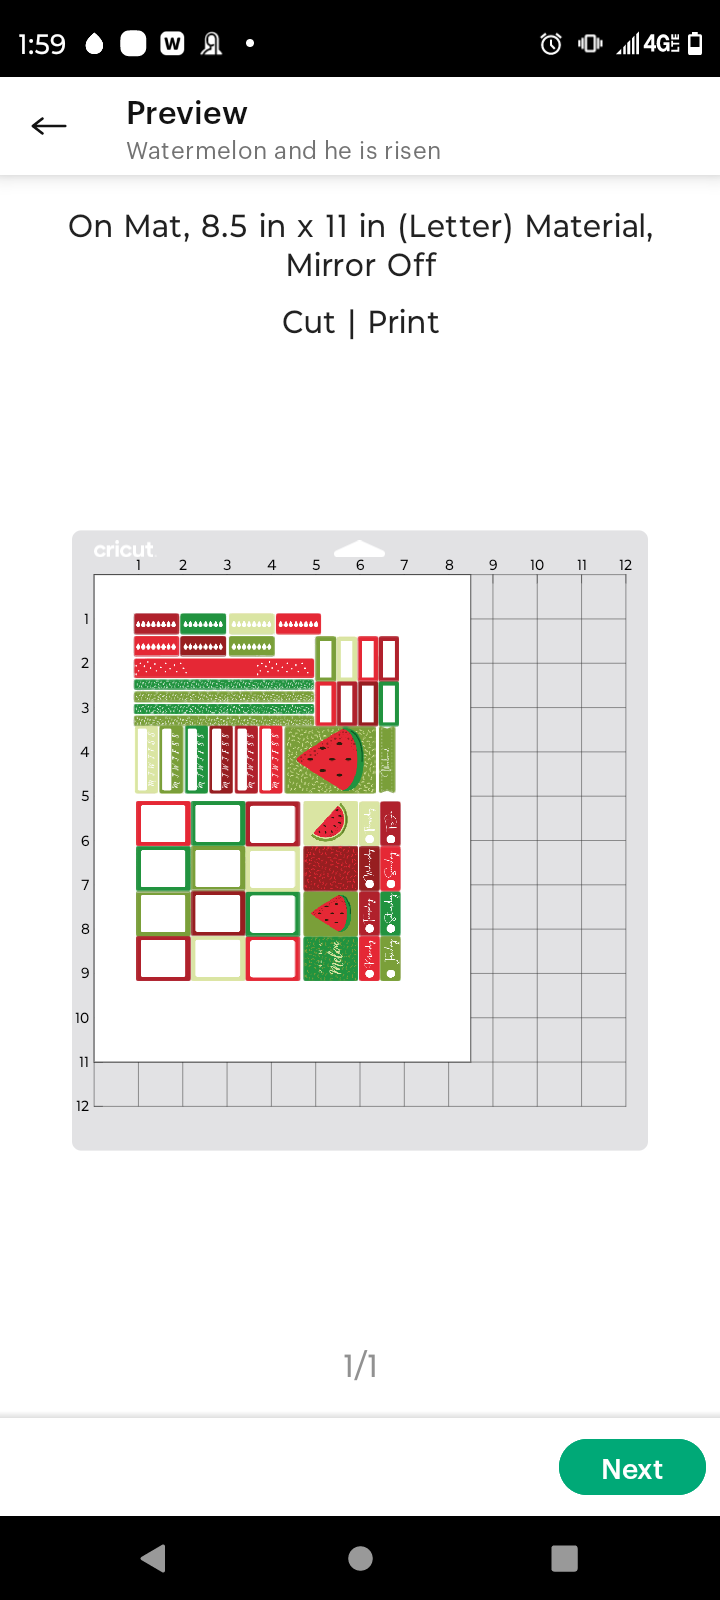
Once all the pngs are attached, select "make it" at the top left of the screen and follow the rest of the directions according to your machine and paper preferences.
For Kits that contain two smaller pages per png:
For our newer kits, there will be two smaller pages per png in the Hobonichi kits. In this case, after resizing immediately select "Make it". No attaching necessary!
I use full sheet label paper and use the "Post-it note" built in custom pressure setting to create kiss-cut stickers, but feel free to adjust as necessary!
I hope this helps make using these files a breeze in Cricut Design Space!