

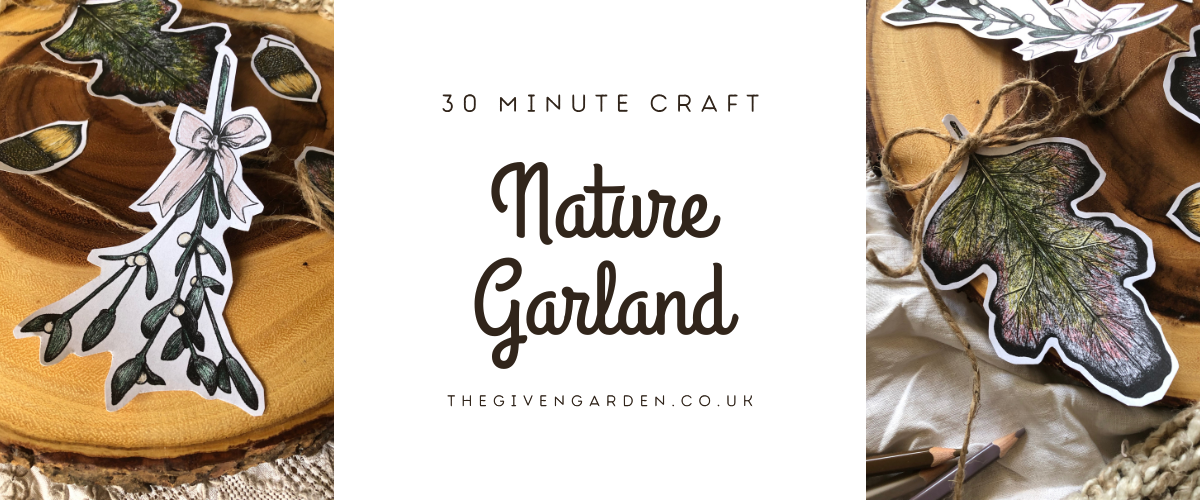
Anyone else so ready to unplug from the world and all the demands and just relax for a moment? Anyone else feel restless trying to relax unless you are doing something.... relaxing? Anyone else not have hours and hours to do something relaxing? Then this craft is for you. 30 minutes max, simple and you end up with beautiful nature bunting to hang up in your home. Time for a cozy craft!
Grab the Nature Garland craft here.
This craft project is one of our printable crafts which means it is available right now! Printable crafts are perfect for those of us who want to enjoy a quick, easily accessible craft project which with simple instructions and a cute result without the pressure to complete it to perfection. Because it is printable it can be printed again and again for your own enjoyment or to share with family and friends.
Now, on to the craft walkthrough.
Step 1: Download
This one's easy. Download the craft from our online shop (if you haven't already, you can do it here). Once you have checked out you can download and print your craft pages off immediately.

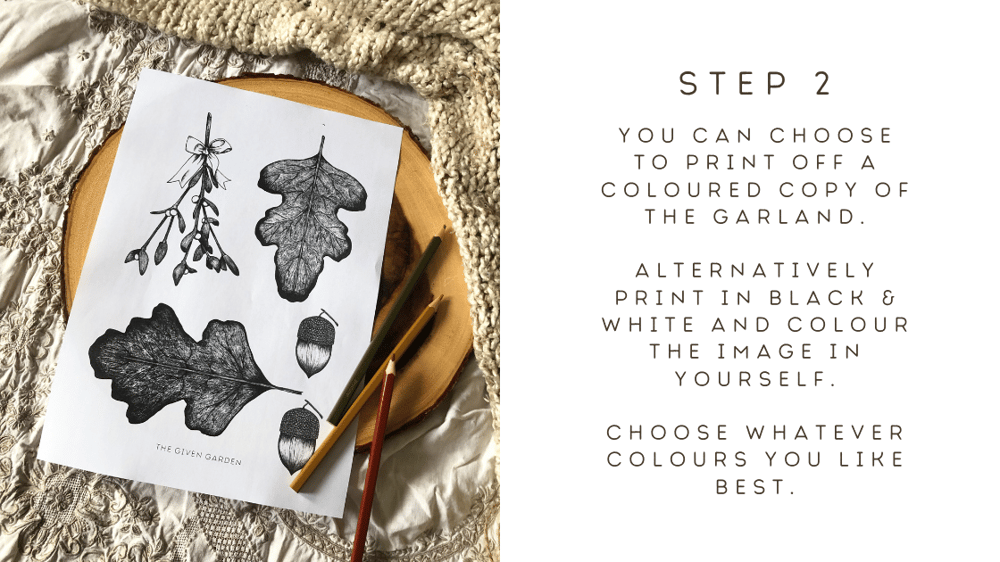
Step 2: Pick Your Size and Print
Open the file and pick the size and colour you want to print off. If you want to, you can print it in black and white and colour it in yourself. Print multiple copies for longer bunting or if you want to pack it tight.
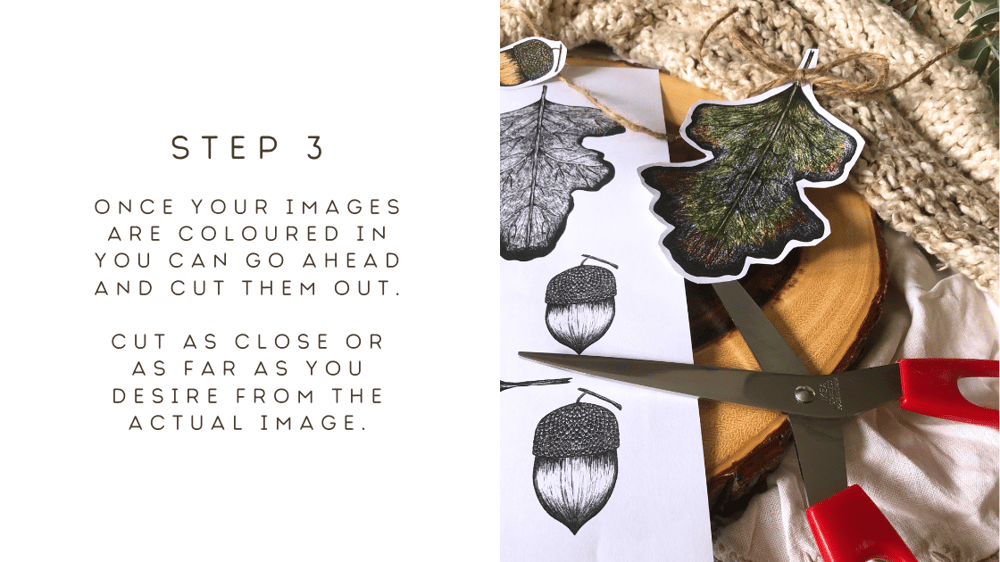
Step 3: Let The Scissors Shine
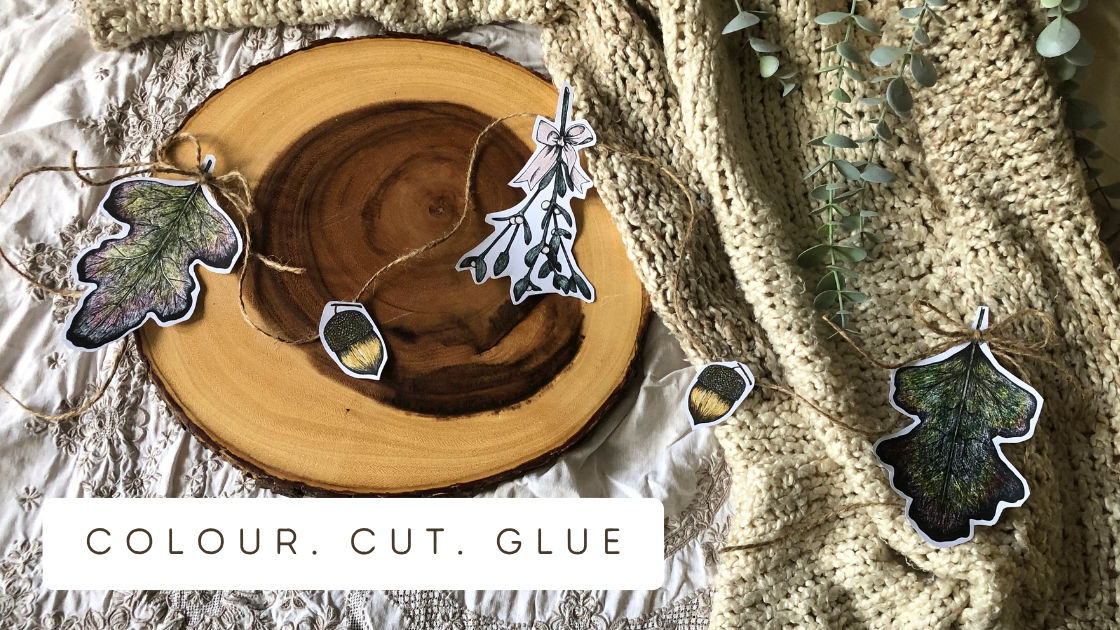
There are no "cut here" lines on the file. Fear not! It's done on purpose. Some people will want a wide white boarder on their bunting while others will want to cut it close. It's totally up to you. Cut around each piece before moving on to the next step.
Step 4: Attach The String
This step is about as complicated as it gets, and it's not that complicated. Grab your glue gun (or a roll of tape if you prefer). Cut a piece of string to length and start hot gluing (or taping) the cut out pieces of the punting to the string. Glue all the pieces to the same side of the string so they all face forward. You don't have to worry about getting messy with the glue gun because the back won't be visible once the bunting has been hung up.

Step 5: Add A Bow
This last step is optional. It might require a little bit more skill with the glue gun. So, if you want to, cut shorter lengths of the same string you used to glue the punting to and make little bows. Carefully glue the bows to some (or all) of the leaves. Once this is done and the hot glue has cooled down you are ready to hang your bunting.

I hope you thoroughly enjoy this craft. For a bit of added fun invite some friends over for a craft evening! You can print multiple copies once you have purchased the file and share the joy with your family and friends.
Make sure to join our mailing list for updates on new printable crafts, colouring pages and tutorials.
Much love,
Unnur Balla
The Given Garden
Comments ()