
Have you ever thought about the need for pressing your fabric? I never really did until I began sewing projects for family and friends. I quickly noticed that wrinkled fabric and uneven seams gave even my most carefully made pieces a homemade—but somewhat unpolished—appearance. I wanted my creations to look refined and professional, especially since I was giving them as gifts.
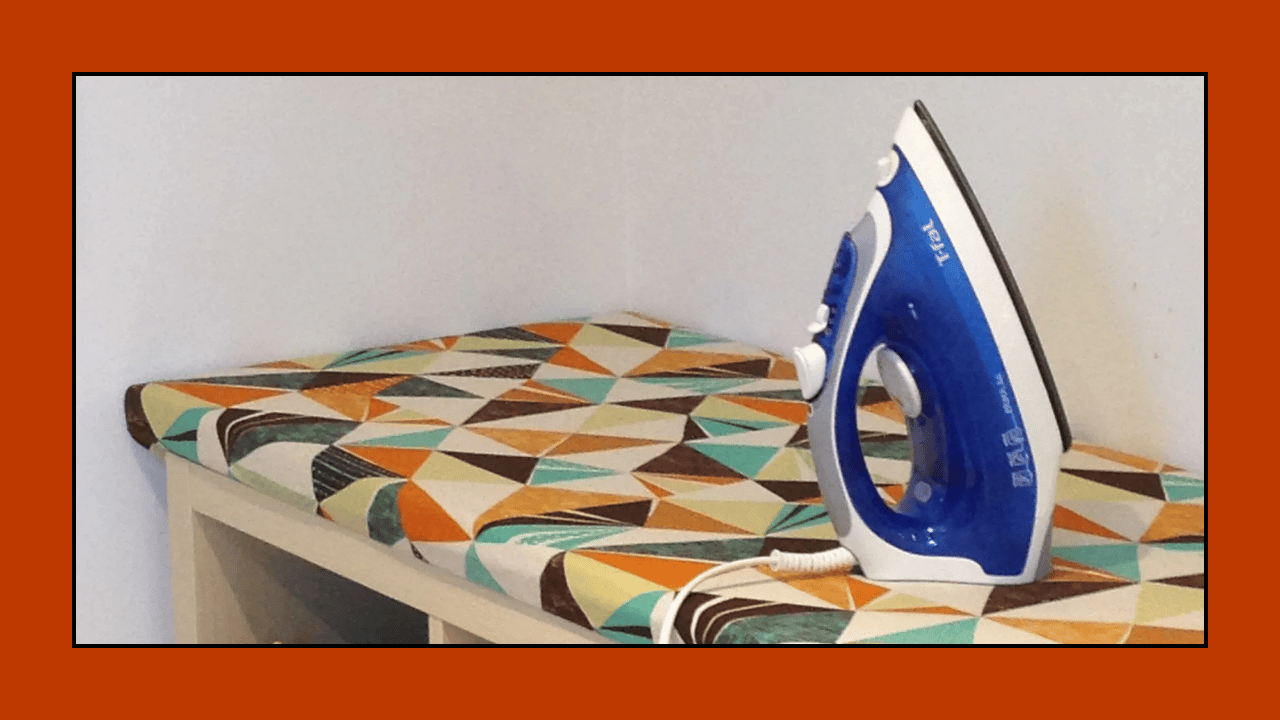
I became increasingly motivated to establish a dedicated ironing station within the limited confines of my sewing room. But where? and how? Cue searching the internet for ideas! After exploring a multitude of ideas and solutions, I was inspired to create my own custom, space saving and budget friendly ironing board that suits perfectly, making my workspace more organised and efficient.
Why make your own and not just buy one?
An ironing board is an essential tool. Pressing seams, ironing fabric before cutting, and finishing garments all require a smooth, heat-safe surface. But commercial ironing boards can be expensive, too narrow, take up too much space, the padding might not be quite right for delicate fabrics, or it simply doesn’t suit the unique needs of your sewing room.
Creating your own custom ironing board allows you to tailor it exactly to your workspace. You can choose the size and shape that works best for your projects, select heat-resistant fabrics you love, and pad it to the exact softness you need. Plus, it’s often more affordable than buying a new board—and it’s fun to make something unique for your creative corner. Whether you need a compact board for quick fixes, a full-size surface for quilting, or something you can easily move and store, making a DIY ironing board lets you customise every detail.
Materials Needed:
- A sturdy piece of plywood or MDF (50cm x 120cm x 2cm, or adjust to your preferred size)
- 3-4 layers of thick 100% cotton batting (for padding)
- Heat-resistant fabric (100% cotton canvas, nothing synthetic or it will melt!)
- Staple gun & staples
- Scissors
Instructions:
- Cut Your Board - Cut the plywood or MDF to your desired size. Sand the edges for safety.
- Cut Your Padding and Fabric - Lay the board on top of the cotton batting. Cut the batting so it is 10-15cm wider than the board. Repeat for the fabric and however many layers of batting you are using.
- Assemble - Lay the fabric right side down, add the layers of batting and then centre the board on top.
- Staple Everything in Place - Fold the batting and fabric tightly over the edges. Fold the raw edge of the fabric under and use the staple gun to secure the layers to the underside of the board. Start at the centre of each side and work out towards the corners, use a hospital bed fold for a neat, clean finish.
Tips for Customisation:
- Use fun, bright fabric to match your sewing room décor!
- Add non-slip feet to prevent sliding when using it on your bench.
- To make it freestanding, attach folding legs to the underside.
- Make a smaller board for quick patchwork, sleeve ironing or travel.
- Add a handle for easy carrying.
*If you want to be able to take the fabric cover off for washing, staple only the layers of batting to the board. Double fold the raw edges of the fabric over by 2cm and stitch along the edge (leaving a 5cm opening) to create a channel for elastic. Cut a piece of elastic long enough to stretch snugly around the board. Use a safety pin to thread the elastic through the channel and stitch the ends together. Stitch the opening closed and it’s ready to be placed on your new ironing board!