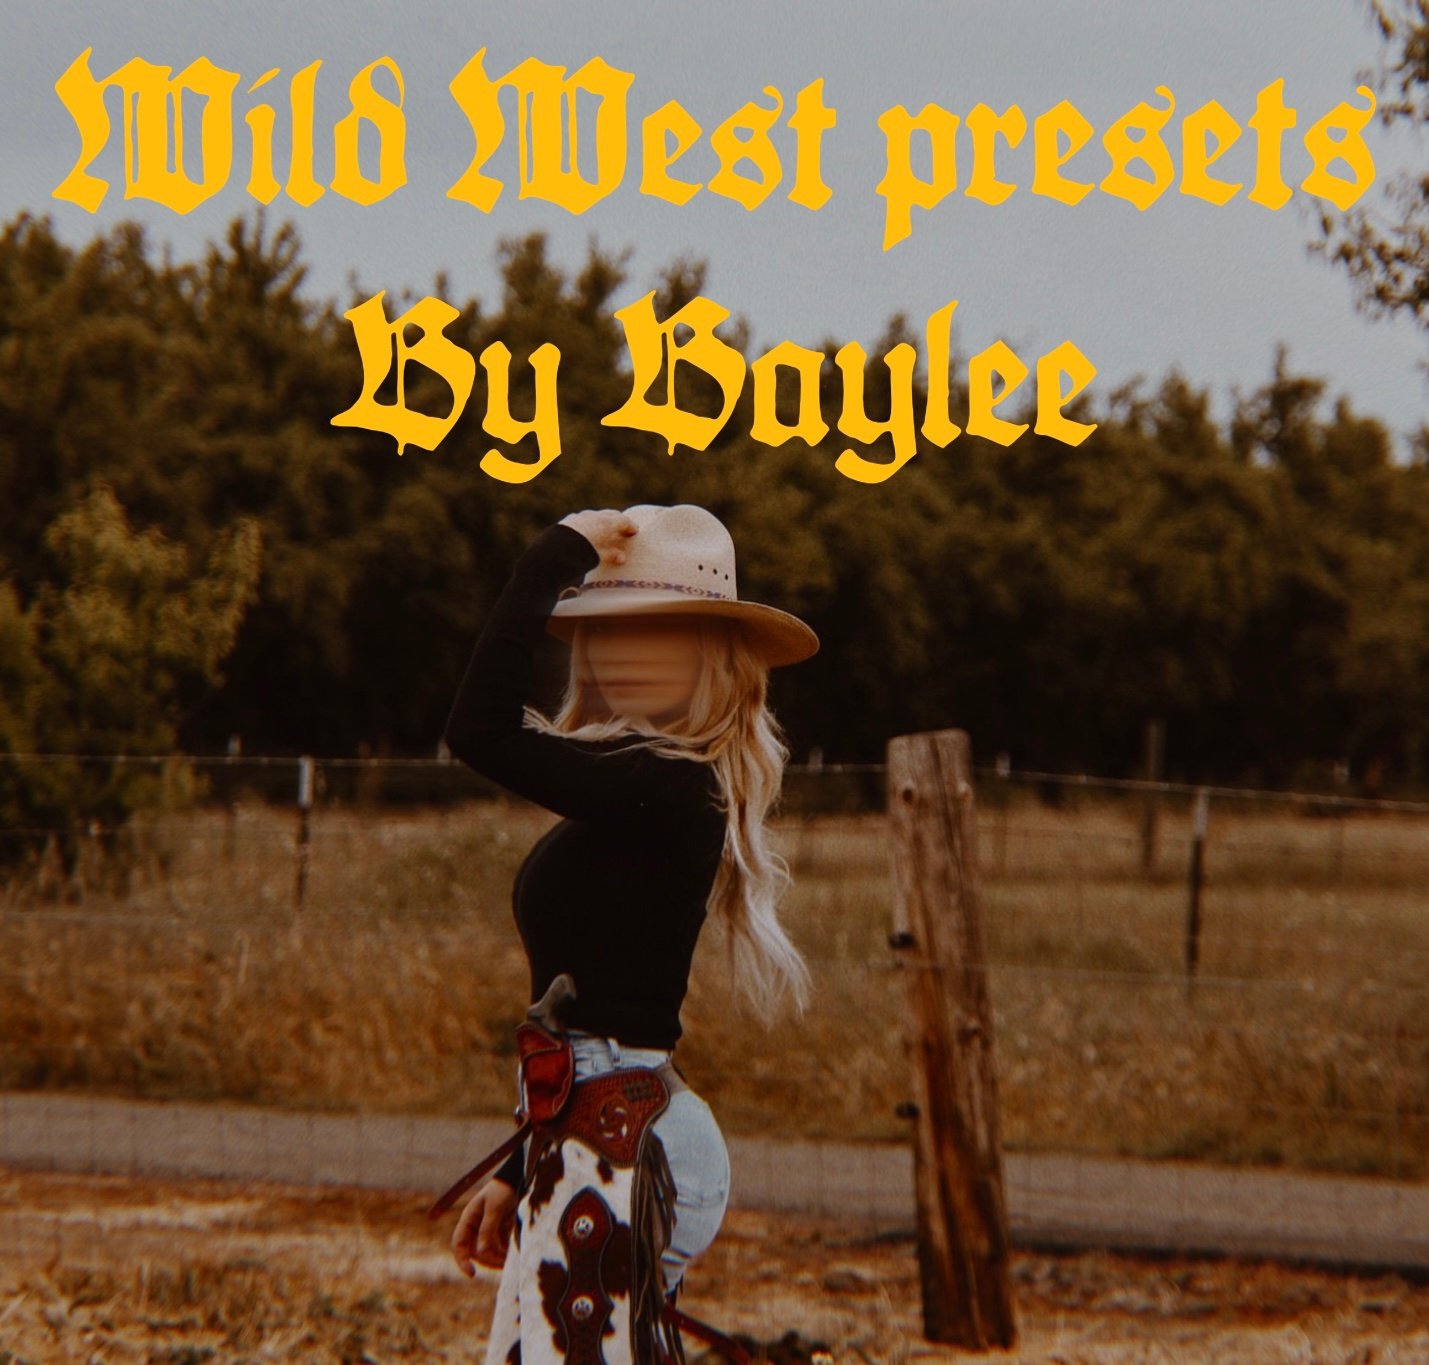


Wild & Bare Presets
On Sale
$35.00
$35.00
9 presets
WILD & BARE
Lightroom Presets — Download & Installation Guide
Thank you for purchasing WILD & BARE presets! 🤎
These presets are designed to help you create earthy, moody, film-inspired edits with just a few taps. Follow the instructions below to download and install your presets.
STEP 1 — Download Your Presets
- After purchasing through Payhip, open your purchase confirmation or download page.
- Tap the download link for your preset collection.
- Save the ZIP file to your device.
- If you’re using an iPhone, open the Files app and find your downloaded ZIP file, usually in Downloads.
- Tap the ZIP file once to extract it.
You should now see your preset files ending in .xmp.
STEP 2 — Import Your Presets Into Lightroom Mobile
- Open the Adobe Lightroom app on your phone.
- Open any photo in Lightroom.
- Tap Presets.
- Select the Yours tab.
- Tap the three-dot menu or options menu.
- Choose Import Presets.
- Find and select your downloaded .xmp preset files in the Files app.
- Wait for the import to finish.
Your presets should now appear under Yours → User Presets.
STEP 3 — Apply Your Presets
- Open the photo you want to edit.
- Tap Presets.
- Select Yours → User Presets.
- Tap the WILD & BARE preset you want to use.
- Tap the checkmark to apply it.
STEP 4 — Make It Your Own
Every photo is different! For the best results, you may need to adjust:
- Exposure: Brightness of your photo.
- White Balance: Warmth or coolness of your image.
- Contrast: Difference between light and dark areas.
Small adjustments can help your photo match the look you want.
IMPORTANT NOTES
- These presets are intended for Adobe Lightroom.
- Presets do not automatically make every photo look identical. Lighting, camera settings, and the original colors can affect the final result.
- Keep your original ZIP file as a backup.
- If you have trouble installing your presets, please contact me through your Payhip purchase or store contact information.
Thank you for supporting WILD & BARE!
Made for the wild ones.