
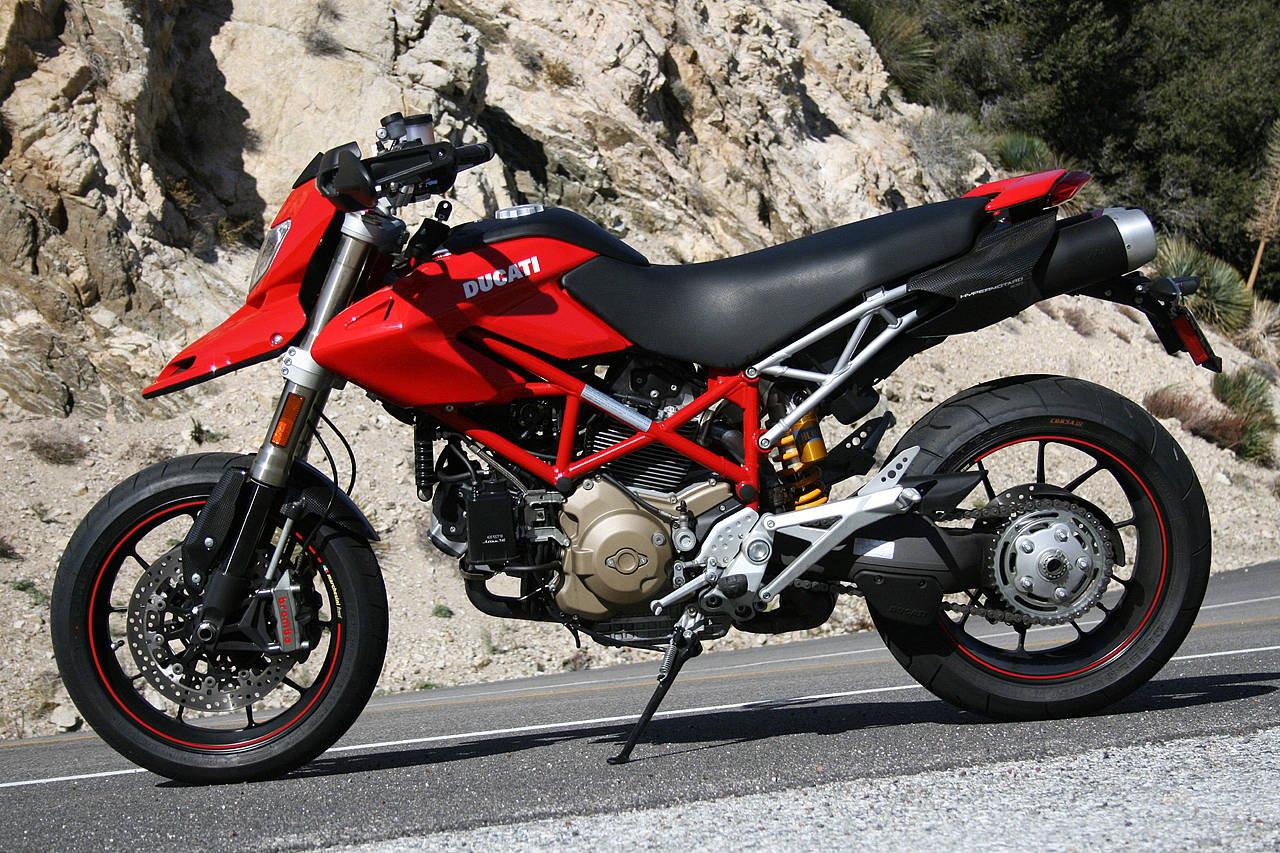
Ducati Hypermotard 1100 & 1100S HM1100 HM1100S 2008 Workshop Repair Service Manual PDF - MDCTHM1100OMMK.zip
A full workshop repair and service guide, complete with electrical wiring diagrams, covering the Ducati HYPERMOTARD 1100 and HYPERMOTARD 1100S. It contains everything a shop needs to service, troubleshoot, fix, and rebuild these bikes the way trained technicians do.
The 2008 Ducati HYPERMOTARD 1100 and HYPERMOTARD 1100S factory-style service and repair manual covers:
* Numbered table of contents easy to use so that you can find the information you need fast.
* Detailed sub-steps expand on repair procedure information
* Numbered instructions guide you through every repair procedure step by step.
* Troubleshooting and electrical service procedures are combined with detailed wiring diagrams for ease of use.
* Notes, cautions and warnings throughout each chapter pinpoint critical information.
* Bold figure number help you quickly match illustrations with instructions.
* Detailed illustrations, drawings and photos guide you through every procedure.
* Enlarged inset helps you identify and examine parts in detail.
PRODUCT DETAILS:
Total Pages/Size: 209 MB
File Format: PDF (bookmarked, ToC, Searchable, Printable, high quality)
Language: English
Delivery: instant download link displayed on page & emailed to you after checkout
Protection: DRM-free; without any restriction
MAKE: Ducati
MODEL: HYPERMOTARD 1100, HYPERMOTARD 1100S (HM1100, HM1100S)
YEAR: 2008
LANGUAGE: English (EN), Spanish (ES), German (DE), French (FR), Italian (IT), Portuguese (PT), Japanese (JP)
A - Description
B - Model-specific information
C - Specifications
D - Use and maintenance operations
E - Fairing
F - Controls - Devices
G - Wheels - Suspensions - Brakes
H - Frame
L - Fuel system / Exhaust system
M - Injection - ignition system
N - Engine
P - Electric system
N - Engine
1 - Removing - reassembling the complete engine
- Removing the engine
- Reassembling the engine
2.1 - Lubrication system: oil pump
- Removing the oil pump
- Disassembling the oil pump gear
- Reassembling the oil pump gear
- Refitting the oil pump
2.2 - Lubrication system: oil cooler
- Removing the oil cooler
- Oil cooler inspection
- Refitting the oil cooler
2.3 - Lubrication system: oil breather
- Removing the oil breather
- Refitting the oil breather
4.1 - Head unit: checks and adjustments
- Checking and adjusting valve clearance
- Checking engine timing
4.2 - Cylinder heads: side covers / timing system
- Removing the timing side covers
- Disassembling the timing system
- Disassembling the mobile tensioner
- Disassembling the belt rollers
- Reassembling the timing system
- Refitting the timing side covers
4.3 - Head unit: camshafts
- Removing the engine oil temperature sensor
- Refitting the engine oil temperature sensor
- Disassembling the intake manifolds
- Refitting the intake manifolds
- Removing the cam covers
- Removing the valve covers
- Refitting the valve covers
- Camshafts disassembly
- Checking the camshafts
- Checking the oil seals
- Refitting the camshaft
- Refitting the cam covers
4.4 - Head unit: valves - rocker arms
- Disassembling the engine heads
- Overhauling the head parts
- Reassembling the head
5 - Cylinder / piston assy
- Removing cylinder / piston assy
- Overhauling the cylinder / piston assy
- Refitting cylinder / piston assy
6.1 - Clutch unit: clutch
- Clutch unit
- Disassembling the clutch
- Checking and overhauling the components
- Reassembling the clutch
6.2 - Clutch unit: clutch cover
- Removing the clutch cover
- Disassembling the clutch cover
- Reassembling the clutch cover
- Refitting the clutch cover
6.3 - Clutch unit: primary gears
- Disassembling the primary drive gears
- Primary drive gear pair installation – Meshing play inspection
7.1 - Gearbox assembly: gear selector levers
- Removing gear selector levers
- Removing the gear stopper and ratchet
- Reassembling gear stopper and ratchet
- Reassembling the gear selector lever
7.2 - Gearbox assembly: gearbox shafts
- Removing the gearbox
- Disassembling the gearbox shafts
- Overhauling the gearbox
- Inspecting the gear selector forks
- Inspecting the fork selector drum
- Reassembling the gearbox shafts
- Reassembling the gearbox
8 - Flywheel - generator
- Removing the generator cover
- Disassembling the generator cover
- Removing the flywheel - generator assembly
- Checking the flywheel - generator assembly
- Refitting flywheel / generator assembly
- Reassembling generator cover
9.1 - Casing unit: outer components
- Removing outer components
- Reassembling the outer components
- Removing the timing lay gear
- Reassembling the timing lay gear
- Removing the starter motor driven gear
- Reassembling the starter motor driven gear
- Checking the engine sensor air gap
9.2 - Casing unit: crankcases
- Opening the casings
- Overhauling the casings
- Main bearings
- Reassembling the casings
- Shimming the shafts
- Closing the casings
9.3 - Casing unit: connecting rods
- Removing the connecting rods
- Disassembling the connecting rods
- Overhauling the connecting rods
- Reassembling the connecting rods
- Refitting the connecting rod unit
Ducati HYPERMOTARD 1100, HYPERMOTARD 1100S Repair Service Manual