Your Cart
Loading

Learn Lace Wig Installation, Step by Step

New to lace wig installation? Start here. Follow seven beginner-friendly video demonstrations, from fitting the cap to placing the wig and melting the lace. Pause and replay each stage, then use the included four-page printable PDF guide, equipment checklist and practice record. Download your guide inside Lesson 1 after enrolment.

What You Will Learn

Your seven lessons cover:


1. Fitting the cap and cutting openings around the ears

2. Securing the cap with holding spray

3. Trimming the cap along the hairline

4. Matching the cap colour to the skin tone

5. Spreading and drying thin layers of lace adhesive

6. Positioning the wig, pressing the lace and checking for lifting

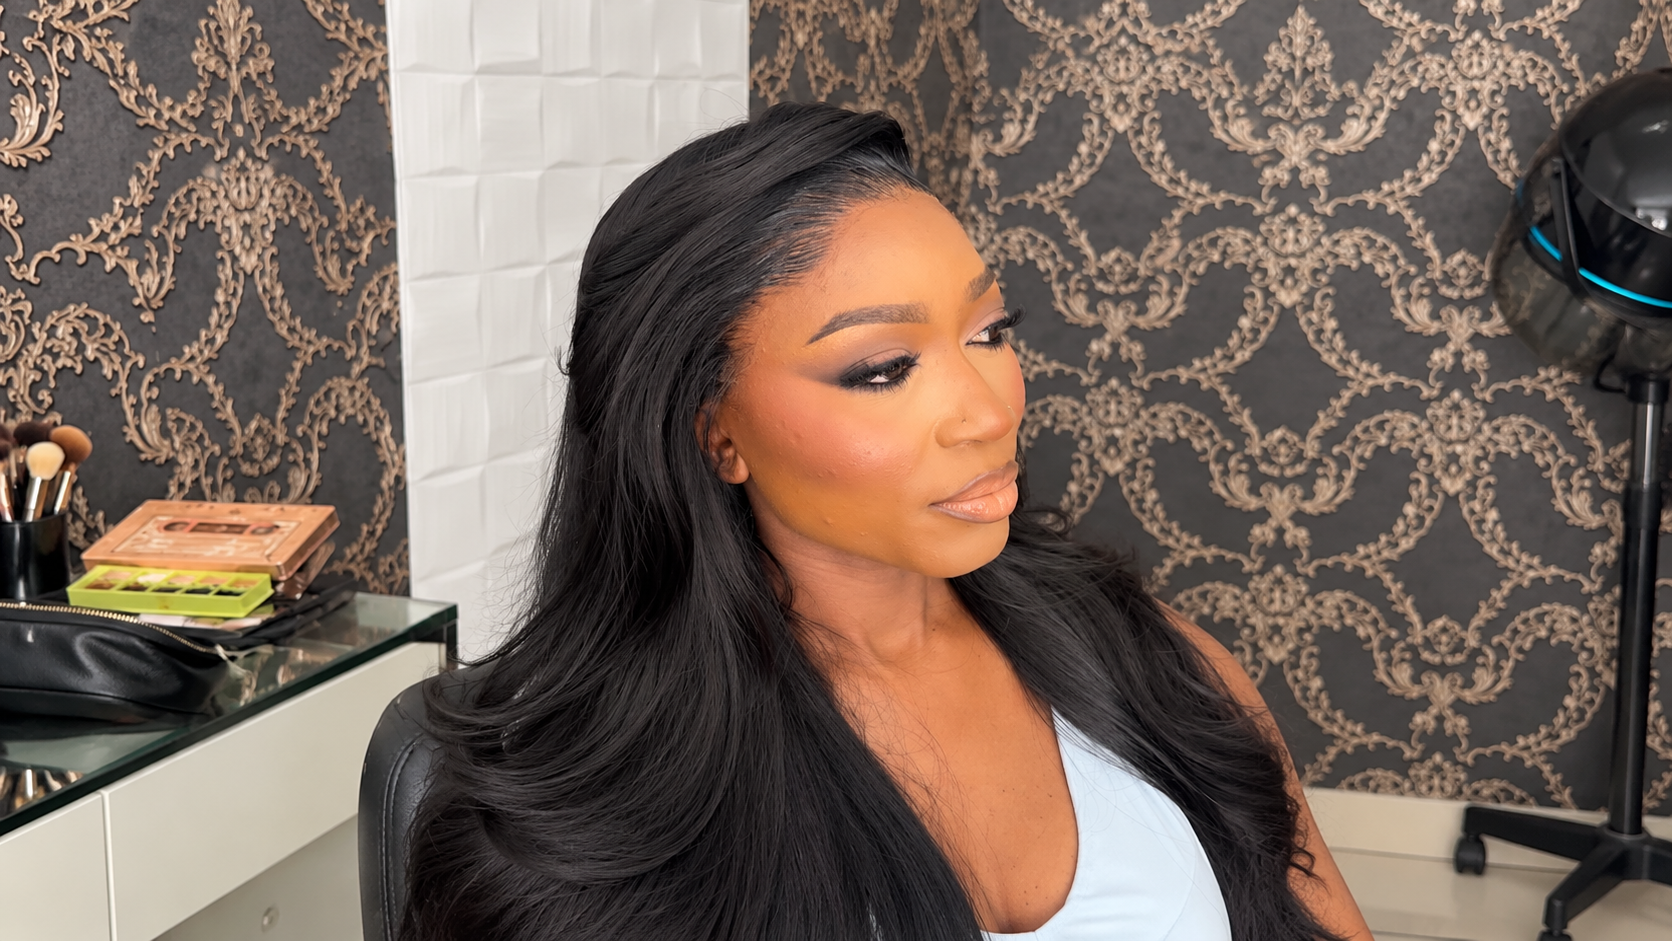
7. Melting the lace and reviewing the finished hairline


Includes seven short demonstration videos, approximately nine minutes in total, with written notes and pause-and-check prompts. Watch the full sequence first, then replay individual stages as you practise. The final styled look is shown; a separate curling or cutting tutorial is not included.

Learn With Me

I’m Sheena, the stylist behind Dream Styles Beauty. In this class I demonstrate the cap preparation, adhesive application, wig placement and lace-finishing sequence I use in the videos.


This focused demonstration is for learners who want to see the installation stages clearly and stylists who want to revisit the sequence. Watch all seven lessons before practising, then pause and replay the close-ups at your own pace.


To practise, have your wig, cap, clips, comb, suitable scissors, holding spray, lace adhesive, dryer and melt band ready. Tools, products and a wig are not included. Follow each product’s own suitability, application, drying and removal instructions.


You’ll get the seven demonstration videos and supporting written checkpoints. The final hairline and styled result are shown at the end.

Choose a pricing plan

Full Course Access

A$99

Course curriculum