
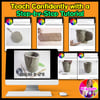
Ceramics Art Lesson Clay Slab Pot Cup Art Project Ceramic Art Activity
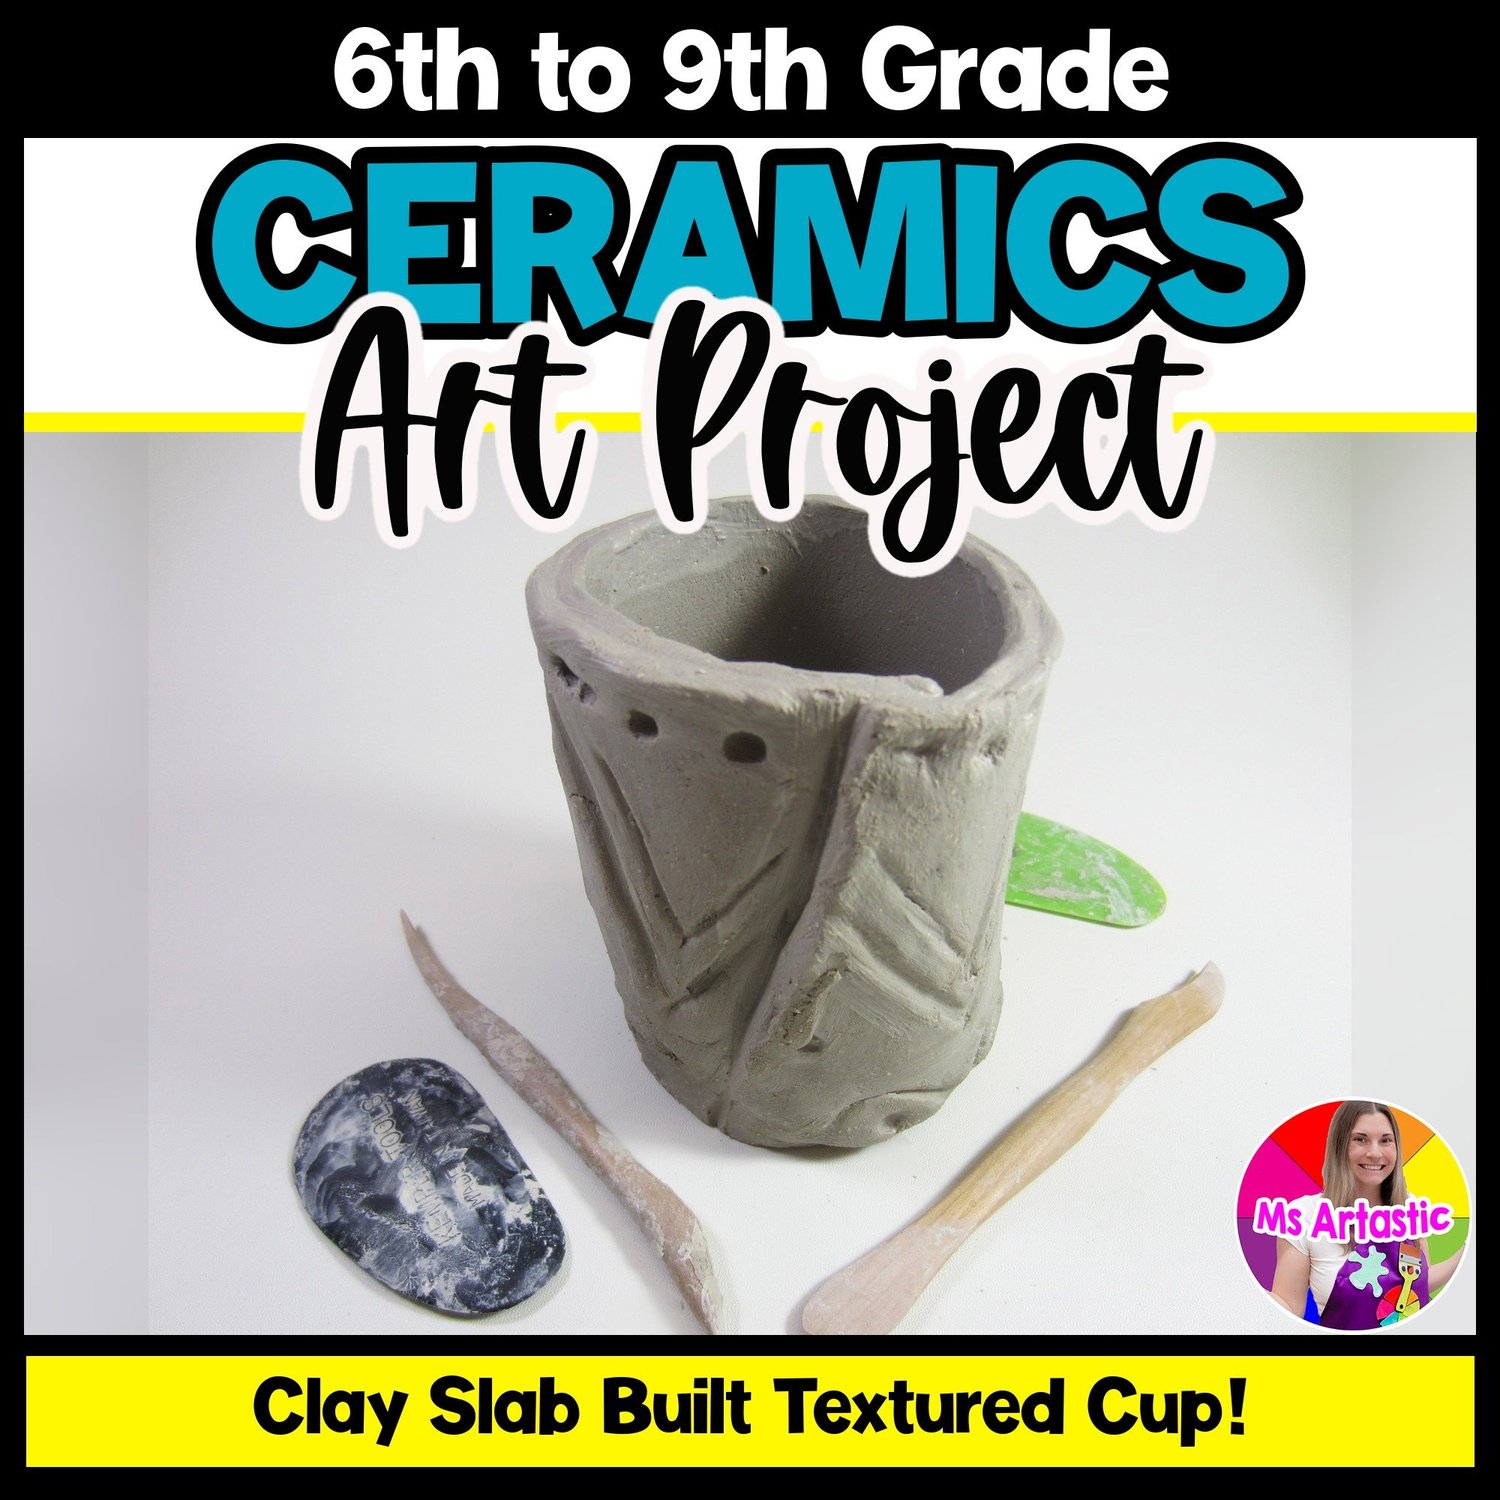
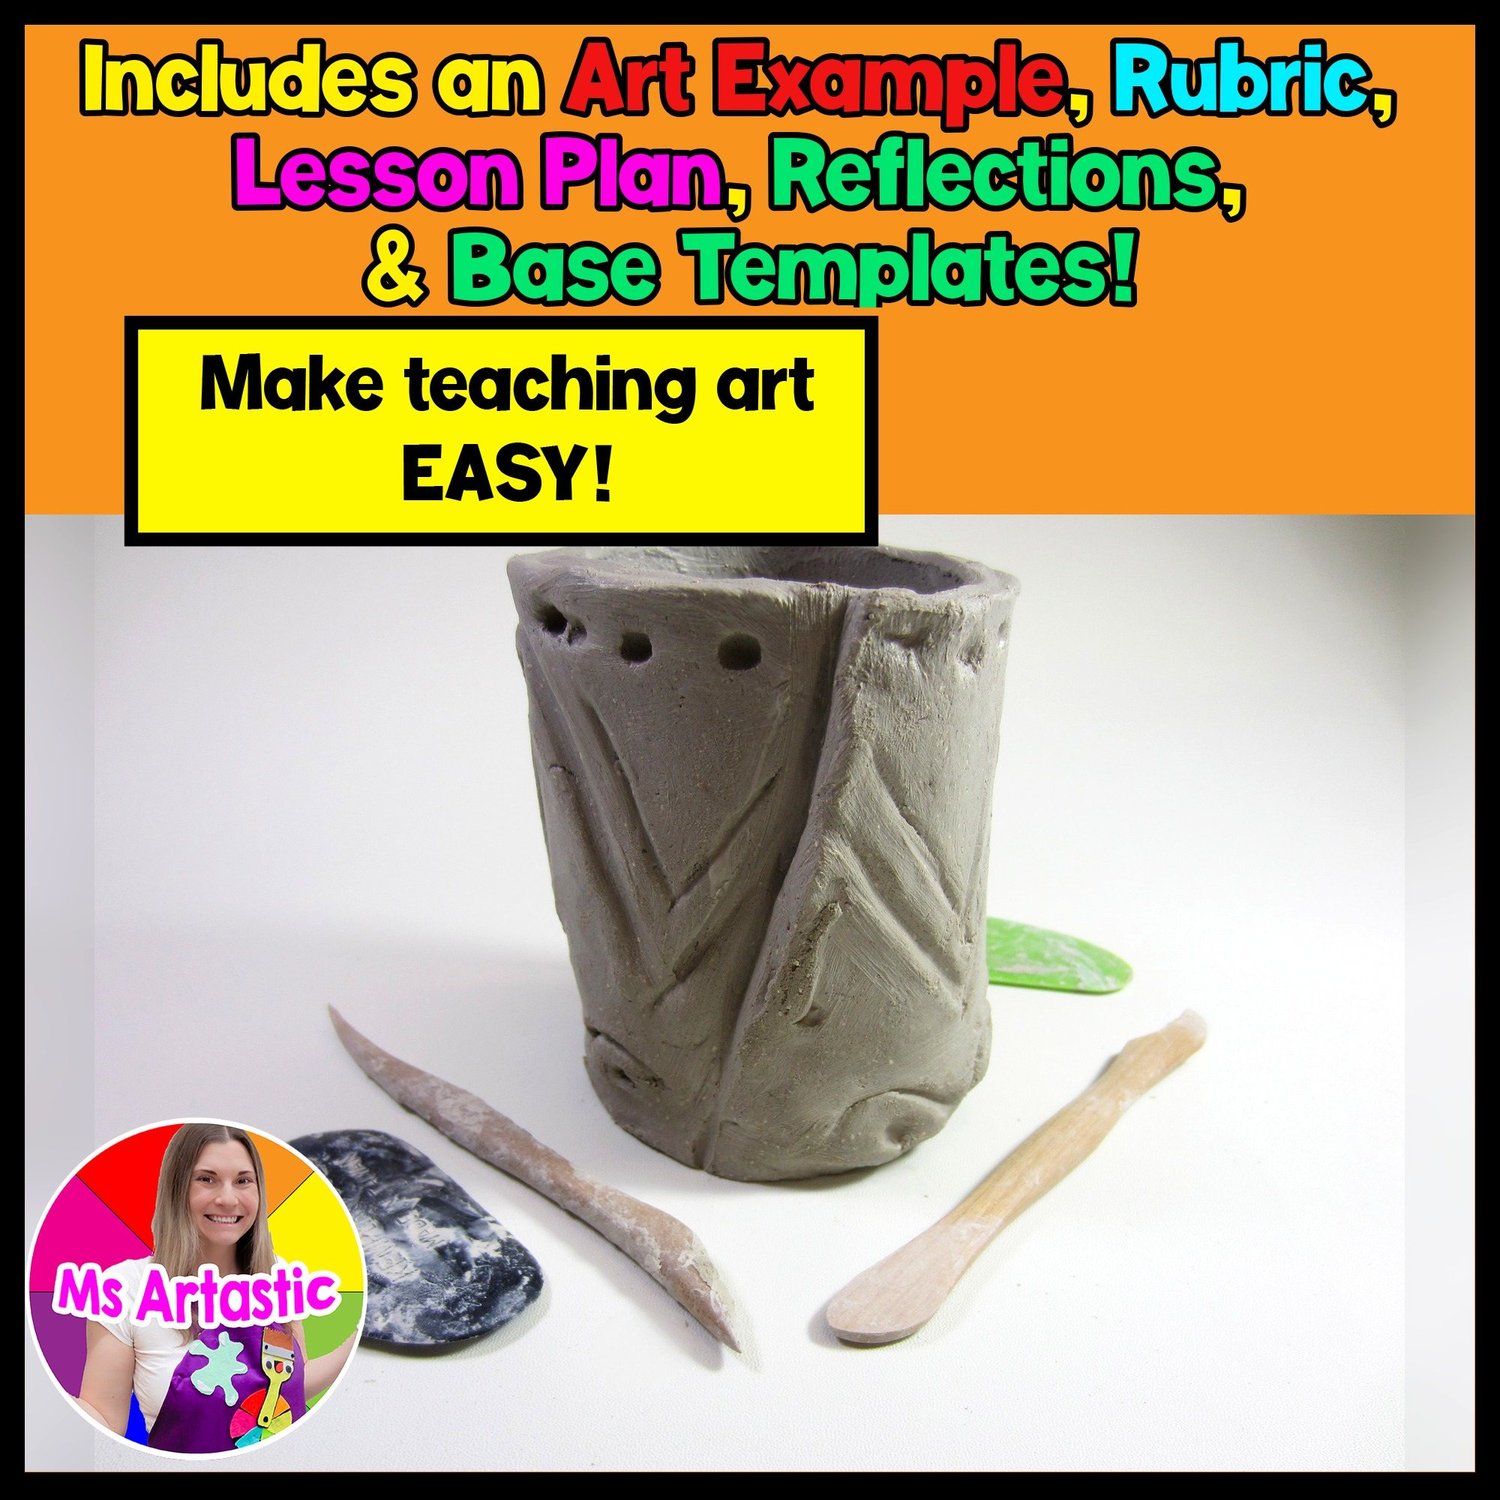
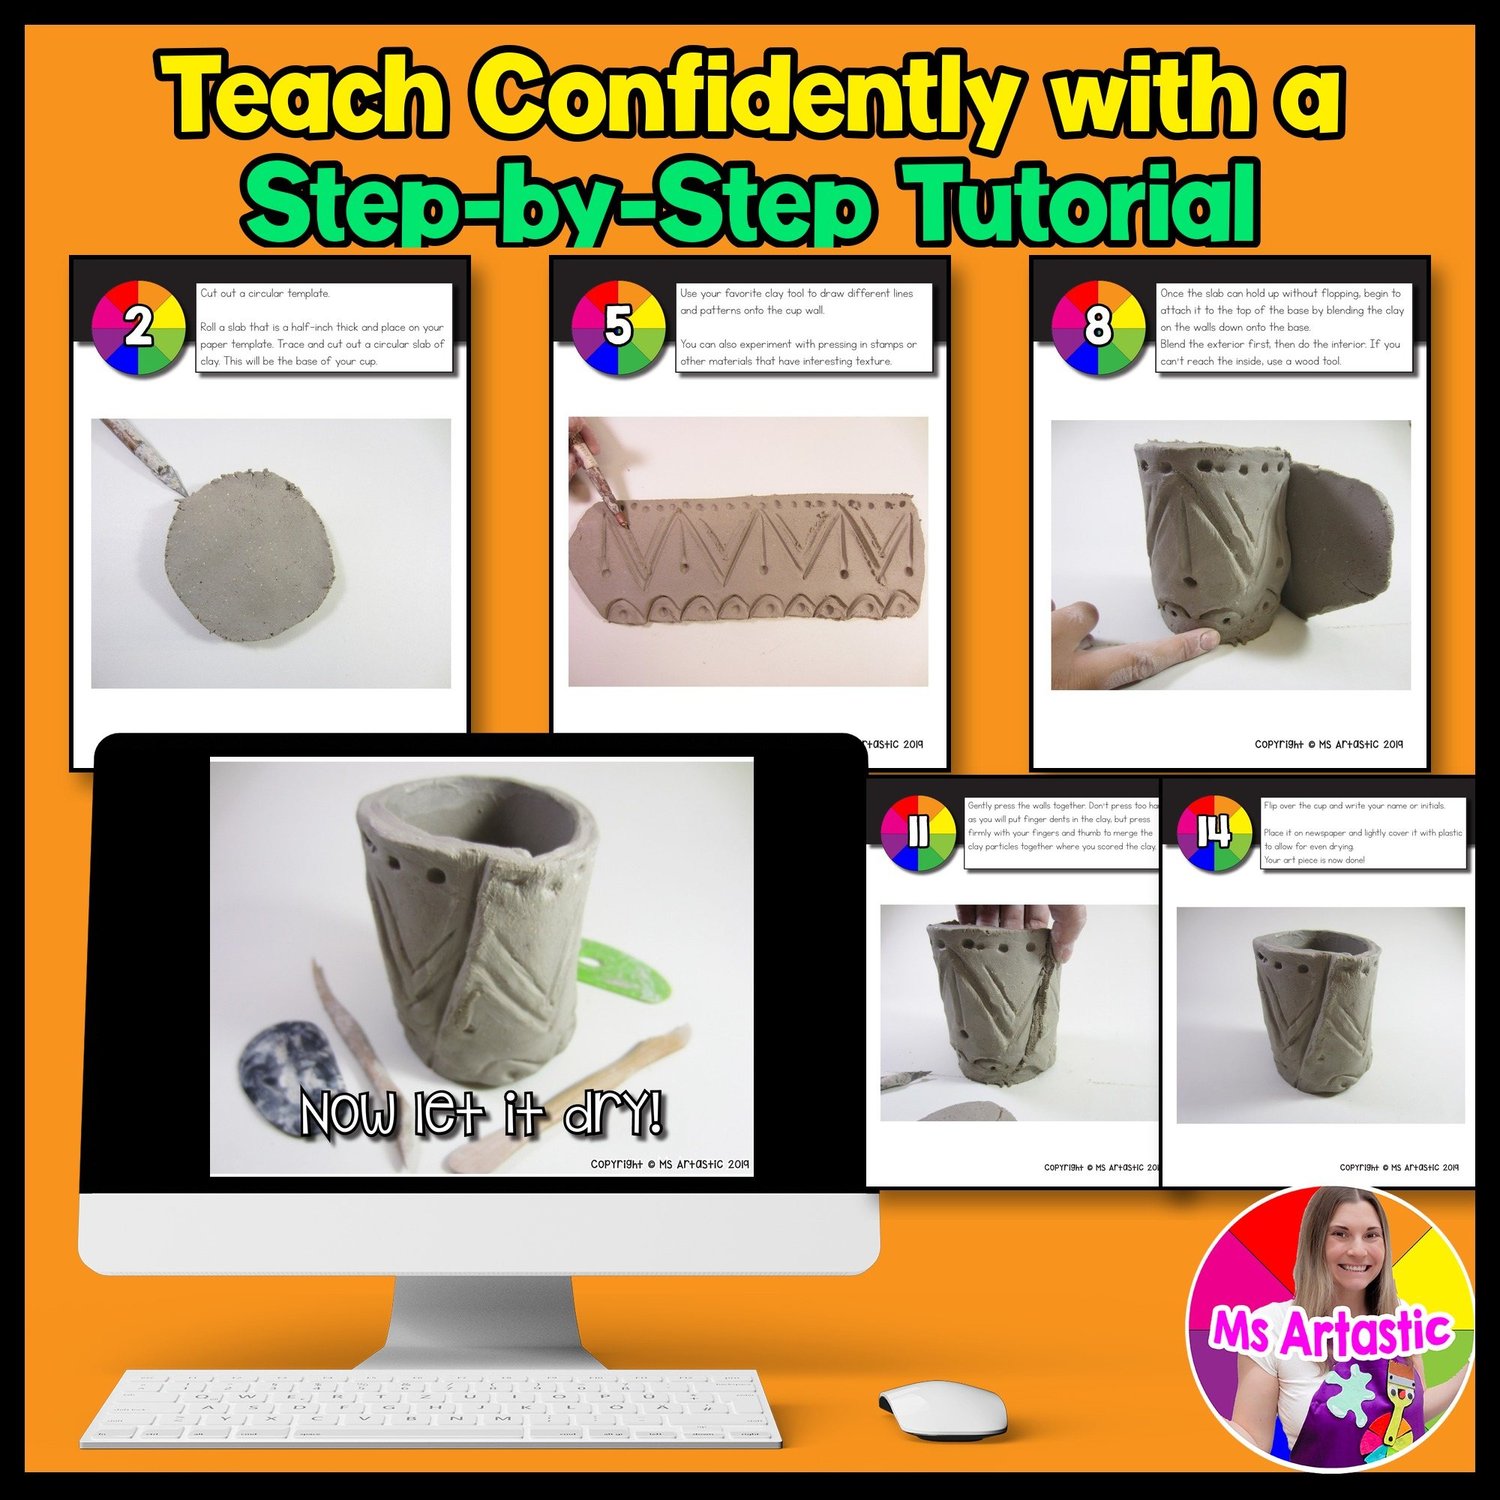
This Ceramic Slab Built Cups art tutorial shows students how to build a ceramic cup using slab building methods, combined with decorative methods, a variety of processes, materials, tools and techniques. Every step has its own page with a visual and a written description.
Please note the lesson demonstrates how to build only. Finishing a ceramic piece is a separate process, and every classroom has different resources and budgets, so you can glaze, underglaze or paint in the way that suits your room. A handout on four ways to finish ceramic pieces is included.
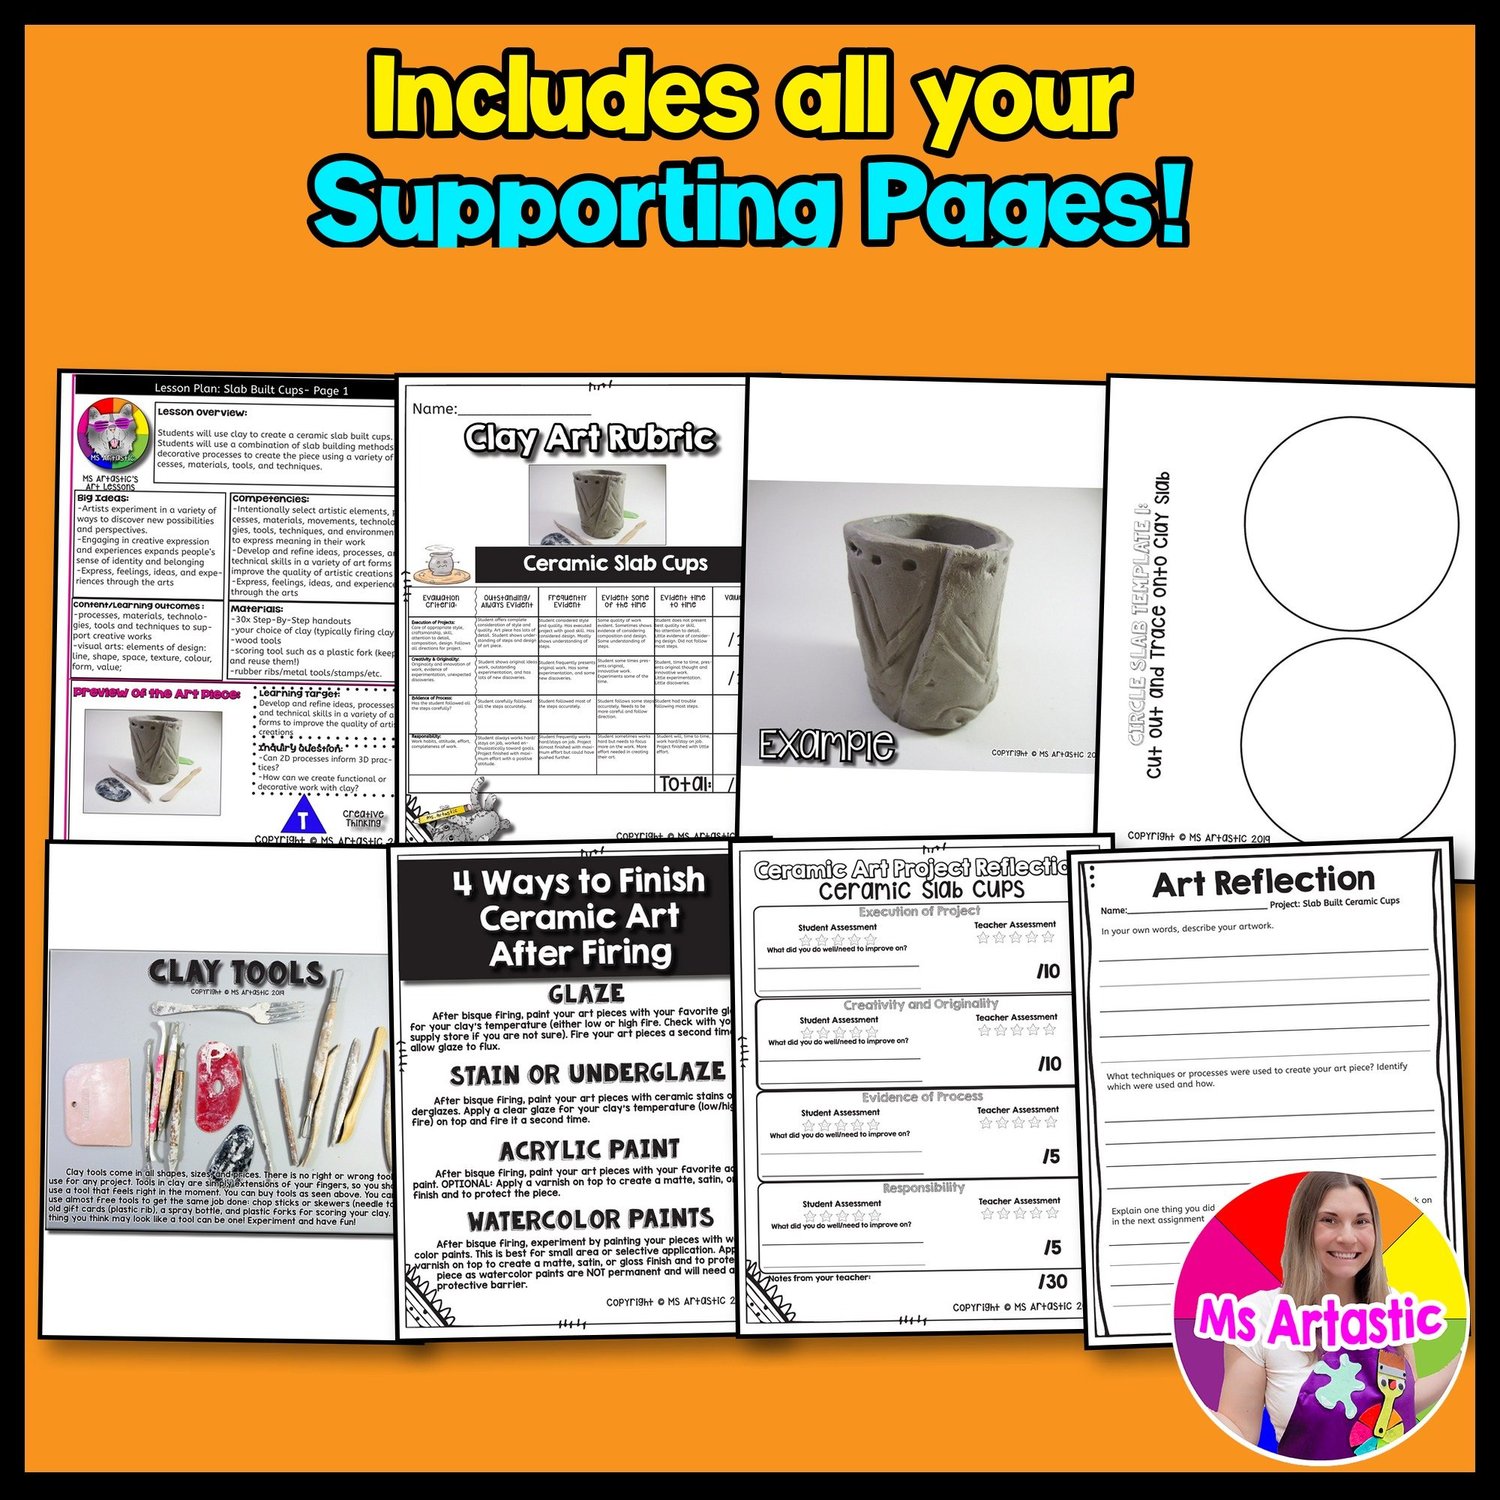
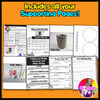
WHAT'S INCLUDED (NON-EDITABLE)
- About the Product with learning objectives, techniques and classroom applications
- Lesson Plan (2 pages) with materials, learning outcomes, goals and "Teacher Does / Student Does" instructions
- Bulletin Board Sign
- 2 Types of Circular Templates for tracing the base
- 4 Ways to Finish Ceramic Art Pieces Handout (glazing, underglazing, acrylic painting and wax resist)
- Artist Reflection Worksheet
- Artist Statement Template and Assessment
- Ceramic Slab Built Cups Step-by-Step Handout (2 pages) covering slab construction, scoring, slipping and joining
- Art Piece Demonstration Step-by-Step (14 slides)
- Example of Completed Art Piece
- Rubric for Art Piece
- Ceramic Art Reflection Page for self-assessment and teacher feedback
HOW TO USE IT
Read the lesson plan for the materials and steps, gather materials in advance, and photocopy the student handouts and rubric. You may want to make a sample yourself first. Print the example in color to show students what they are making (it is your hook), then project the PDF, show it under a document camera, or use it as your own guide while you demonstrate.
MATERIALS
30 copies of the step-by-step handout, your choice of clay (typically firing clay), wood tools, paper towel, a scoring tool such as a plastic fork, and rubber ribs, metal tools or stamps.
FAQ
Does this lesson cover glazing?
No. It demonstrates building only. The included handout explains four ways to finish the pieces so you can choose what works with your resources.
How is it taught?
Project the step-by-step slides for students to follow, or use them as a guide while you demonstrate. Each step has a picture and a written description.
Is it editable?
No. It is non-editable.
Get free, classroom-ready art lessons and printables in my Free Art Lesson Library.
ABOUT THE AUTHOR
Kathleen McGiveron (Ms Artastic) is an artist who has been featured on NBC LX News and designs art lessons for kids and educational resources for teachers. She is the founder of Ms Artastic and hosts the Ms Artastic YouTube Channel and Podcast.
TERMS OF USE
Images and lessons are copyright products.
YOU MAY: use this in creative ways and have as much fun with it as you like. Any clip art may be used as clip art, website graphics, binder covers or bulletin board decorations. Additional licenses are available for school use.
YOU MAY NOT: share this product with other teachers, administration or districts (admin can buy additional licenses), sell it, give it out for free or photocopy it for others.
Sincerely,
Ms Artastic