
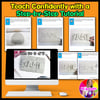
Ceramic Name Plate Clay Tile Art Lesson Name Project Back To School Ceramics
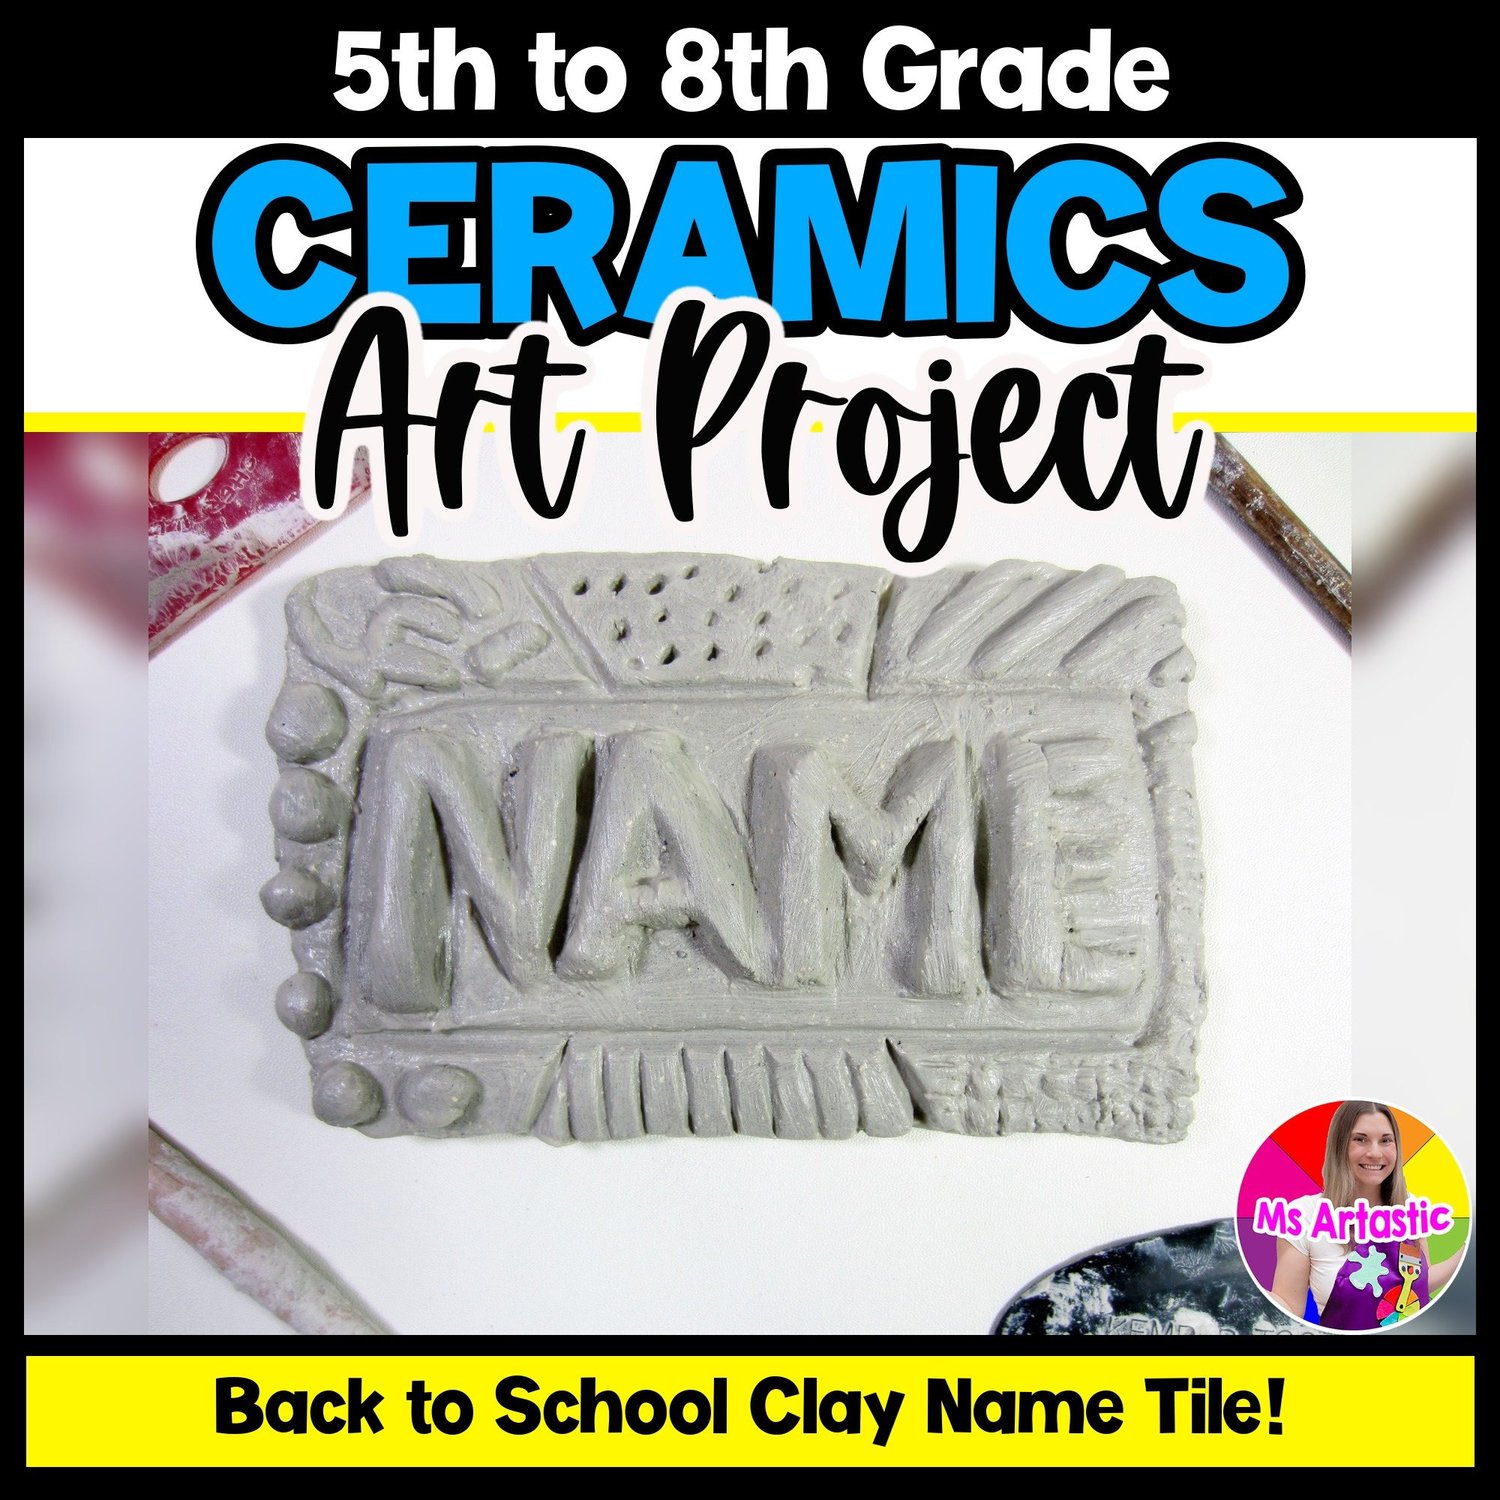
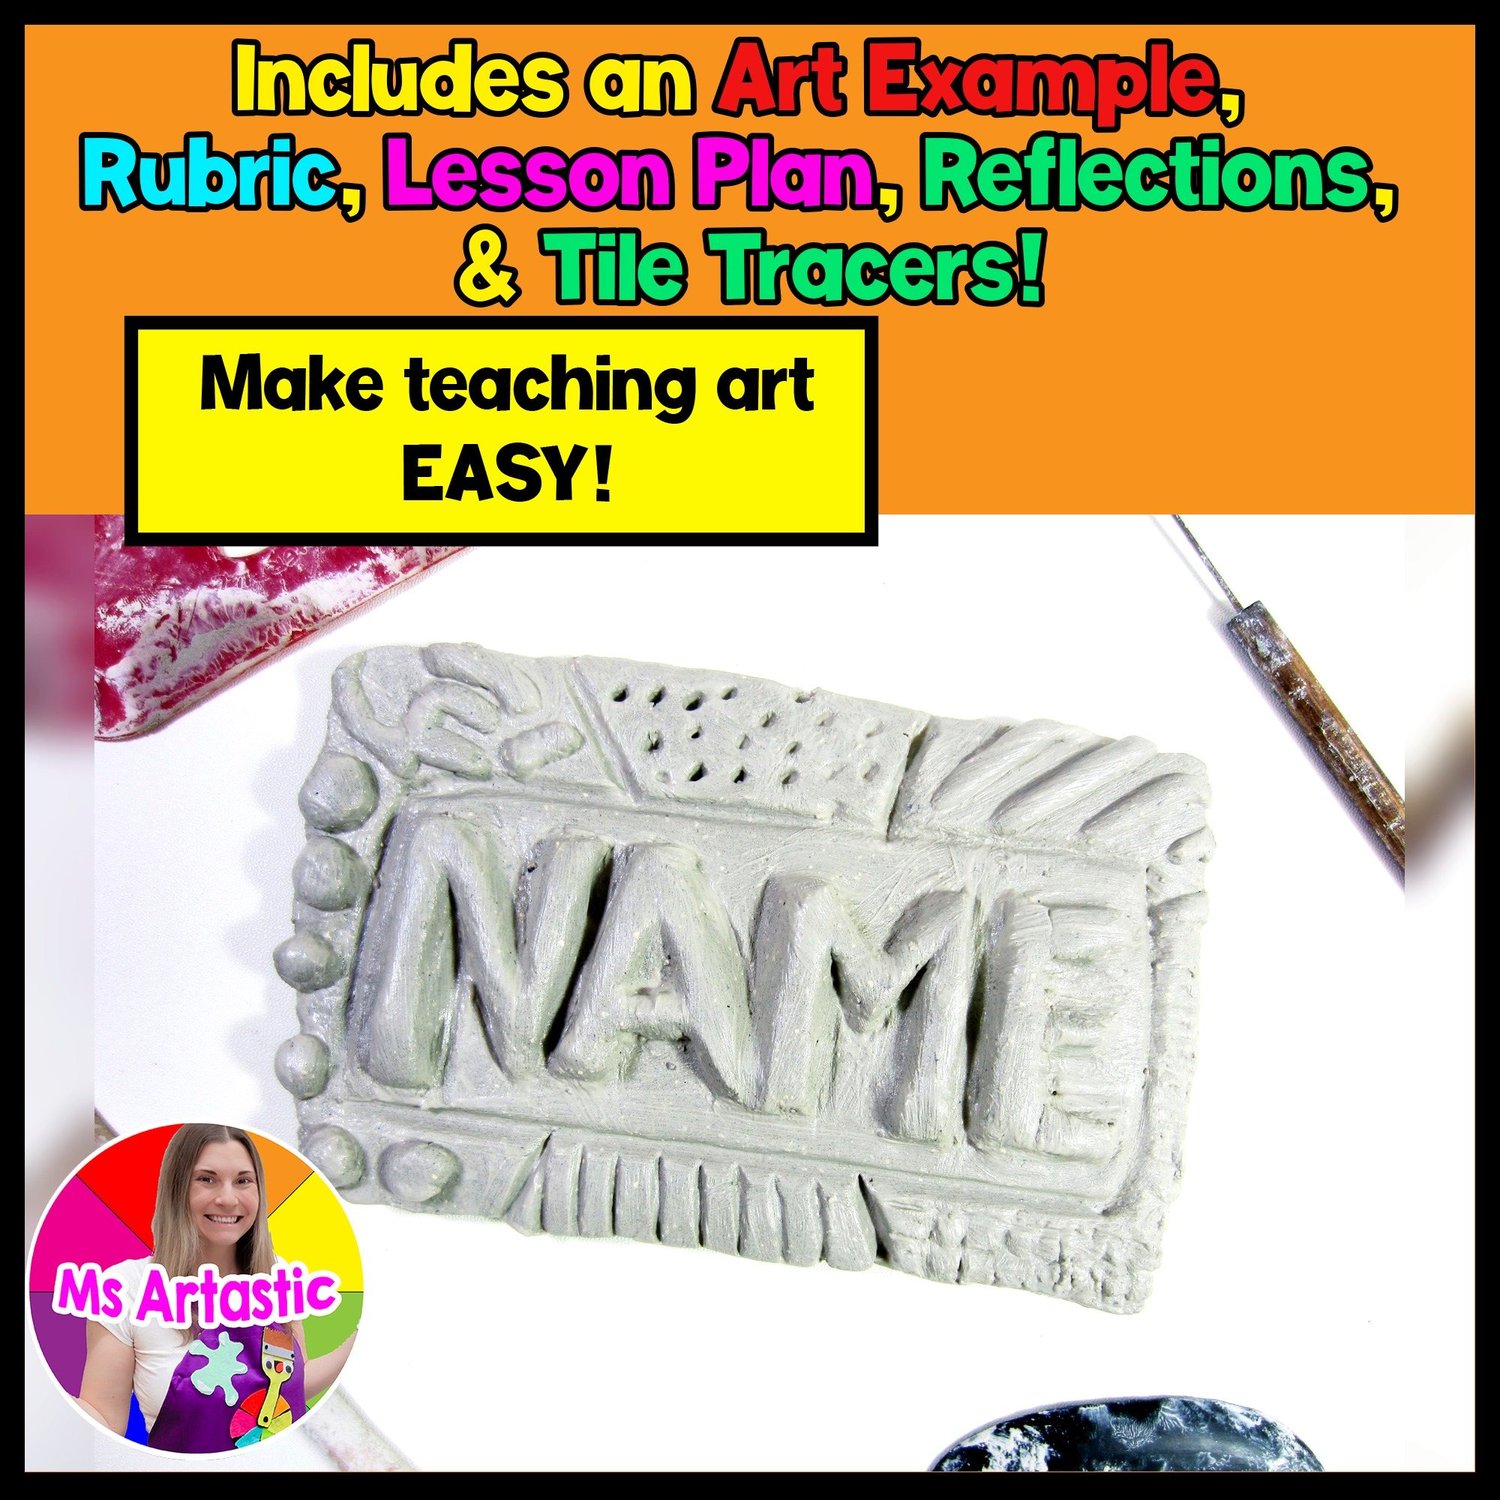
In this Ceramic Name Plate Art Lesson, students build a clay slab tile with their own name in raised clay lettering, surrounded by textured and patterned sections that make every piece unique. It introduces ceramics, clay slab construction, additive and subtractive methods, texture, pattern and personal expression in one project.
It is made for teachers, art teachers and homeschoolers, including classroom teachers with access to clay. It works well at the start of the year as a first ceramics display, and any time you want a clay name project, slab lesson or texture and pattern activity.
WHAT TEACHERS ARE SAYING
★★★★ “This was an easy clay project that included multiple techniques needed for working with clay. We were in a time crunch for our clay timeline and this was a good 2-3 day project that we were able to finish in time for firing! Having the templates and step-by-step instructions were very helpful and the students enjoyed decorating their name plates.” Heidi W.
WHAT'S INCLUDED (NON-EDITABLE PDF)
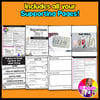
- 1 Cover Page
- 1 Teacher Prep and How to Use Page on projecting the PDF, gathering materials, photocopying handouts and showing the poster sample
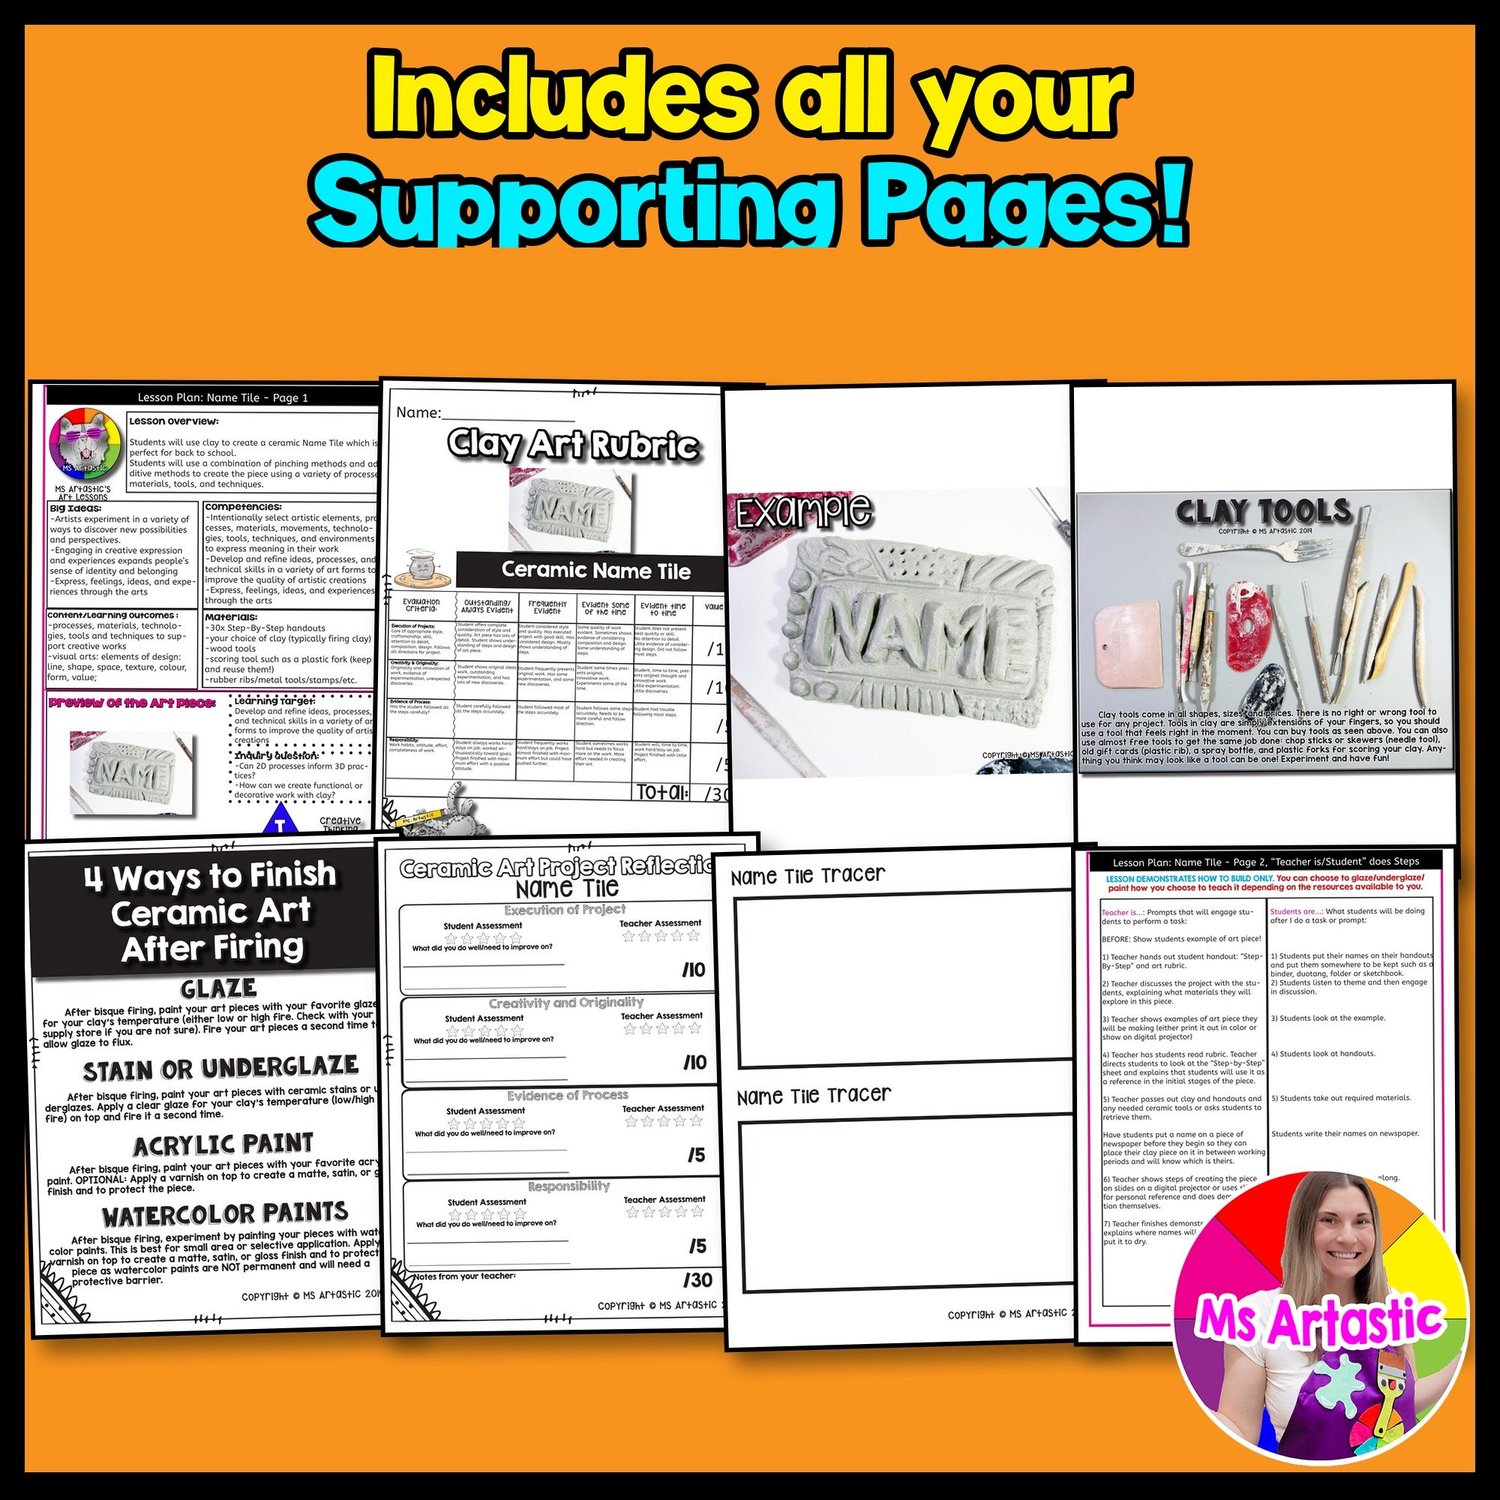
- 2 Lesson Plan Pages with lesson overview, learning outcomes, competencies, big ideas, learning target, inquiry questions, materials and teacher/student actions
- 1 Finishing Ceramics Information Page with 4 ways to finish ceramic art after firing: glaze, stain or underglaze, acrylic paint, and watercolor paint with varnish
- 1 Clay Tools Information Page with low-cost alternatives such as chopsticks, skewers, old gift cards, spray bottles and plastic forks
- 1 Clay Art Rubric for execution, creativity, evidence of process and responsibility
- 1 Ceramic Art Reflection Page for self-assessment, teacher assessment and written feedback
- 1 Example Page showing the finished name tile
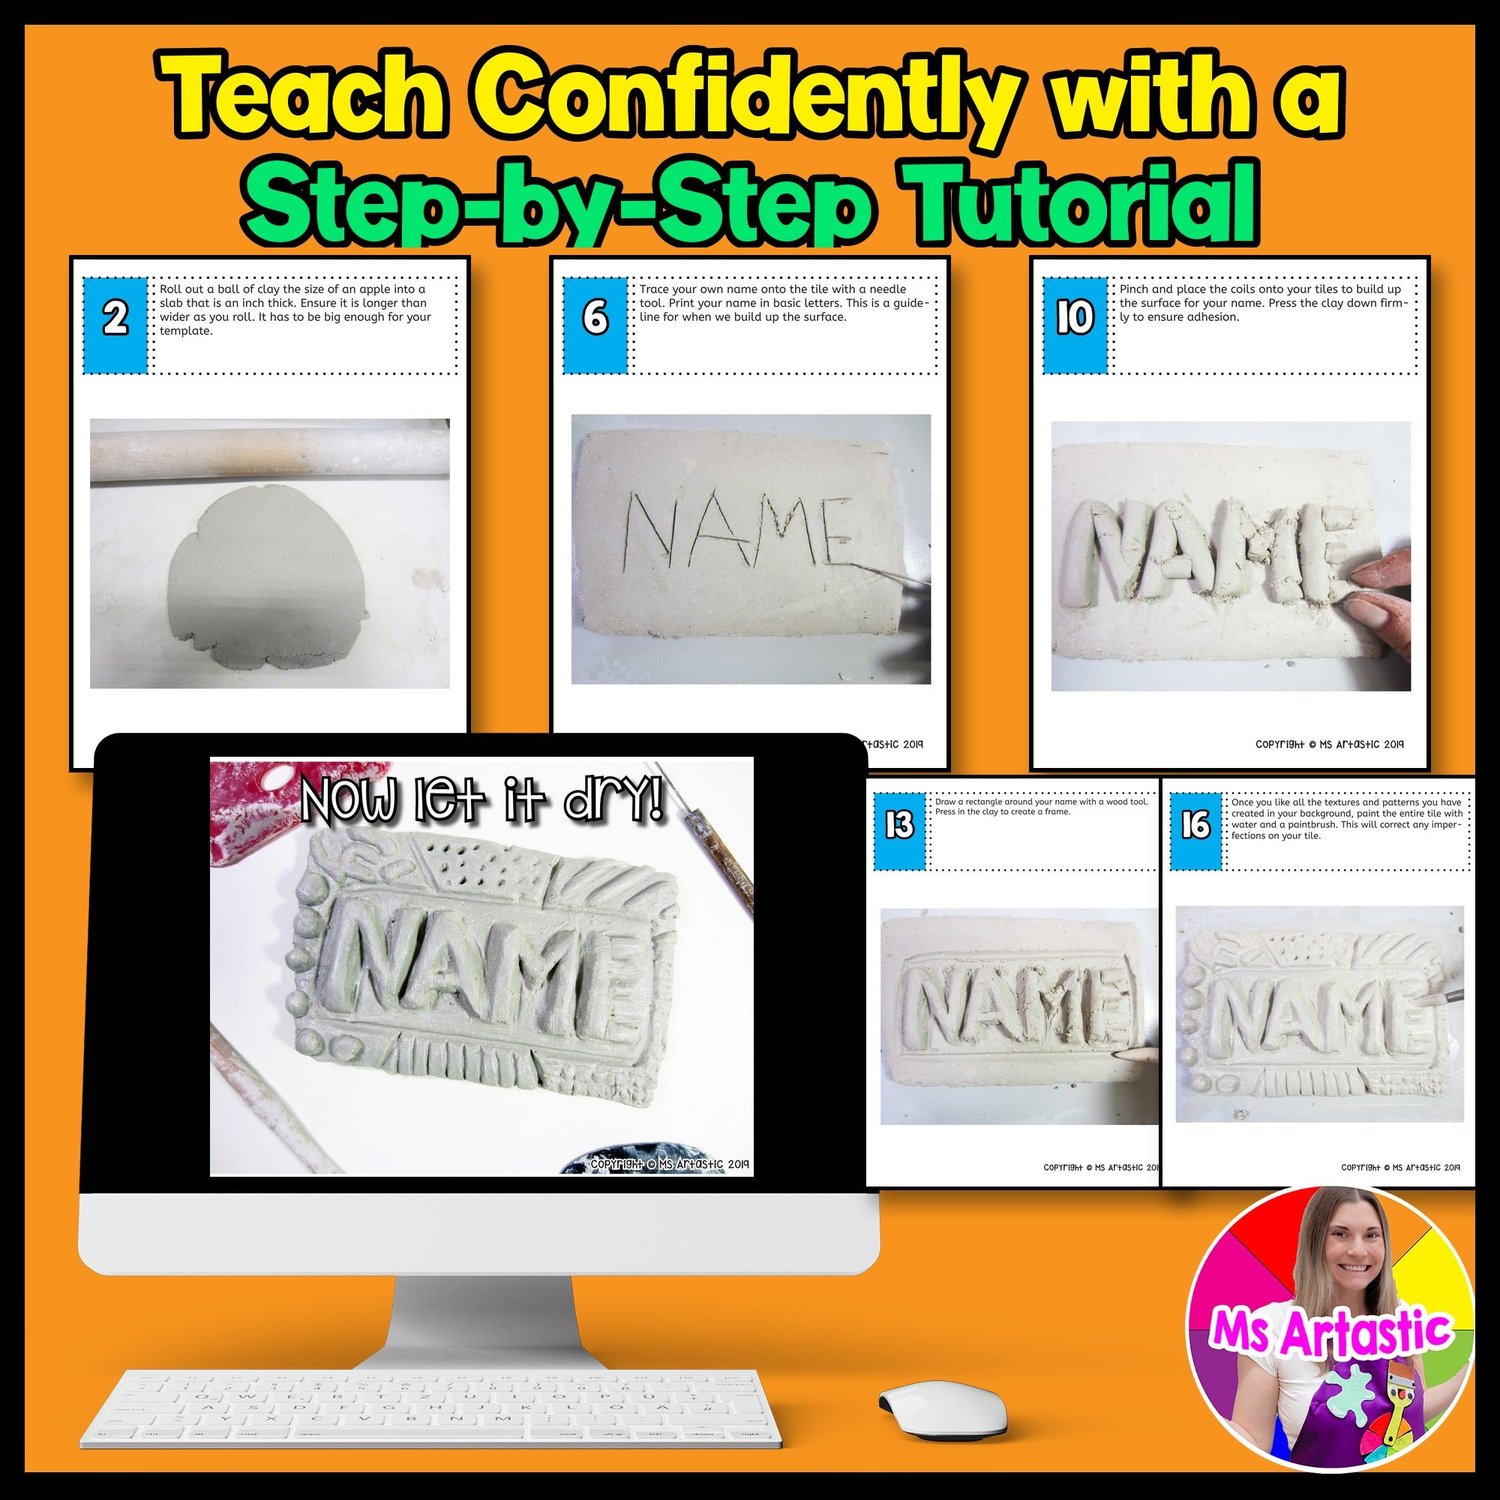
- 2 Step-by-Step Handout Pages with a condensed visual build guide
- 2 Tracer Pages for the name tile template
- 1 Poster/Sample Title Page
- 17 Step-by-Step Tutorial Pages with visual and written directions
HOW IT WORKS
The 17-page tutorial walks students through wedging the clay, rolling a slab, tracing and cutting a rectangular tile, adding grooves and initials on the back, and smoothing the surface. They trace their name on the front, roll and score tiny coils, build up the raised letters, blend and refine them into the tile, and add a frame around the name. Then they divide the background into sections, fill each one with texture and pattern by carving, impressing, stamping or adding clay, clean up with water and set the tile to dry.
The build is demonstrated in the resource, and you choose how to finish the fired tiles based on your setup. Materials: clay, wood tools, a scoring tool such as a plastic fork, rubber ribs, metal tools, stamps or texture tools, ruler, needle tool, spray bottle, and newspaper or paper towel for drying.
Skills practiced: clay slab building, additive and subtractive methods, scoring and adhesion, building relief forms, ceramic lettering, texture, pattern, line, shape, space, form, value, color, craftsmanship, creative experimentation, self-assessment and reflection.
FAQ
Who can use this resource?
Teachers, art teachers and homeschoolers, including classroom teachers with access to clay who want a guided ceramics lesson with strong visual support.
Is it only for back to school?
No. It is a good back to school project because students make a tile with their own name, and it also works as a ceramic name lesson, clay slab project or texture and pattern activity any time of year.
Is it editable?
No. It is non-editable.
Does it explain how to finish the tile after firing?
Yes. It includes 4 ways to finish ceramic art after firing: glaze, underglaze or stain, acrylic paint, and watercolor paint with varnish.
How long will it take?
Usually 2 to 3 classes or more, depending on student age, class length, drying time, available tools and whether you also teach a finishing process after firing.
Get free, classroom-ready art lessons and printables in my Free Art Lesson Library.
ABOUT THE AUTHOR
Kathleen McGiveron (Ms Artastic) is an artist who has been featured on NBC LX News and designs art lessons for kids and educational resources for teachers. She was the featured cover educator in OCO Magazine for October 2025. She is the founder of Ms Artastic and hosts the Ms Artastic YouTube Channel and Podcast.
TERMS OF USE
This resource is for single educator use only.
YOU MAY: use it in your own teaching. Please purchase additional licenses if more than one teacher will be using it.
YOU MAY NOT: share, copy, upload, post online, distribute or resell it in any form.
Thank you for respecting the time, creativity and care that go into creating original art lessons and resources.
Sincerely,
Ms Artastic
ALL TEACHER REVIEWS (9)
★★★★ “Loved the creativity and ease of use. It was great not having to create this myself.” LaDonna M.
★★★★ “What a blast, the students enjoyed making the name plates—great instructions, which led to amazing results.” Faith F.
★★★★ “My students enjoyed this project a lot. It was a great project to get them introduced to attaching clay together. Using their name or name of someone they care about made it more personable to them. Great resource!” Tessa C.
★★★★ “This resource was my introduction project with my 8th graders with special needs and it was perfect for them. They were able to be successful creating something unique and with just the right challenge for them.” Brianna W.
★★★ “I tried really hard to get my kids engaged with this, but a lot struggled. I will try it again with some modifications, though!” Laura C.
★★★★ “Very good resource and good detail of the process and steps. 5th grade did well with this in the clay unit in art.” Michelle R.
★★★★ “Such a fun project. Students loved making their names as a keepsake.” Heather S.
★★★★ “Easy to use instructions. Thank you” AussieArtTeacher