SLASH'S TOKYO 1992 LEAD TONE - TONEX
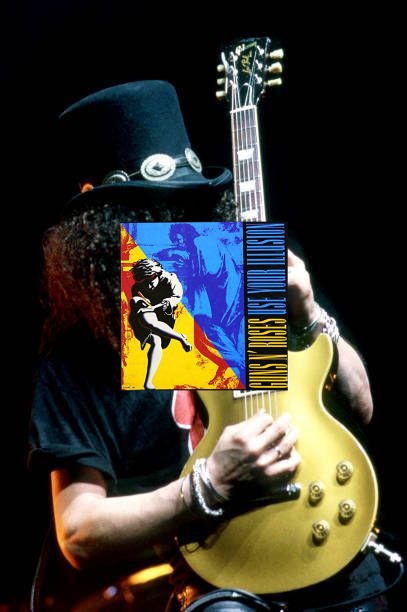
During Guns N’ Roses’ Use Your Illusion Tour, Slash delivered one of the most iconic live guitar tones ever heard — powerful, expressive, deeply emotional, and instantly recognizable. His sound at Tokyo 1992 remains legendary to this day, often referred to as the “Tokyo Tone.”
This is the only ToneX preset you’ll ever need to capture every live Slash tone from the 90s — and even the early 2000s. This lead preset also works for rhythm — just dial it down slightly in volume.
Click the product image to listen to the preset demos.
The rig behind this tone is based on the same setup Slash relied on throughout the entire 1990s and early 2000s for his live performances — from the Use Your Illusion live era with Guns N’ Roses, to Michael Jackson live guest appearances, as well as the Slash's Snakepit and Slash's Blues Ball live tours — even as far as early 2000's with Slash's Snakepit and Velvet Revolver.
This preset captures that legendary character and sustain, puts it straight into your hands, without the need to spend thousands on vintage gear that still won’t get you this close.
For decades, this tone has remained out of reach — even for players using the exact vintage gear.
The feel, the response, the magic were always missing. To the eye, Slash’s rig may have looked simple, but scaling it up to a stadium-level setup revealed that even the smallest details affect the tone. Every component, every connection, every quirk of the gear — especially for that era — colored the sound in subtle ways. It’s all these “imperfections” that make this tone truly unique.
By analyzing the rig down to the finest details, understanding how vintage electronic interference shaped the sound, and learning how the amp reacts at full stage volume, I finally cracked the code.
My ToneX presets are already being used all around the world by professional guitarists on stage and in performances. Don’t just take my word for it — check out the reviews under the “Reviews” tab and see what others are saying.
Things to Know Before You Dive In
Quick, need-to-know details to help you understand how the presets work — so you can get the best results right away
No paid ToneX version required.
You don't need to buy any extra software — just download the free ToneX software, load the presets, and you're ready to play. Also fully compatible with the ToneX ONE pedal, the regular ToneX Pedal, and of course the paid ToneX software.
How to Import the Presets
Open ToneX → go to “Presets” (top left corner) → click it and select “Import” from the drop-down menu, then choose the preset file.
When using the preset, it is important that you select it from the “Presets” tab and not from “Tone Model.” All pre-configured settings have been carefully set up for you and are stored only within the Presets section.
Model / Preset EQ & Gain Adjustment Guidance
When using the TONEX presets, it is completely normal and sometimes necessary to adjust the EQ and gain on the model itself. Every rig responds differently depending on your guitar, pickups, interface, and overall signal chain. Small adjustments are not only expected, they are part of dialing in the tone for your specific setup.
In particular, the gain control can be adjusted freely to better match your playing environment. Some presets may feel better with a slight boost, while others may need to be pulled back to sit correctly in a mix and achieve the right feel and tonal balance. For example, in a live setting, I typically run the Tokyo Lead preset at around 2 gain for a tight, controlled response and tonality.
Before making any adjustments to the model EQ or gain, it is strongly recommended to first set your input trim correctly. (Far bottom left dial knob in the ToneX software) Start from 0 and gradually increase or decrease it until your input level is properly staged. This ensures the model reacts as intended and gives you a consistent foundation to work from. Personally, I run mine at +0 through the pedal with the tokyo lead, but the software sometimes behaves a bit different than the toneX pedal itself, and therefore needs a bit of a boost. Don't be afraid to experiment. I sometimes boost the other presets through the software, if i need to do so.
Once the input is properly set, you can then fine-tune the EQ and gain to taste. Small changes can make a big difference, especially when adapting presets across different guitars, pickups, and playing environments.
If you have any trouble setting things up, feel free to contact me on Instagram or via email, and I’ll help you dial in the correct settings.
ToneX Through Your Favourite Tube Amp & Cab
My ToneX presets are built for real-world use — whether you're playing through the software only, or running them into an FRFR speaker, or pushing a real cab with a tube power amp for that full analog feel. You can run the ToneX through your tube amp, but do not use the front input — your amp’s gain stage will alter the sound in unintended ways and will vary depending on different backline rigs. So for a clean, uninterrupted, and correctly intended tone, always run it through your amp’s FX loop return.
Power Amp & Cabinet EQ Guidance
Settings on your real power/tube amp will heavily depend on what you’re running the ToneX into and which cabinet is projecting the sound. With that said, there are some general guidelines that will get you very close.
In most cases, you’ll want to push the bass quite a bit, set the mids around halfway and then adjust the presence and treble to your room/environment. Depending on preset, tweaking drastically is totally fine too. Overall this creates a balanced tone with plenty of push, similar to the feel of a cranked amp.
Personally, I use a 1987 Marshall Silver Jubilee with either a Snakepit cab or a 1987 V30 cab. This gives me a slightly darker tone, which I prefer.
From there, adjust to taste based on your own rig and playing style.
Important Note on Using Real Cabinets
When running these presets through a power amp or a tube amp into a real guitar cabinet, make sure to keep the IR cabinet enabled. This is extremely important.
The IR is a crucial part of the preset and keeps the intended frequency range and tonal balance intact. Disabling it will significantly alter the sound and remove a big part of what makes the preset work as intended.
Think of the IR as an additional EQ stage applied after the amp, specifically tuned to make everything sit right when hitting a real cabinet.
This is one of my personal tricks — don’t turn it off.
Recommended Input Trim Settings
For the best results with my ToneX presets, make sure to adjust the Input Trim inside the ToneX software or on the pedal itself. Beware that changing your audio interface’s input gain can alter the preset’s tone and dynamics. Keep the interface gain level at 0 or close to, then fine-tune with Input Trim to lock in the authentic, dialed-in sound the preset was intended for.
My recommended ToneX trim settings would be to set Input Trim at +0. Adjust this as needed, as pickup brand and height, different guitars and such matters alot here. If you need a bit of saturation/impedance from your guitar signal - turn it up a bit. But too much, and you will ruin the gain structure of the whole preset. Too little, and it will sound weak.
Instant Access & Lifetime Re-Download
The moment you buy, your files are delivered instantly with full immediate access — no delays. You’ll always have access to everything you’ve purchased, so you can redownload anytime, whenever you need it.
Free Updates