
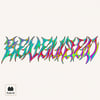
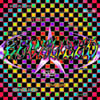
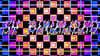
(AfterEffectsプラグイン ) Syndromee Bevelized
sy_Bevelized - Read Me / Installation
==============================================================
sy_Bevelized is an After Effects plugin that turns text, shapes
and logos into shiny metallic, gold, glass and faceted-bevel
material: profiled bevel lighting, an editable color-cycle
gradient, a tone curve, refraction, edge line-art and metal
presets - all in a single effect.
Compatible with After Effects 2020 and later.
Windows & macOS - 8 / 16-bit - CPU (no GPU required).
This folder contains:
- sy_Bevelized.aex (the Windows plugin)
- sy_Bevelized.plugin.zip (the macOS plugin)
--------------------------------------------------------------
WINDOWS - INSTALL
--------------------------------------------------------------
1. Quit After Effects.
2. Copy sy_Bevelized.aex into:
C:\Program Files\Adobe\Adobe After Effects <version>\Support Files\Plug-ins\
3. Start After Effects.
The effect appears under Effect > Syndromee Plugin > sy_Bevelized.
--------------------------------------------------------------
macOS - INSTALL
--------------------------------------------------------------
1. Quit After Effects.
2. Unzip sy_Bevelized.plugin.zip ON THE MAC
(do not unzip it on Windows -- that removes the permissions the
Mac needs and the plug-in won't load).
3. Move sy_Bevelized.plugin into:
/Applications/Adobe After Effects <version>/Plug-ins/
4. Start After Effects.
First launch: macOS may ask you to allow the plug-in under
System Settings > Privacy & Security.
If it is blocked or won't load, open Terminal, run the command
below (with the real path), then relaunch After Effects:
sudo xattr -r -d com.apple.quarantine "/Applications/Adobe After Effects <version>/Plug-ins/sy_Bevelized.plugin"
--------------------------------------------------------------
QUICK START
--------------------------------------------------------------
1. Apply Effect > Syndromee Plugin > sy_Bevelized to a text or
shape layer (the effect uses the layer's alpha as the shape).
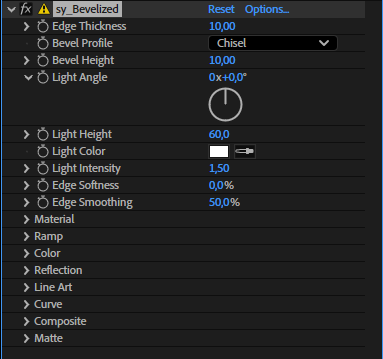
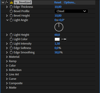
2. Bevel: choose a Bevel Profile (Round, Chisel, Pyramid, ...),
then set Bevel Height, Edge Thickness, Light Angle and Light
Height.
3. Color: pick a Palette Preset, or edit the Color Cycle gradient
- drag stops, double-click a stop (or drag it below the bar) to
delete, double-click the bar to add, eyedropper inside. Animate
"Cycle" (an angle - use a time*N expression) to flow it.
4. Material: add Specular, Metal, Fresnel, Reflectivity, Iridescence.
5. Curve: shape contrast with the on-screen tone curve.
6. Reflection (optional): tick it and pick a Reflection Layer to
refract that footage through the bevel like glass.
7. Line Art (optional): tick it for an Outline and/or Bevel-Top
stroke (each with its own color / width / opacity).
--------------------------------------------------------------
TIPS
--------------------------------------------------------------
- Pyramid = flat faceted / chamfer look. Use Edge Smoothing to
clean curved edges; raise Bevel Height for sharper facets.
- Edge Smoothing softens bevel banding; Edge Softness feathers the
whole silhouette.
- Set a line's Width to 0 to turn that stroke off.