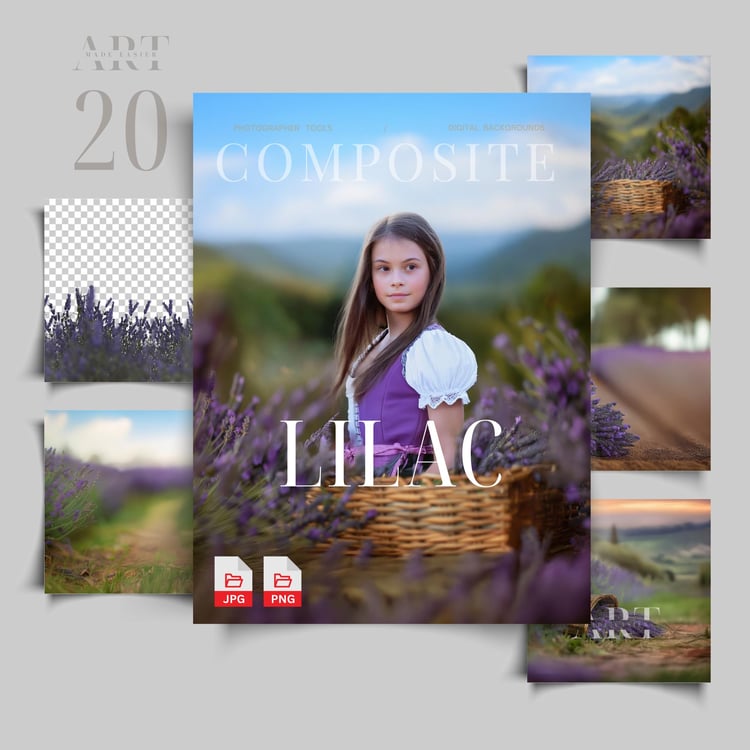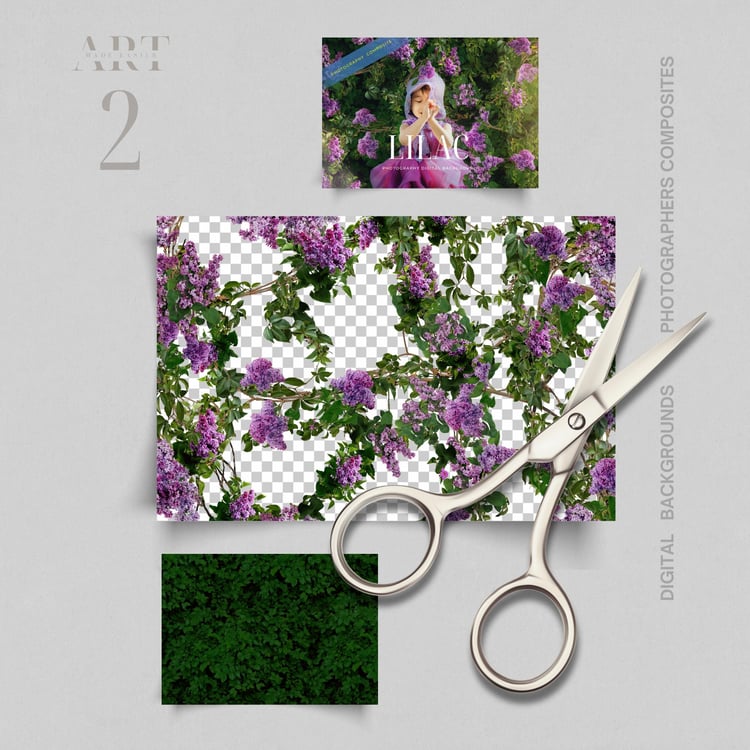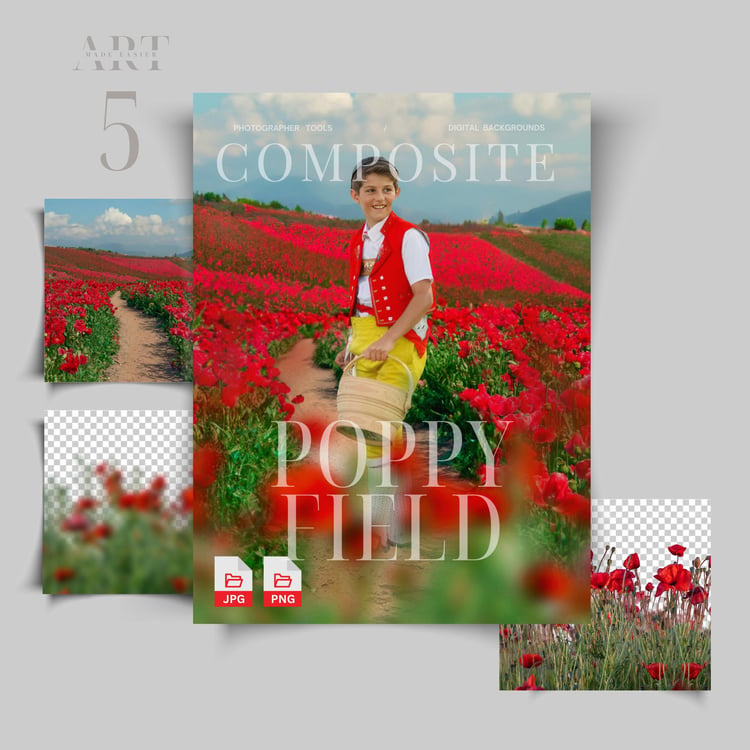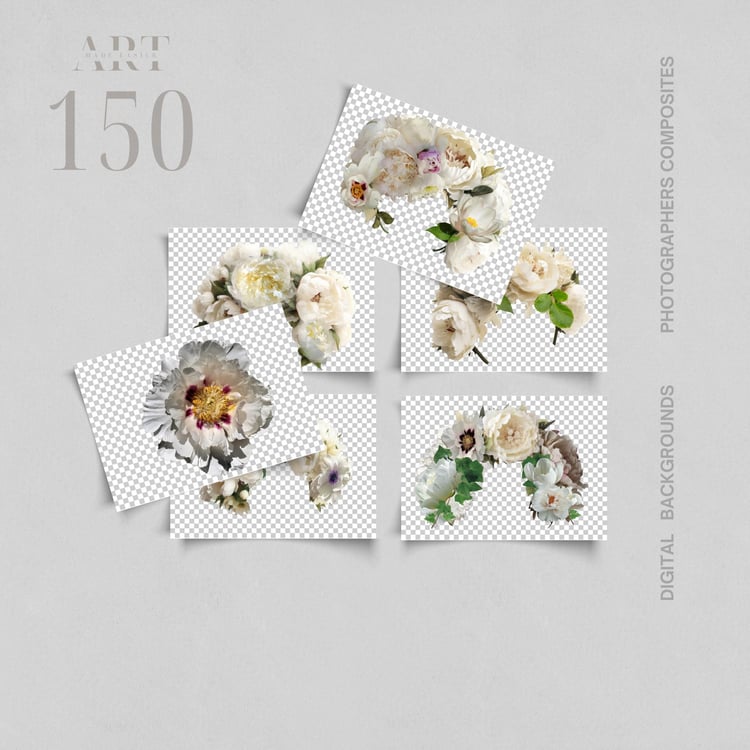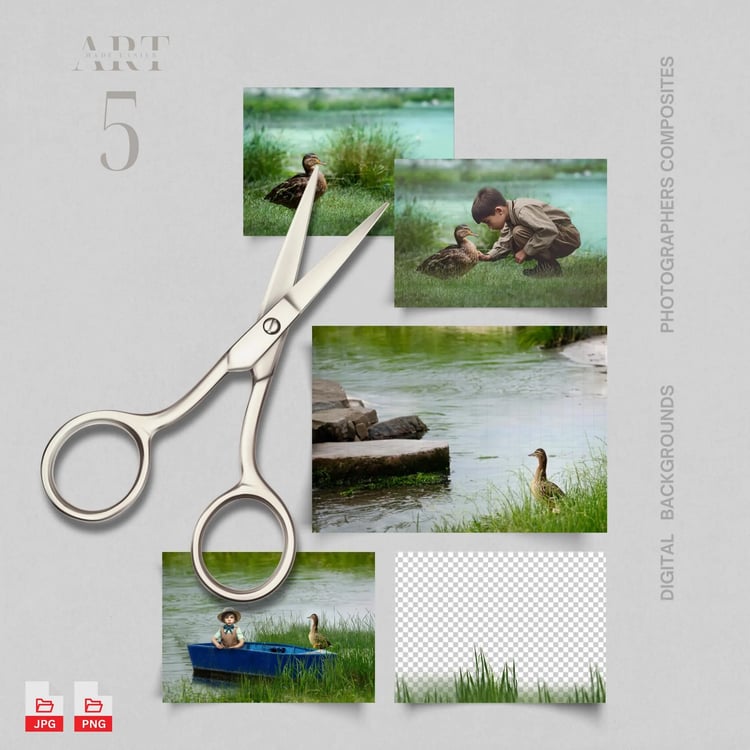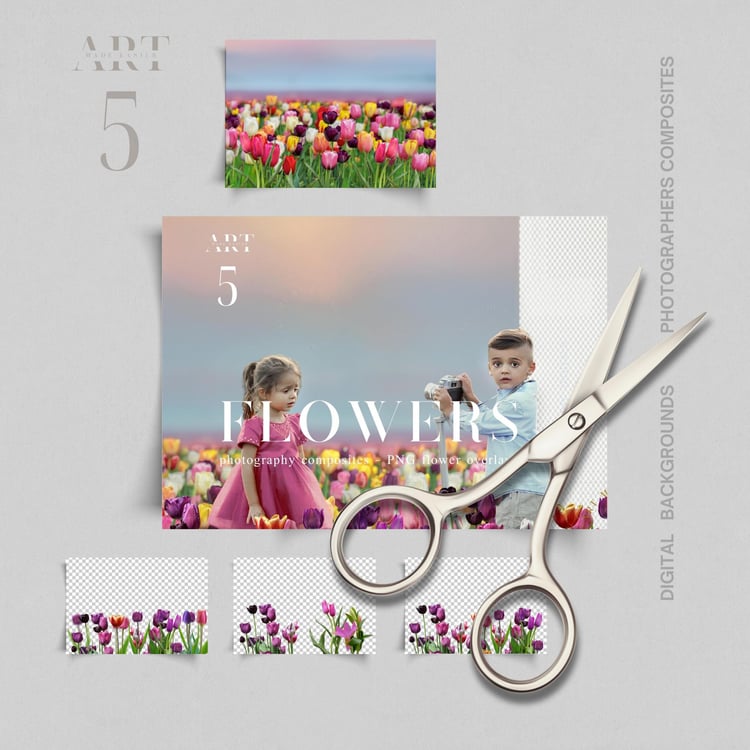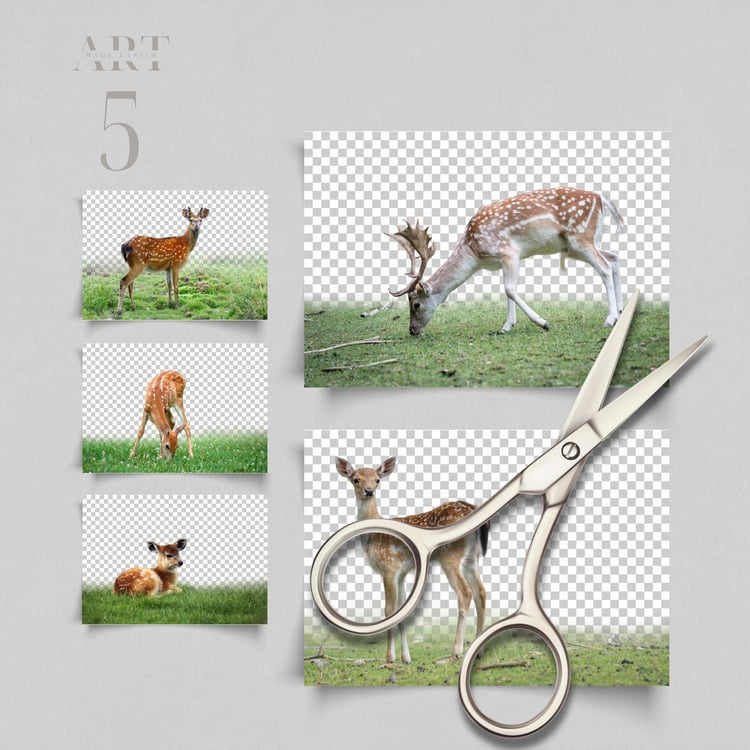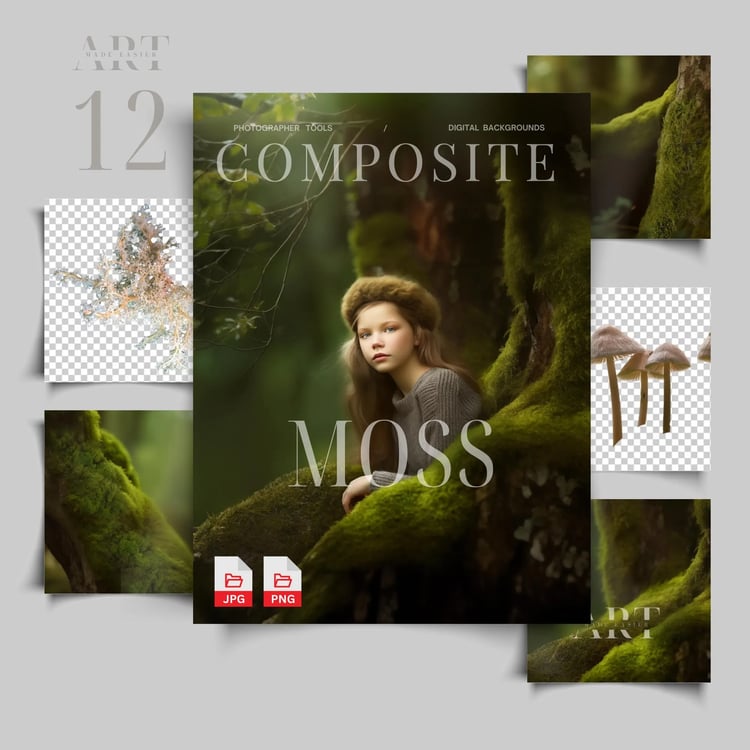

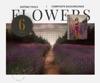
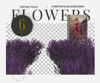
Summer Flower Lavender PNG Overlay, Lavender Field Backdrop, Purple Flower Landscape Photography Background, Soft Summer Scene
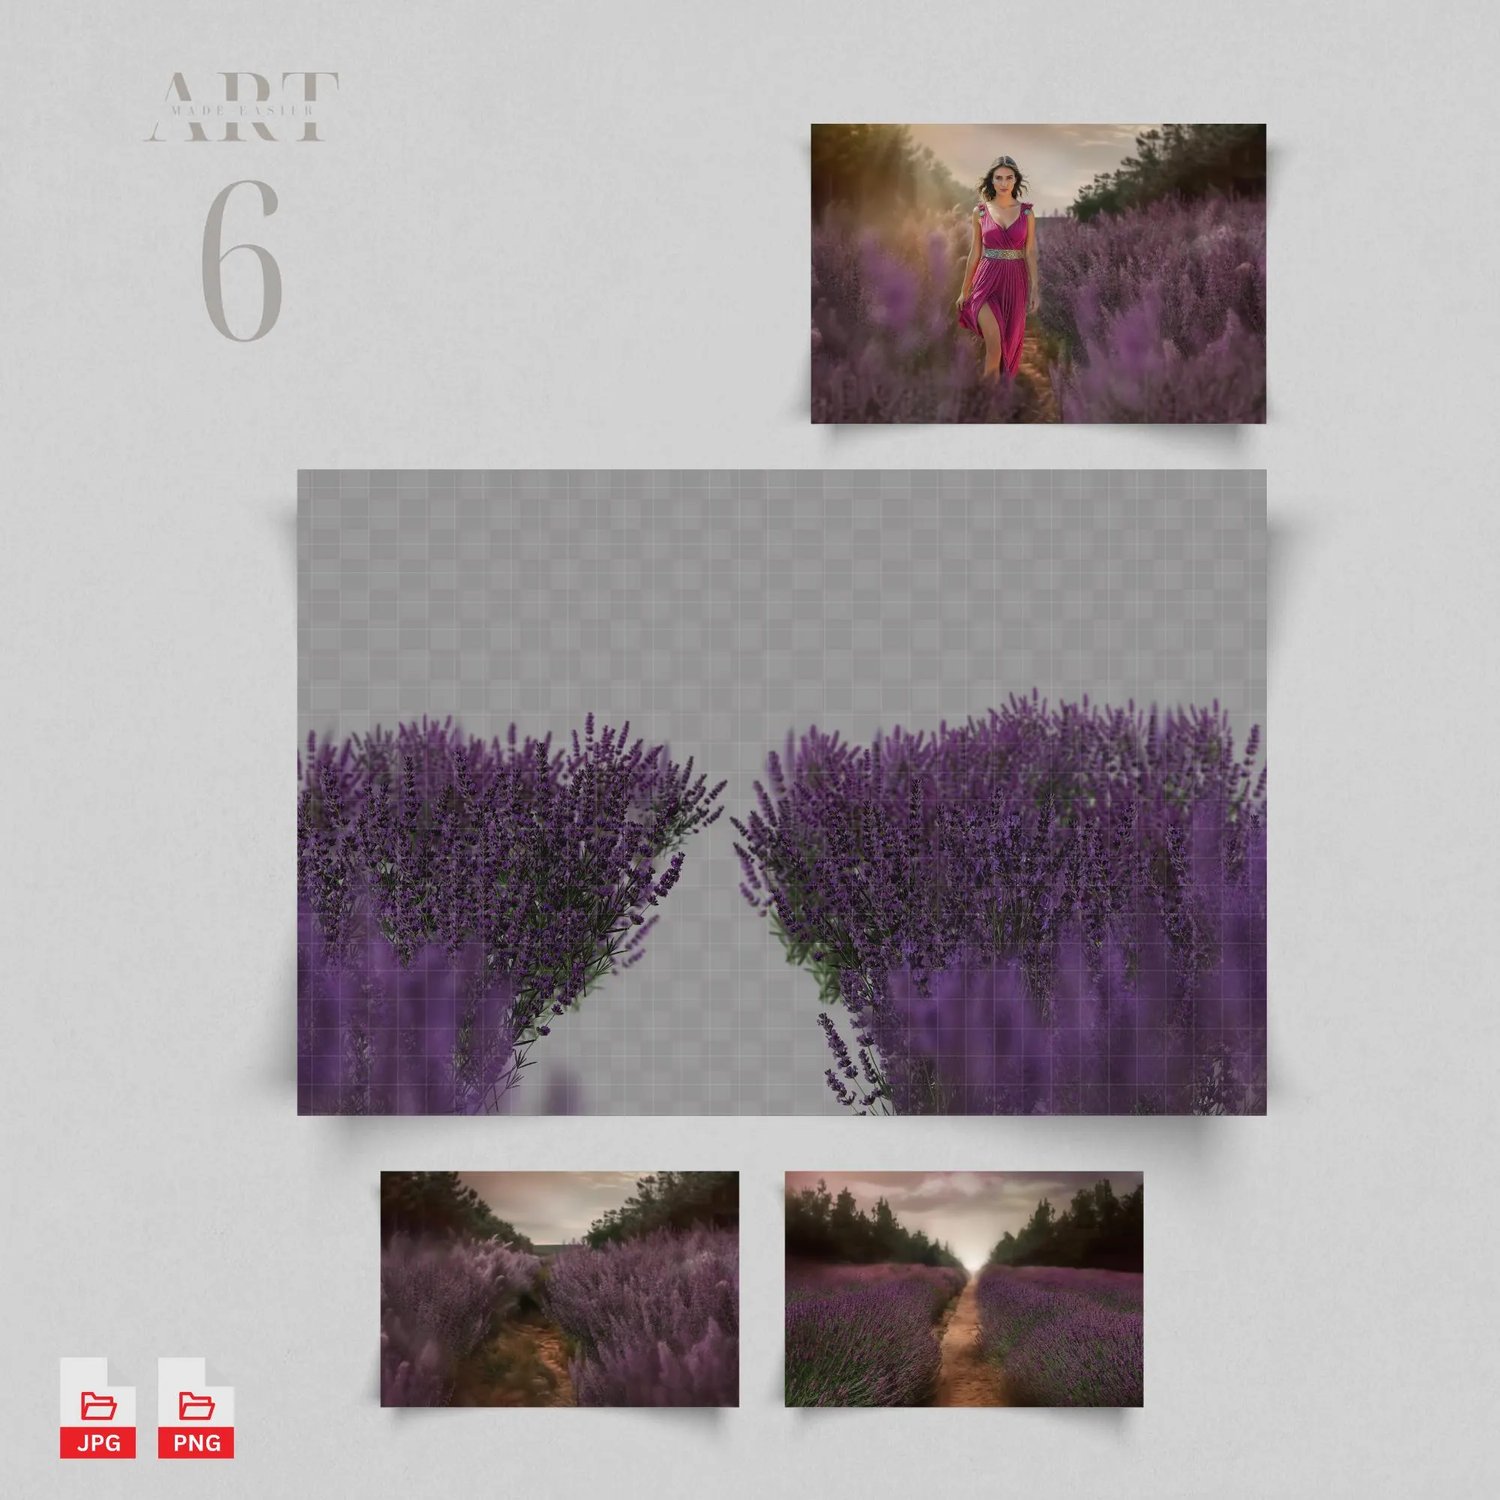
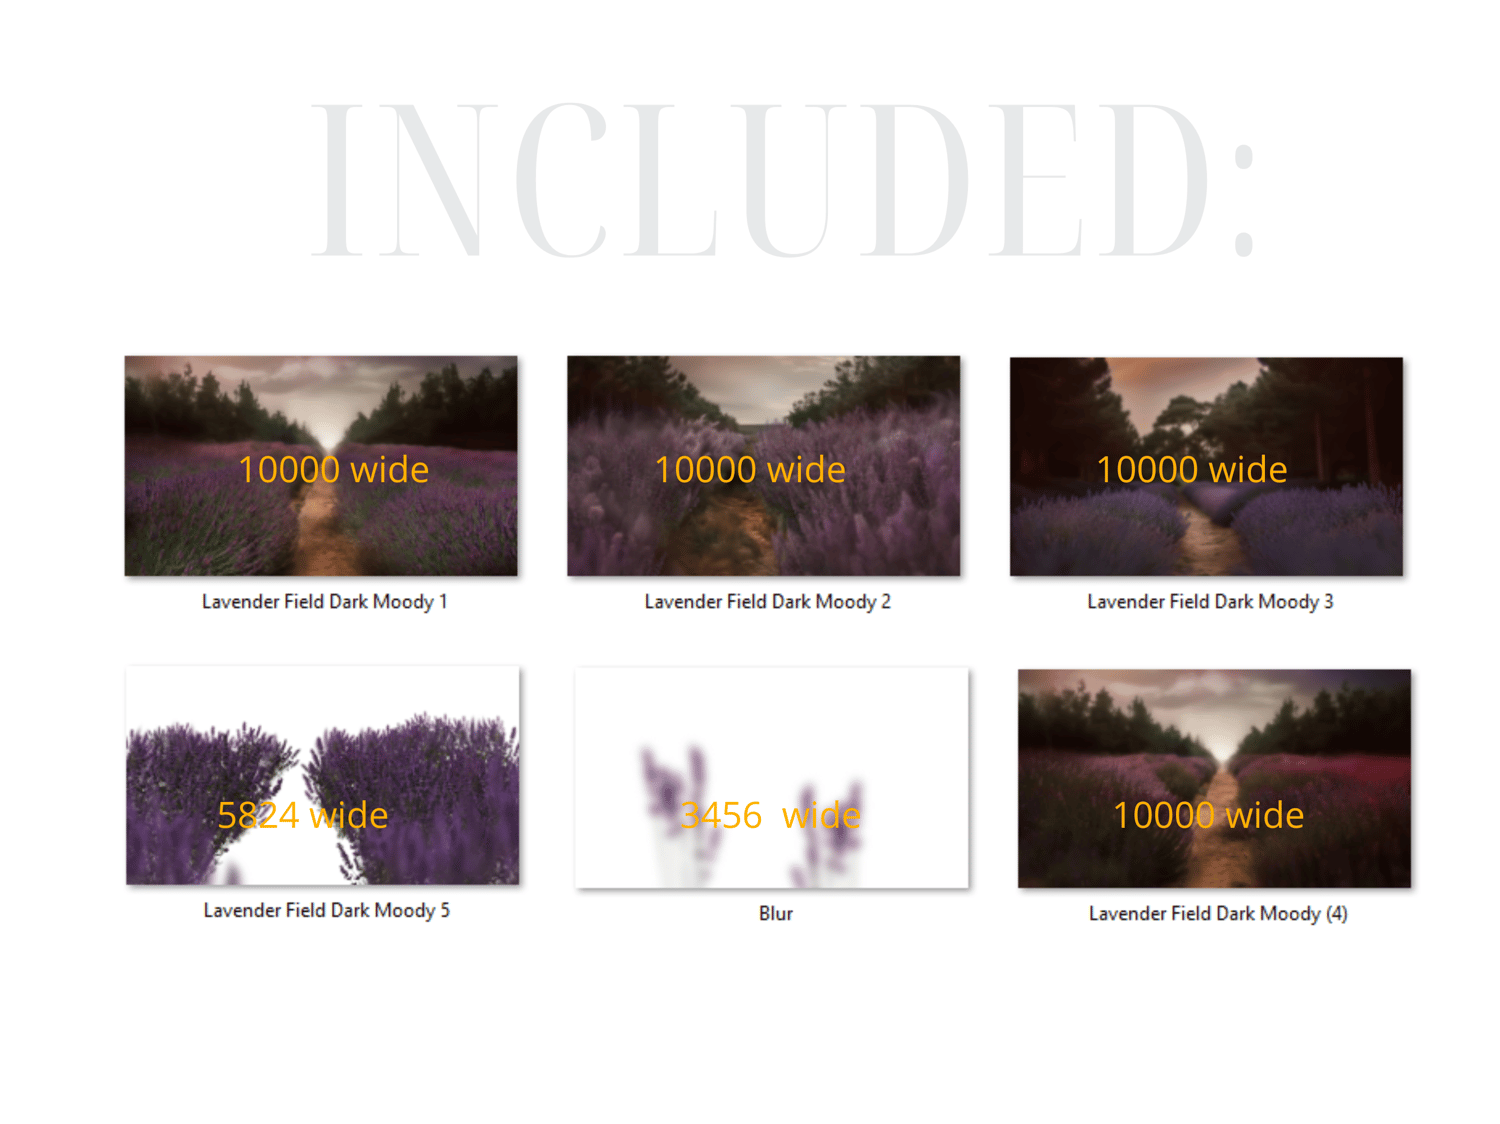
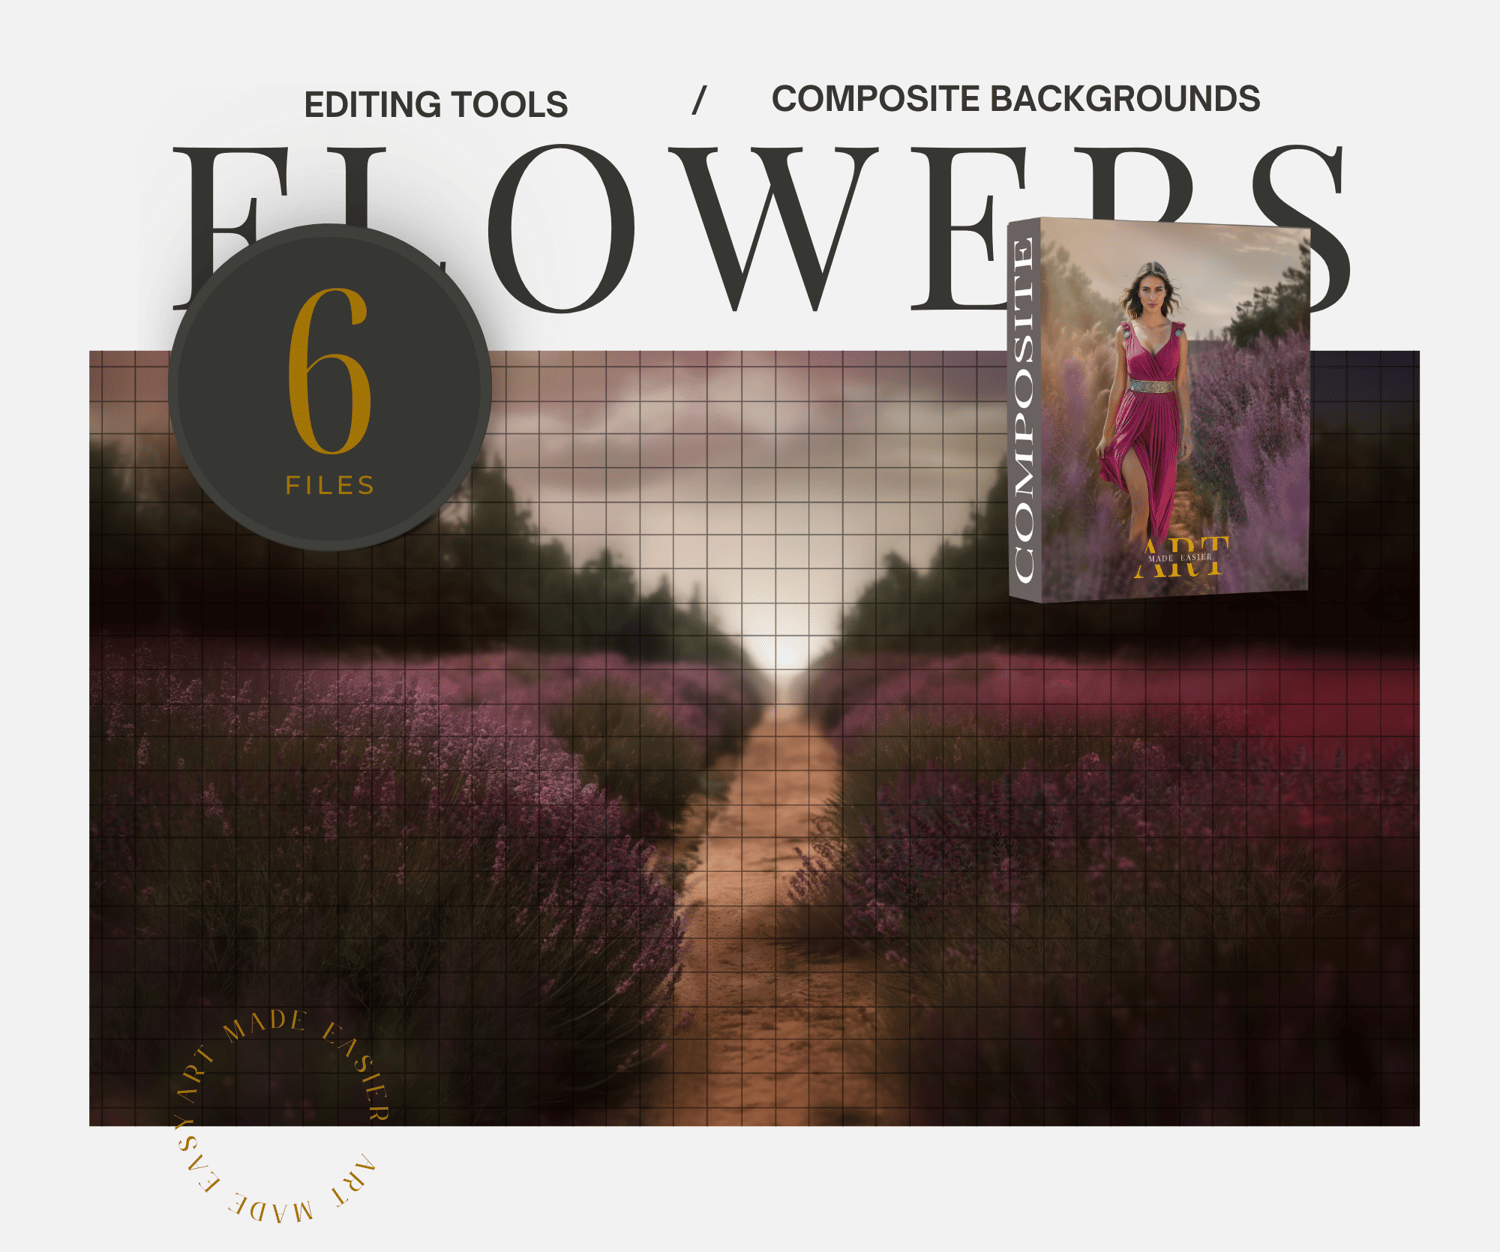
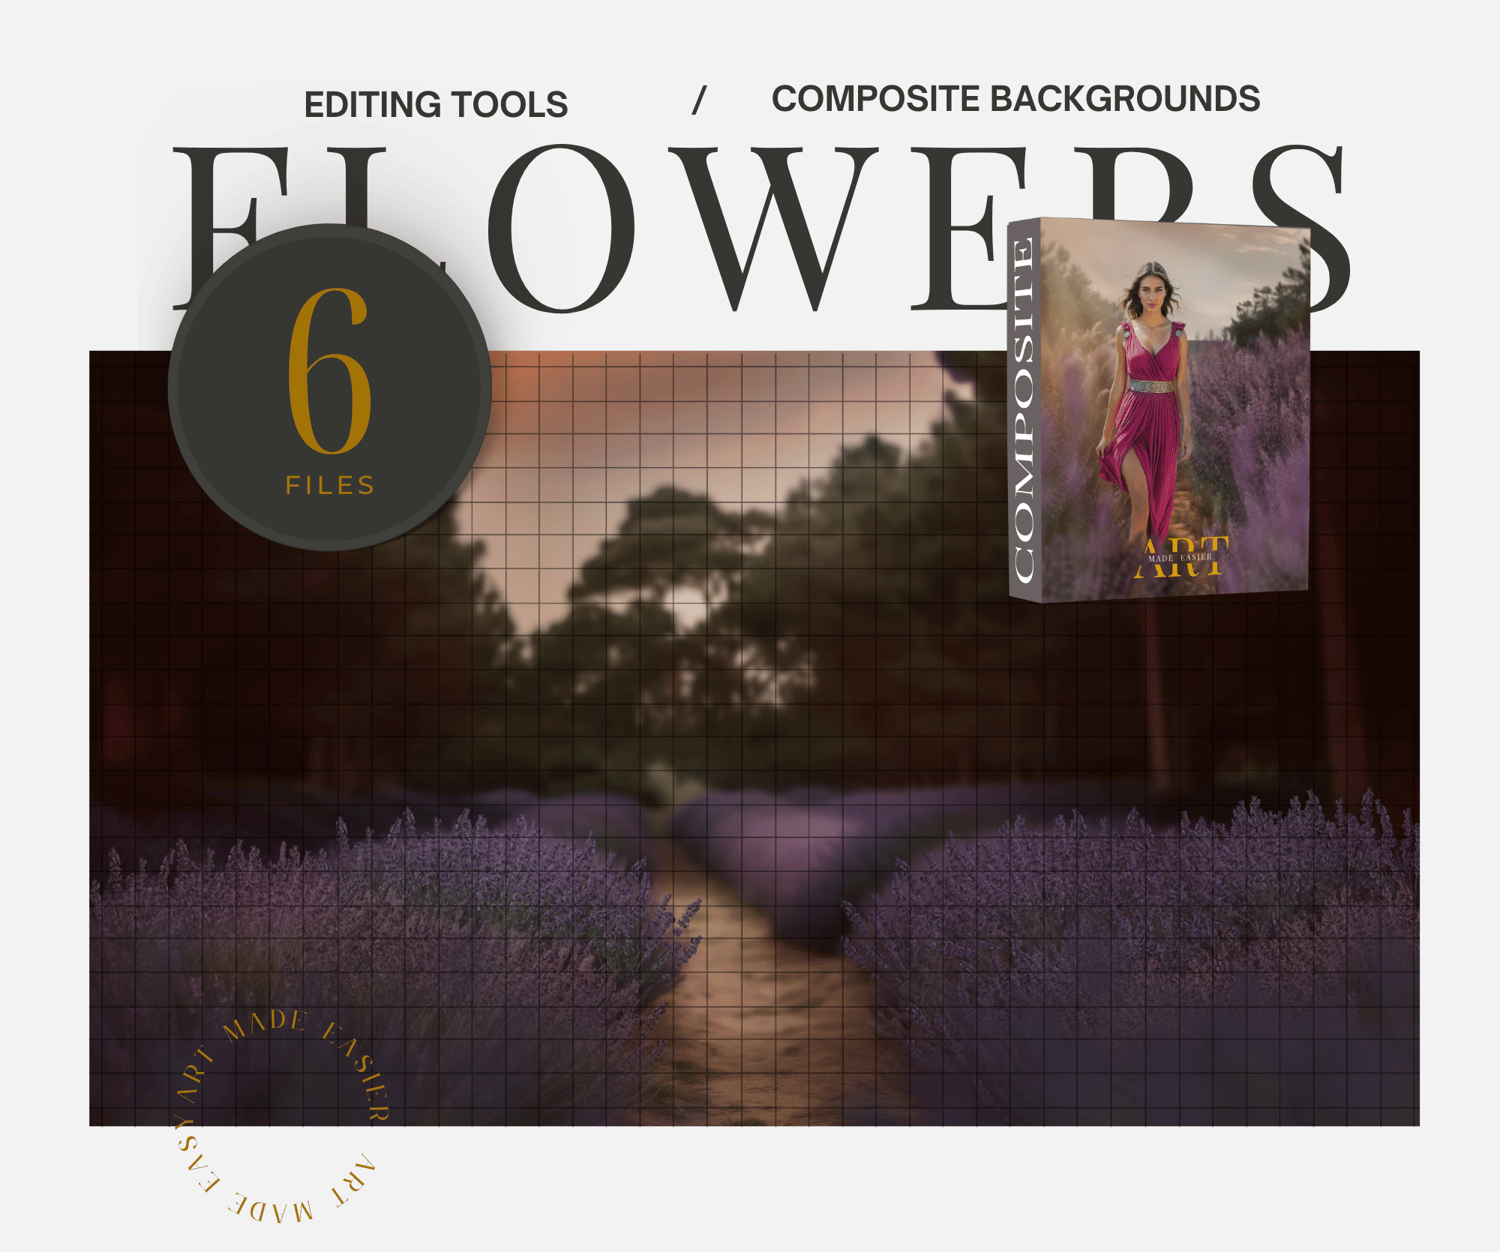
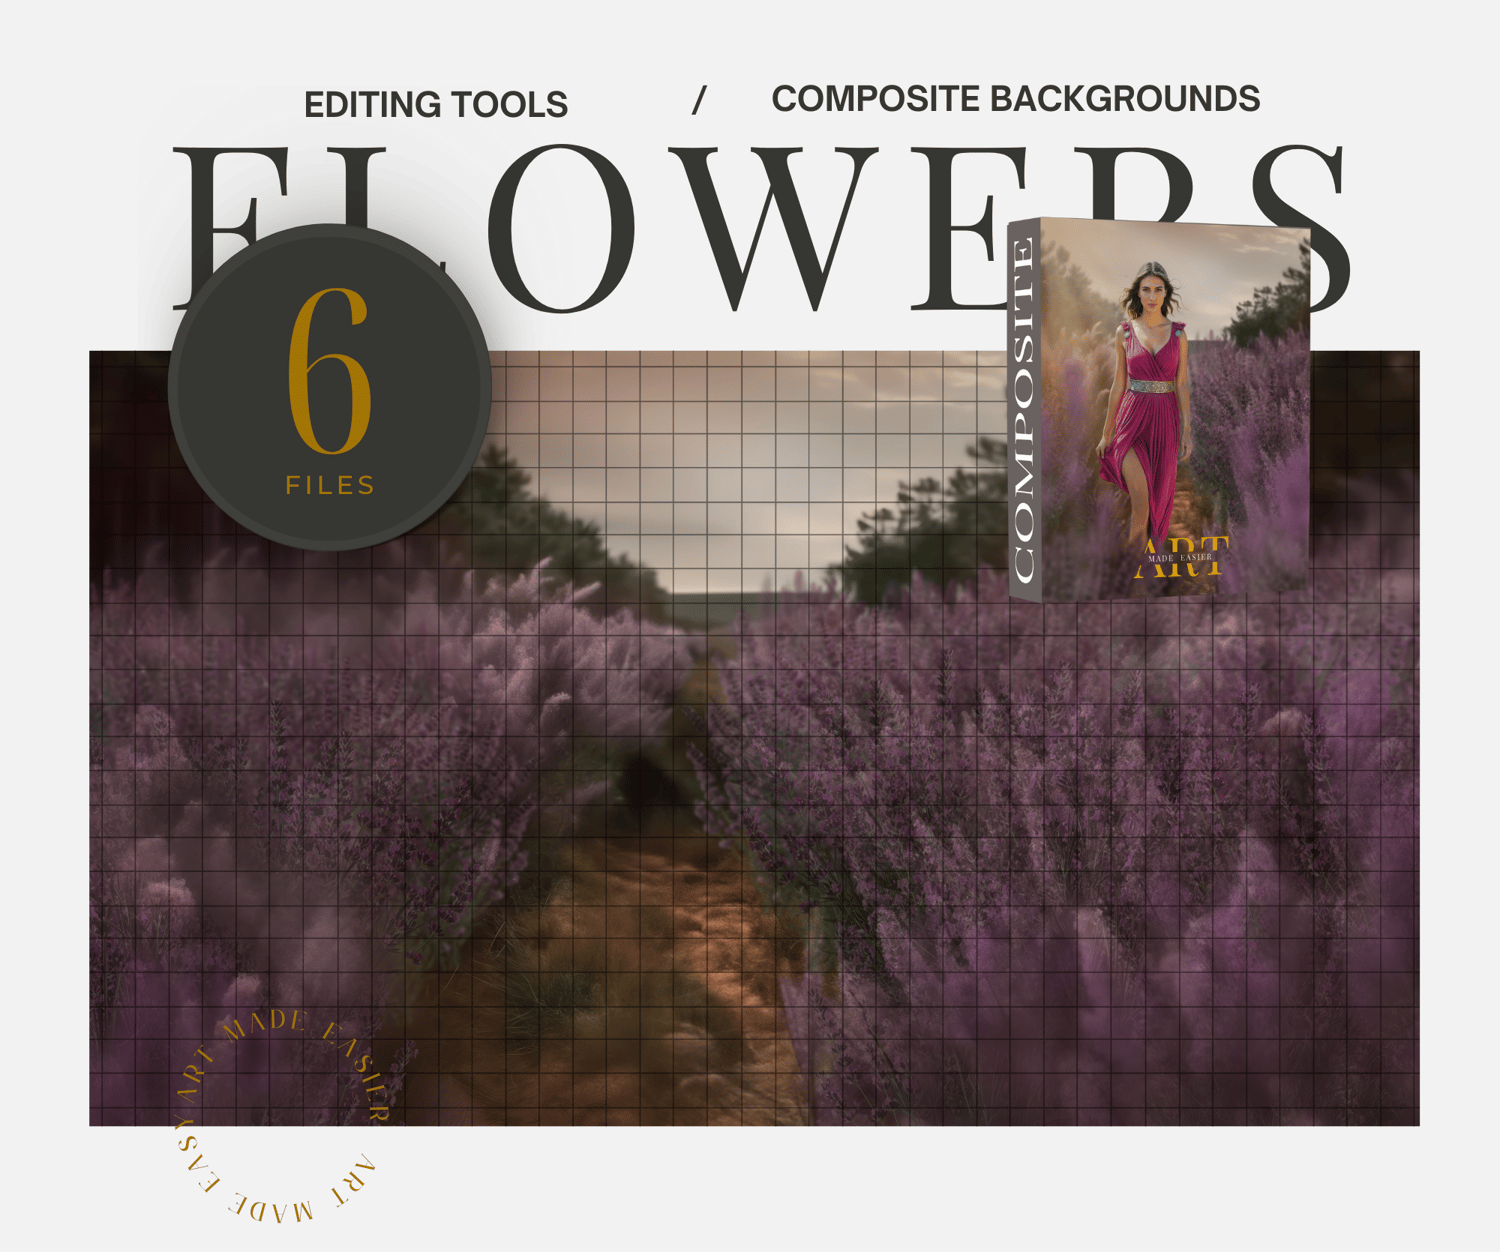
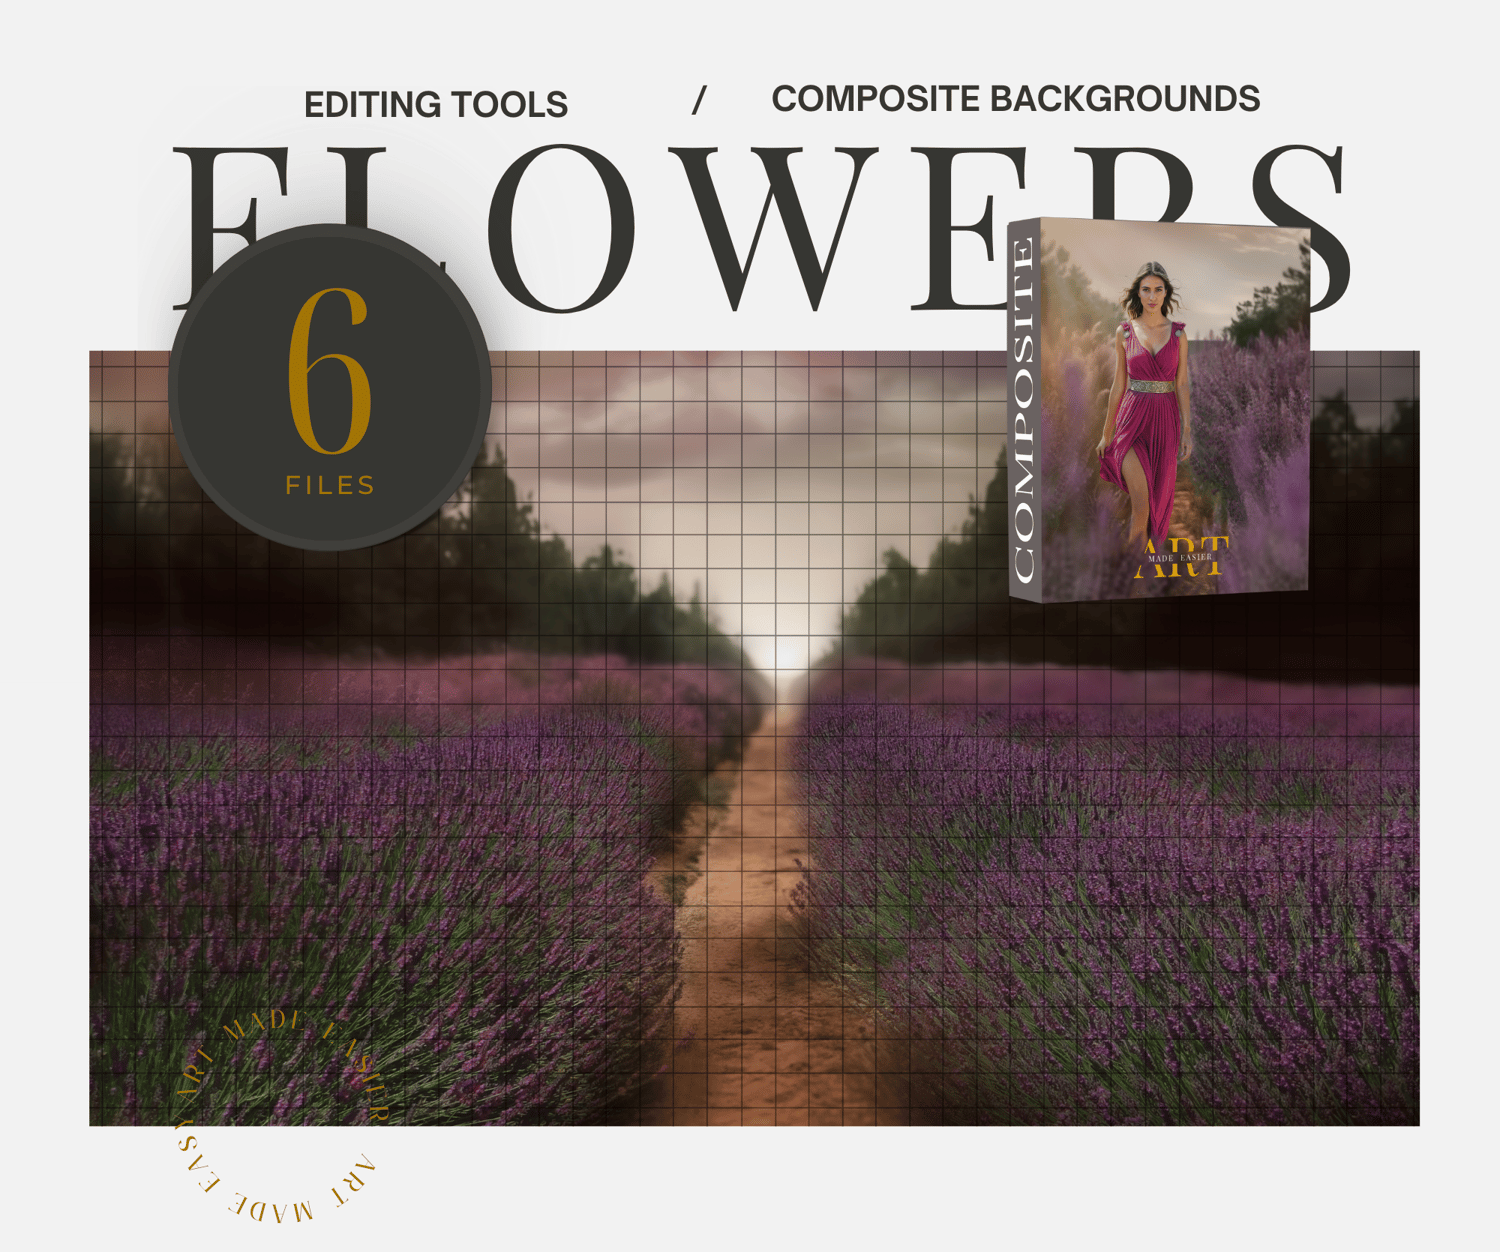
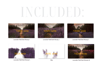
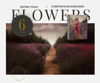
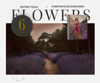
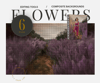
This collection contains 4 dark and moody lavender field photography backgrounds. This is for the photographer who likes deep, saturated color tones that are deep and rich. Picture your subject at dusk with the sunlight coming in from the back. Deep shades of magenta, lilacs, purple, red and greens.
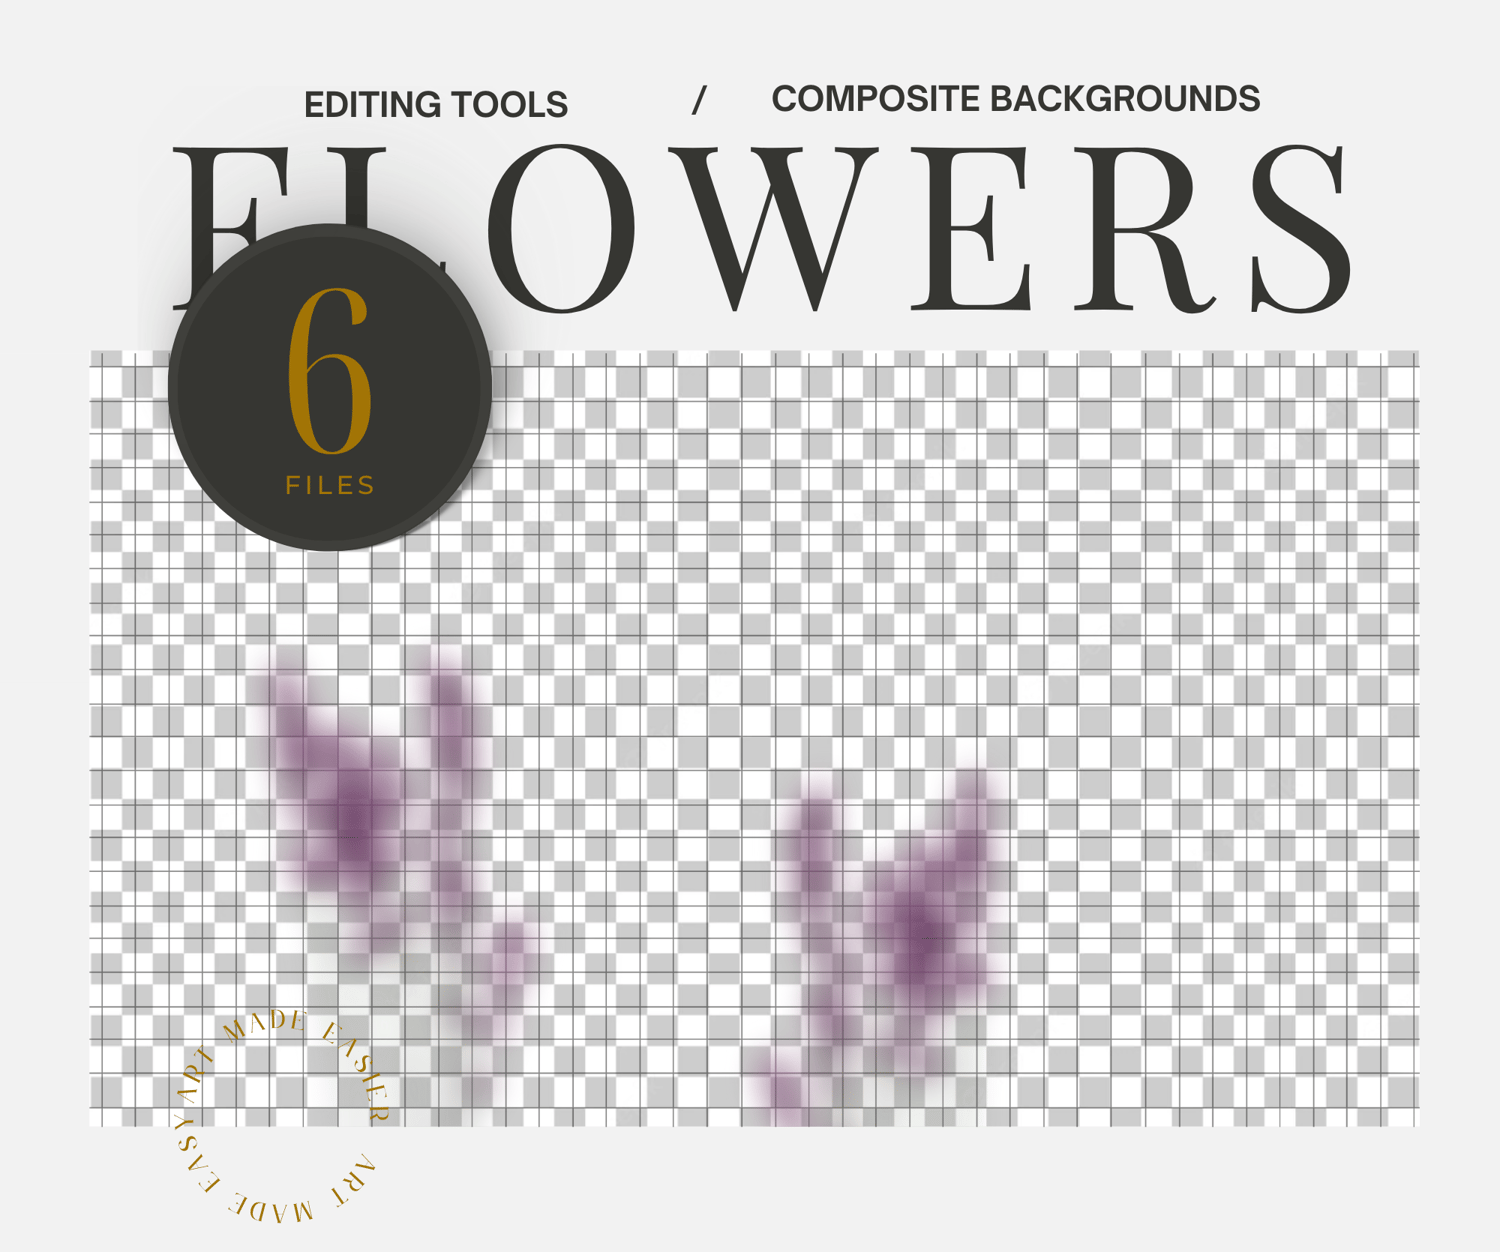
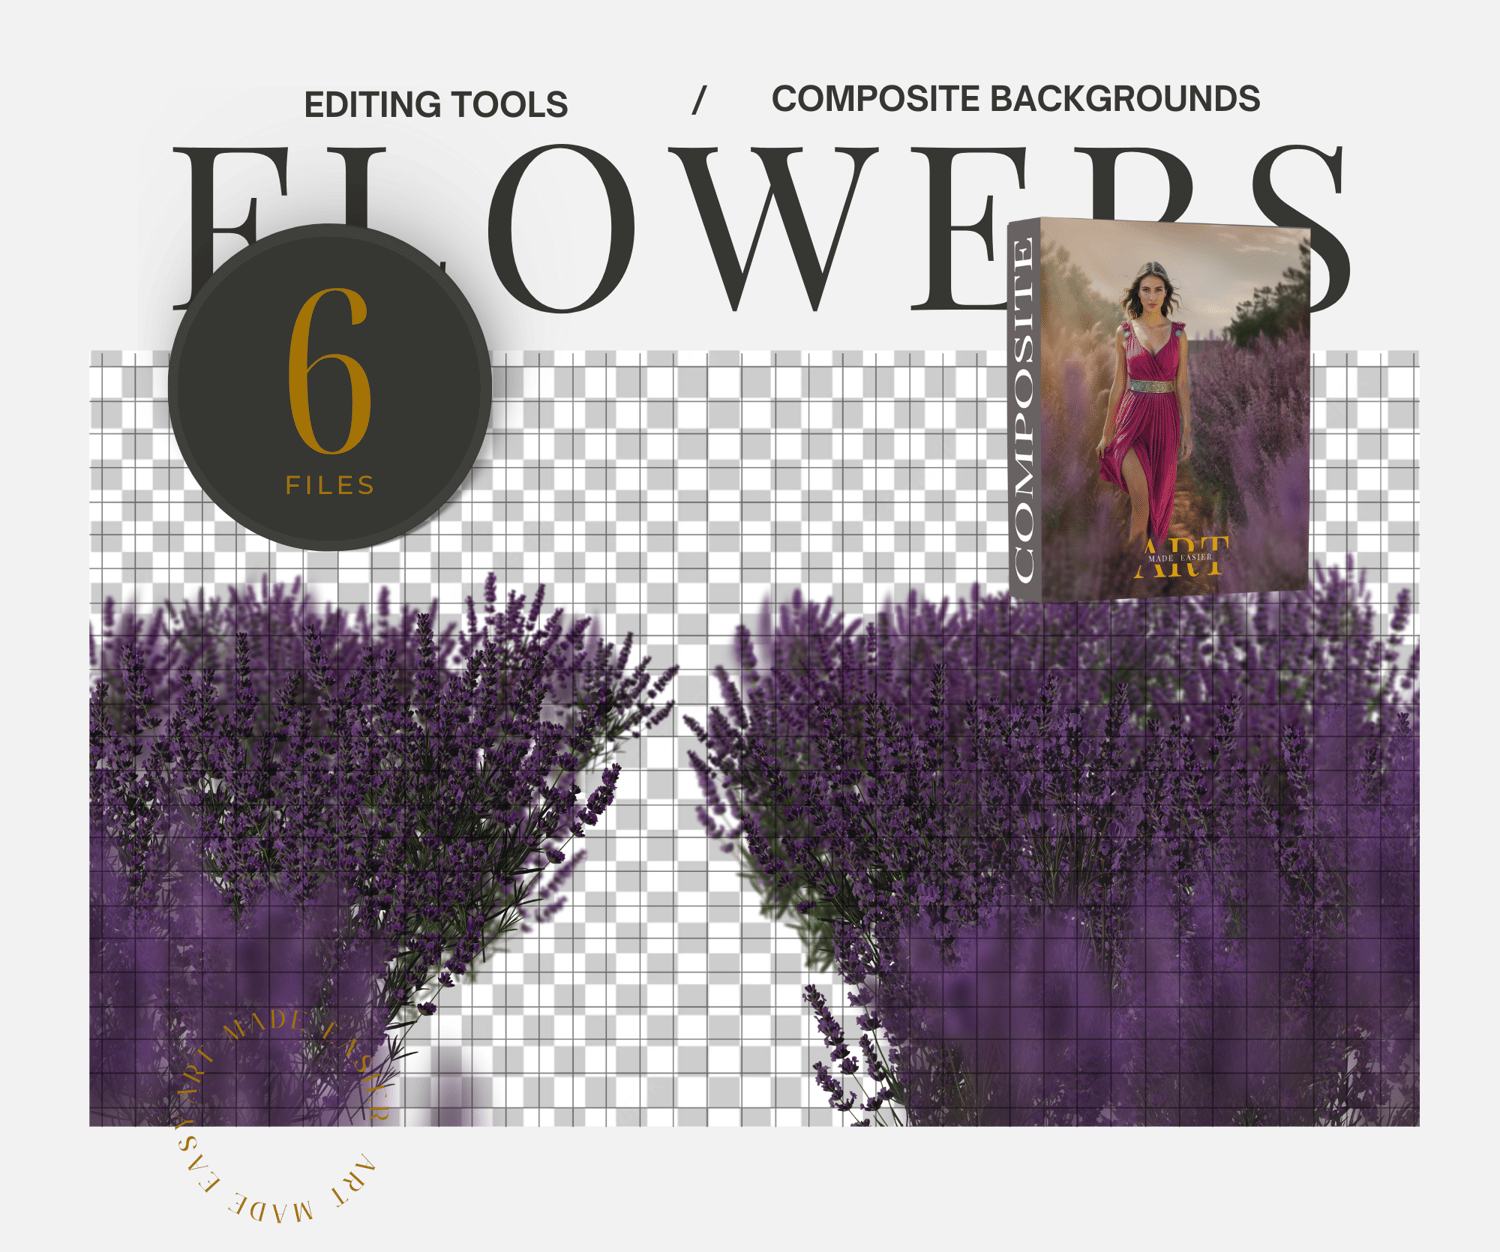
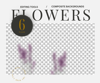
Included is a lavender flower bush that you can use to blend your subject's feet in. Use it at the same opacity, or blur it.
........................
My STUDIO Composites On Pinterest - https://bit.ly/3TkDKD0
My PNG Composites on Pinterest - https://bit.ly/48Ff9gs
My BLUE Composites on Pinterest - https://bit.ly/3uLxrPu
My BROWN Composites On Pinterest - https://bit.ly/3V4xNuZ
My GREEN Composites On Pinterest - https://bit.ly/3TjRX30
Just More Of My Composites - Pinterest - https://bit.ly/3UZQd09
- My shop pinned on pinterest: https://bit.ly/artmadeeasiercomposites
- My facebook profile - https://bit.ly/artmadeeasierfacebook
- My profile on pixabay - https://bit.ly/MerandaDevanPixabay
-------------------
Here are some tips to making them blend the best with your photography in Photoshop:
Use LEVELS Adjustment Layers - Levels pretty much darkens your photo, but also can give it a matte appearance, adjusting the highlights and the blacks. This is my go-to-adjustment. What I do is apply this, mess around with it until I can get it close enough to blend well. If you notice light coming in at a certain direction, simply erase off where the light is coming from.
LOWER THE OPACITY A TOUCH - Sometimes at the end, for a final adjustment, I lower the opacity of my overlay. I sometimes duplicate the layer, and just paint in at high opacity the details I want to bring back at 100%. I find this just softens the overlay, rather than it looking like a cutout.
CHANGE THE HIGHLIGHTS IN CAMERA RAW - I find this is another way of adjusting the highlights and blacks.
Use CURVES Adjustments - This is another adjustment as above, but darkens or lightens the object you are hoping to change. Simply CLIP this adjustment to your crown and it will only lighten or darken the crown rather than the whole picture.
SHADOWS USING BLANK LAYERS WITH A PAINT BRUSH - Use a blank layer to create shadows. Sample the color of the hair and paint in the shadows around the crown. Set it to overlay, and erase off from the skin. This file is placed under or behind the subject. BLUR it, lower the opacity.
USE GENERATION FILL - Photoshop has made compositing simpler than ever. I select the area I need fixed, and simply type in "remove". You can do this around your cutouts for a better transition. For some reason AI calculates removing the section I selected, and fills it in better than would take me 20 or more minutes to do.
USE A LIGHT SPOTLIGHT LIGHT PNG OVERLAY - You can find these png light overlays for free on the internet. I like something with a bit of yellow tone to it. Overlay it in the direction of the light and BLUR it. It gives you a soft BLEND effect, which you can then remove from the face. Its an extra layer of blending for my composites.
ADD A MATTE FINAL LAYER - I find that at the end of my edits, I add a final slight matte effect because it further blends my composite together. I find that this matte effect gives me the fine art effect.
...............................
More Tips:
Changing Color of A Graphic:
- To change the color in photoshop, go into "Image" - "Adjustments", "Replace color". Use the eye dropper to select the color you want changed, and shift it around to your desired hue.
Blend it and Match it:
- To match the brightness and the mat effect of the photo, go into "LEVELS", and clip it to the png graphic. From there, you have several sliders to adjust. This will give you a slightly matt effect, or a darkening or lightening effect.
Add A Slight Color Match :
- To Match the overall tones of the composite, use a "COLOR BALANCE LAYER". This can give you the color matching effect the best.
Additional Notes:
ALL SALES ARE FINAL * I try my hardest to deliver great products, but if I should miss something I am always happy to help. Email me any time.
These products are designed for photographers that have the ability to be able to use programs like Photoshop that can work with layers, masking, transforming tools and cutting out subjects.
- Products are are NOT intended for free use on social media platforms. Share it edited in your final form.
- Products in our shop are different sizes, check the screenshots in the listing to make sure it will work for you.
- These products are meant to be edited, but not resold in their original form.
** Thank You for choosing my store, and I value you as my customer. Have fun editing!