
John Deere 9660 CTS Combine Workshop Repair Service Manual PDF TM2171 - MJODTM2171.zip
A full workshop service and repair guide for the John Deere 9660 CTS Combine, packed with every technical detail needed to service, fix, and rebuild the machine the way expert technicians do.
Inside the John Deere 9660 CTS Combine workshop service repair manual, you'll find:
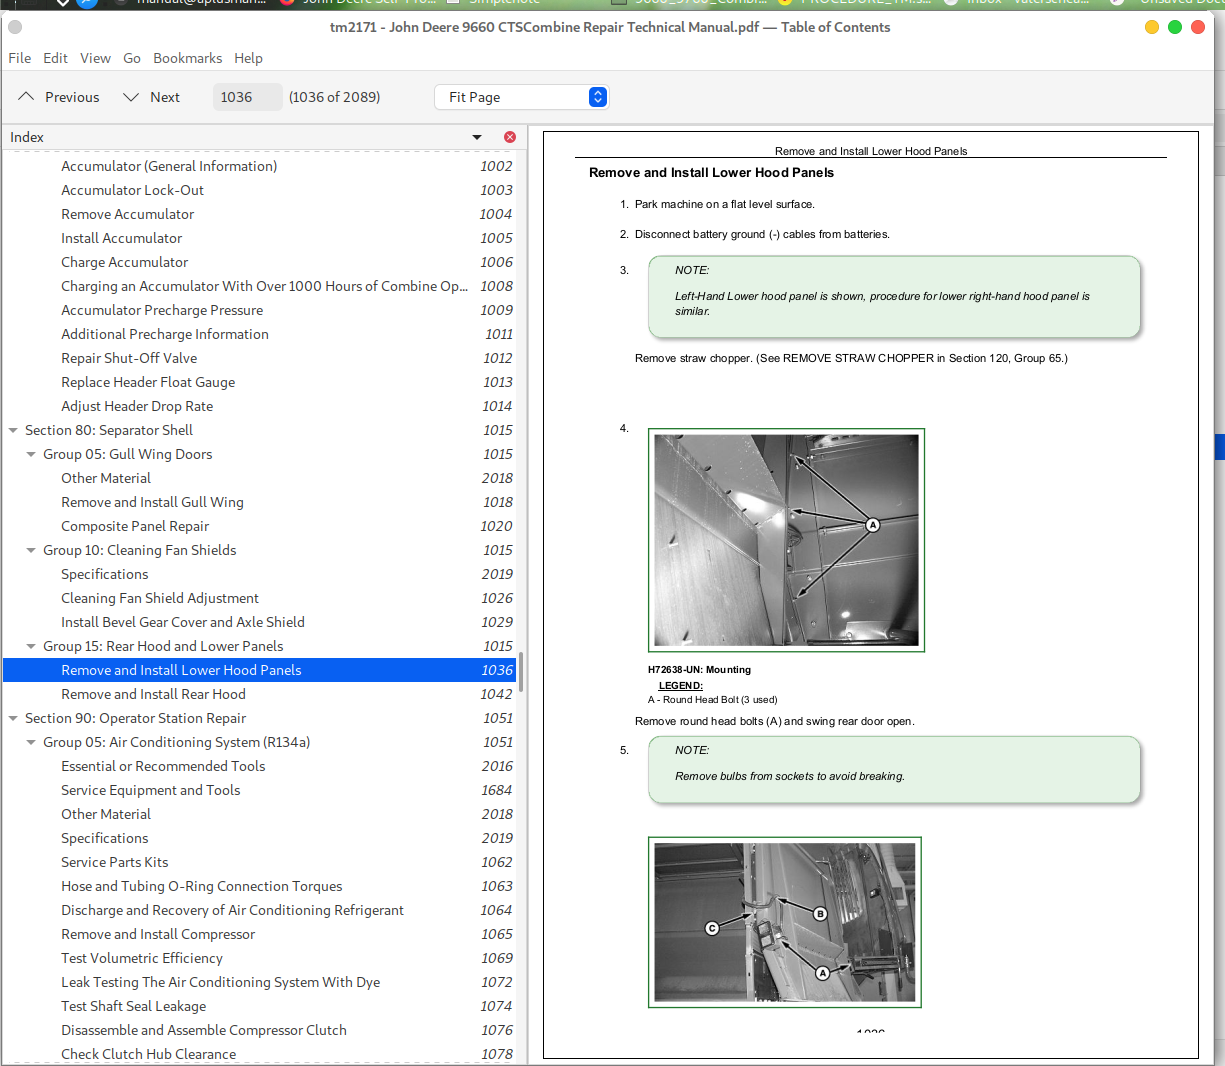
* Numbered table of contents easy to use so that you can find the information you need fast.
* Detailed sub-steps expand on repair procedure information
* Numbered instructions guide you through every repair procedure step by step.
* Notes, cautions and warnings throughout each chapter pinpoint critical information.
* Bold figure number help you quickly match illustrations with instructions.
* Detailed illustrations, drawings and photos guide you through every procedure.
* Enlarged inset helps you identify and examine parts in detail.
Total Pages: 2,020 pages
File Format: PDF/EPUB/MOBI/AZW (PC/Mac/Android/Kindle/iPhone/iPad; bookmarked, ToC, Searchable, Printable)
Language: English
tm2171 - John Deere 9660 CTS Combine Repair Technical Manual.epub
tm2171 - John Deere 9660 CTS Combine Repair Technical Manual.pdf
TABLE OF CONTENTS....1
Section 10: General....30
Group 05: Safety....30
Recognize Safety Information....34
Understand Signal Words....35
Handle Fluids Safely—Avoid Fires....36
Prevent Battery Explosions....219
Handling Batteries Safely....220
Prepare for Emergencies....40
Prevent Acid Burns....41
Handle Chemical Products Safely....43
Avoid High-Pressure Fluids....44
Service Accumulator Systems Safely....45
Wait Before Opening High-Pressure Fuel System....46
Park Machine Safely....47
Support Machine Properly....48
Wear Protective Clothing....49
Work in Clean Area....50
Service Machines Safely....51
Work In Ventilated Area....52
Illuminate Work Area Safely....53
Replace Safety Signs....54
Use Proper Lifting Equipment....55
Remove Paint Before Welding or Heating....56
Avoid Heating Near Pressurized Fluid Lines....57
Service Tires Safely....722
Avoid Harmful Asbestos Dust....59
Practice Safe Maintenance....60
Construct Dealer-Made Tools Safely....61
Use Proper Tools....62
Dispose of Waste Properly....63
Use Adequate Service Facilities....64
Live With Safety....65
Group 10: Specifications....2019
Operating Speeds....69
Ground Speeds (Fast Idle) Two Speed Four Wheel Drive....73
Ground Speeds (Fast Idle) Two Speed Four Wheel Drive....73
Ground Speeds (Separator Full Load)....75
Turning Radius....76
Specifications....2019
Dimensions....80
Dimension Reference Points....81
Unified Inch Bolt and Screw Torque Values....82
Metric Bolt and Screw Torque Values....84
Face Seal Fittings Assembly and Installation—All Pressure Applications....86
Metric Face Seal Fitting Torque Chart—Standard Pressure Applications....87
Metric Face Seal Fitting Torque Chart—High Pressure Applications....89
SAE Face Seal Fitting Torque Chart—Standard Pressure Applications....91
SAE Face Seal Fitting Torque Chart—High Pressure Applications....93
Four Bolt Flange Fittings Assembly and Installation—All Pressure Applications....95
SAE Four Bolt Flange Cap Screw Torque Values—Standard Pressure Applications....96
SAE Four Bolt Flange Cap Screw Torque Values—High Pressure Applications....97
External Hexagon Port Plug Torque Chart....98
Sealants and Adhesives Cross-Reference Chart....100
Prevent Hydraulic System Contamination....102
Check Oil Lines and Fittings....103
Basic Electrical Component Handling / Precautions For Vehicles Equipped With Computer Controlled Systems....105
Group 15: Tune Up and Adjustment....31
Tune-Up and Adjustment....108
Care and Maintenance of Belts....110
Defective Belts....112
Group 20: Fuels and Lubricants....31
Diesel Fuel....116
Heavy Duty Diesel Engine Coolant....117
Storing Fuel....119
Supplemental Coolant Additives....120
Liquid Coolant Conditioner....121
Diesel Engine Oil....122
Hydrostatic Drive System, Main Hydraulic System and Main Engine Gear Case Oils....124
Transmission, Final Drives, Feeder House Reverser, Primary Countershaft, Loading Auger Elevator....125
Grease....127
Lubricant Storage....129
Alternative and Synthetic Lubricants....130
Section 20: Engine....131
Group 05: Remove and Install Engine....139
Essential or Recommended Tools....2016
Specifications....2019
6081 John Deere Engine Repair....173
Remove Engine....136
Install Engine....139
Group 10: Lower Engine Repair....131
Remove and Install Engine Oil Pan Access Sheet....143
Group 15: Cooling System....131
Service Equipment and Tools....1684
Specifications....2019
6081 John Deere Engine Repair....173
Remove and Install Rotary Screen....149
Remove and Install Rotary Screen Drive....154
Remove and Install Rotary Screen Idler Arm and Sheaves....156
Adjusting Rotary Screen Knife Comb....158
Remove Radiator....159
Install Radiator....162
Test Radiator....165
Test Radiator Cap....166
Replace Thermostat....167
Repair or Replace Water Pump....168
Section 30: Fuel and Air System....169
Group 05: Air Intake System....169
Other Material....2018
Specifications....2019
John Deere Engine Repair....173
Remove and Install Turbocharger....174
Remove and Install Charge Air Cooler....176
Cleaning the Charge Air Cooler....179
Remove and Install Air Cleaner Filters....180
Group 10: Diesel Fuel System....169
Other Material....2018
Specifications....2019
Bleeding Fuel System (S.N. —705402)....184
Bleeding Fuel System 8.1 L Dual Filter System (S.N. 705403— )....186
Remove and Install Fuel Return Line Regulator (S.N. —710400)....190
Remove Fuel Tank....192
Install Fuel Tank....200
Remove and Install Fuel Level Sensor....406
Remove and Install Fuel Tank Strainer and Breather....208
Replace Cold Weather Starting Aid Can....210
Remove and Install Cold Weather Starting Aid....211
Section 40: Electrical System....213
Group 05: Batteries....213
Prevent Battery Explosions....219
Handling Batteries Safely....220
Prevent Damage to Electrical Systems....222
Checking Electrolyte Specific Gravity....223
Battery Replacement....225
Remove and Install Batteries....226
Connecting Booster Batteries....227
Charging Batteries....228
Connecting Battery Cables....230
Group 10: Harness and Connector Repair....213
Essential or Recommended Tools....2016
Other Material....2018
Use Electrical Insulating Compound....238
Using High-Pressure Washers....239
Electrical System Visual Inspection....240
Basic Electrical Component Handling / Precautions for Vehicles Equipped with Computer Controlled Systems....241
Electrical Connector / Wiring Harness Handling and Repair....242
Repair Procedure R-A....243
Repair Procedure R-B....248
Repair Procedure R-C....252
Repair Procedure R-D....257
Repair Procedure R-E....260
Repair Procedure R-F....264
Repair Procedure R-G....268
Repair Procedure R-I....271
Repair Procedure R-J....274
Repair Procedure R-K....279
Repair Procedure R-M....282
Repair Procedure R-N....286
Repair Procedure R-AE....290
Group 15: Wiring Harness Routing....214
Replace Harness....295
Cab Main Wiring Harness....296
Auxiliary Cab Main AUTOTRAC Wiring Harness....297
Left-Hand Main Wiring Harness....298
Right-Hand Main Wiring Harness....299
Engine/Rear Light Wiring Harness....300
Group 20: Fuses, Circuit Breakers and Relays....307
Specifications....2019
Basic Operation....303
Power Distribution Board System Basic Description....304
Circuit Board Replacement....305
Relays....307
Power Distribution Board Relay Identification....308
Engine Compartment Relay Panel Fuse Identification....310
Engine Compartment Relay Panel Relay Identification....312
Group 25: Lighting....214
Safety Rules When Replacing Halogen Bulbs....314
Bulb Part Numbers....315
Cab Head Light Bulb Replacement and Adjustment....316
Remove and Install High Intensity Discharge (HID-Xenon) Lights (Optional)....317
Auxiliary Field, Access Door, Rear Discharge, Grain Tank and Unloading Auger Work Light Bulb Replacement....320
Side Finder Light Bulb Replacement....321
Tail Light Assembly Bulb Replacement....322
Warning Light Bulb Replacement....328
Cleaning Shoe Light Bulb Replacement....325
Turn Signal Indicator Light Bulb Replacement....326
Dome and Console Light Bulb Replacement....327
Warning Light Bulb Replacement....328
COMMANDTOUCH Cornerpost Monitor Light Bulb Replacement....329
Warning Display Panel Light Bulb Replacement....331
Header Float Gauge (Optional) Bulb Replacement....333
Group 30: Operators Station....215
Other Material....2018
Specifications....2019
Instruments and Controls Identification....337
Overhead Warning Display Panel....339
Remove and Install Overhead Warning Display Panel....341
Replace Overhead Warning Display Panel Circuit Board....343
Remove and Install Light Panel Dimmer Switch....344
Remove and Install Overhead Console Rocker Switches....345
Remove and Install Mirrors (Optional)....346
Remove and Install Mirror Switch (Optional)....347
Remove and Install CLIMATRAK Automatic Air Conditioning/Heater Temperature Control Switch and Fan Switch....349
Remove and Install Radio....350
Remove and Install Radio Speakers....351
Remove and Install Radio Antenna....352
Replace Cornerpost Main Circuit Board....353
Remove Header Control Module....357
Remove Performance Monitor and Digital Tachometer Module....358
COMMANDTOUCH Console Controls....359
Remove and Install COMMANDTOUCH Console....361
Remove and Install Header and Separator Engage Switches....363
Remove and Install DIAL-A-SPEED and Active Header Control Switches....364
Remove and Install Backlight Bulbs for DIAL-A-SPEED and Active Header Control Switches....366
Remove and Install Back Light Bulbs for DIAL-A-SPEED and ACTIVE HEADER CONTROL Switches....367
Remove and Install COMMANDTOUCH Console Membrane Switches....368
Remove and Install COMMANDTOUCH Console Circuit Board....374
Replace Neutral Safety Switch....376
Replace Mini Harness....378
Remove and Install Multi-Function Handle....380
Remove and Install Start Switch....381
Remove and Install Starting Aid Switch....383
Remove and Install Turn Signal/Side Finder Light Switch....384
Remove and Install Horn Switch....385
Remove and Install Remote Mirrors (Optional)....386
Remove and Install Remote Mirror Switch (Optional)....387
Group 35: Sensors and Switches....216
Other Material....2018
Specifications....2019
Shaft Speed Sensor Locations....393
Shaft Speed Sensor Locations....393
Remove and Install Ground Speed Sensor....394
Remove and Install Conveyor Auger, Tailings Elevator, Grain Elevator and Grain Separator Sensors....395
Remove and Install Cleaning Fan, Cylinder Speed and Feeder House Backshaft Speed Sensors....396
Remove and Install Straw Chopper Sensor....397
Remove and Install Full Grain Tank Sensor....398
Remove and Install Tailings Sensor....399
Remove and Install (Shoe/Separator) VISIONTRAK VisionTrak is a trademark of Deere & Company Sensors....216
Remove and Install Header Height and Lateral Tilt Control Sensors....401
Remove and Install Coolant Temperature Sensor....403
Remove and Install Fuel Level Sensor....406
Remove and Install Park Brake Switch....407
Remove and Install Air Filter Restriction Switch....408
Remove and Install Engine Gear Case Temperature and Pressure Switches....409
Remove and Install Hydro Charge Pressure Switch....410
Remove and Install Hydraulic Reservoir Temperature Sensor....411
Remove and Install Engine Oil Pressure Switch....412
Remove and Install Service and Cleaning Shoe Light Switch....413
Back-Up Alarm—Exploded View....414
Group 40: Wiper....216
Specifications....2019
Remove and Install Wiper Motor....417
Adjust Windshield Wiper....421
Remove and Install Windshield Washer....423
Group 45: Alternator....216
Specifications....2019
John Deere Engine Accessories—Alternator Repair—Use CTM77....427
Remove and Install Alternator....428
Remove and Install Alternator Belt....431
Remove and Install Voltage Regulator (185 Amp Leece-Neville)....434
Group 50: Starting Motor....217
Service Equipment and Tools....1684
Specifications....2019
John Deere Starting Motor Repair—Use CTM77....440
Remove and Install Starting Motor....441
Replace Starting Motor Dust Cover....442
Group 55: GREENSTAR Components....217
Specifications....2019
Remove and Install GREENSTAR Mass-Flow Sensor....445
Remove and Install GREENSTAR Moisture Sensor....449
Disassemble and Assemble GREENSTAR Moisture Sensor....450
Remove and Install GREENSTAR Moisture Sensor Actuator....452
Remove and install GREENSTAR Moisture Sensor Circuit Board....456
Disassemble and Assemble Position Receiver....458
Remove and Install Position Receiver....460
Section 50: Power Train Repair....461
Group 05: Transmission and Differential....461
Other Material....2018
Specifications....2019
Remove and Repair Shifter Forks and Shifter Cam....468
Install Shifter Forks and Shifter Cam....470
Remove and Install Transmission Lube Pump....473
Remove and Install Suction Screen....476
Remove Transmission....477
Transmission Components....479
Transmission Recondition....482
Disassemble and Repair Transmission....483
Assemble Transmission....492
Install Transmission....496
Remove and Install Gearshift Lever and Linkage....498
Adjust Gearshift Linkage....500
Group 10: Single Reduction Final Drive....461
Essential or Recommended Tools....2016
Service Equipment and Tools....1684
Other Material....2018
Specifications....2019