
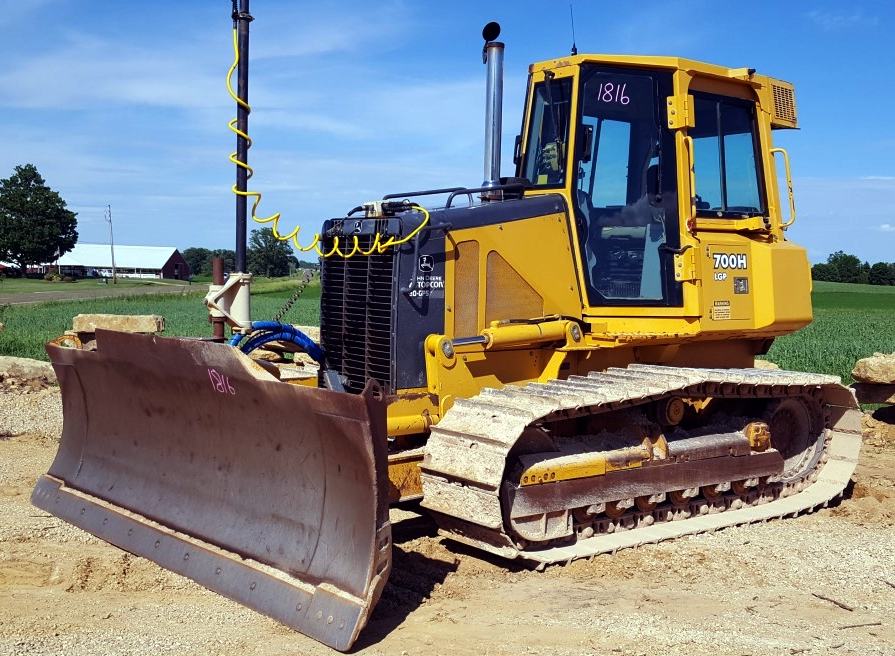
John Deere 700H Crawler Dozer Repair Service Manual TM1859 PDF - MJODTM1859.zip
This is the full workshop and repair guide for the John Deere Crawler Dozer 700H, containing everything needed to service, fix, and rebuild the machine the way a professional technician would.
What you'll find inside the John Deere Crawler Dozer 700H workshop service repair manual:
* Numbered table of contents easy to use so that you can find the information you need fast.
* Detailed sub-steps expand on repair procedure information
* Numbered instructions guide you through every repair procedure step by step.
* Notes, cautions and warnings throughout each chapter pinpoint critical information.
* Bold figure number help you quickly match illustrations with instructions.
* Detailed illustrations, drawings and photos guide you through every procedure.
* Enlarged inset helps you identify and examine parts in detail.
TM1859 - John Deere 700H Crawler Dozer Technical Manual - Repair.pdf
TM1859 - John Deere 700H Crawler Dozer Technical Manual - Repair.epub
Total Pages: 754 pages
File Format: PDF/EPUB/MOBI/AZW (PC/Mac/Android/Kindle/iPhone/iPad; bookmarked, ToC, Searchable, Printable)
Language: English
MAIN SECTIONS
00 - General Information
02 - Axles and Suspension Systems
03 - Transmission
04 - Engine
05 - Engine Auxiliary Systems
07 - Dampener Drive
11 - Park Brake
15 - Equipment Attaching
16 - Electrical System
17 - Frames, Chassis, or Supporting Structure
18 - Operator's Station
19 - Sheet Metal and Styling
20 - Safety, Convenienence and Miscellaneous
21 - Main Hydraulic System
32 - Bulldozer
TABLE OF CONTENTS
Foreword
Technical Information Feedback Form
General Information
Safety
General Specifications
Torque Values
Fuels and Lubricants
Tracks
Track System
Axles and Suspension Systems
Drive Axle Housing and Support
Axle Shaft, Bearings, and Reduction Gear
Transmission
Removal and Installation
Controls Linkage
Hydrostatic System
Engine
Removal and Installation
Engine Auxiliary Systems
Cold Weather Starting Aids
Radiator and Fan Shroud
Engine Speed Control
Intake System
External Exhaust System
Mounting Frame
External Fuel Supply System
Dampener Drive
Elements
Park Brake
Removal and Installation
Control Linkage
Hydraulic System
Equipment Attaching
Drawbar
Electrical System
Batteries, Support, and Cables
Alternator, Regulator and Charging System Wiring
Wiring Harness and Switches
System Controls
Instruments and Indicators
Motors and Actuators
Frames, Chassis, or Supporting Structure
Frame Installation
Chassis Weights
Operator`s Station
Removal and Installation
Operator`s Enclosure
Seat and Seat Belt
Heating and Air Conditioning
Sheet Metal and Styling
Hood and Engine Enclosure
Grille and Grille Housing
Safety, Convenience and Miscellaneous
Horn and Warning Devices
Main Hydraulic System
Hydraulic System
Bulldozer
Blades
Control Linkage
Frames
Hydraulic System
Dealer Fabricated Tools
Total Pages/Size: 914 pages
File Format: PDF (bookmarked, ToC, Searchable, Printable, high quality)
Language: English
CONTENTS - Expanded View
00 - General Information
01 - Safety
Avoid Heating Near Pressurized Fluid Lines
Avoid High-Pressure Fluids
Dispose of Waste Properly
Handle Chemical Products Safely
Handle Fluids Safely—Avoid Fires
Illuminate Work Area Safely
Keep ROPS Installed Properly
Live With Safety
Park Machine Safely
Practice Safe Maintenance
Prepare for Emergencies
Prevent Acid Burns
Prevent Battery Explosions
Remove Paint Before Welding or Heating
Replace Safety Signs
Service Machines Safely
Support Machine Properly
Use Proper Lifting Equipment
Wear Protective Clothing
Work in Clean Area
Work In Ventilated Area
02 - General Specifications
4000S Winch
700H Crawler Dozer Dimensions
700H Crawler Dozer Specification
700H Crawler Dozer Weights
700H Dozer Drain and Refill Capacities
700H Other Information
03 - Torque Values
Additional Metric Cap Screw Torque Values
Checking Track Shoe Cap Screw Torque
Check Oil Lines And Fittings
Hardware Torque Specifications
Keeping ROPS Installed Properly
Metric Bolt and Screw Torque Values
O-Ring Groove Connections
Service Recommendations For Flat Face O-Ring Seal Fittings
Service Recommendations for Inch Series Four Bolt Flange Fittings
Service Recommendations for Metric Series Four Bolt Flange Fitting
Service Recommendations for O-Ring Boss Fittings
Unified Inch Bolt and Screw Torque Values
04 - Fuels & Lubricants
Alternative and Synthetic Lubricants
Diesel Engine Coolant (engine with wet sleeve cylinder liners)
Diesel Engine Oil — Non-Emissions Certified and Certified Tier 1 and Stage I
Diesel Fuel
Diesel Fuel Storage
Fuel Tank
Grease
Inner and Outer Final Drive Oil
Low Sulfur Diesel Fuel Conditioner
Lubricant Storage
Mixing of Lubricants
Track Rollers, Front Idler, and Carrier Roller Oil
Transmission and Hydraulic Oil
Winch Oil
01 - Wheels or Tracks
Adding Oil To The Roller
Adjust Track Sag
Assemble Lubricated Track Chain to Turn Bushings and Lubricate Chain
Check Front Idler Oil Level
Disassemble and Assemble Carrier Roller
Disassemble and Assemble Lubricated Track Chain to Turn Pins and Bushings and Not Lubricate
Disassemble and Assemble Track Idler Recoil Spring
Disassemble and Assemble Track Roller
Disassemble, Inspect, and Assemble Front Idler
Disassemble Lubricated Track Chain to Turn Bushings and Lubricate Chain
Essential Tools
Front Idler Adjustment Procedure
Inspect Metal Face Seals_{0559}
Inspect Metal Face Seals
Measure Bushing Outside Diameter
Measure Carrier Roller Wear
Measure Front Idler Wear
Measure Link Height
Measure Track Pitch
Measure Track Roller Wear
Measure Track Shoe Grouser Wear
Other Material
Remove and Install Carrier Roller
Remove and Install Front Idler
Remove and Install Lubricated Track Chain—Saw Tooth Master Split Link
Remove and Install Rock Guards
Remove and Install Sprocket
Remove and Install Sprocket Segment
Remove and Install Track Frame
Remove and Install Track Frame Wear Strips and Slide Guides
Remove and Install Track Idler Recoil Spring
Remove and Install Track Roller
Remove and Install Track Shoe
Remove and Install Track Tension Adjuster
Service Equipment and Tools
Specifications
Test Carrier Roller for Oil Leakage
Test Track Roller for Leakage
Welding Procedure
02 - Axles and Suspension Systems
01 - Drive Axle Housing & Support
Other Material
Remove and Install Final Drive
Service Equipment and Tools
Specifications
50 - Axle Shaft, Bearing & Reduction Gear
Disassemble and Assemble Final Drive
Other Material
Specifications
03 - Transmission
00 - Removal & Installation
Essential Tools
Hydrostatic Component Location
Other Material
Remove and Install Hydrostatic Motors
Remove and Install Hydrostatic Pump
Service Equipment and Tools
Specifications
15 - Controls Linkage
Disassemble and Assemble Single Lever Control With Speed In Grip
Essential Tools
Other Material
Remove and Install Single Lever Control (SLC) With Speed In Grip
Single Lever Control (SLC) Exploded View With Speed In Grip
Specifications
60 - Hydrostatic System
Adjust Hydrostatic Motor Speed Sensor
Assemble Hydrostatic Motor
Assemble Hydrostatic Pump
Charge Pump and Pump Controls Exploded View
Disassemble and Assemble Displacement Control Valve
Disassemble and Assemble Hydrostatic Charge Pump
Disassemble and Assemble Hydrostatic Filter
Disassemble and Assemble Multi-Function Valve
Disassemble and Assemble Neutral Charge Relief Valve
Disassemble and Assemble Oil Cooler Thermal Bypass Valve
Disassemble Hydrostatic Motor
Disassemble Hydrostatic Pumps
Essential Tools
Hydrostatic Pump Exploded View
Other Material
Remove and Install Diagnostic Plumbing (S.N. —899613)
Remove and Install Diagnostic Plumbing (S.N. 899614— )
Remove and Install Hydrostatic Filter
Remove and Install Hydrostatic Motor Speed Sensor
Remove and Install Hydrostatic Reservoir
Remove and Install Oil Cooler Thermal Bypass Valve
Service Equipment and Tools
Specifications
04 - Engine
Bleed Fuel System
Other Material
PowerTech ® 6.8L (6068) John Deere Engine—Use CTM104
Remove and Install Engine
Remove and Install Oil Pan
Service Equipment and Tools
Specifications
05 - Engine Auxiliary Systems
05 - Cold Weather Starting Aid
PowerTech ® 6.8L (6068) John Deere Engine—Use CTM
Remove and Install Engine Coolant Heater
Remove and Install Starting Aid—If Equipped
Remove and Install Starting Aid Solenoid—If Equipped
Specifications
10 - Radiator & Fan Shroud
Install Radiator and Oil Cooler
Remove and Install Fan Blade, Pulley and Shroud
Remove and Install Sand Shield—If Equipped
Remove Radiator and Oil Cooler
Specifications
15 - Engine Speed Control
Other Material
Remove and Install Engine Speed Control and Decelerator
Specifications
20 - Intake System
Remove and Install Air Cleaner with Turbocharger
Specifications
30 - External Exhaust System
Remove and Install Muffler
40 - Mounting Frame
Engine and Power Train Mounting Parts
Specifications
60 - External Fuel Supply System
Remove and Install Fuel Tank
Specifications
07 - Dampener Drive
Other Material
Remove and Install Dampener Drive
Specifications
11 - Park Brakes
00 - Removal & Installation
Remove and Install Brake Valve
Remove and Install Park Brake
15 - Control Linkage
Other Material
Remove and Install Brake Pedal Control Linkage
Remove and Install Park Lock Linkage
Specifications
60 - Hydraulic System
Disassemble and Assemble Brake Valve
Disassemble and Assemble Park Brake
15 - Equipment Attaching
Remove and Install Drawbar
Remove and Install Tow Hook