
DIY Backyard Weather Station — ESP32 / ESPHome / Home Assistant Setup Guide
Know exactly what the weather is doing — in YOUR backyard.
Forecast apps tell you what's happening at the airport 20 miles away. This guide shows you how to build a professional-grade weather station that reports live wind speed, wind gusts, wind direction, rainfall, temperature, humidity, and barometric pressure — from your own yard, straight into Home Assistant, updated every few seconds.
No cloud subscriptions. No proprietary apps. No monthly fees. Your hardware, your data, your dashboard.
What You'll Build
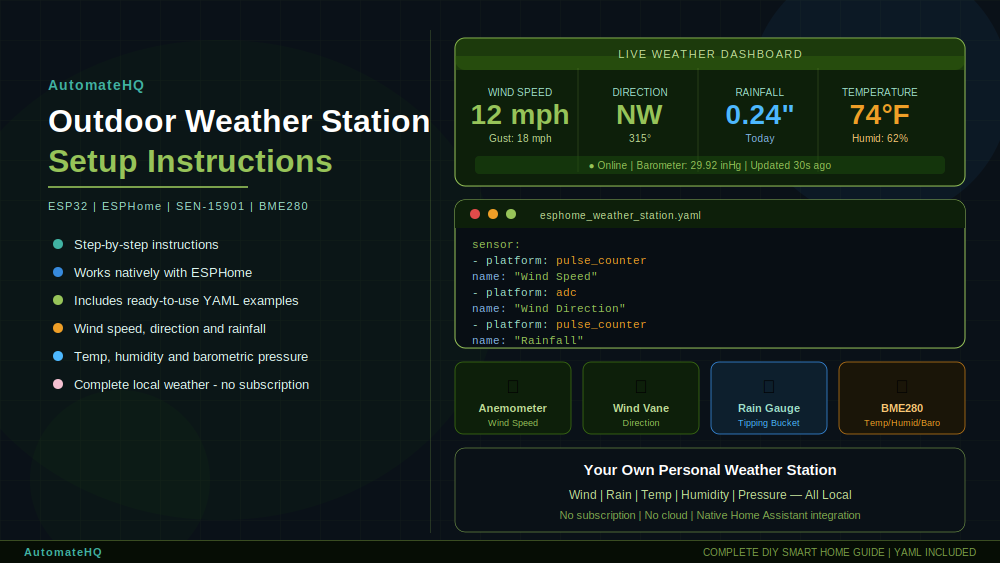
A fully wireless, WiFi-connected weather station based on the proven SparkFun Weather Meter Kit (SEN-15901) and an ESP32 running ESPHome, featuring:
- Wind speed with automatic peak gust tracking — never miss the strongest blow of the day
- Wind direction in both degrees and 16-point compass headings (N, NNE, NE...), with a real-world calibration method that accounts for how your vane is actually mounted
- Rainfall — both rate (inches/hour) and running total from the tipping-bucket gauge
- Temperature, humidity, and barometric pressure from a BME280 precision sensor
- A stunning retro LCD-style dashboard card that displays everything at a glance — it looks like a real weather console, right in Home Assistant (works great on wall-mounted tablets!)
What's Inside the Guide (16 pages)
- Complete parts list with current sources and budget-friendly options
- Wiring diagrams for the ESP32, wind/rain sensor connections, and the BME280 (I²C)
- The full, working ESPHome configuration — copy, paste, and flash. Every sensor, filter, and conversion factor included, with plain-English explanations of what each section does
- Calibration walkthroughs you won't find in the datasheet: how to calibrate wind direction with nothing but your phone's compass, and how to correct for mounting orientation after installation — in software, without climbing back up to the mast
- Unit conversions done right — mph, inches of rain, °F, and inHg out of the box
- The custom dashboard card with installation instructions, plus standard card alternatives if you prefer native Home Assistant styling
- Troubleshooting section covering the real-world gotchas: noisy ADC readings, pulse counter tuning, and WiFi placement
Who This Is For
Home Assistant users who want real local weather data and love building things that actually work. If you can follow a wiring diagram and copy a config file, you can build this. Basic soldering is helpful but minimal. Every step is written from real trial-and-error experience — this is the guide I wish I'd had when I built mine.
What You'll Need (hardware sold separately)
- SparkFun Weather Meter Kit (SEN-15901) — anemometer, wind vane, rain gauge
- ESP32 development board
- BME280 temperature/humidity/pressure sensor
- Basic wiring supplies and a weatherproof enclosure
- A working Home Assistant installation with ESPHome
Total hardware cost typically runs well under the price of a single commercial weather station — and unlike the store-bought units, this one never loses cloud support, never demands a subscription, and does exactly what you tell it to.
Instant Digital Download
Delivered as a professionally formatted PDF guide. Build it this weekend, and by Sunday evening you'll be watching your own backyard wind gusts roll across your dashboard.