


Filetransfer v2.0.0
Q-SYS plugin FileTransfer v2.0.0
It's a pay what you want, set any value you like.
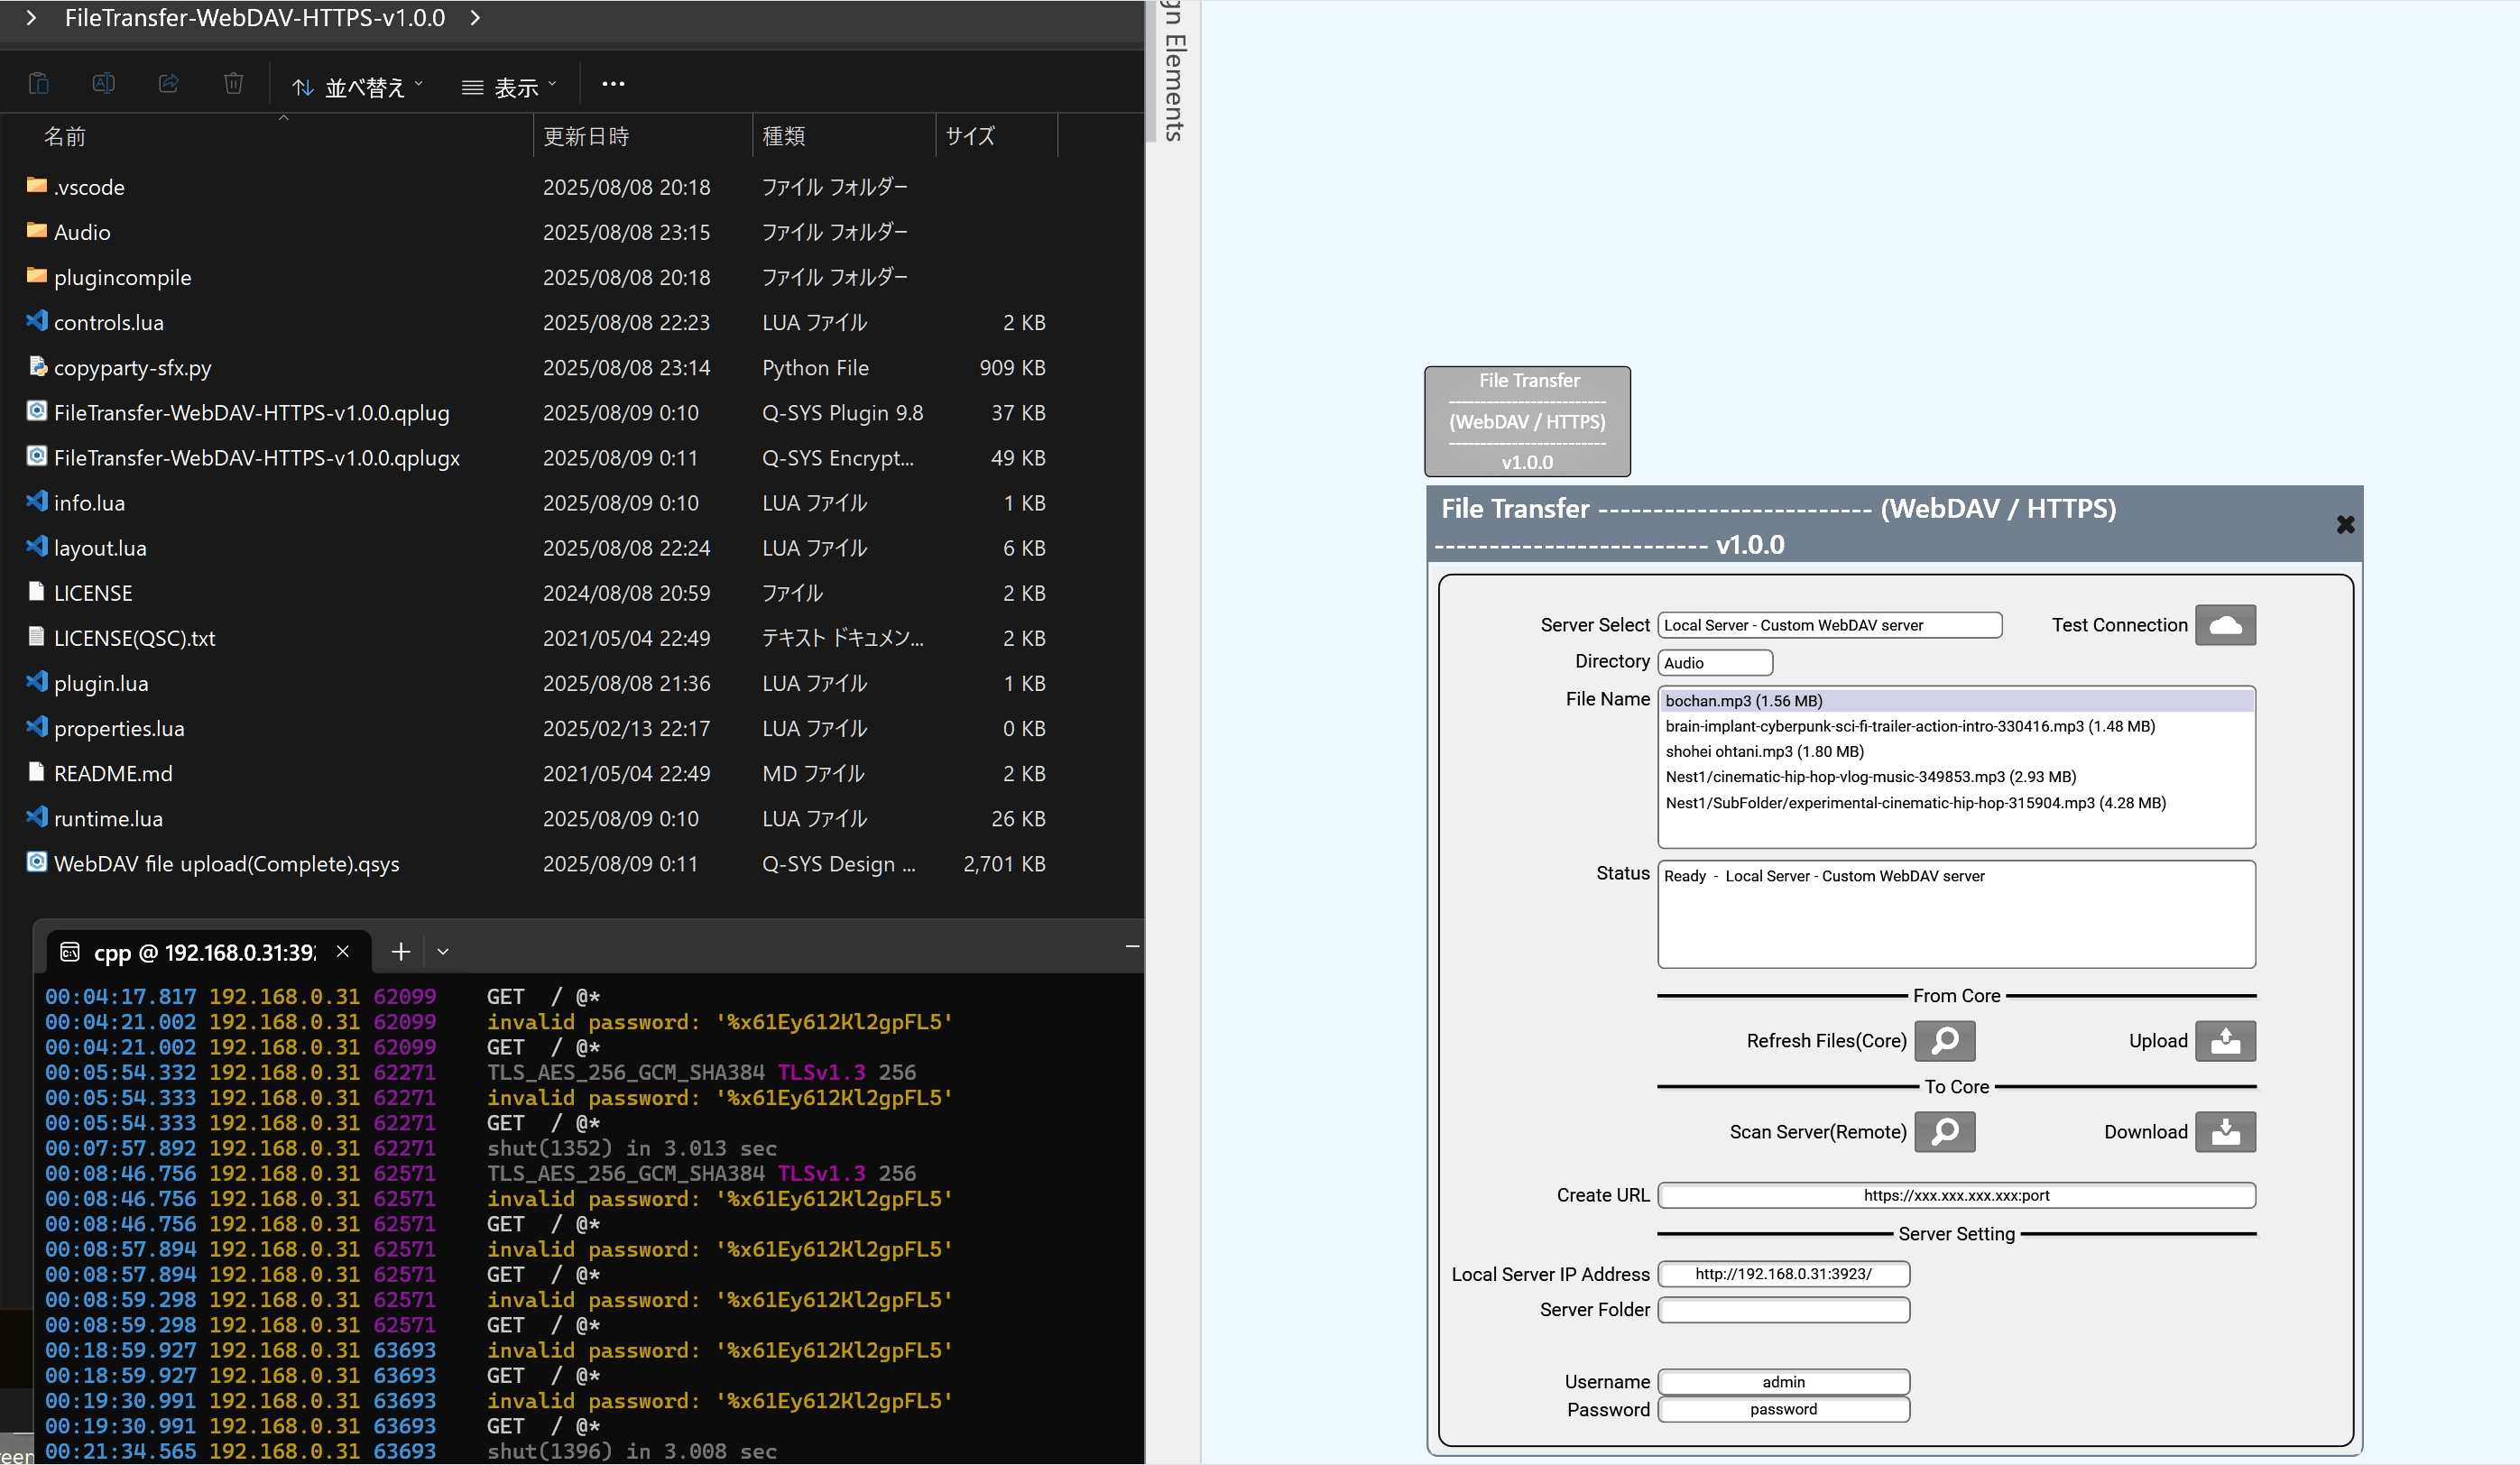
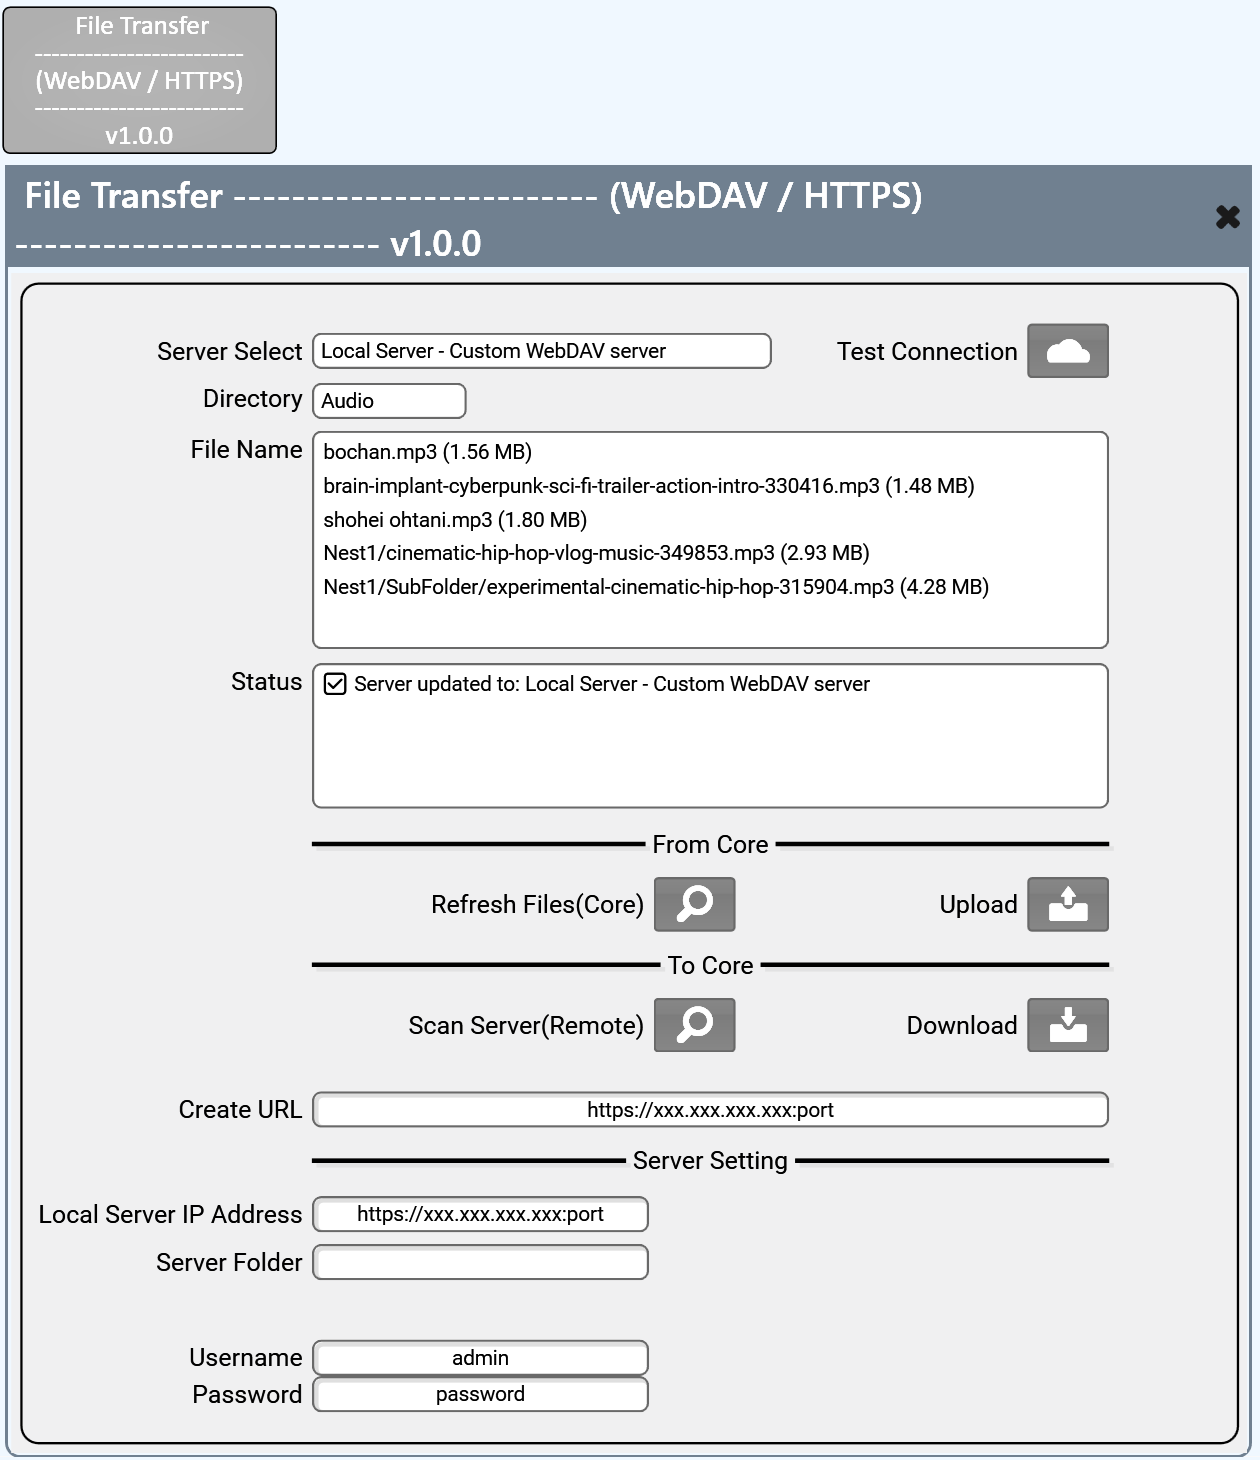
This Q-SYS plugin provides a user-friendly interface for uploading and downloading audio files to and from various cloud or local file storage services. It supports WebDAV, TmpFiles.org, 0x0.st, and custom HTTPS/WebDAV servers.
🔧 Key Features:
- Multi-Service Upload & Download:
- Upload audio files (.mp3, .wav, .flac) from Q-SYS Core to:
- WebDAV servers (e.g., OpenDrive, local servers)
- TmpFiles.org (temporary storage)
- 0x0.st (long-term anonymous hosting)
- WebDAV Download Support:
- List and download files directly from WebDAV servers to Core storage.
- Directory Scanning:
- Scan Core directories for available audio files or folders.
- Server File Scanning:
- Uses WebDAV or HTML directory parsing to retrieve file listings.
- Credential & Server Management:
- Supports configurable usernames, passwords, and upload paths(Local server).
- Status Feedback:
- Upload/download results, file size, and status messages are displayed via control pins.
- Emulator & Non-Emulator Compatibility:
- Automatically detects whether running on emulator or real hardware.
💡 Use Cases:
- Upload sound files recorded or processed on a Q-SYS Core to external cloud services.
- Download configuration or media files from a server into Q-SYS Core.
In emulation,
1: Save the file directly to "C:\Users\<user name>\AppData\Local\Temp\QSys Temp Files\<ramdam number folder>".
2: Create a new folder named "Audio" within "C:\Users\<user name>\AppData\Local\Temp\QSys Temp Files\<ramdam number folder>" and save the file there.
In Core,
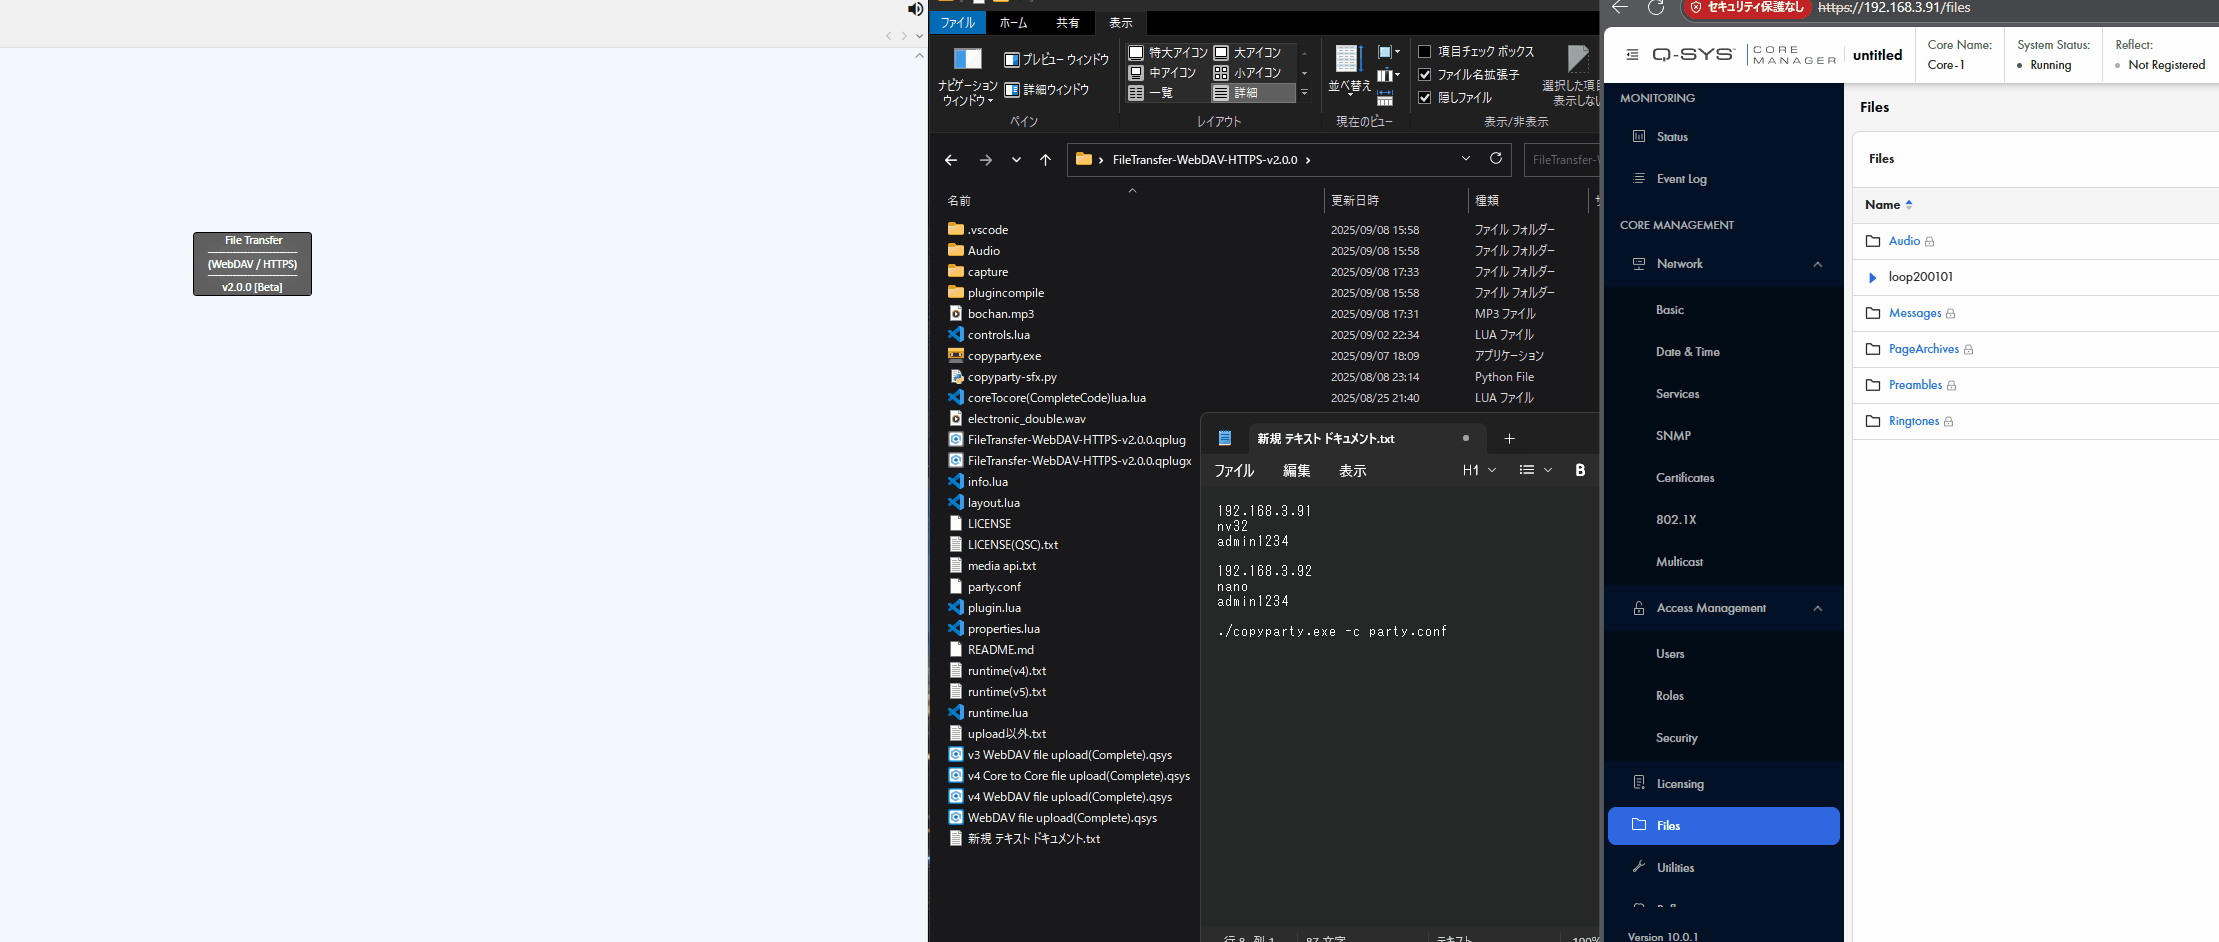
Since an Audio folder already exists in the storage, place the file you want to transfer into that folder. Files recorded in Core should appear inside the Audio folder.
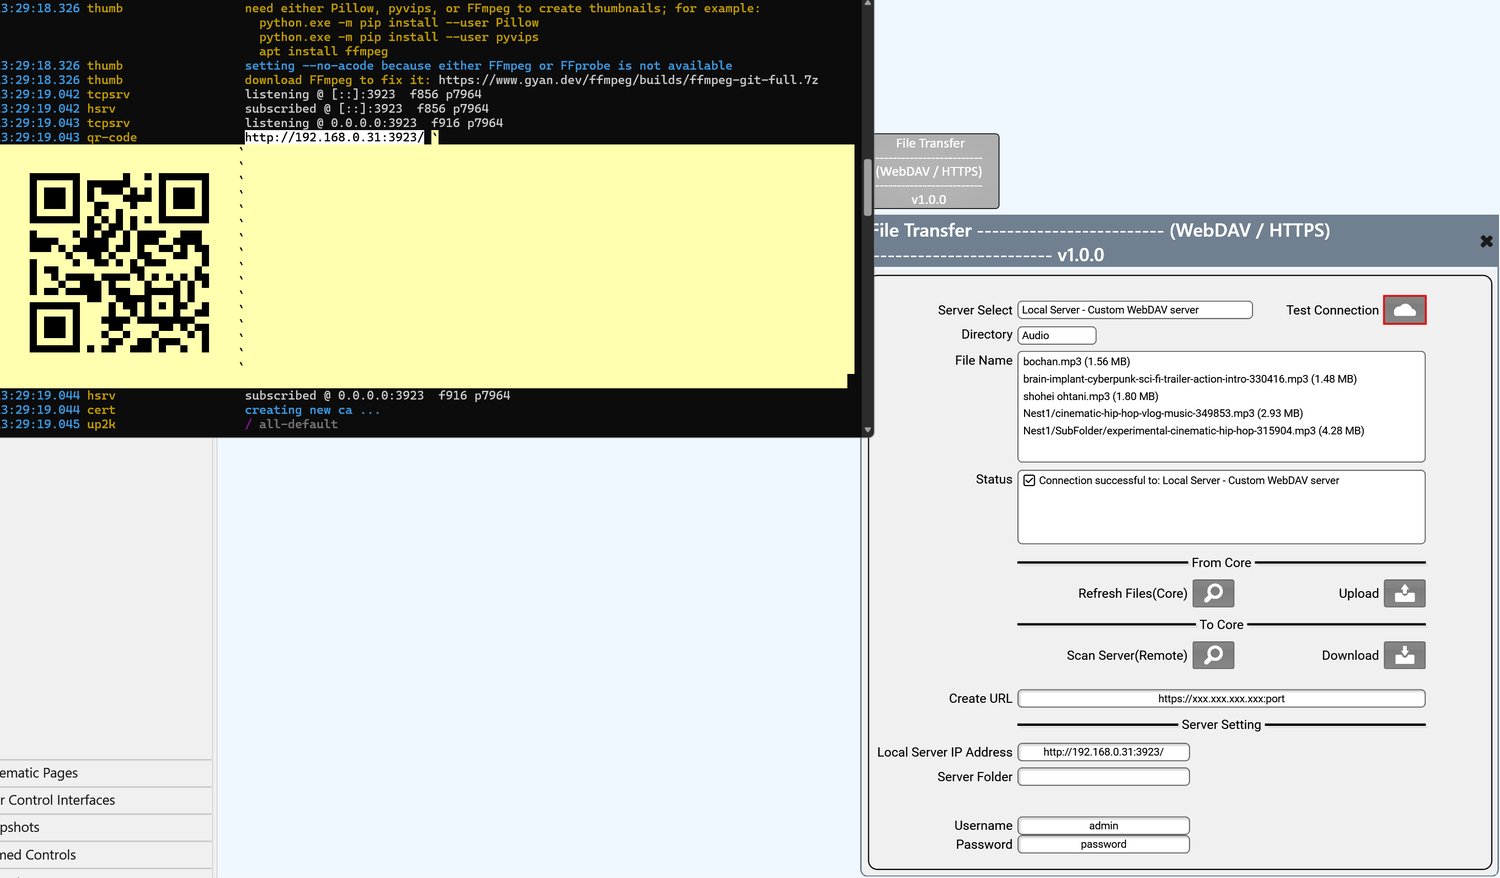
By using the copyparty that can be run solely with Python (from the link: https://gigazine.net/gsc_news/en/20250729-copyparty/), you can turn your local PC into a server, allowing file exchanges with this plugin.
---------------------------------------------------------------------------------
copyparty Quick Start
Setup Instructions
1. Open terminal in the folder containing copyparty-sfx.py
2. Run the command(Powershell):
python copyparty-sfx.py --dav
3. Access WebDAV at: http://localhost:3923/
That's it! Your WebDAV server is now running and accessible.
# Option 1: Enable WebDAV authentication
python copyparty-sfx.py --dav-auth -a admin:secret123 -v .::A,admin
If you are using the .exe instead of -sfx.py, please place copyparty.exe and party.conf in the same folder, then right-click and open the terminal →
./copyparty.exe -c party.conf
The party.conf should be as follows:
□□□□□□□□□□□□□□□□□□□□□□□□□□
[global]
p: 8080, 443, 3923 # listen on ports 8080 and 443 (changed from 80, 443)
theme: 2 # default theme: protonmail-monokai
lang: eng
[accounts] # usernames and passwords
admin: password # user, password
[/] # create a volume available at root /
. # sharing current directory (copyparty execution directory)
accs: # and set permissions:
r: * # everyone can read/download files,
rwmd: Admin # Admin can read/write/move/delete/
□□□□□□□□□□□□□□□□□□□□□□□□□□
Please use this.
---------------------------------------------------------------------------------
--------------------------------------------20250902
Major update several improvements
--------------------------------------------20250810
Initial release
--------------------------------------------
*Note and Caution-------------------------------------
As you know, use this plugin at your own risk.
*Test Equipment
QDS ver 10.0
One concern is that since no password is set on the Core when running it, there might be cases where errors occur due to that.