
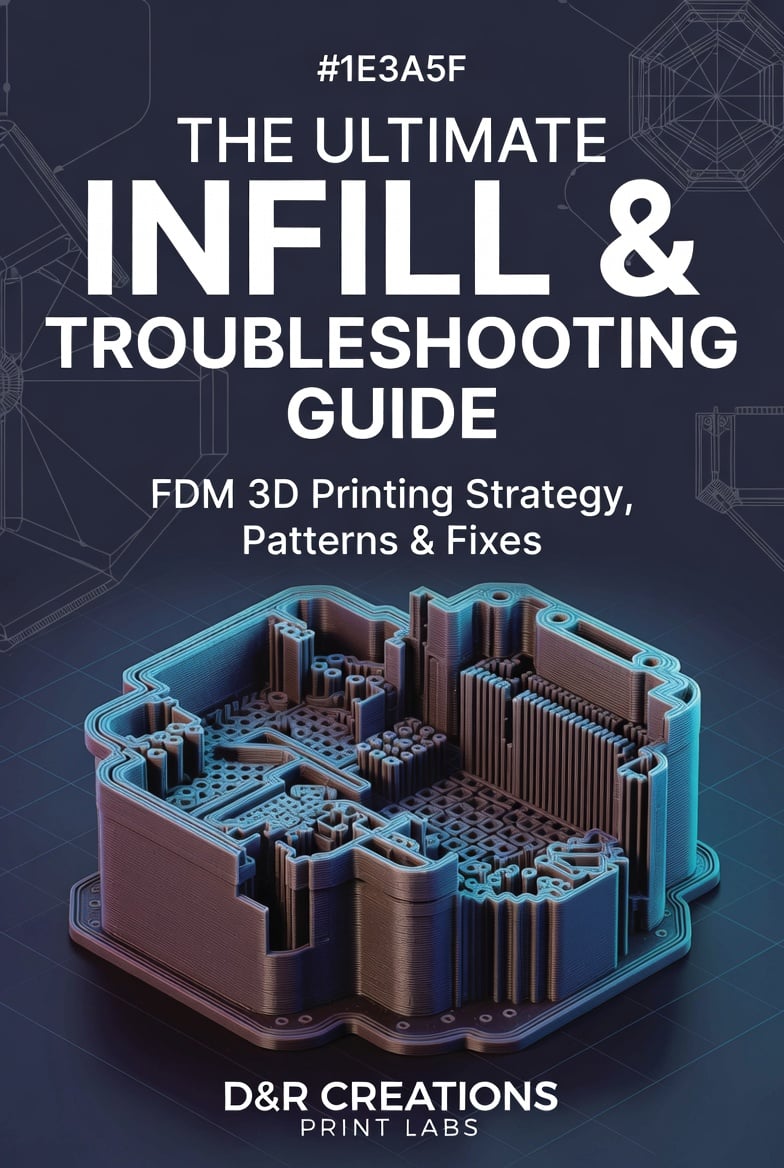
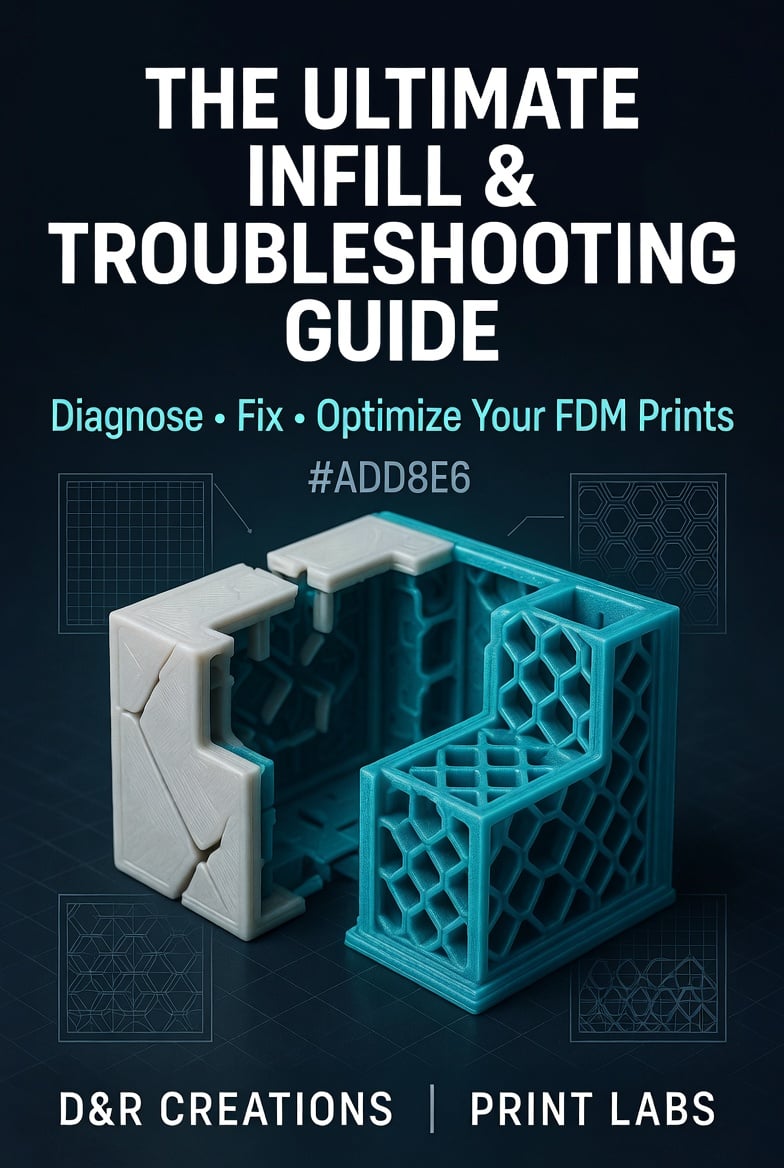


D&R Print Labs – Ultimate Infill Strategy & Troubleshooting Guide
The Ultimate Infill & Troubleshooting Guide
by D&R Creations Print Labs
Stop guessing. Start printing stronger, faster, and smarter.
Most 3D printing problems don’t come from bad printers or cheap filament. They come from the wrong internal structure. The wrong infill pattern. The wrong density. The wrong wall count. The wrong orientation. One bad setting and you waste hours, filament, and money on parts that fail under load, warp, or just look weak.
This 126-page professional guide was built to end that cycle.
What you’ll actually learn
You’ll finally understand how infill really works — not the vague “15–20% is usually fine” advice you see everywhere, but the actual relationship between pattern geometry, density, wall count, and real-world strength. You’ll see why some patterns waste time while others give you isotropic strength, better shear resistance, or dramatically faster prints without sacrificing reliability.
Inside you’ll get clear, practical coverage of:
Every major infill pattern used in modern FDM (Grid, Gyroid, Cubic, Triangles, Honeycomb, Lightning, Concentric, Cross, Cross 3D, Lines, Rectilinear, Stars, Octet, Adaptive Cubic, Quarter Cubic, Cubic Subdivision, Support Cubic, Zig Zag and more)
When to choose each one — and when to avoid it
The diminishing-returns curve of density vs strength so you stop over-printing
How wall count and top/bottom layers actually matter more than most people realise
Print orientation and load-path strategy that prevents layer adhesion failures
Full material-specific temperature ranges and quirks for PLA, Hyper PLA, PETG, Hyper PETG, ABS, ASA, TPU, Nylon (PA), Polycarbonate, Carbon Fiber, Wood-Filled, Silk PLA, Glow-in-the-Dark, and Metal-Filled filaments
A complete troubleshooting framework with symptoms, root causes, quick fixes, permanent fixes, and prevention steps
This is not another vague “tips and tricks” PDF. It is structured as a working reference you can keep next to your printer and actually use.
Who this is for
Intermediate and advanced FDM users who are tired of trial-and-error
Anyone printing functional parts, mechanical components, or items that need to survive real stress
Makers who want consistent results across different filaments and printers
People who have already learned the basics and are ready to stop wasting material and time
If you’re still printing everything at 20% grid because “that’s what everyone does,” this guide will change how you approach every single print.
What makes it different
Most free online advice is scattered, contradictory, or written by people who have never stress-tested their own recommendations. This guide is organised for speed and clarity:
Quick-reference tables so you can find the right setting fast
Severity ratings so you know what to prioritise
Side-by-side pattern comparisons
Material profiles that tell you the real temperature windows and the common traps
Visual examples that show what correct vs incorrect results look like
You get the decision-making framework, not just a list of numbers.
Practical results you can expect
Stronger parts without automatically increasing density (and print time)
Faster prints when strength isn’t the priority
Fewer failed calibrations and mysterious quality issues
Clear answers when a filament suddenly starts misbehaving
Confidence to choose the right internal structure the first time
Format & delivery
126-page professional PDF
Instant digital download
Clean A4 layout designed for both screen and print
Organised sections you can jump between while you’re actually printing
Built by D&R Creations Print Labs
This is the same practical, no-fluff approach we use in our own workshop. Everything in the guide exists because it solves real problems we (and our community) run into every week.