
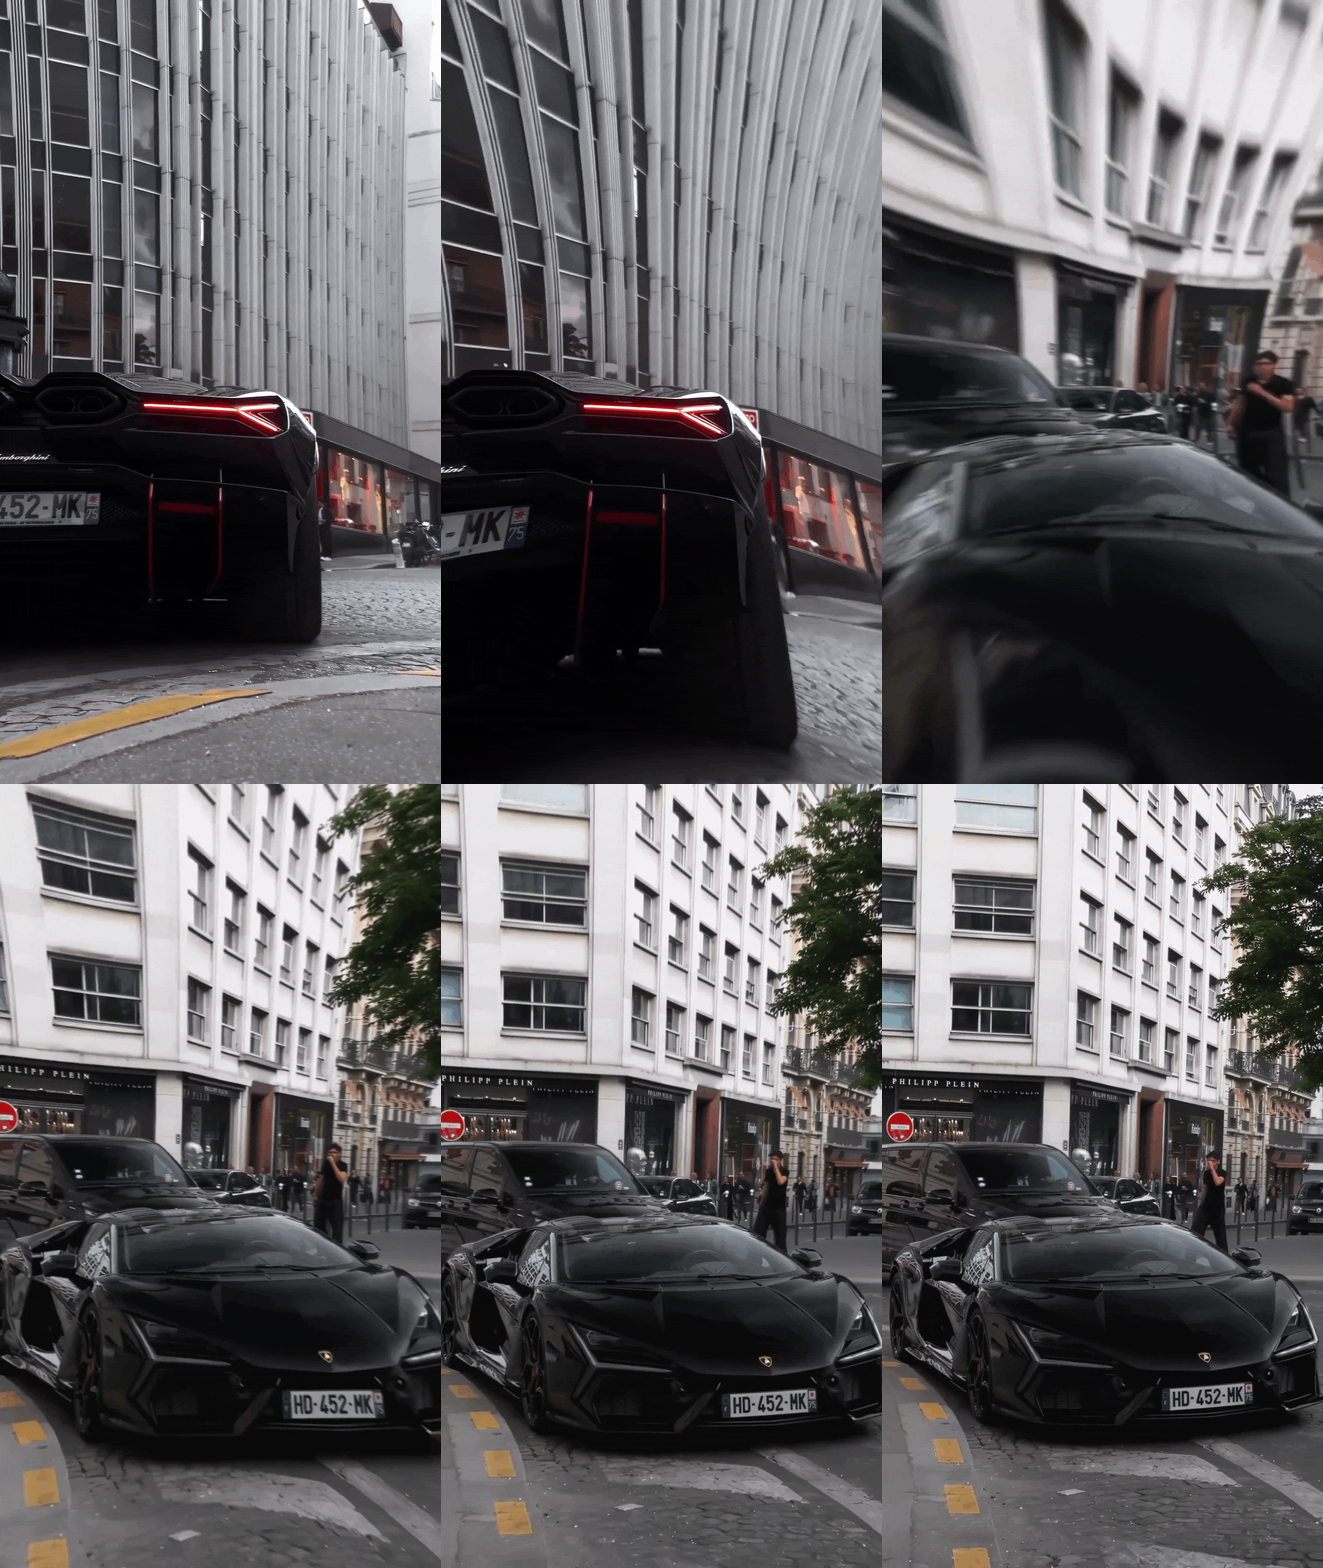
zoom shake
⚠️ IMPORTANT – Twitch Plugin Required
This preset requires the Video Copilot Twitch plugin to work correctly.
✅ Step 1: Install the Twitch Plugin
1. Download and extract the “Djibsco Twitch.zip” file.
2. Open the extracted folder and select the correct version:
64-bit → After Effects 2022, 2023, 2024, 2025+
32-bit → Older versions only
3. Copy the Twitch plugin file.
4. Paste it into your After Effects Plug-ins folder.
➤ On Windows:
C:\Program Files\Adobe\Adobe After Effects \Support Files\Plug-ins
➤ On macOS:
Applications/Adobe After Effects /Plug-ins
5. Restart After Effects.
6. Verify that Twitch is installed by searching for “Twitch” in the Effects & Presets panel.
✅ Step 2: Locate the Presets Folder
➤ On Windows:
C:\Program Files\Adobe\Adobe After Effects \Support Files\Presets
➤ On macOS:
Applications/Adobe After Effects /Presets
✅ Step 3: Copy the Preset File
1. Download or locate your .ffx preset file.
2. Copy it into the Presets folder (or a subfolder if you want better organization).
✅ Step 4: Apply the Preset in After Effects
1. Open After Effects.
2. Select the layer you want to apply the preset to.
3. Go to the top menu:
Animation > Apply Animation Preset…
4. Navigate to the folder where you saved the .ffx file.
5. Click Open – the preset will be applied to your selected layer.
🔄 Optional: Make it Appear in the “Effects & Presets” Panel
To have the preset show up in the Effects & Presets panel:
• Make sure the preset is in the official Presets folder.
• In After Effects, go to the Effects & Presets panel.